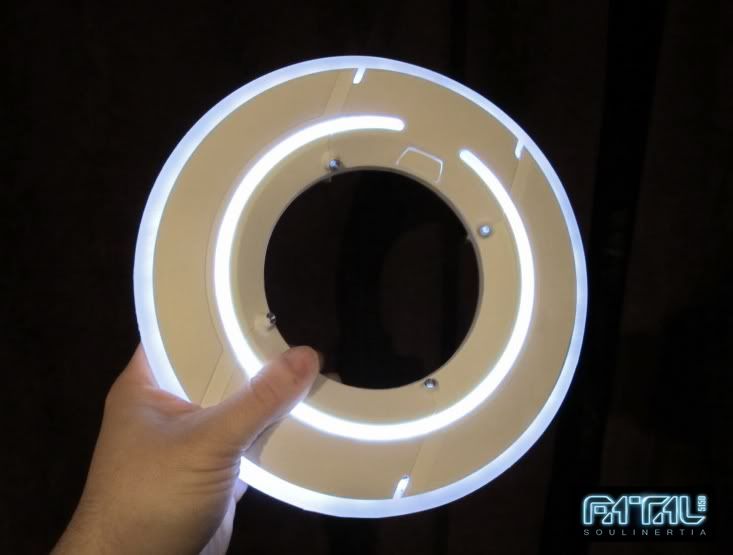
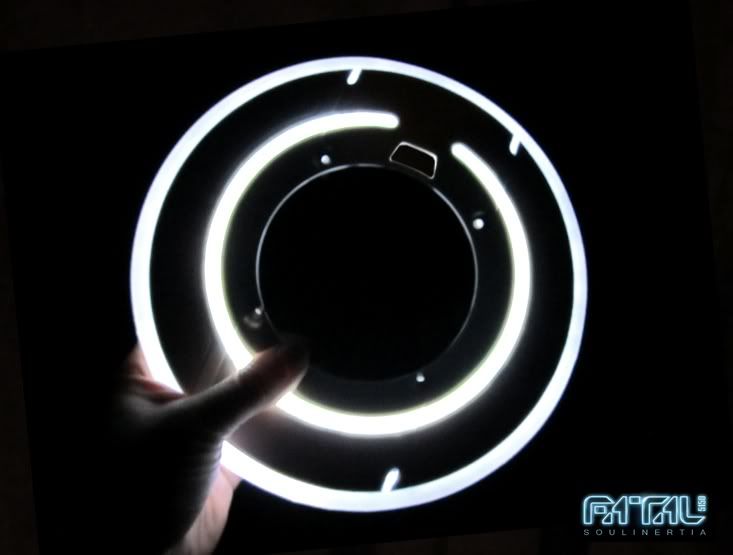
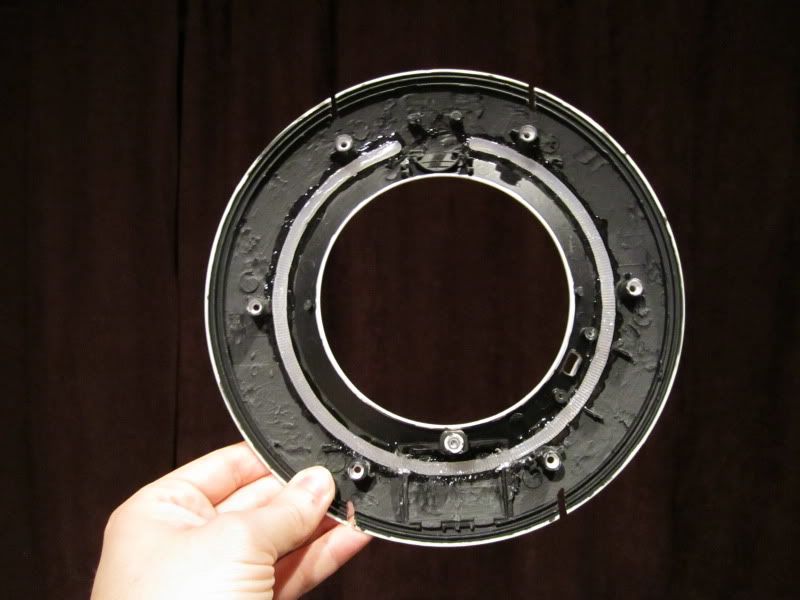
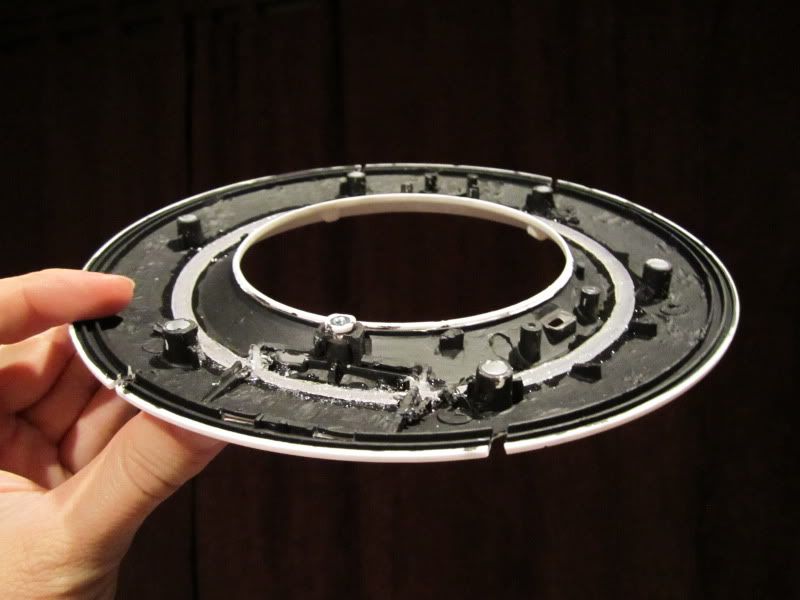
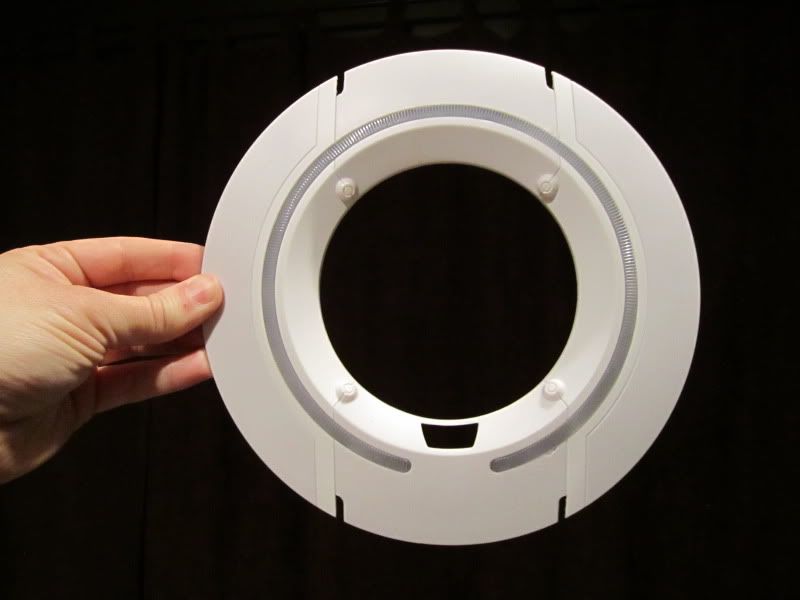
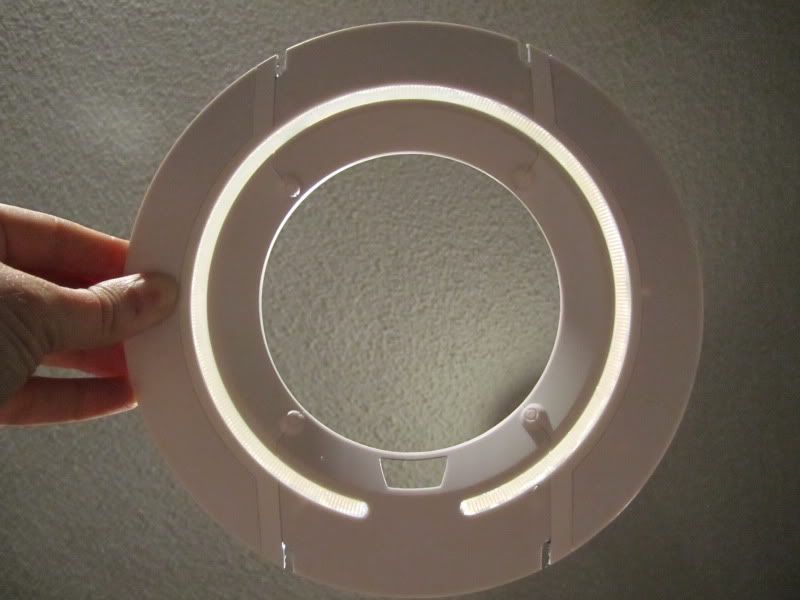
Alright! The top side of the disc is done! I'm very very pleased with how the metal bezel mounts turned out. I was so scared that drilling through the four nodes would cause disaster due to the fact I've hardly drilled through anything in my life. After testing on the bad disc, it was actually one of the easiest parts of the whole modification. The trick was going from the smallest drill size to the one needed that fit the bezels.
Also, I decided to paint the bezels black on the outside to make them look more screen accurate (as pointed out in the manual) but I didn't want to resort to hand painting since I'm so terrible at it. Instead, I went online to look up some sites for the best paint on metal materials that I could find. No luck. Finally I decided to give the good old Lacquer a try. SDstudios always chatted about how Lacquer was a very strong paint and my arts and crafts store had some black lacquer spray paint in stock. But there was another problem. How do I keep the inside clear but still coat the outside of the Bezel with the Lacquer? Unfortunately the manual provided no instructions or suggestions on how to do this. Shame on you Soulinertia! So I improvised.
What I ended up doing was taking four Q-tips, cutting off the bottom portion and putting it through the bezel so that the inner portion is completely filled with the cotton while still exposing the outside. I was worried that the Lacquer would seep through the cotton, but I know of no other alternative. So I took the bezels outside, applied the Q-tips and sprayed away. The results were fantastic. Not a single bit of paint got inside any of the bezels, and the Lacquer was incredibly strong with all the rubbing it endured when fitting them into the newly drilled disc.
I'll try and post pictures of it tomorrow when I start working on the bottom portion again.
