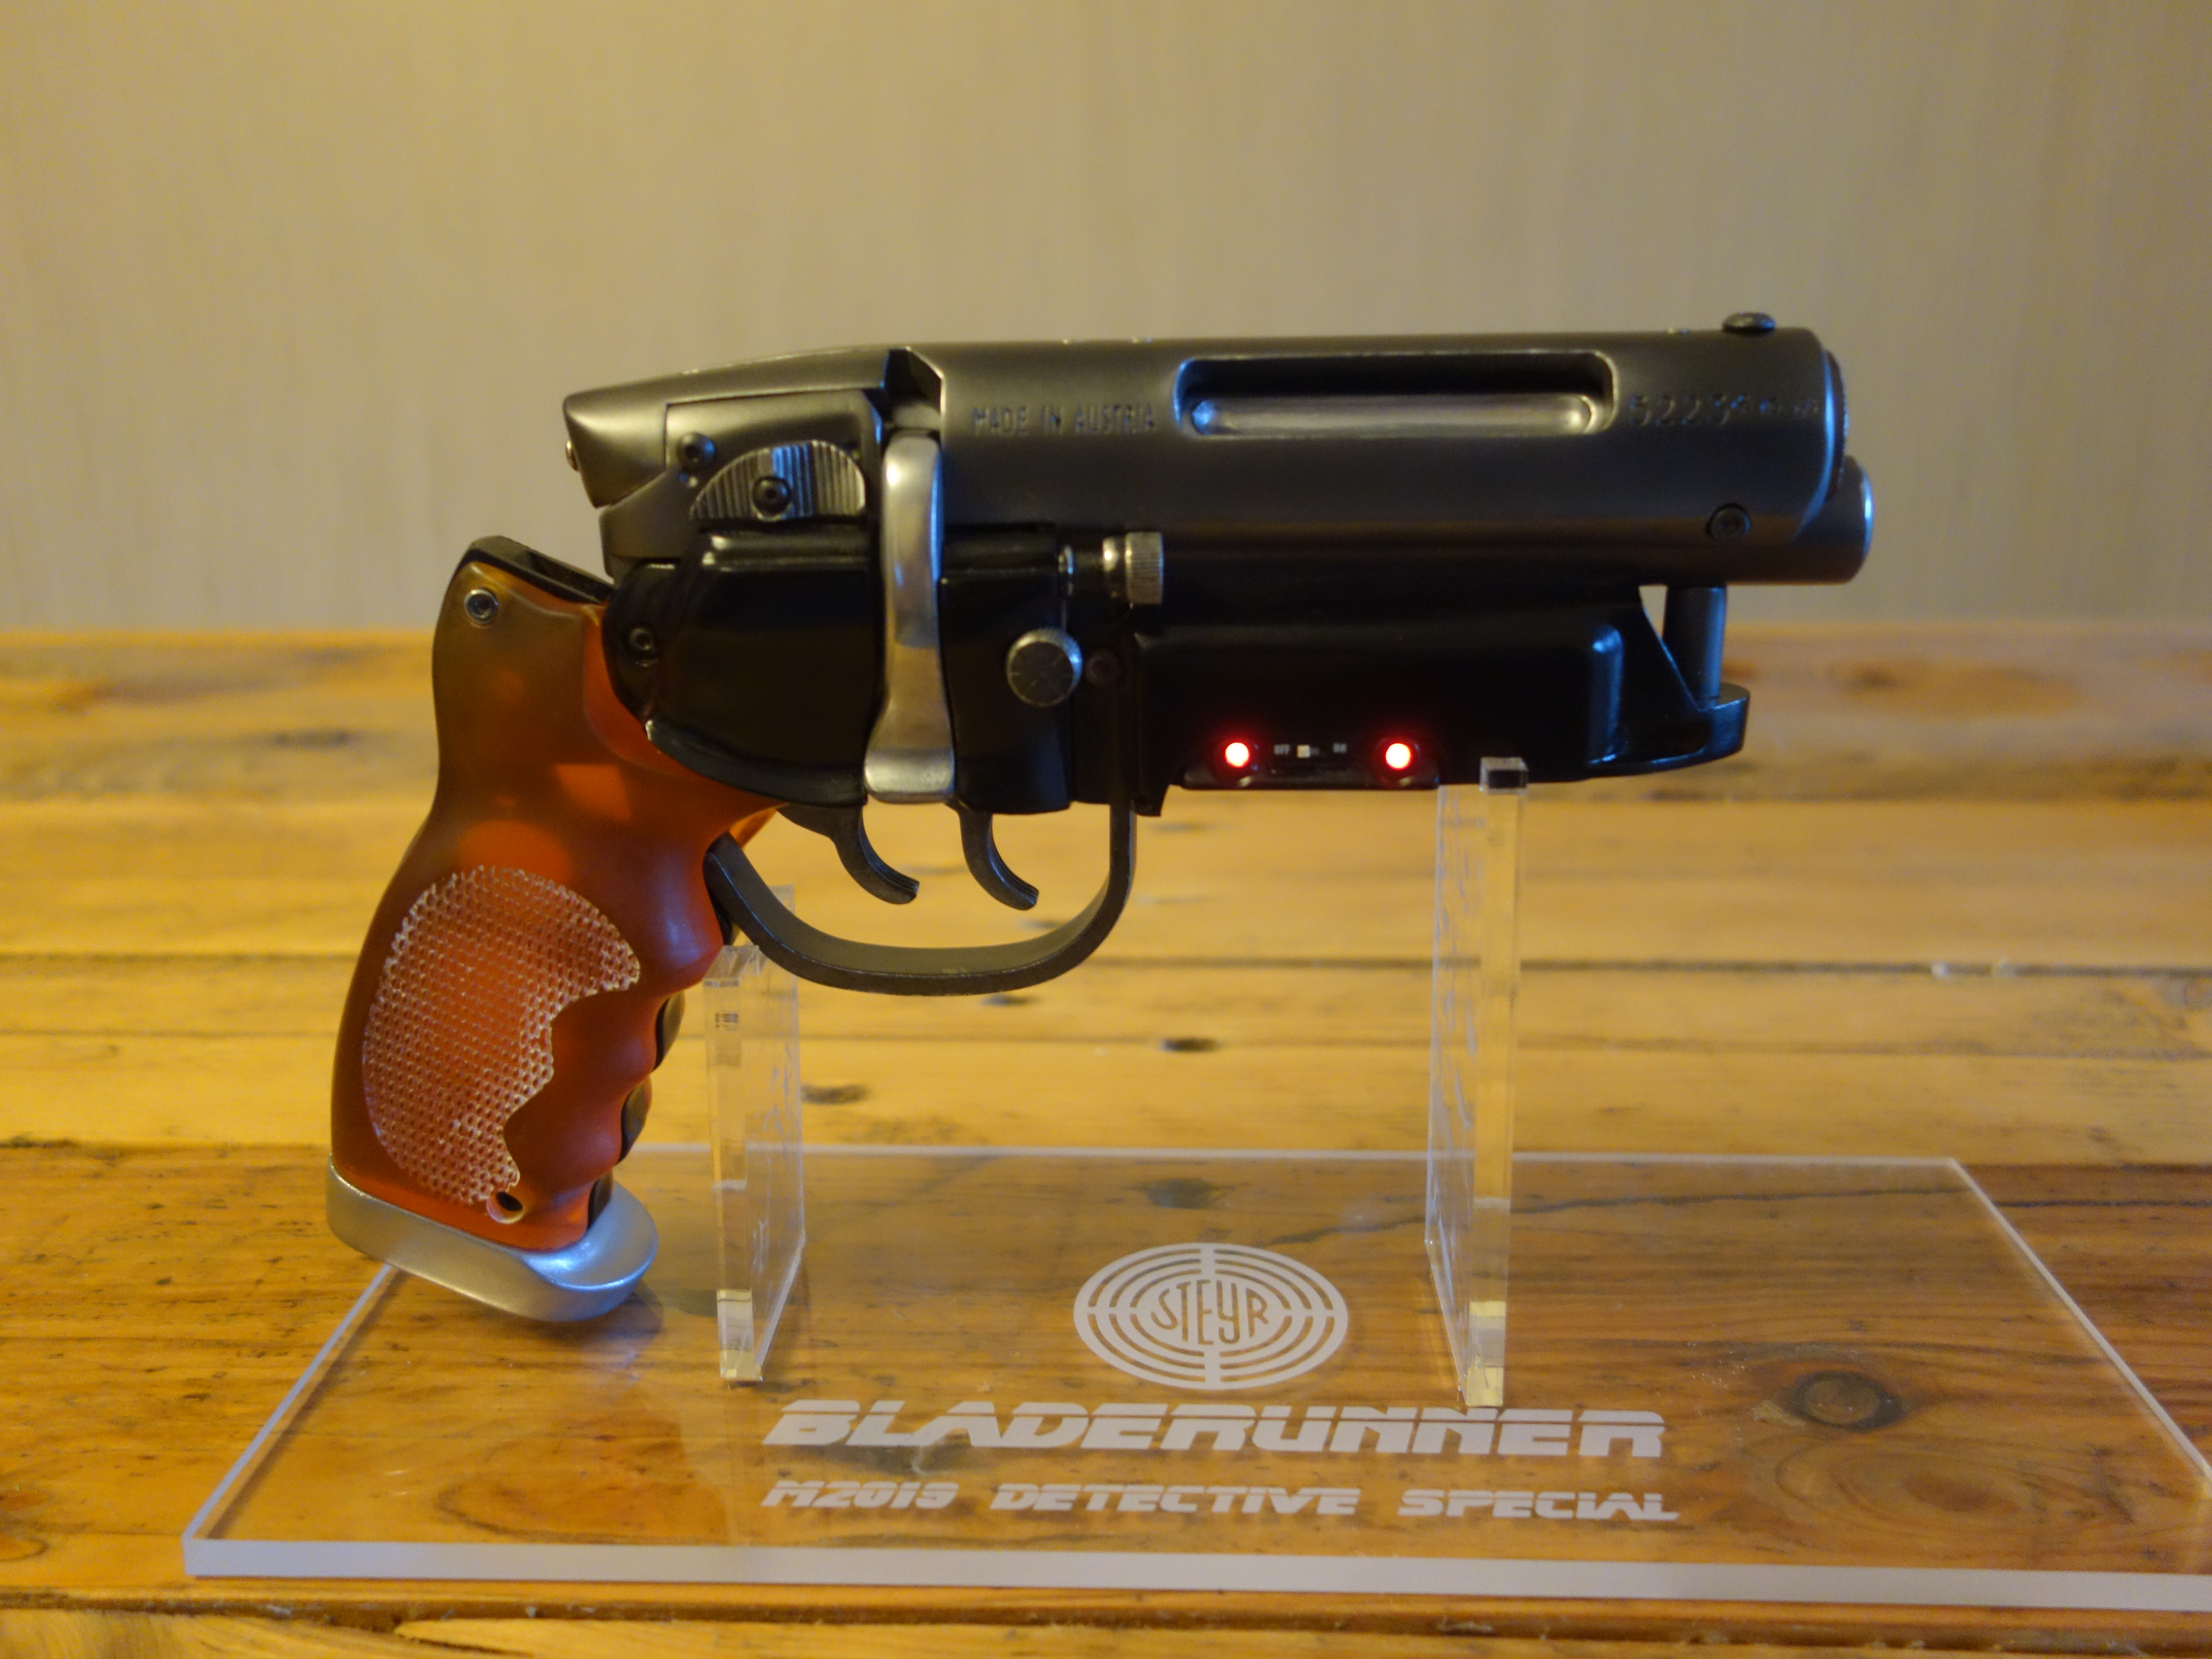
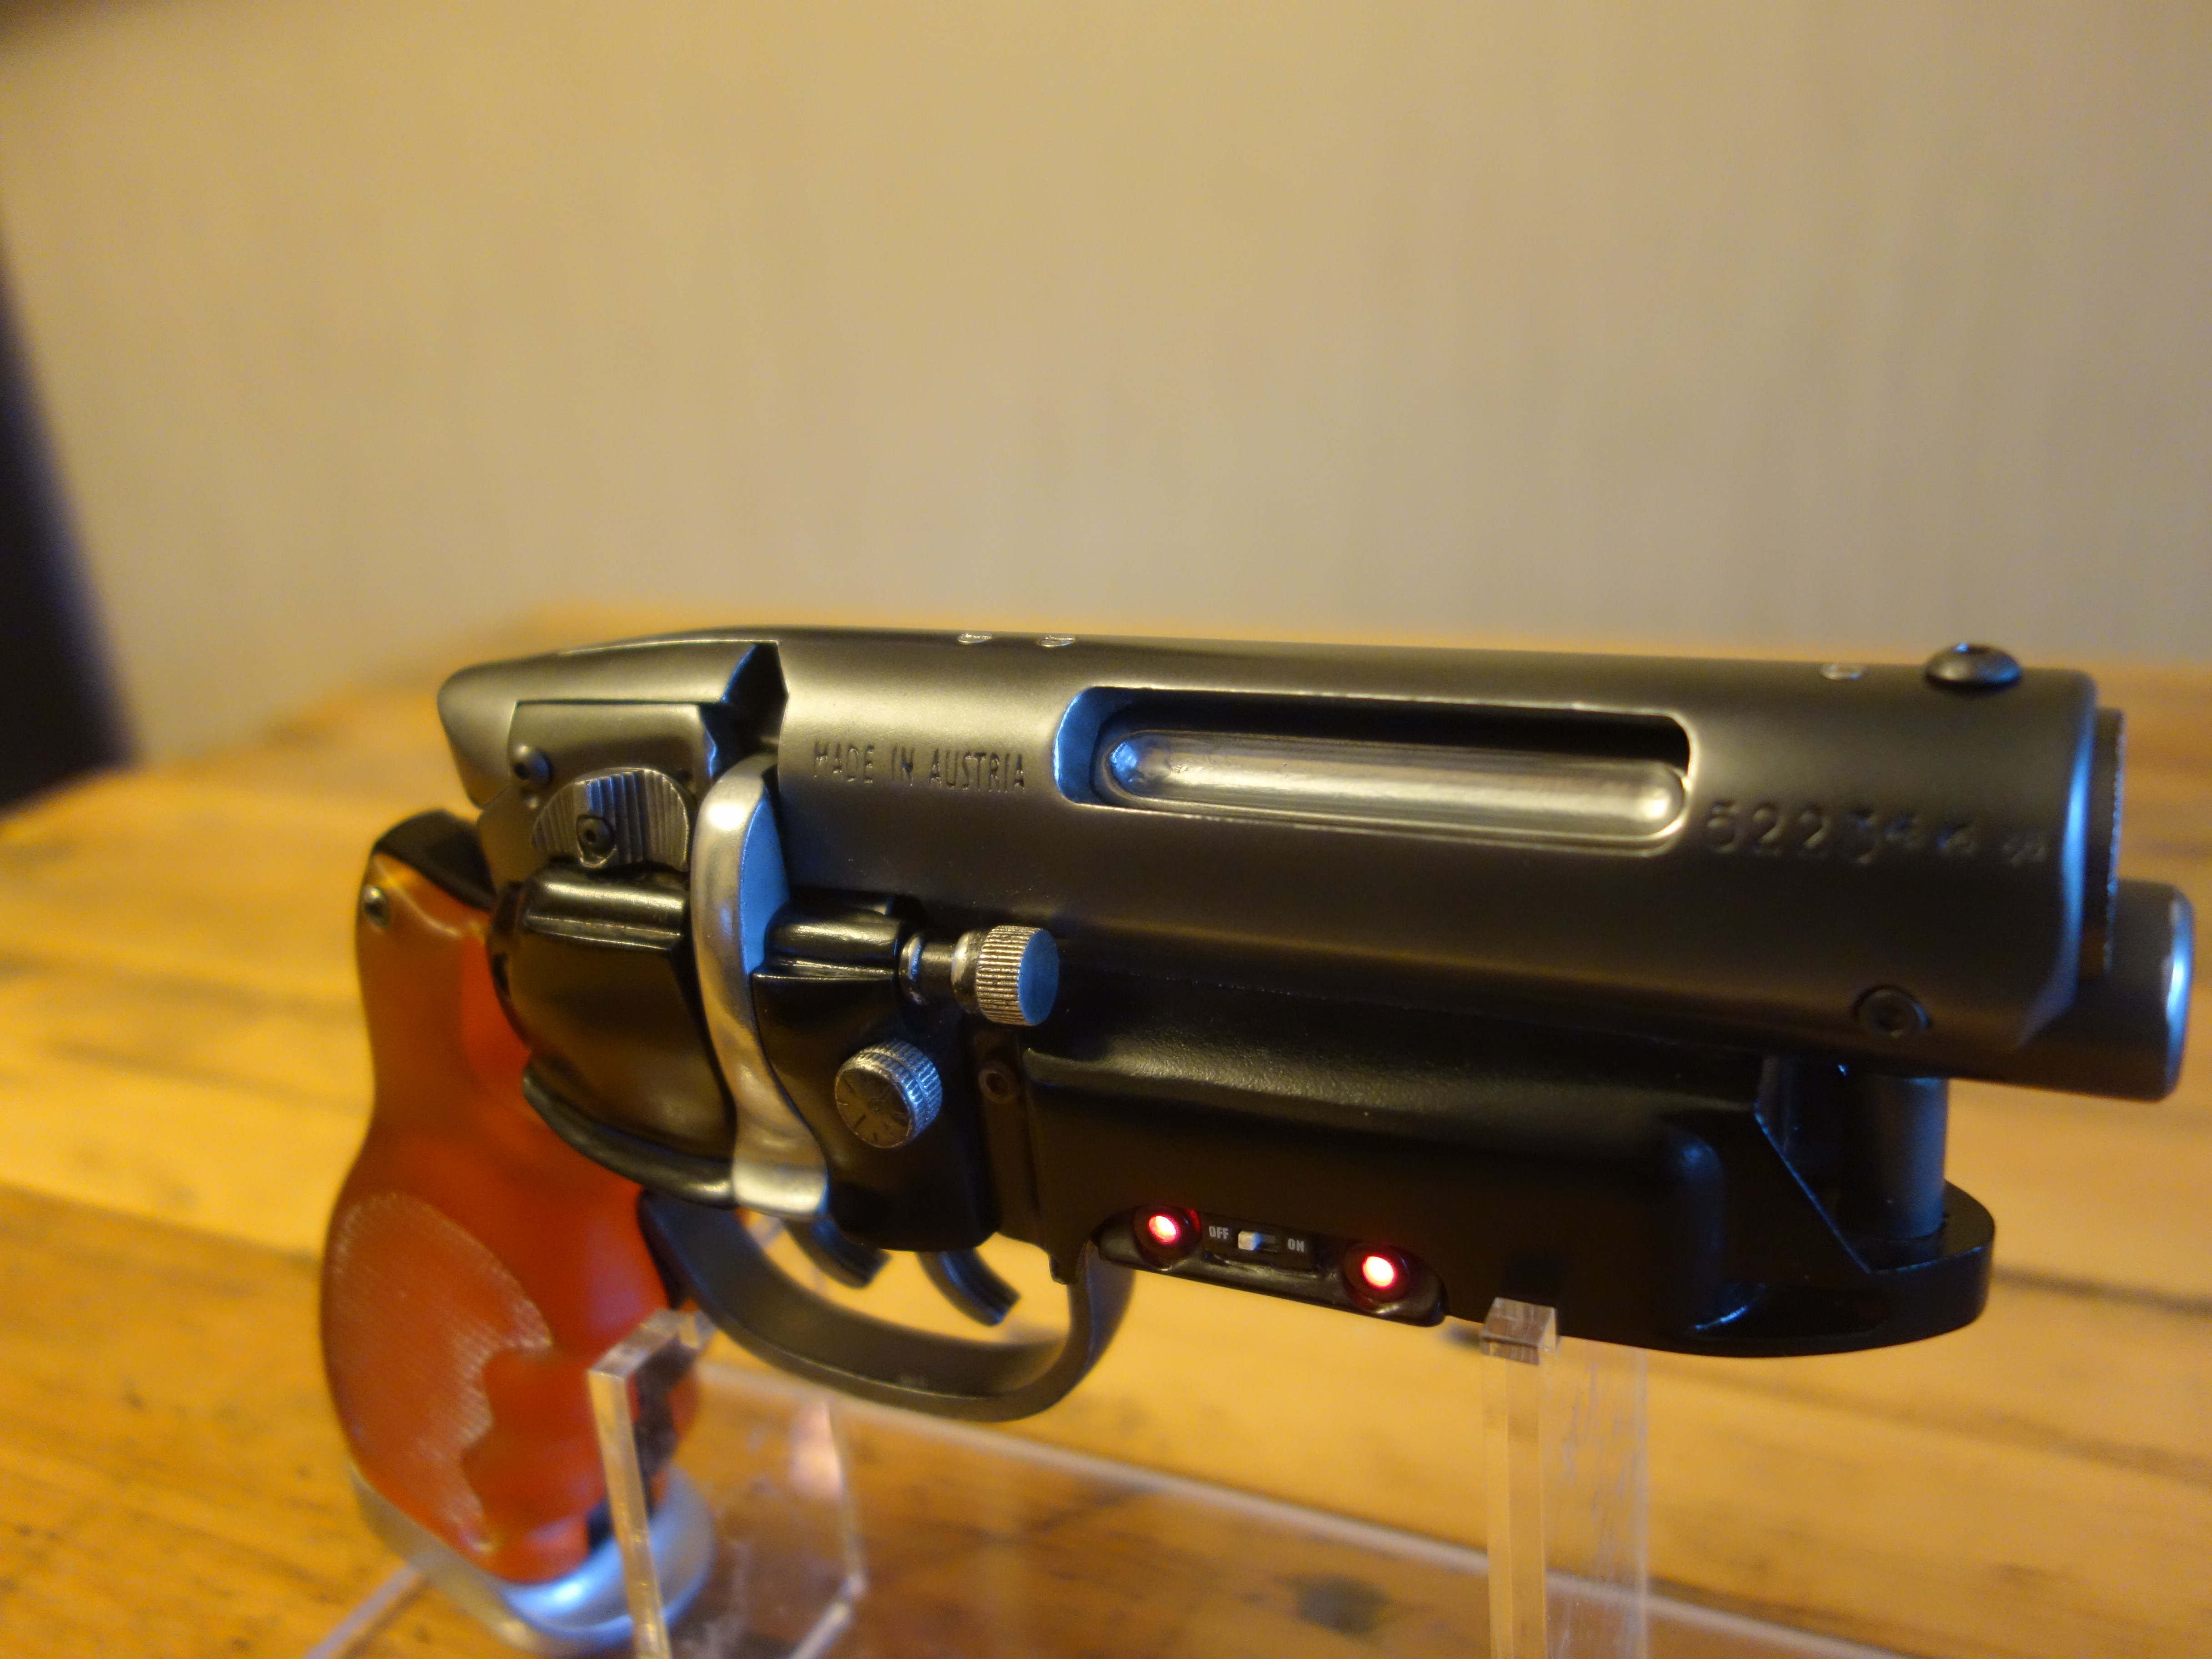
Calling all Blade Runner Blaster Fans... (lots of pics)

00fil00

Member
Hi guys,

I've only posted a few times on here and have been getting into 1:1 movie props. I bought the holy grail: a blade runner blaster but kept it quiet because it was 3D printed and I thought nobody would want to hear about it here as it was a "lower class" compared to a Tomenosuke. The blaster is very detailed and a high end 3D print, but the finish was rough in areas and the paint looked flat and plastic.

I contacted a member on here, Nusilver, to hire to repaint it after I saw his own paintjob. He pleasantly shocked me in practically turning down the money and encouraged me to try it myself. This encouraged me and I have been working on this on and off for months and I would like your guys' opinions on what finishing touches I could add to improve the final finish.

Things done:
  1. Sanded smooth all metallic parts
  2. Gone for a matt/sandblasted/oxidised worn magnesium sort of look with Alclad magnesium. (old, dusty, and faded, but cared for and not too beaten up)
  3. Added lead bullets to add weight and realism.
  4. Added burnt sienna chalk scrapings to give a Las Vegas desert weathering.
  5. Rub n' buff detailing round edges all over.
  6. Rub n' buff over Alclad aluminium for handle butt, inner ejection port, and rifle ejection lever.
  7. Drilled barrel deeper so doesn't look blocked.
  8. Replaced the weavel/other knob with real metal pewter cast ones to give weight and real metallic detailing.

Things still to do:
  1. Triggers and trigger guards still haven't been started yet (need smoothed, painted, and rub n' buff detailed)
  2. I can't get the handle grips glassy clear: one is ok but that's because I used shoe polish wax - which rubs off and is messy! The other is sanded to grit 3000 and still cloudy. Not sure how to make them glass-like.
  3. Can't decide if I like the shiny silver metal rifle lever. I had it the same as the body colour before but it seemed a bit boring and uninteresting with the barrel, body, and lever all the same colour. This makes it interesting but I'm not sure if it matches.
 
Last edited:
dust2.JPG
Triggers not done and Las Vegas desert dust weathering

dust.JPG
Nevada dust weathering from 2049

trigger guard.JPG
Paint as it was before, seen on guard

DSC01661.JPG

DSC01657.JPG
Body/receiver lifts and slides open

DSC01656.JPG
Pewter knobs

DSC01653.JPG
1st person

DSC01648.JPG
 
Last edited:
You've done a terrific cleanup and paint job. One of the best finished prints I've seen!
Whilst not acurate I do like the colour of the leaver.
Are the grips self coloured resin? If so you could try polishing them using a liquid metal polish. Here in the UK I'd use Brasso.
 
I am literally heading out the door to go have our baby, but I had to pop in quickly to say: holy God, man, that is an incredible blaster! Your work is first class and you should be incredibly proud of what you’ve done so for.
 
You've done a terrific cleanup and paint job. One of the best finished prints I've seen!
Whilst not acurate I do like the colour of the leaver.
Are the grips self coloured resin? If so you could try polishing them using a liquid metal polish. Here in the UK I'd use Brasso.
Thanks so much for your kind words! That really made my day. I had never airbrushed before so it's brilliant to know what you guys think - sometimes if you stare at a project too long your eyes play tricks!
I actually bought Brasso just for that reason but it didn't seem to help, not sure what's going on.

As an added bonus reel, here is the blaster in my 1st cramped Detolf case! I built a bench that fits exactly 4 Detolfs. Excuse the LED wiring etc in the background: work in progress!

DSC01666.JPG

fh.JPG
idol.JPG
DSC01675.JPG
DSC01677.JPG
 
Last edited:
I am literally heading out the door to go have our baby, but I had to pop in quickly to say: holy God, man, that is an incredible blaster! Your work is first class and you should be incredibly proud of what you’ve done so for.
Cheers mate! REALLY appreciate you taking the time.. but you're wife's gonna KILL you!! Haha. Go have that baby!
 
Am I allowed to link on here? It's an ETSY seller from Estonia. Here's a censored pic because I'm not sure about the rules. Let me know if this isn't allowed and I'll remove it. Gives you an idea of what it was like before the repaint too; which wasn't half bad btw! Just needed a tidy up and a boost.
Screen Shot 2018-11-19 at 16.19.30.png
 
It is hard to believe that's a 3D print. You've done such a great paint job!
AWESOME paint job! Could you walk us through the process just a pinch?
 
It is hard to believe that's a 3D print. You've done such a great paint job!
AWESOME paint job! Could you walk us through the process just a pinch?
Sure! Let me try and coordinate my thoughts:
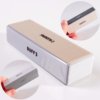
  1. Disassemble, take out all screws, and sand plastic parts from 800 - 2000 grit. I actually used a 800 grit sponge block (see below) to start with instead of sandpaper as it will sink into the model like a mattress and around the corners and give an even grind instead of grinding harsher where your fingertips hold - not as important for the lighter grits. Don't use a whole sandpaper sheet; it's cumbersome and won't contour and wrap the curves well - rip a piece like the size of 2 fingers. Wet the paper and the model piece to let it slide better and to stop gunking up the grit. Do one part at a time and not the whole gun. Stop and wash after each grit. Wet next grit and repeat.
  2. sponge.jpg
  3. Prime with matt grey automotive paint if you want, I'm not sure it makes much difference. I did some parts primed and others just straight onto the black and I can't tell the difference. Maybe primer gives a more even colour in the end? Not sure.
  4. Spray with a glossy black paint. I watched a tutorial that shows the first coat is a powder light coat, and then after a few minutes you go over it with a thick wet coat so that it looks thick, shiny, even, and wet. Leave for a 12 hours to dry or it will be like a putty and collect fingerprints and ruin it. Back to sanding if you touch it here.
  5. I've not seen anyone do this before but maybe this made a difference: I actually picked up the model pieces from the underside and buffed the black wet coat after a few hours when it was still a hard gel with a crazy soft nail buffer on it's softest setting "4" as seen below. This took the shine down a bit but also smoothed the coat ripples to a metal smooth finish. I figured I didn't really want a shiny magnesium anyway. Only hold the pieces from the underside or you'll get fingerprints in the hard gel. It's like quicksand at this point, if you hold it firmly over a time you'll get imprints of fingerprints but moving quickly over it with a soft pad and it acts like solid and moves the surface to a flattness easier as it's not fully hard yet. Buff it like a shoe and in a circular motion.
  6. nail.jpg
  7. Spray Alclad magnesium on a very light spray at about 15psi and move back and forth in long strokes. Once you have the desired tone with 2 or 3 coats, spray more long strokes over the following areas: holes, printed words, and around the edges to give a faded metal look and trick of subtle highlights. The more coats of magnesium you give it the more silvery lighter it gets. Make it subtle and very light coats and don't overdo this: it took me 3 repaints to get no mistakes! if you highlight a spot too much you can't go back and darken, it'll look patchy.
  8. I found my finger was too big for rub n' buff detailing as you want it to be very subtle and delicate around the crisp edges; just enough to catch the light. I took a cocktail stick and shoved it into the rub n' buff tube. wipe off the excess and run the cocktail stick edge around the edges of the model. Carefully rub your finger along the edge to set and smooth it.
  9. See where the big slide hole is? When you rub n buff the left and right of that hole, pull and stretch and fade the rub n buff off to the sides to make it look like faded metal. That really sells it as metal.
  10. I actually heard that a grey undercoat makes alclad aluminium shine brighter. I tried a black undercoat and it was too dark, more like fake plastic-chrome. Wanted bright aluminium but slightly faded with age. Recoated with grey primer, polish, alclad aluminium, polish with nail buffer, and then Rub n buff the handle butt and lever and keep polishing with your finger to bring out a shine. A tip I learnt from the working world and work shoes - the best possible shine you can get when polishing your shoes is to wax, and then buff briskly with a brush or cloth, and then finally buff with tights or stockings! That nylon mesh type of material almost melts the surface and produces the best possible shine... so I shined the rub n buff with my fiance's tights! (I hope she never reads this).
  11. Knobs are just real pewter castings, sanded and polished, painted, and then scratch off the paint with your fingernails to reveal the shine underneath.
  12. Forgot to say: you can use the nail buffer on setting 4 at the end on the magnesium paint coat and you'll get a crazy shine. I opted to keep a matt oxidised look as I thought it may look more realistic.
That's about it. There's not that much to it, just the right tool, patience, and don't be afraid to try stuff and make mistakes! I've learned a lot from this and I've also learnt what doesn't matter as much so not to fuss too long at those stages (primer, undercoat - buffing these will hide many mistakes). Let me know if you want anything explained further. Sorry I didn't take pics as I went along, but I didn't really know what I was doing so I didn't want to document all the dead-ends.
 
Last edited:
Awesome tutorial as well. Thank you soooooooo much.....
I honestly think sanding, and step 5 made the most difference, it has to be perfectly flat to be believable. Any wobble or roughness in the surface and it looks plastic. Really recommend those blocks and nail files over sanding sheets. You cover a lot more area with a block and more uniformly, it's easier to hold and work with, and that nail polish block is a strange texture that's not a grit, more like a woven mesh of nylon that really seems to make a shine.
 
Epic work. 3d prints always have their challenges to make look good. However you knocked it out the park.

Display it proudly, sir.
 
Hey guys. I am new to this forum and have a question, hoping someone can help...
I am currently creating a BladeRunner blaster (a model kit I got from etsy) which is quite realistic except (annoyingly) the debossed lettering on teh barrel which I may fill and file down and reproduce at some point. But, nevertheless, it has been a childhood dream to own one and this is the affordable way I could do it. I am in the process of painting it and have come to the finishing/detailing. I am making it look like the ctual prop as opposed to the gun in the film so am paying attentio to rust and weathering etc...
So, my question is to create a sheen on the barrel (I have sprayed it with acrylic metallic spray on top of another metallic on top of a primer) - can I use wet and dry?
Huge thread - sorry... all and any help greatly appreciated... thanks

Nick.
 
Last edited by a moderator:
Hey guys. I am new to this forum and have a question, hoping someone can help...
I am currently creating a BladeRunner blaster (a model kit I got from etsy) which is quite realistic except (annoyingly) the debossed lettering on teh barrel which I may fill and file down and reproduce at some point. But, nevertheless, it has been a childhood dream to own one and this is the affordable way I could do it. I am in the process of painting it and have come to the finishing/detailing. I am making it look like the ctual prop as opposed to the gun in the film so am paying attentio to rust and weathering etc...
So, my question is to create a sheen on the barrel (I have sprayed it with acrylic metallic spray on top of another metallic on top of a primer) - can I use wet and dry?
Huge thread - sorry... all and any help greatly appreciated... thanks

Nick.

Hi Nick,

Can you describe what you mean by "sheen" on the barrel a bit more? I don't think you can make a metallic paint shinier than what it was designed for. I could be wrong but I think wet and dry sanding will only smooth it. You could try it on the part of the barrel that's usually covered and see if it improves it? Either that or put a glossy clear coat over the top to add reflectivity? but the best bet is to use a metallic paint that is realistic and buffable.
 
This thread is more than 5 years old.

Your message may be considered spam for the following reasons:

  1. This thread hasn't been active in some time. A new post in this thread might not contribute constructively to this discussion after so long.
If you wish to reply despite these issues, check the box below before replying.
Be aware that malicious compliance may result in more severe penalties.
Back
Top