Hi guys,
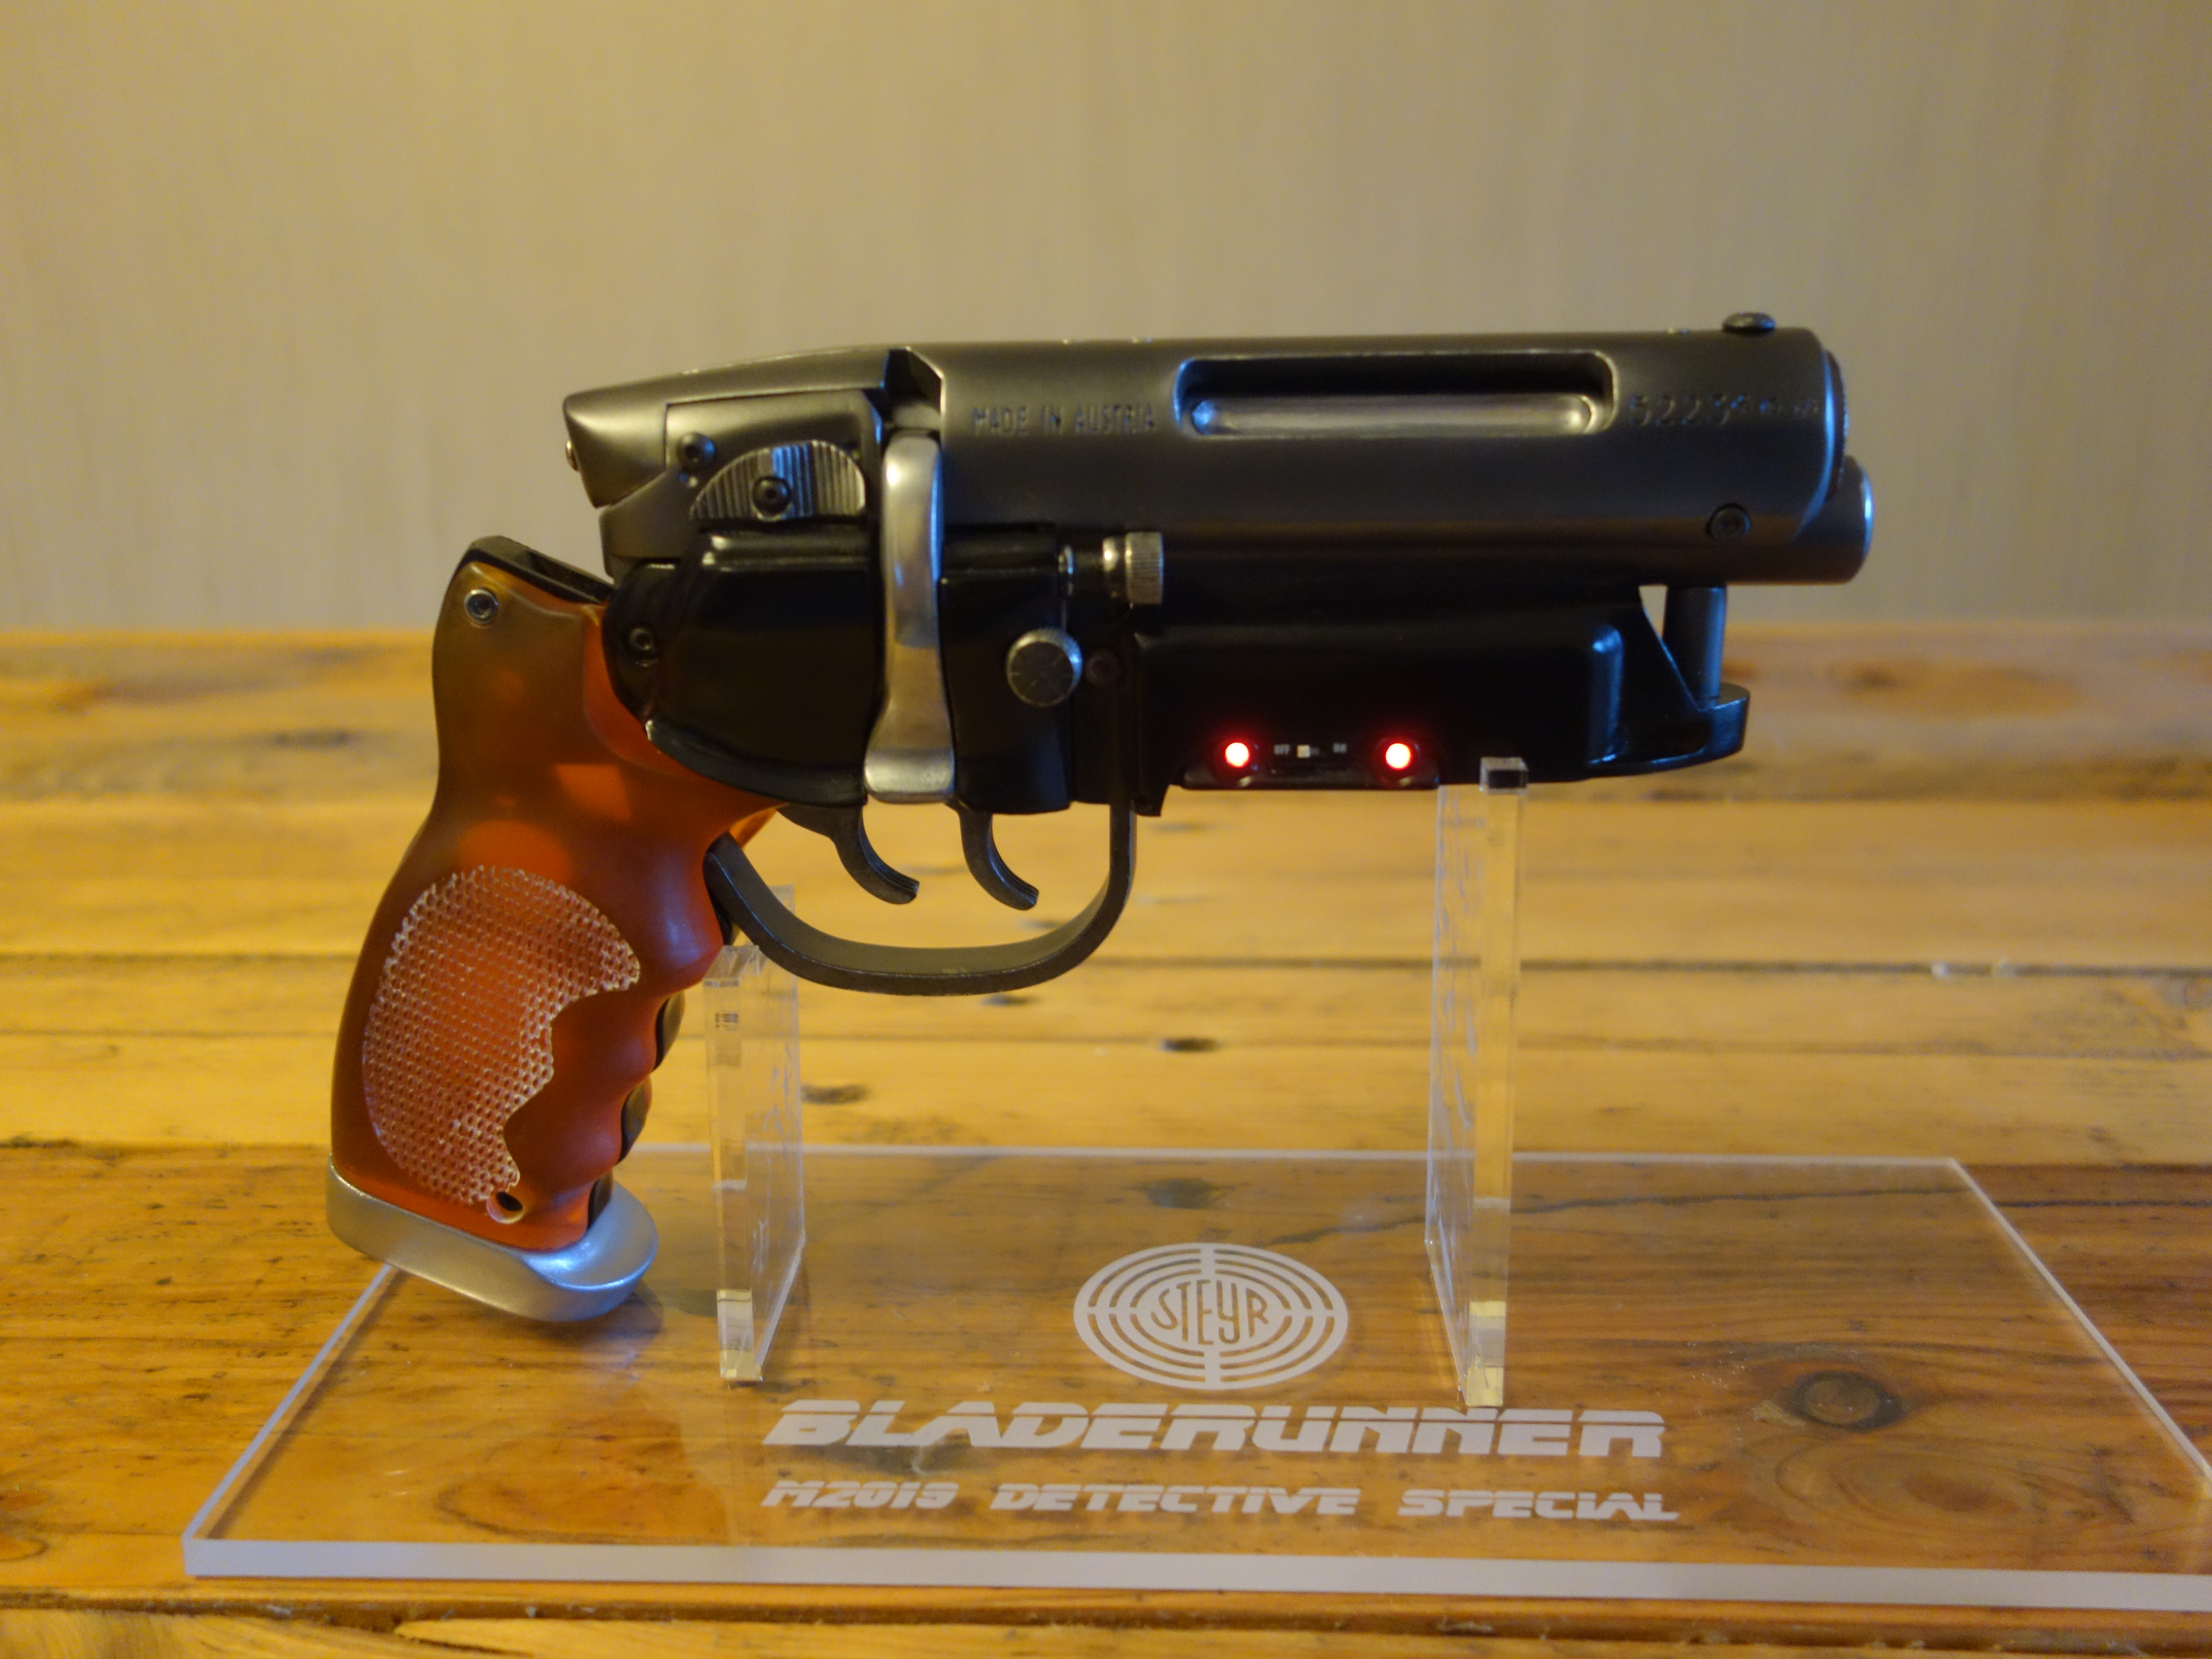
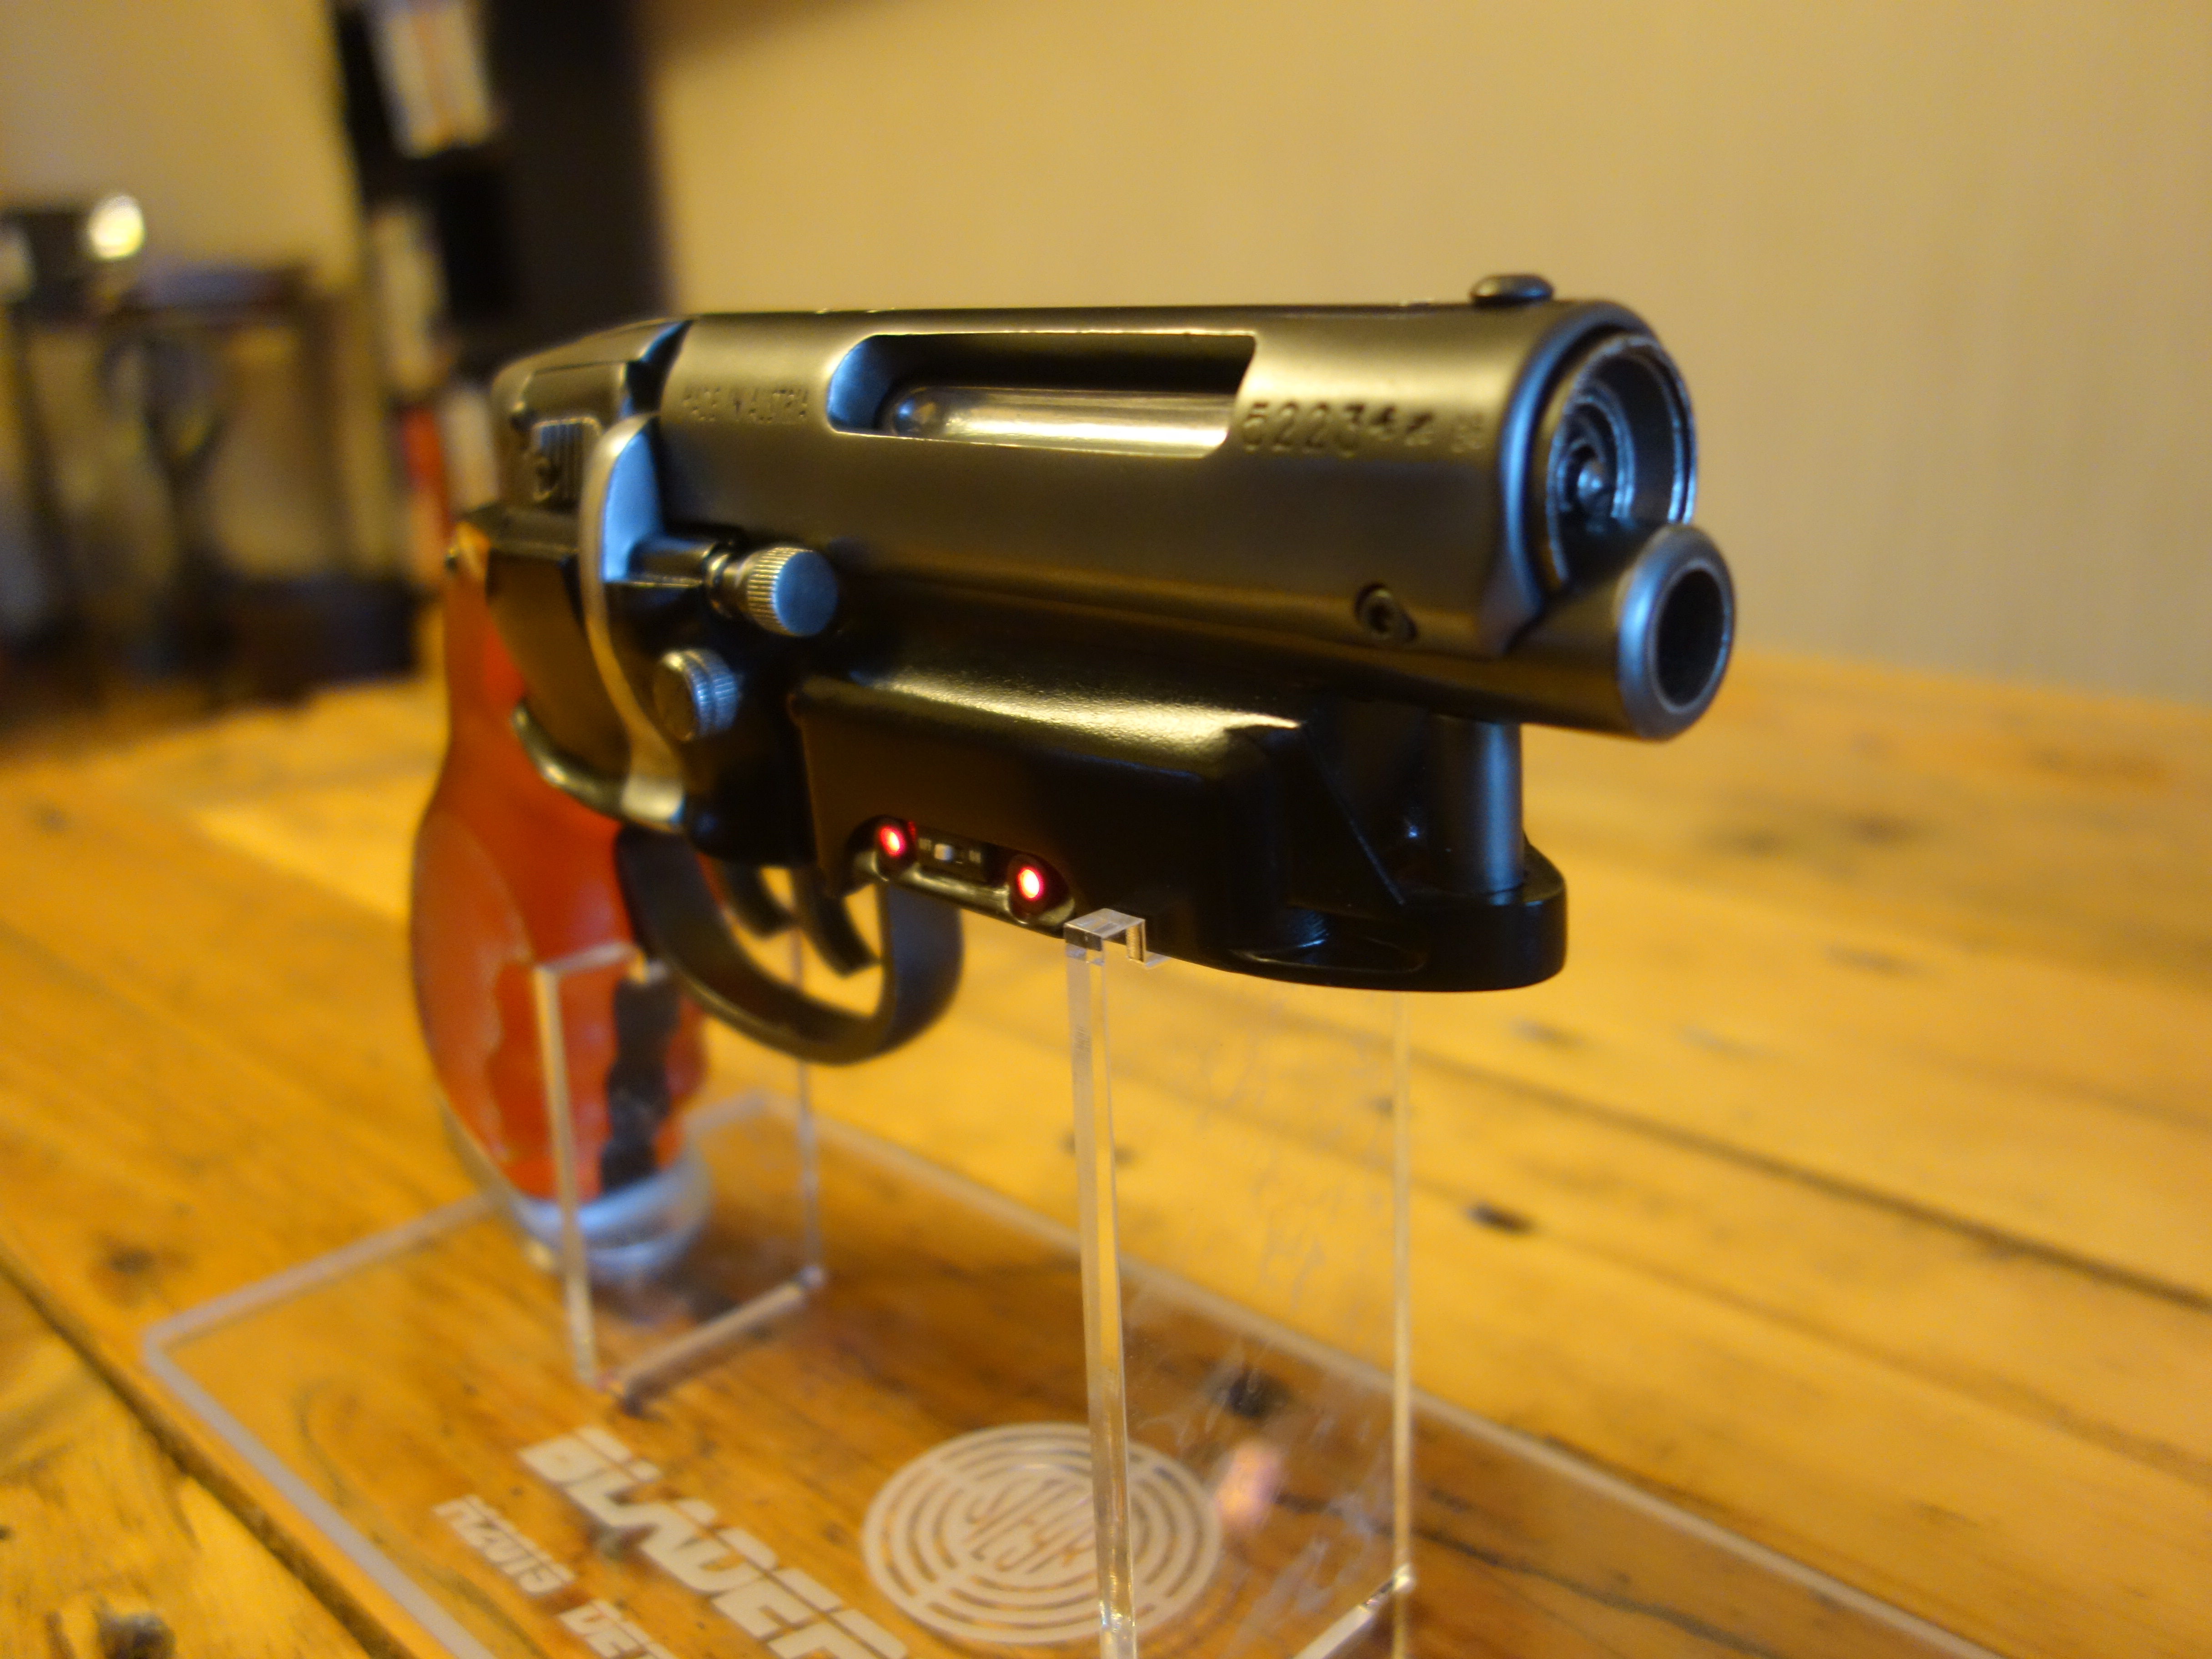
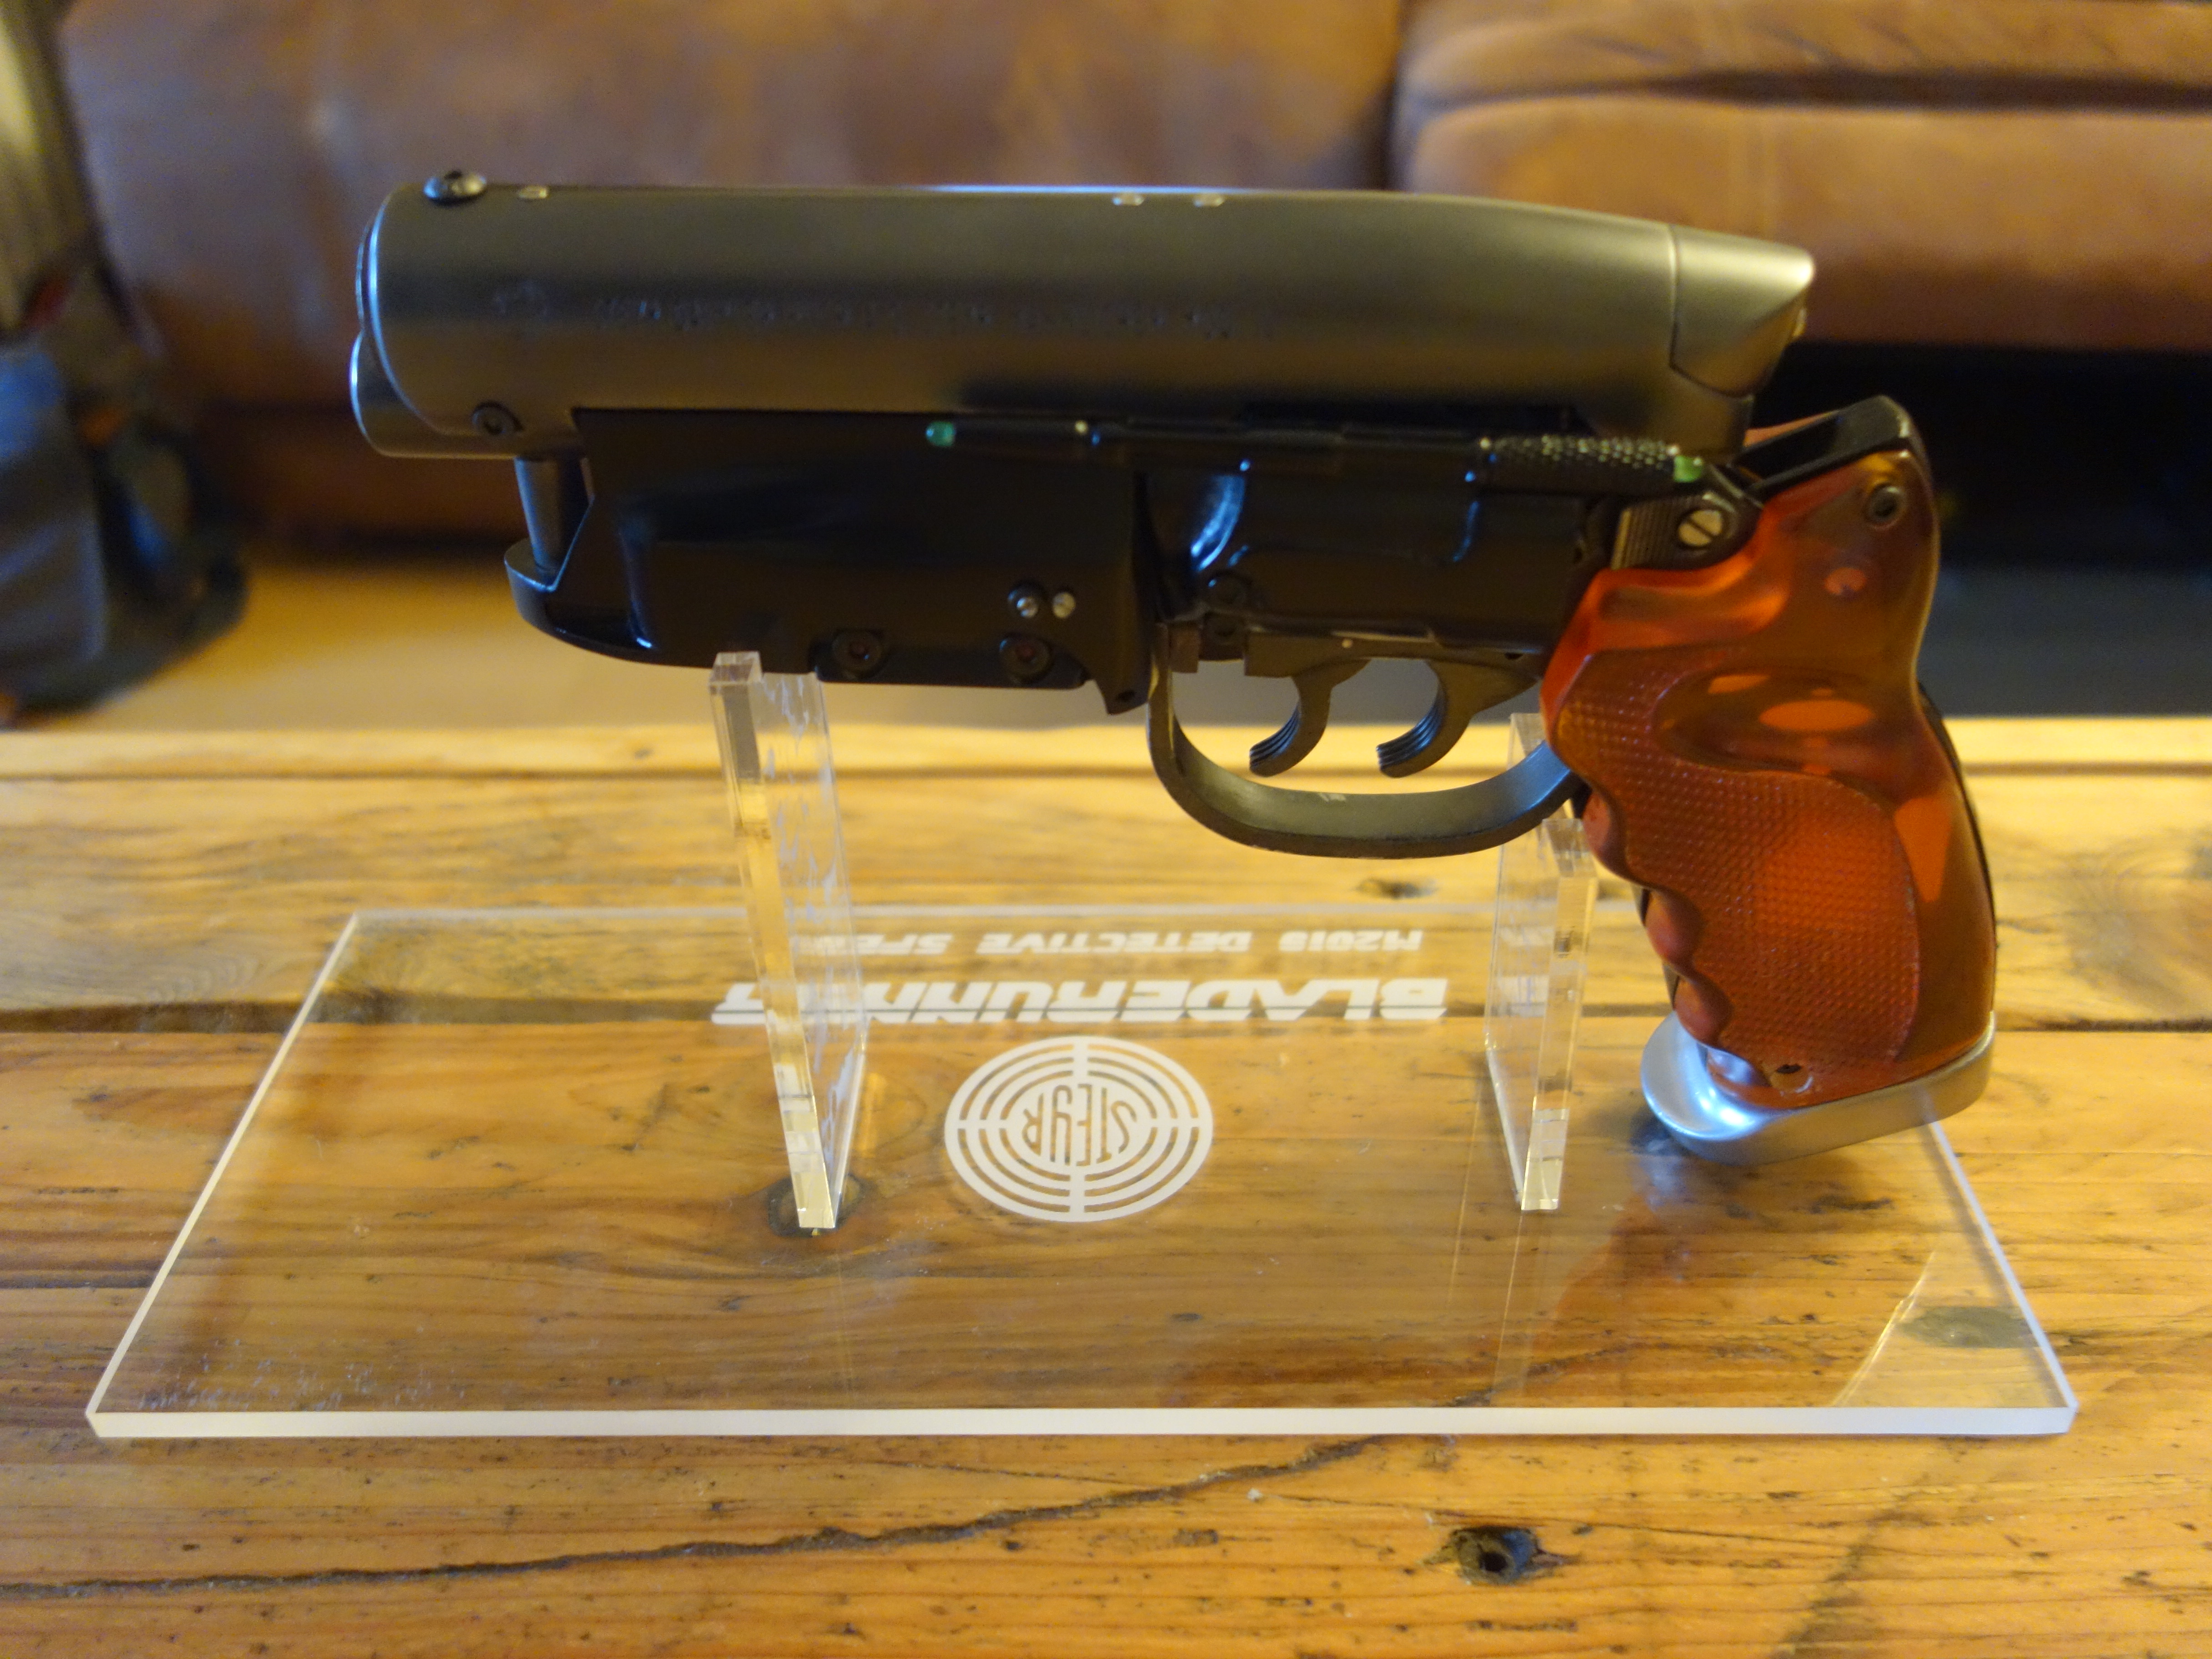
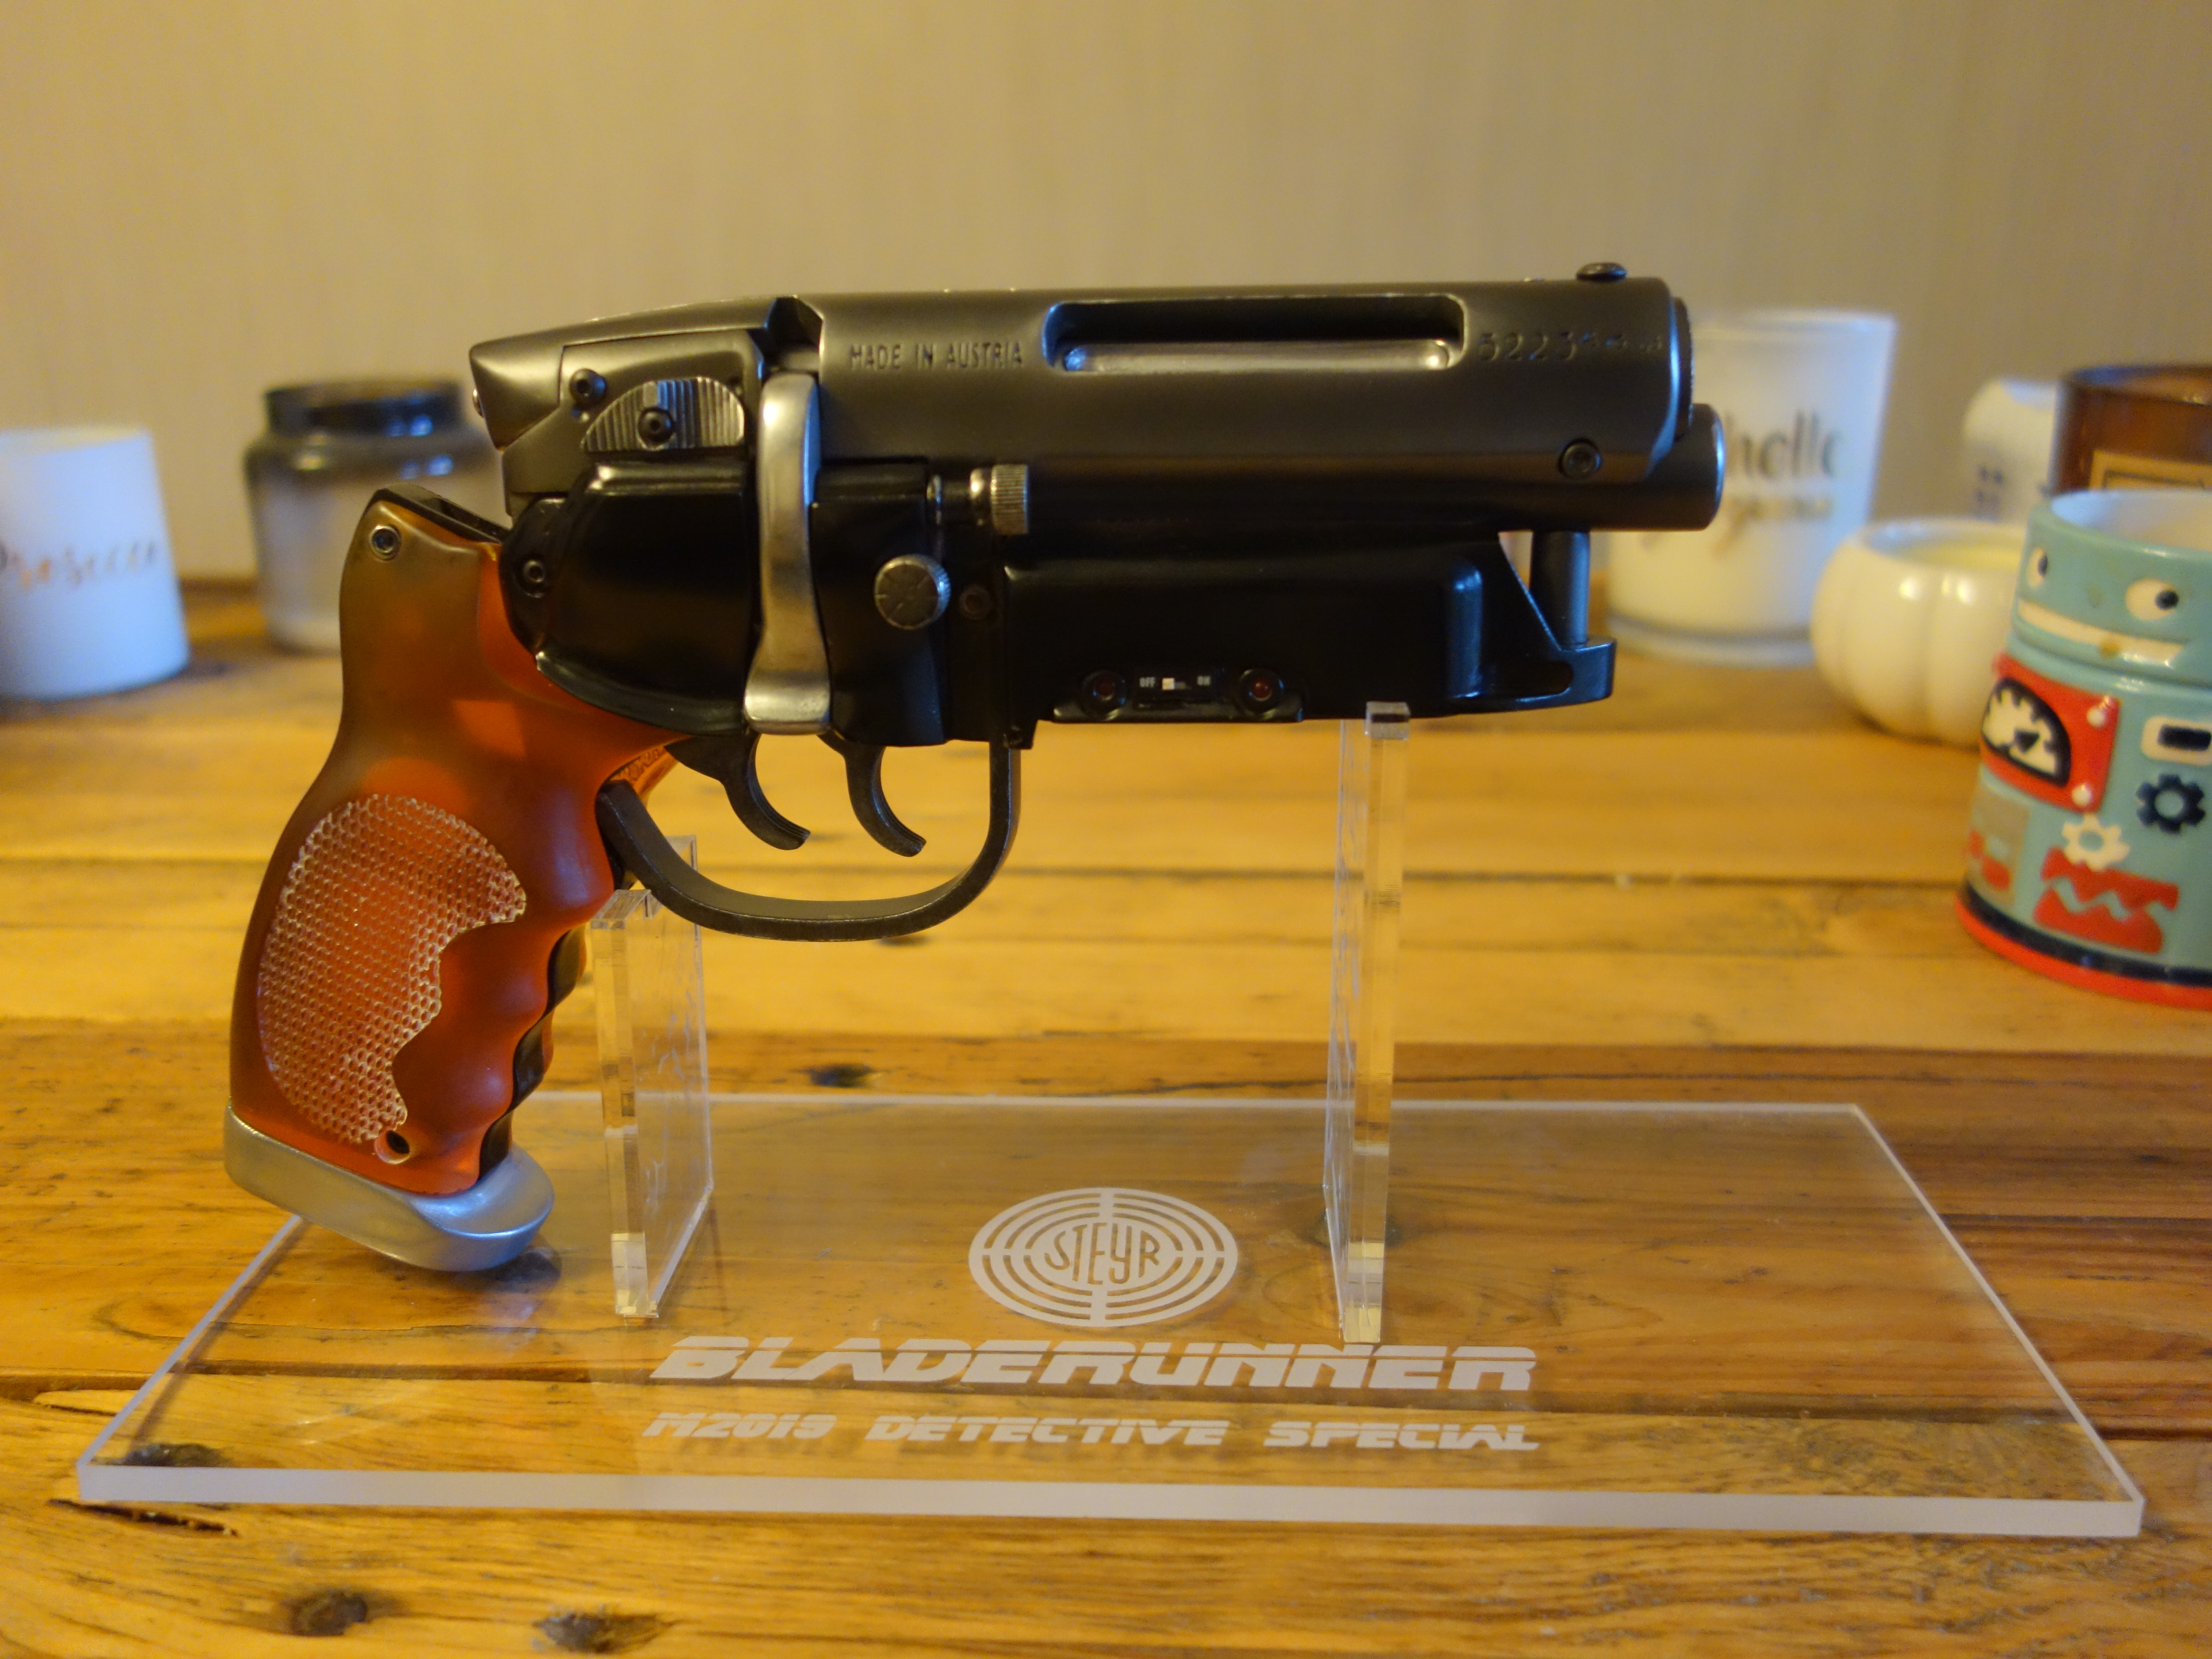
I've only posted a few times on here and have been getting into 1:1 movie props. I bought the holy grail: a blade runner blaster but kept it quiet because it was 3D printed and I thought nobody would want to hear about it here as it was a "lower class" compared to a Tomenosuke. The blaster is very detailed and a high end 3D print, but the finish was rough in areas and the paint looked flat and plastic.
I contacted a member on here, Nusilver, to hire to repaint it after I saw his own paintjob. He pleasantly shocked me in practically turning down the money and encouraged me to try it myself. This encouraged me and I have been working on this on and off for months and I would like your guys' opinions on what finishing touches I could add to improve the final finish.
Things done:
Things still to do:
I've only posted a few times on here and have been getting into 1:1 movie props. I bought the holy grail: a blade runner blaster but kept it quiet because it was 3D printed and I thought nobody would want to hear about it here as it was a "lower class" compared to a Tomenosuke. The blaster is very detailed and a high end 3D print, but the finish was rough in areas and the paint looked flat and plastic.
I contacted a member on here, Nusilver, to hire to repaint it after I saw his own paintjob. He pleasantly shocked me in practically turning down the money and encouraged me to try it myself. This encouraged me and I have been working on this on and off for months and I would like your guys' opinions on what finishing touches I could add to improve the final finish.
Things done:
- Sanded smooth all metallic parts
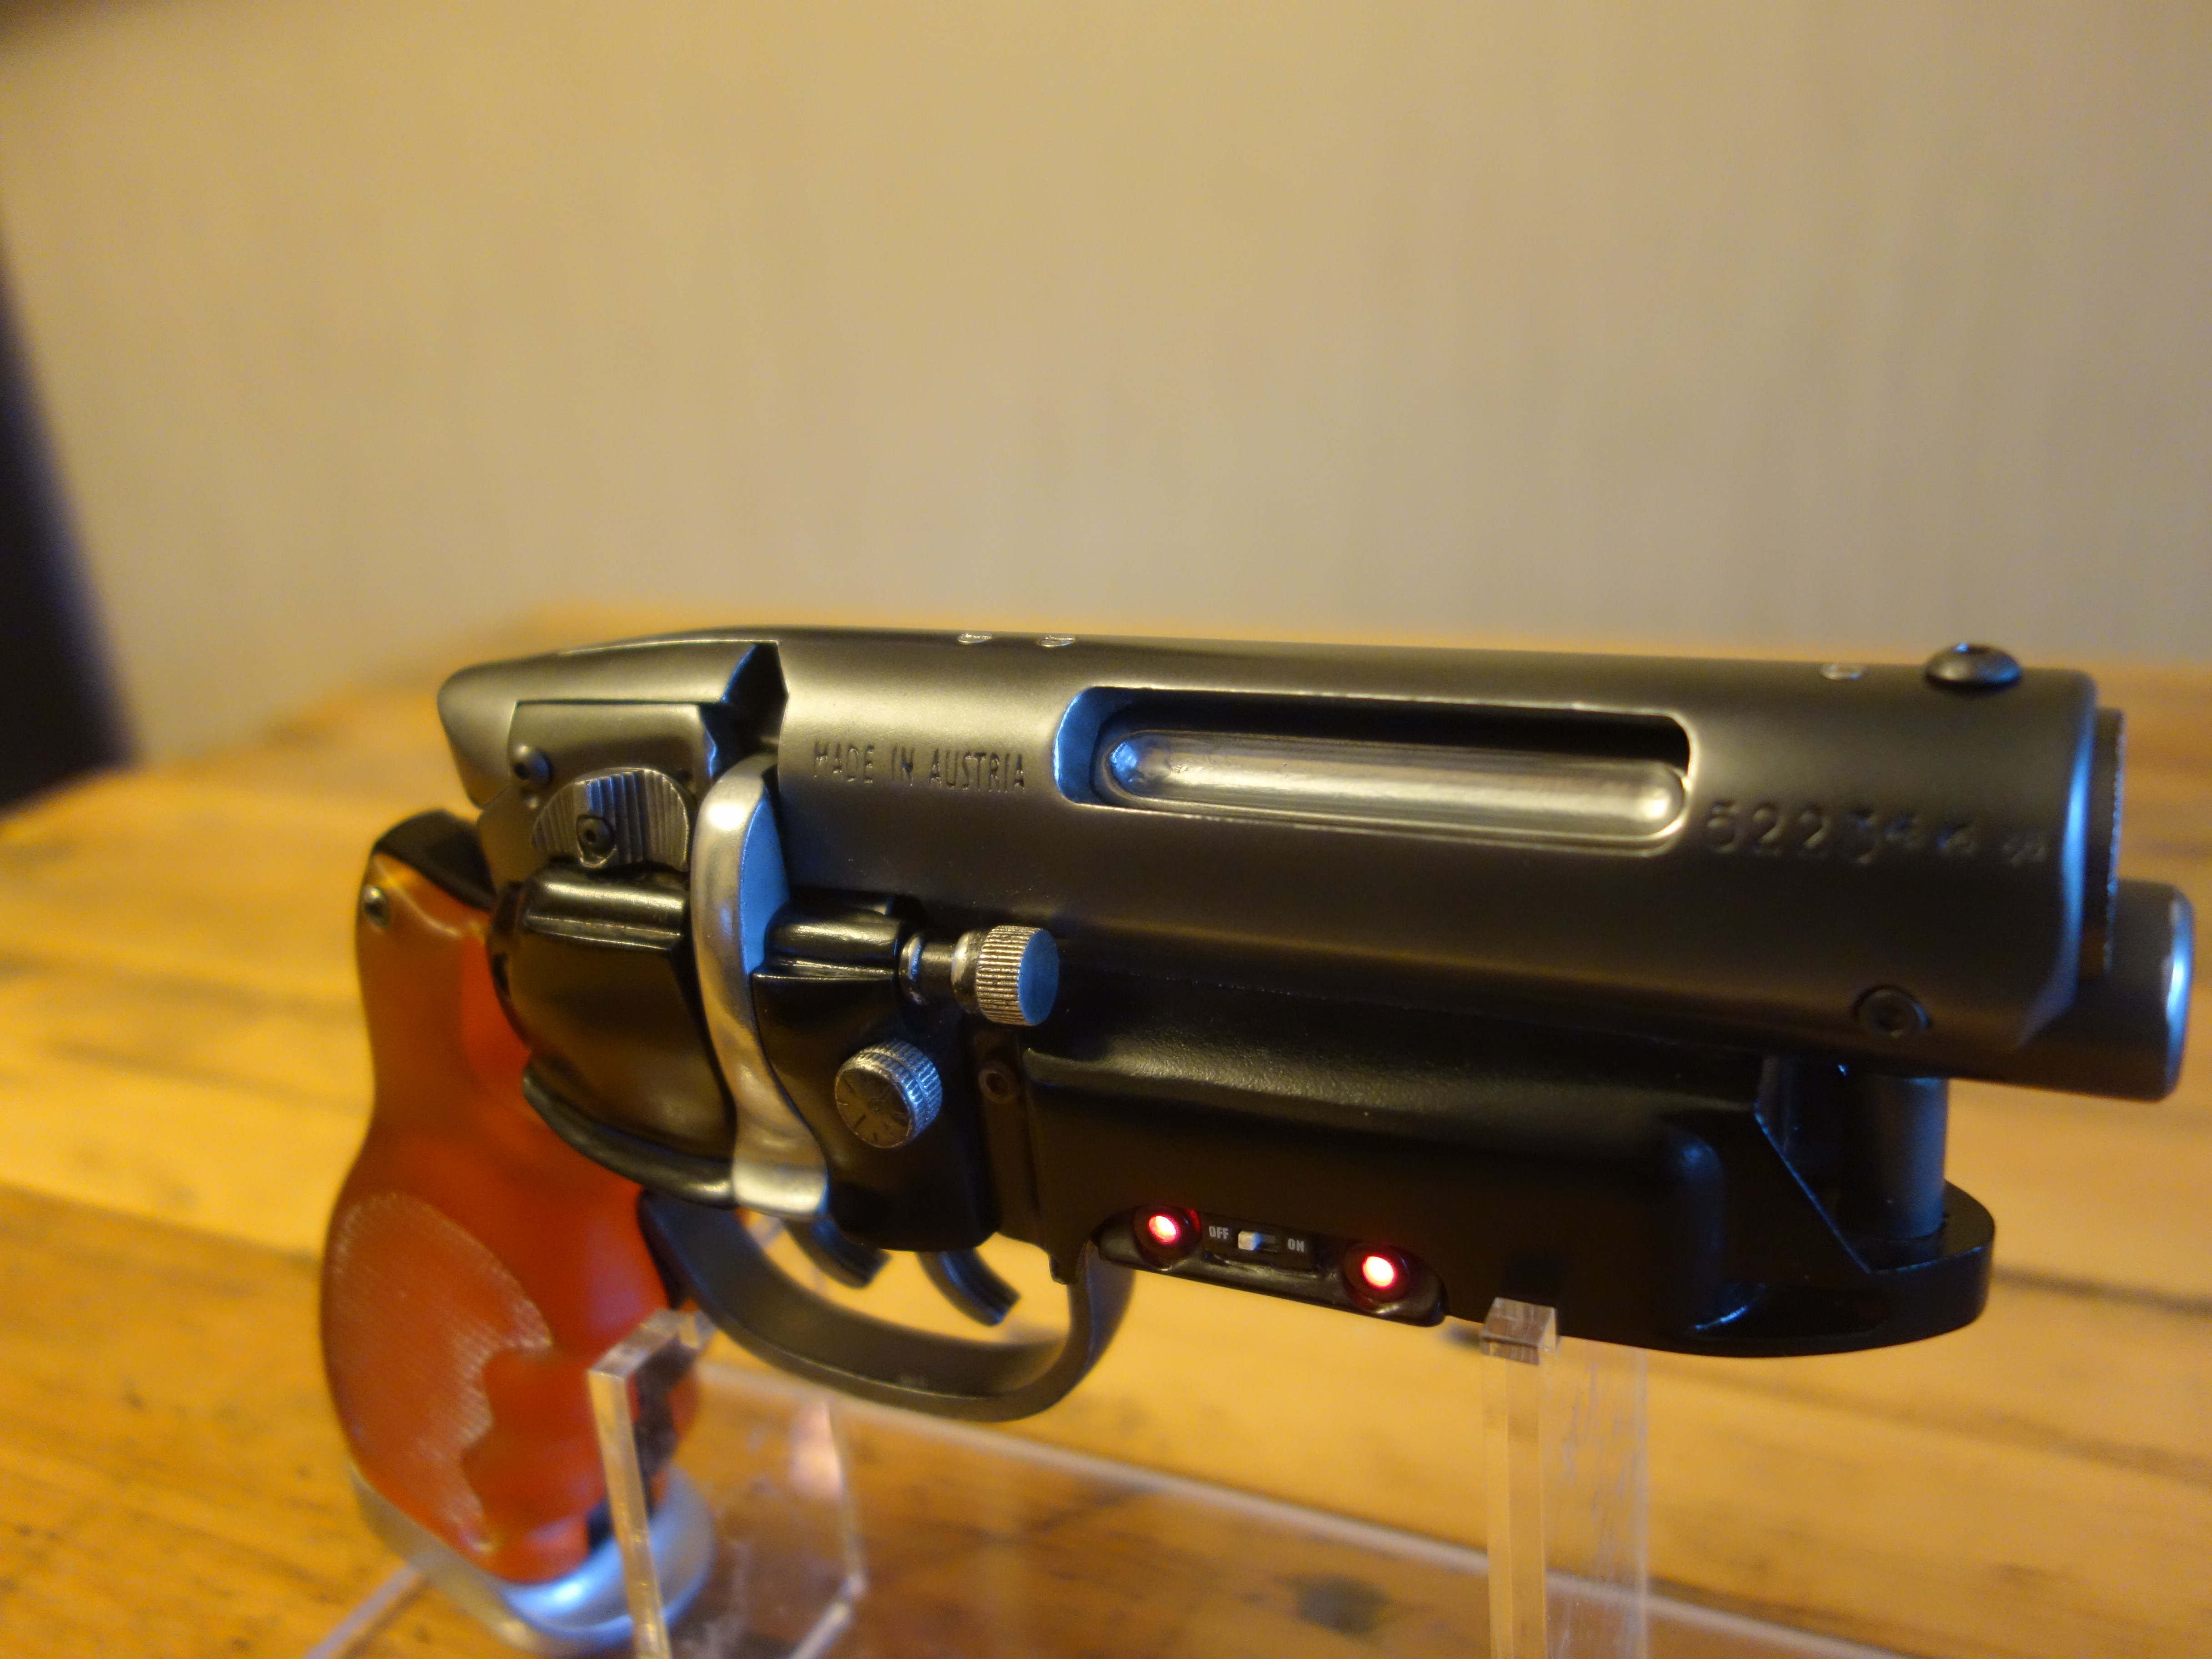
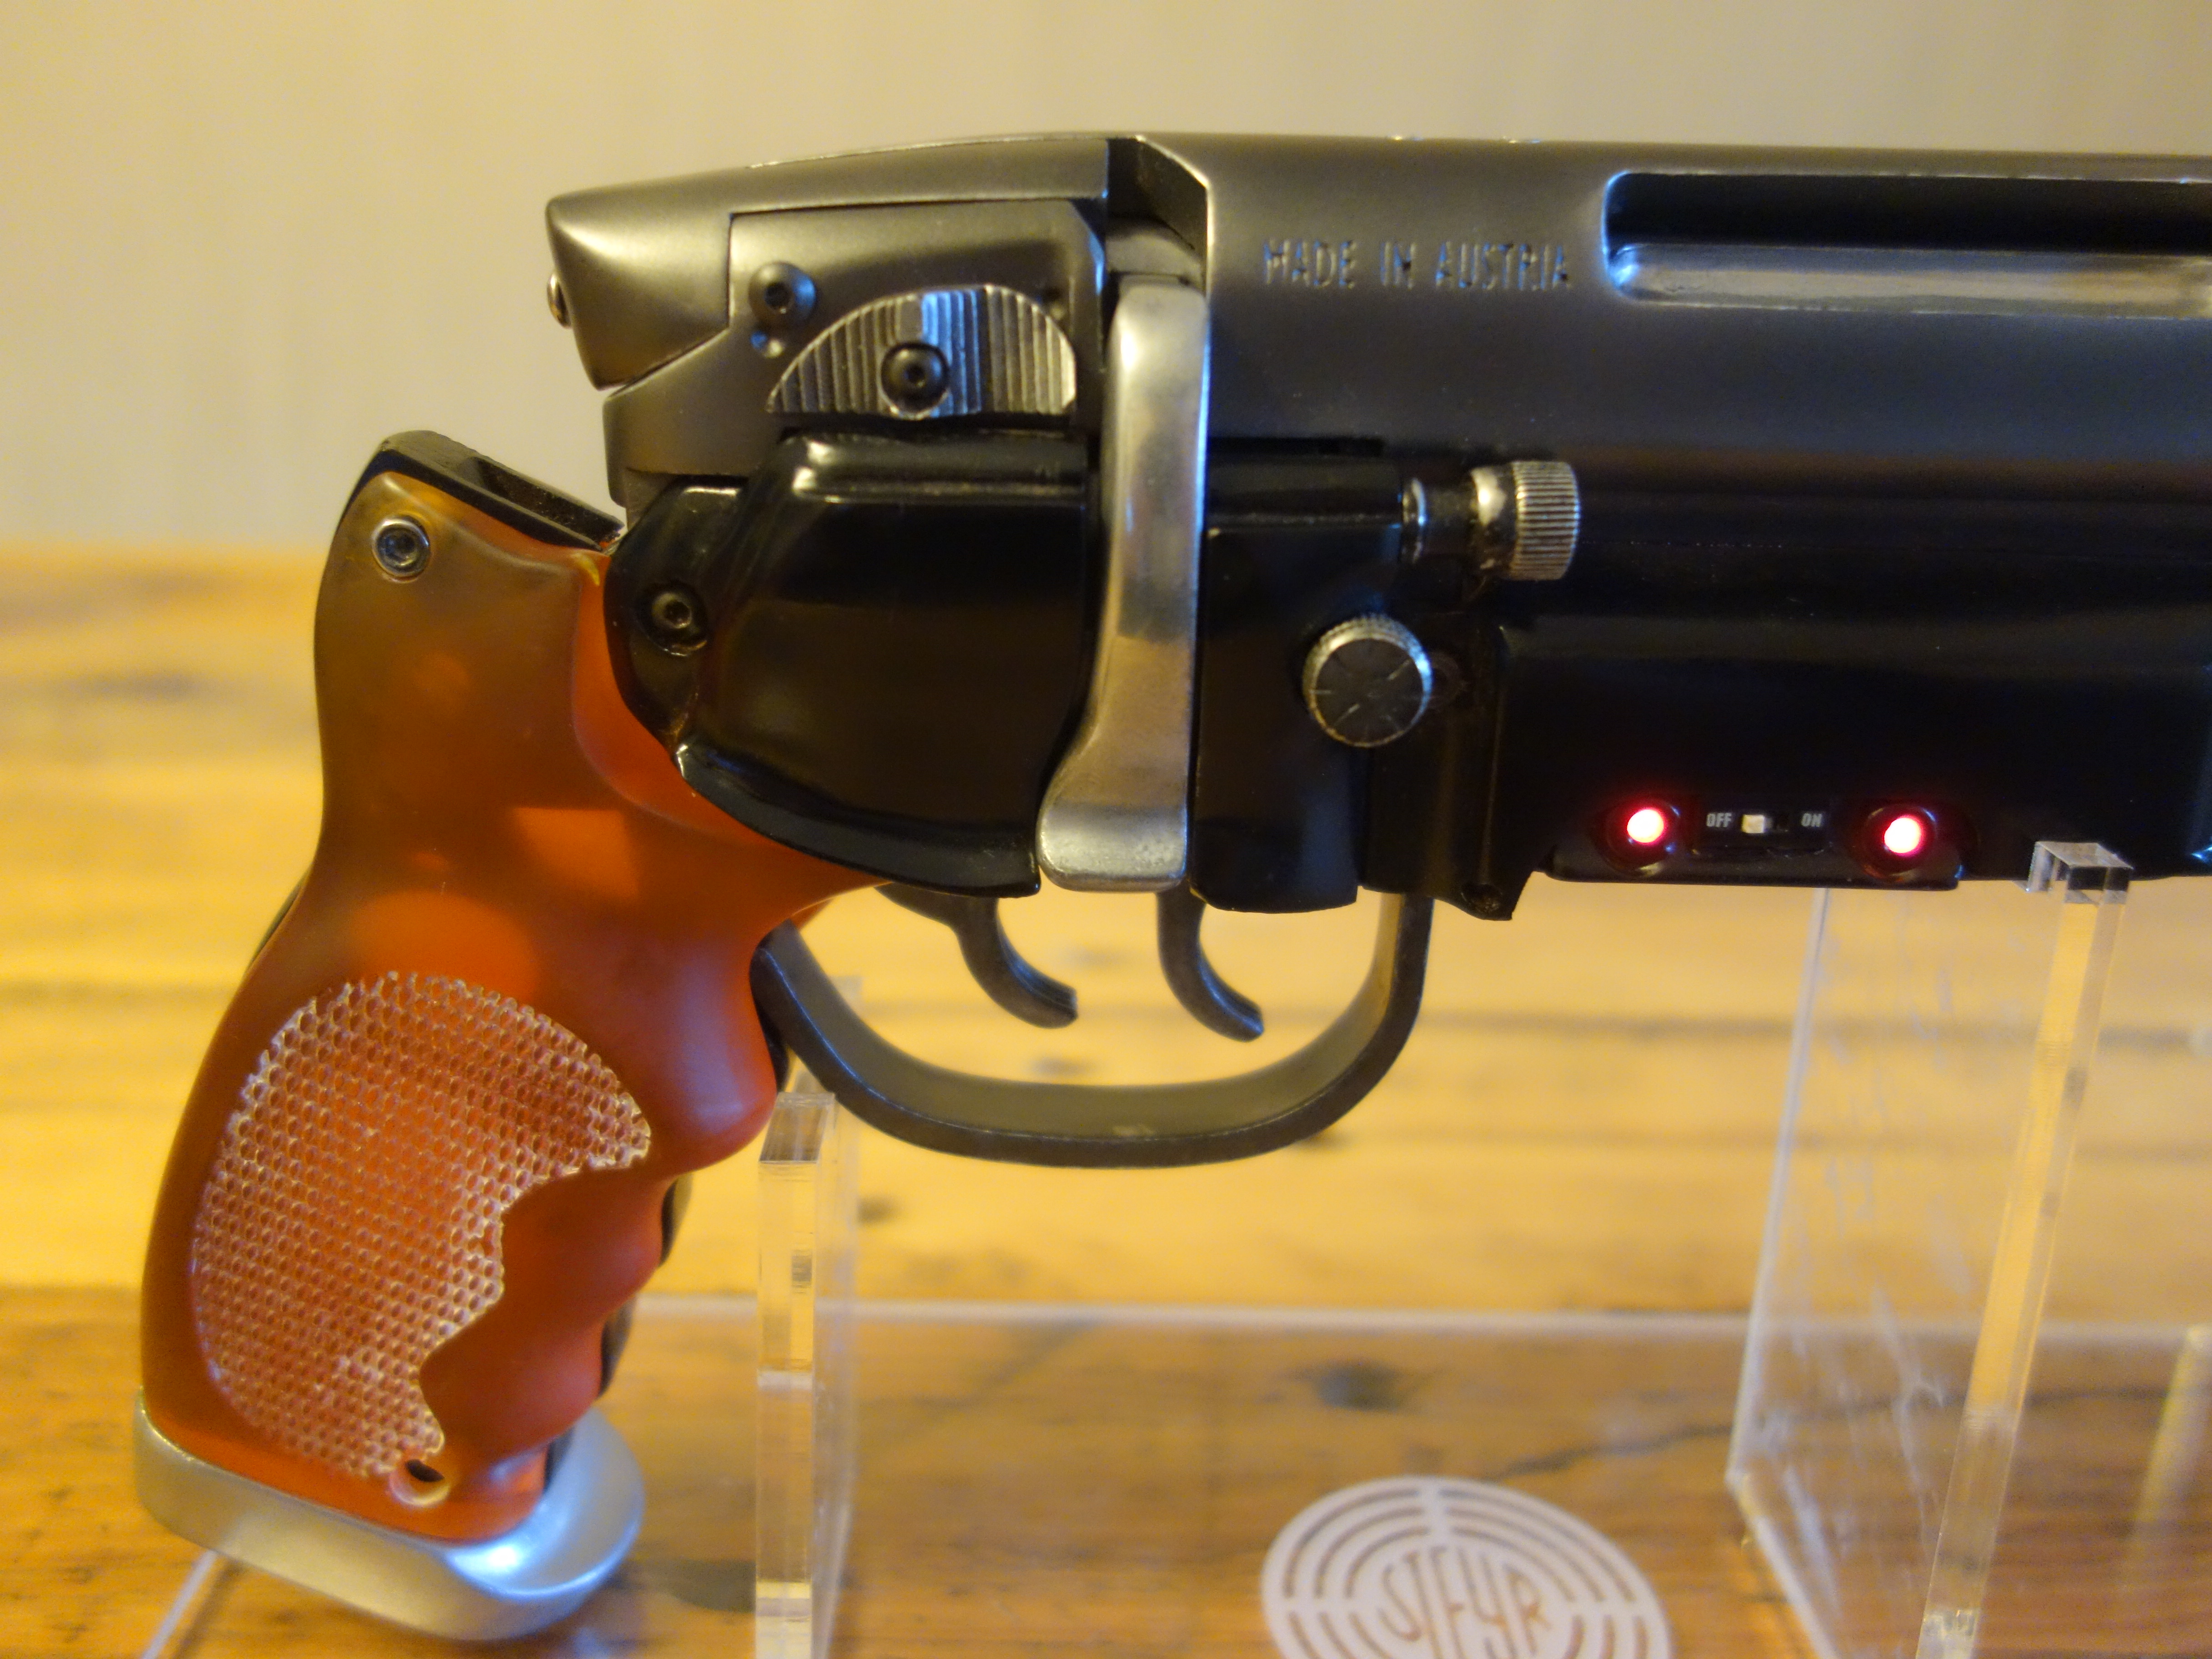
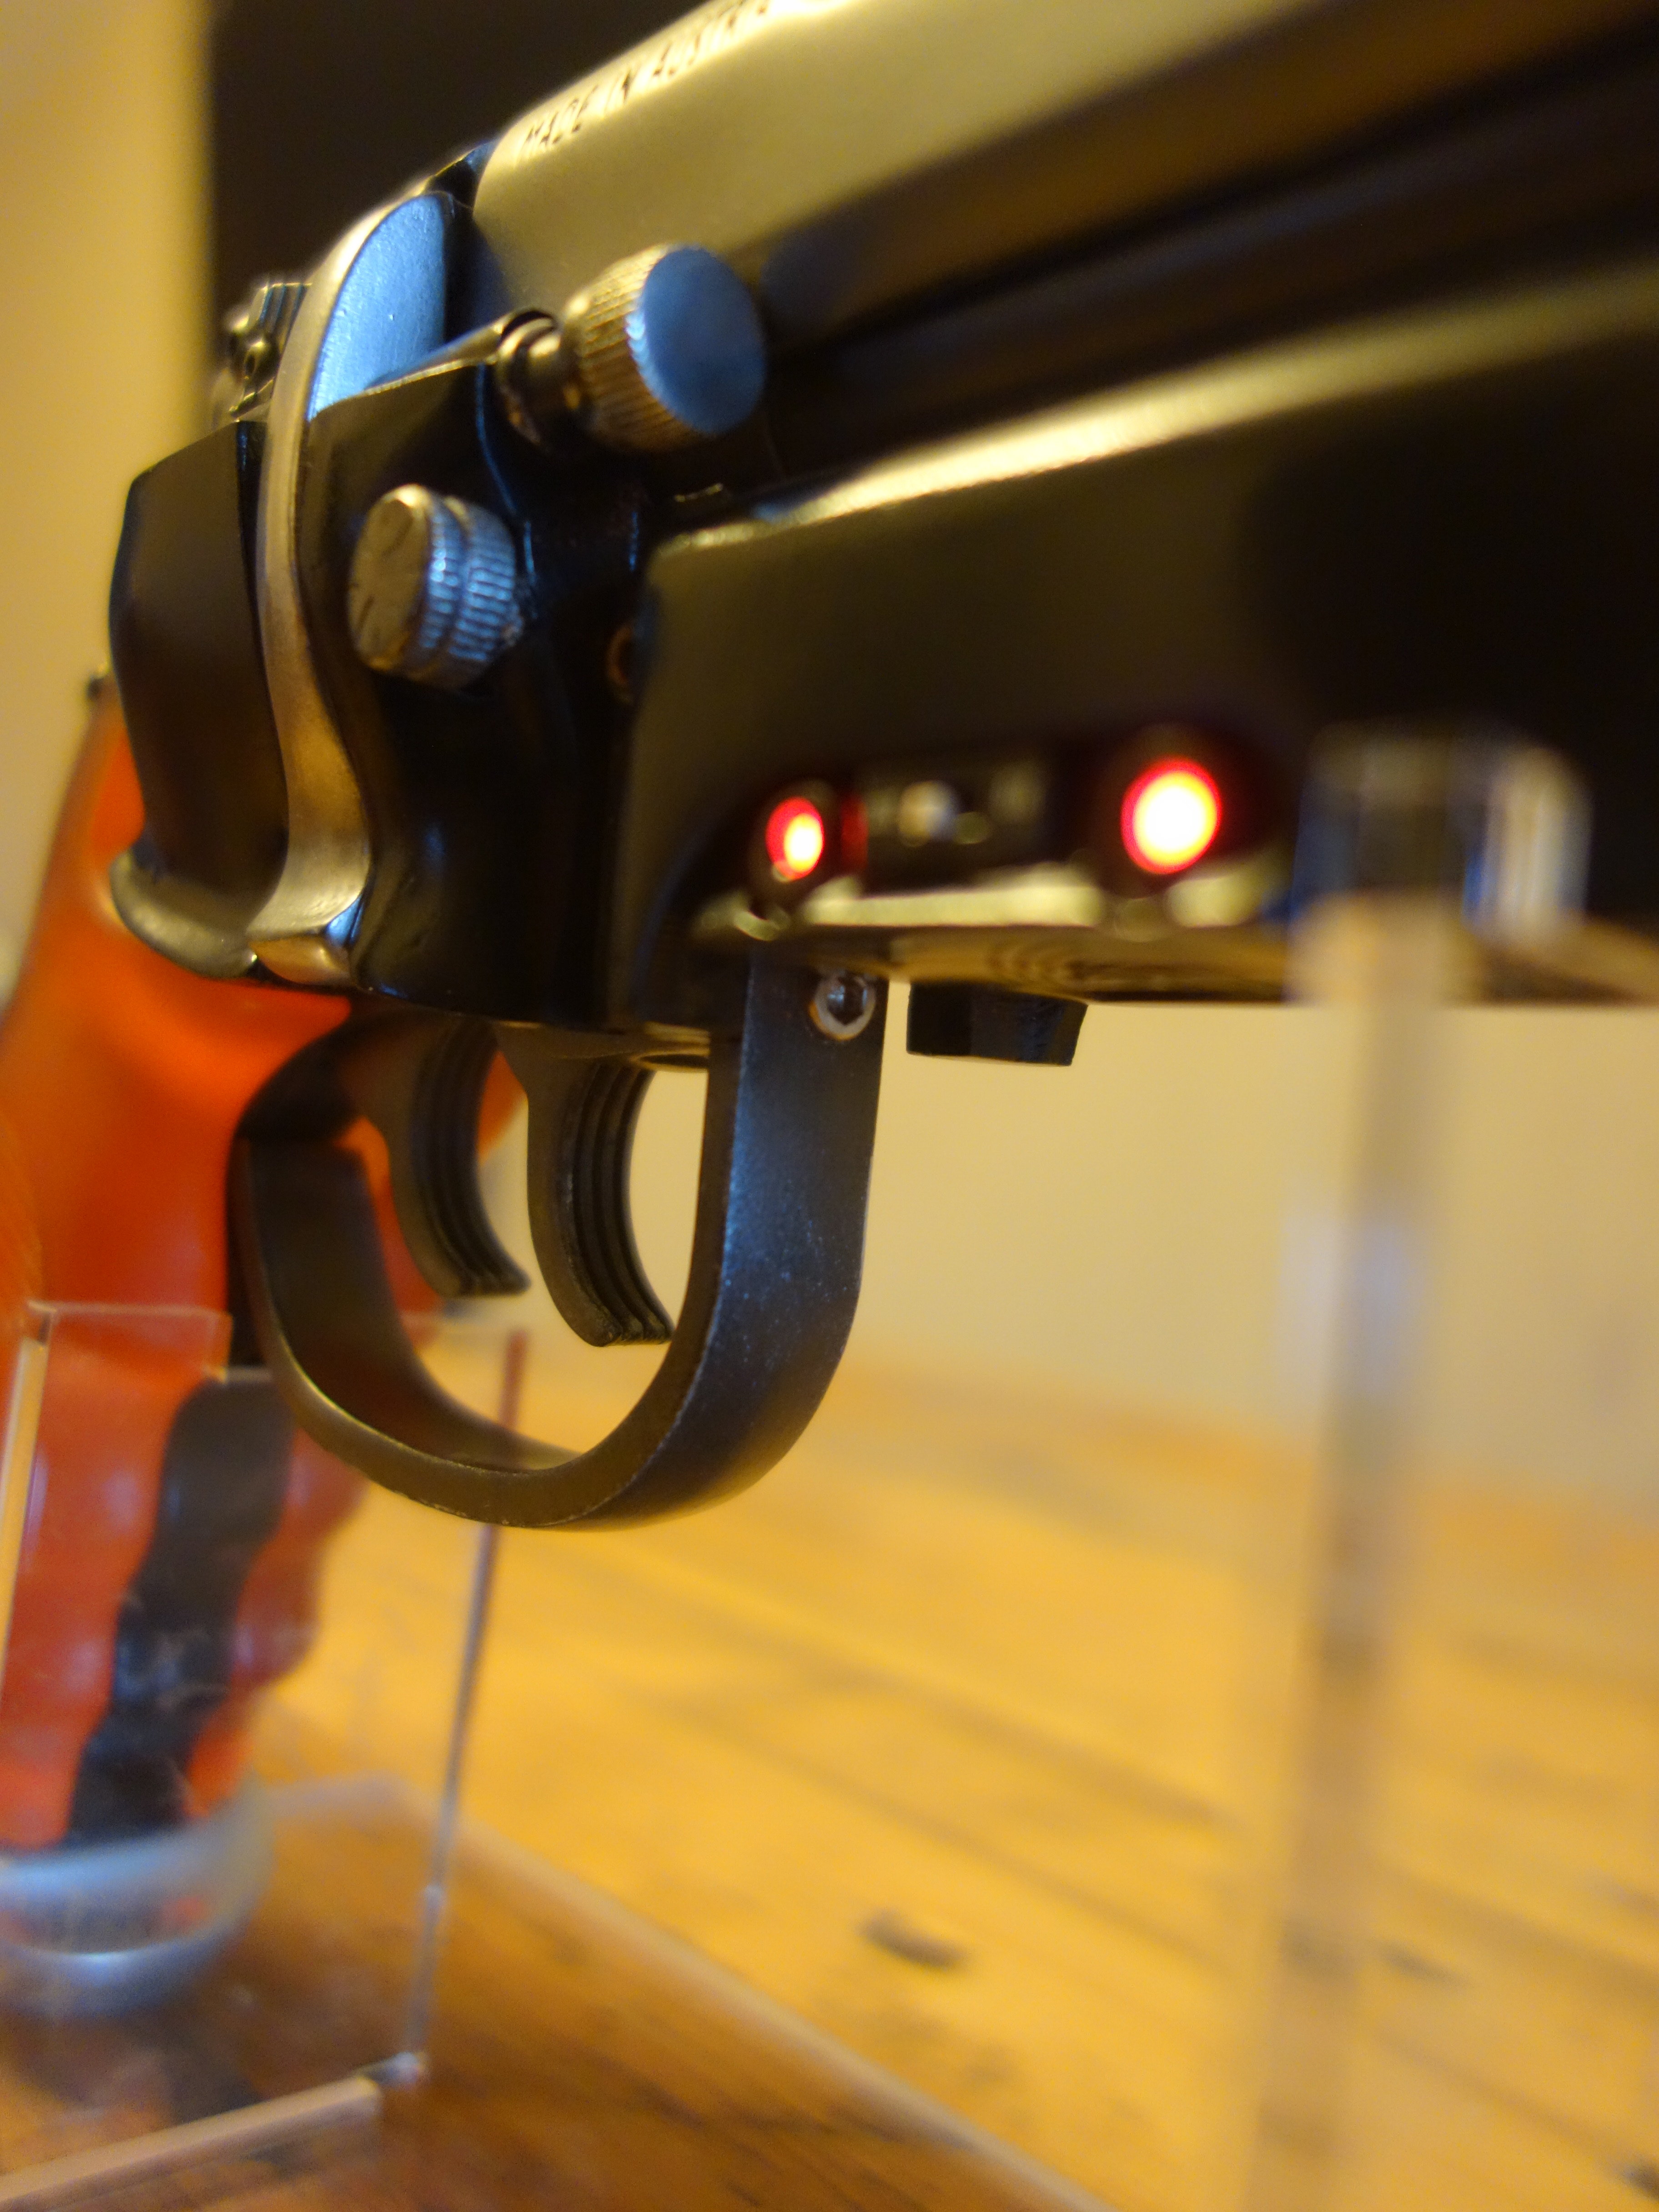
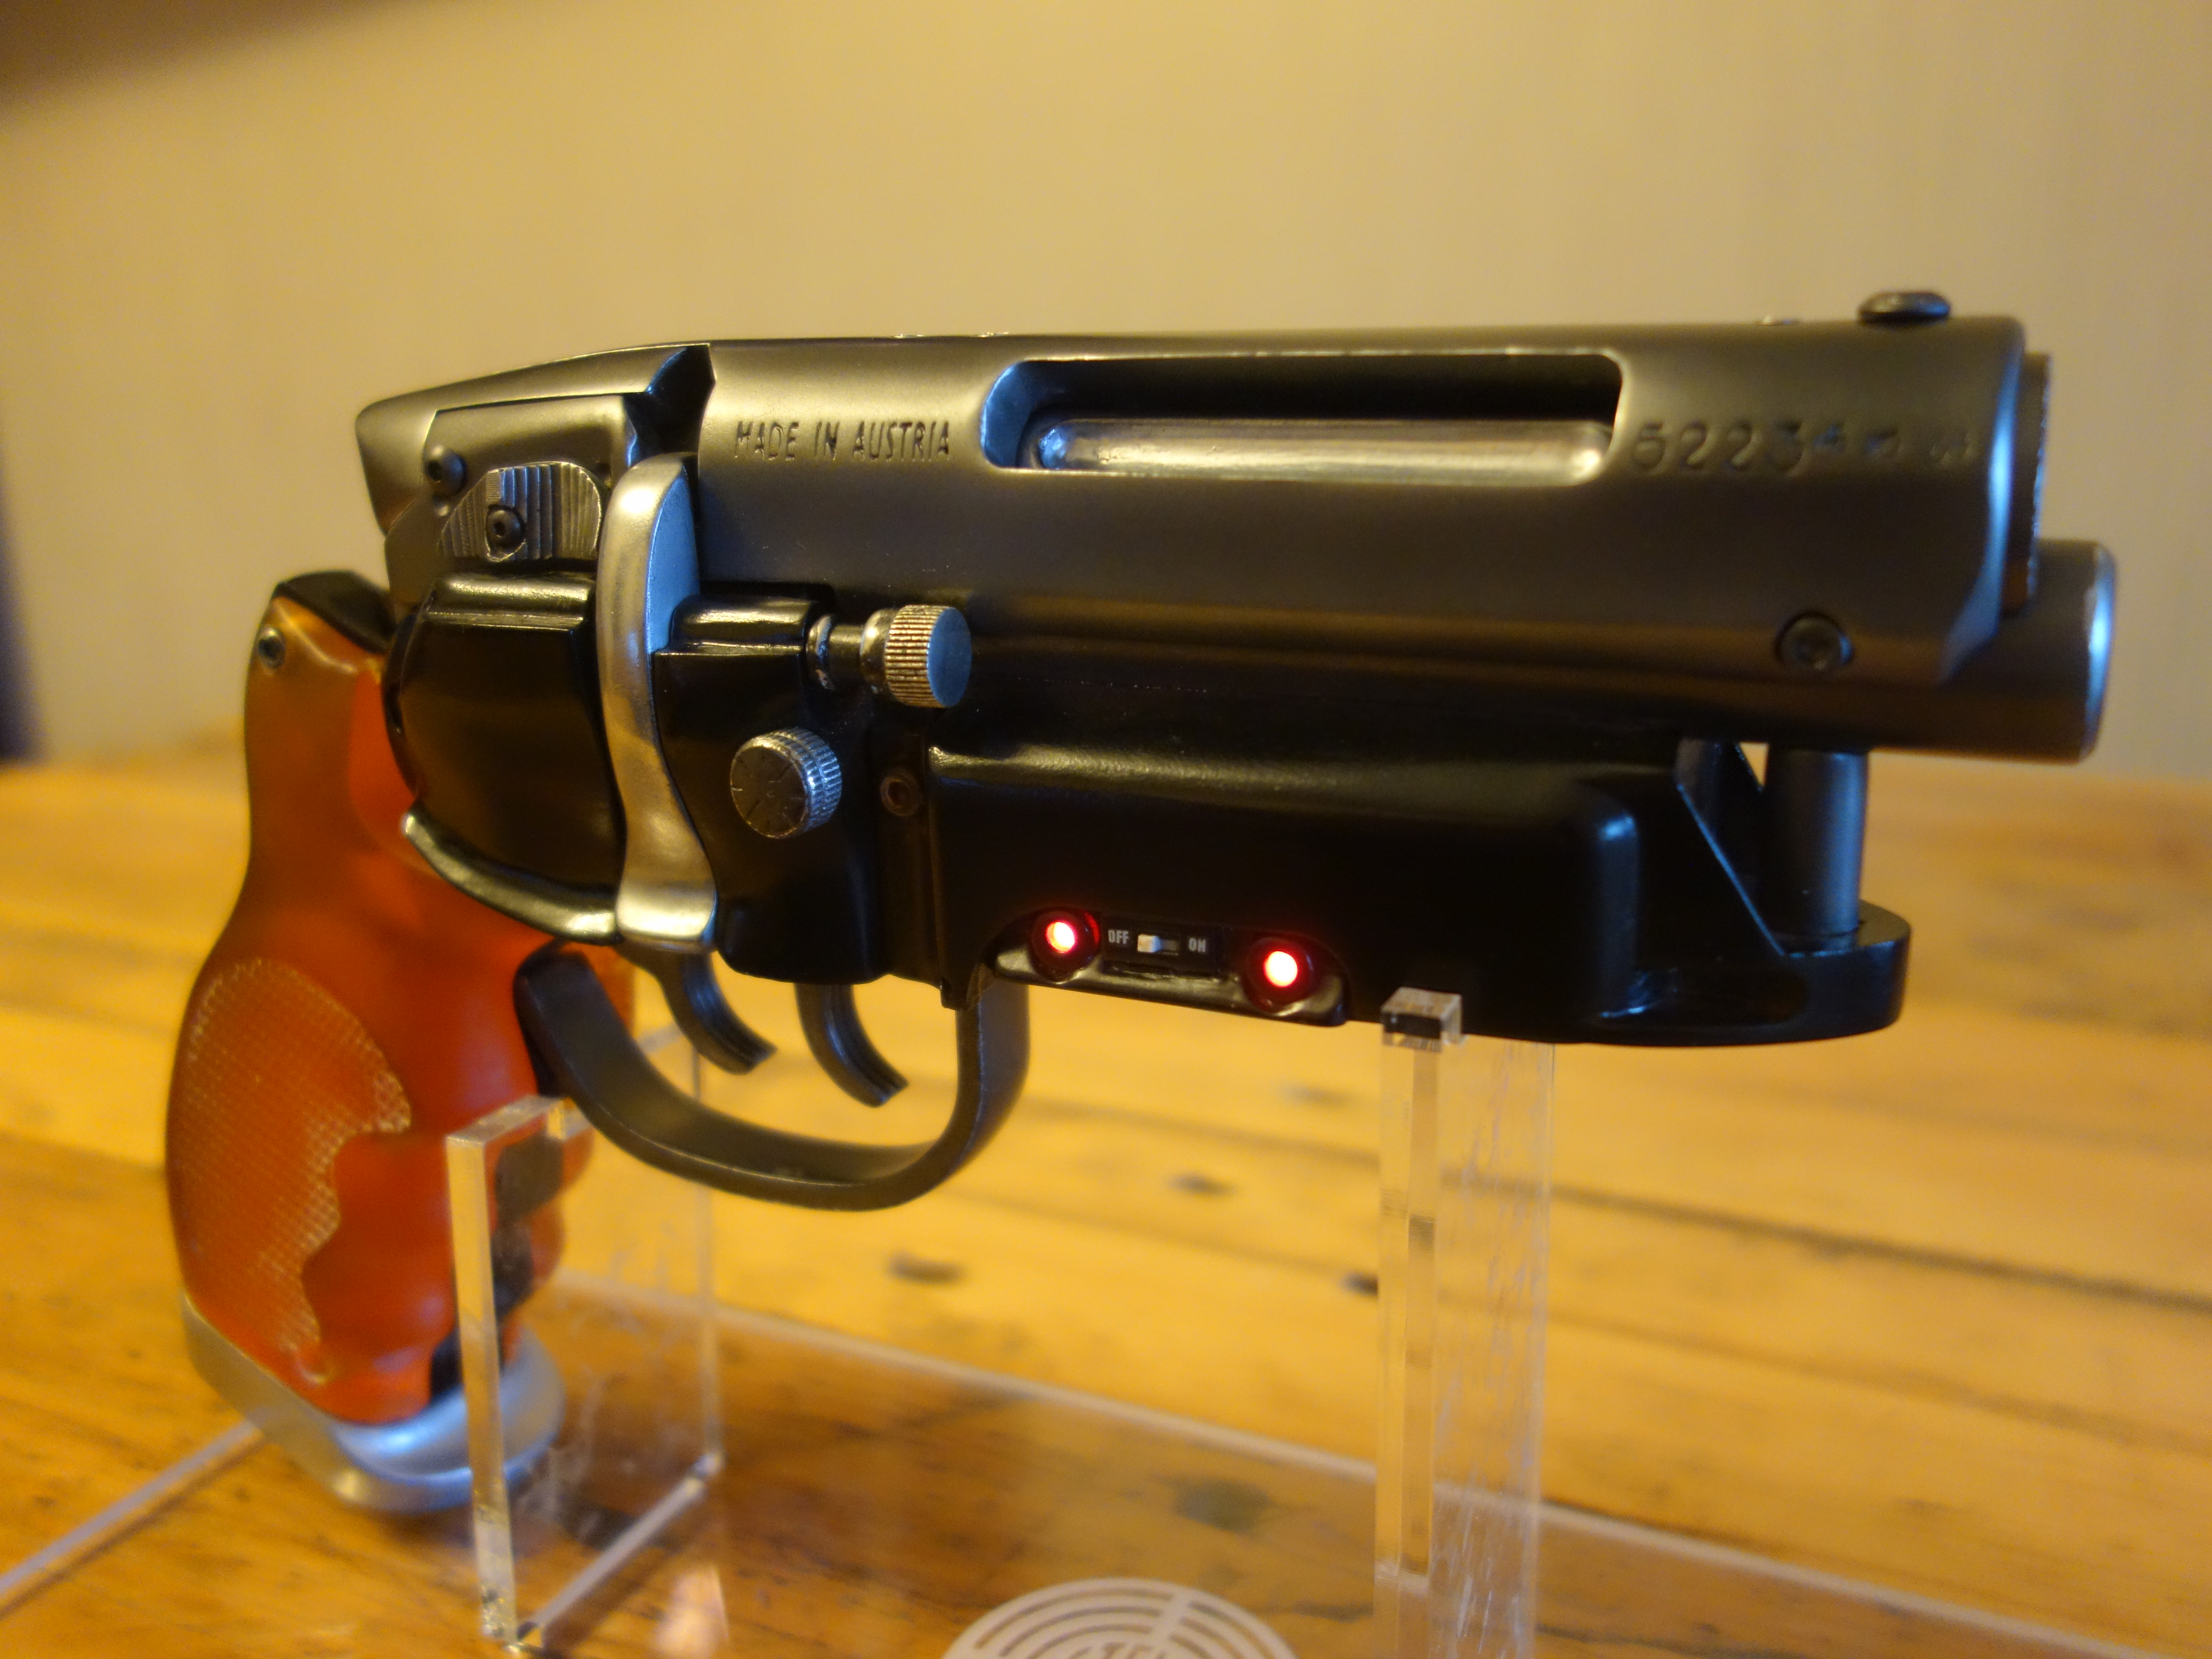
- Gone for a matt/sandblasted/oxidised worn magnesium sort of look with Alclad magnesium. (old, dusty, and faded, but cared for and not too beaten up)
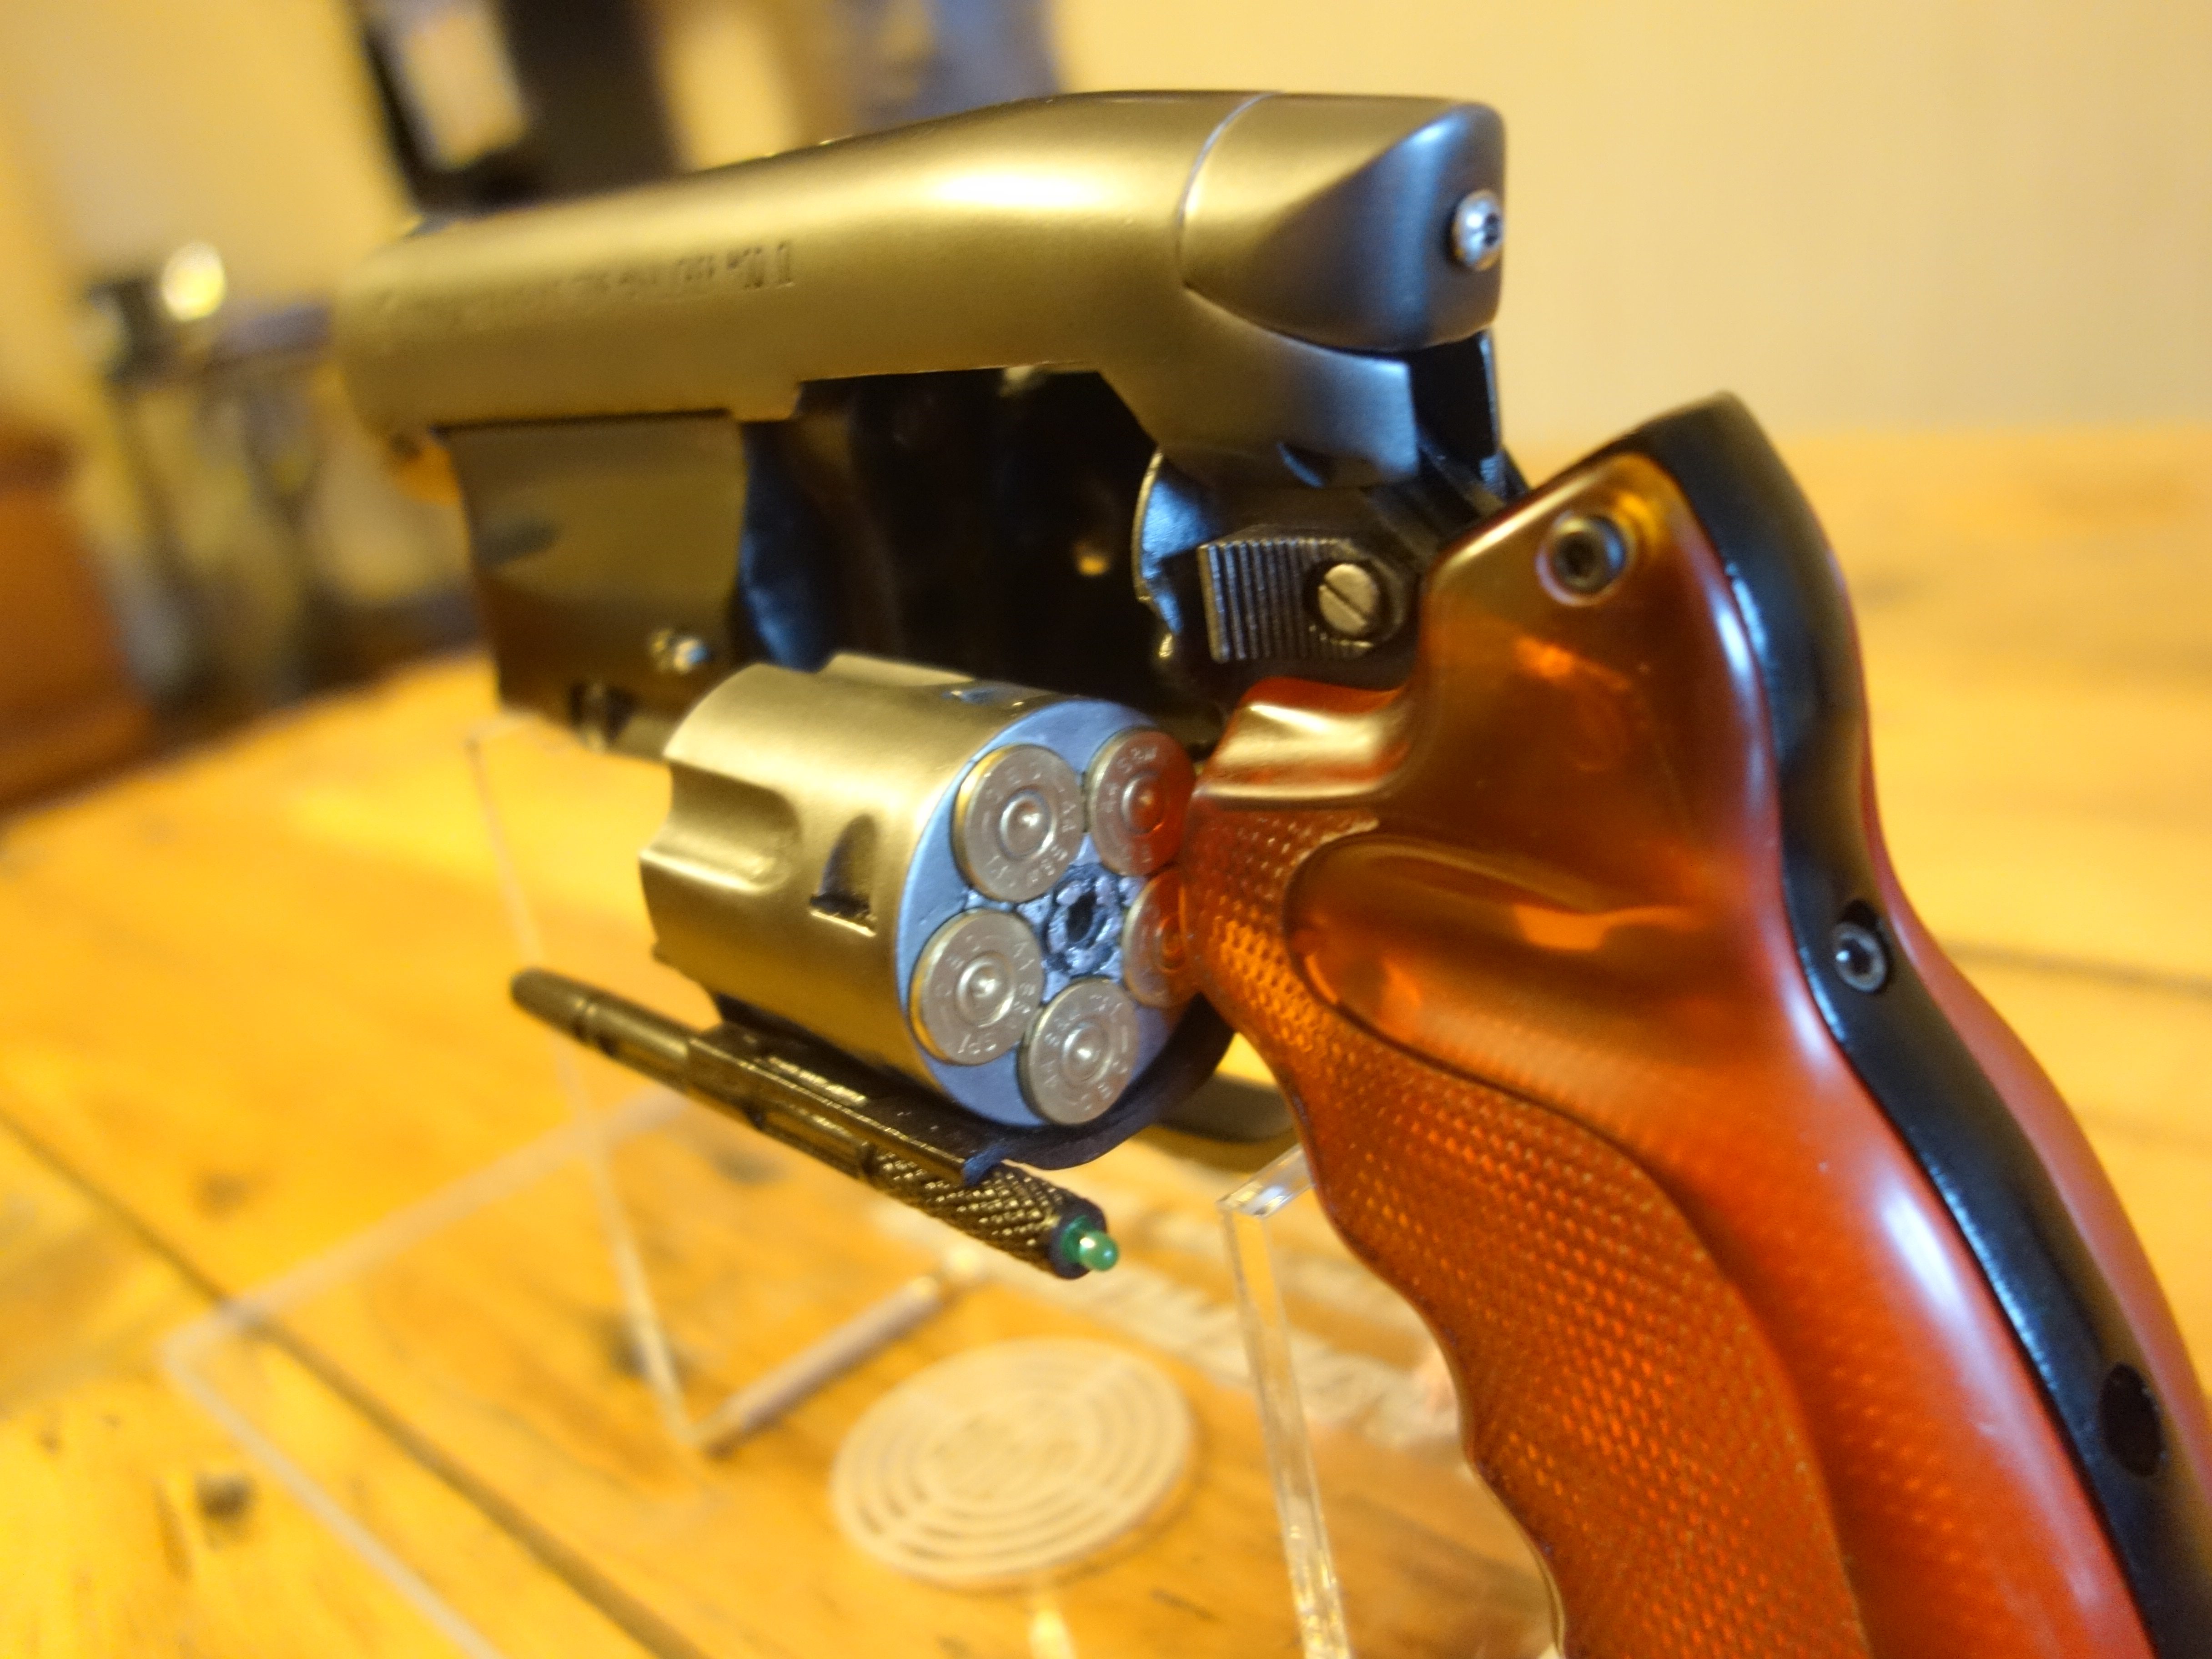
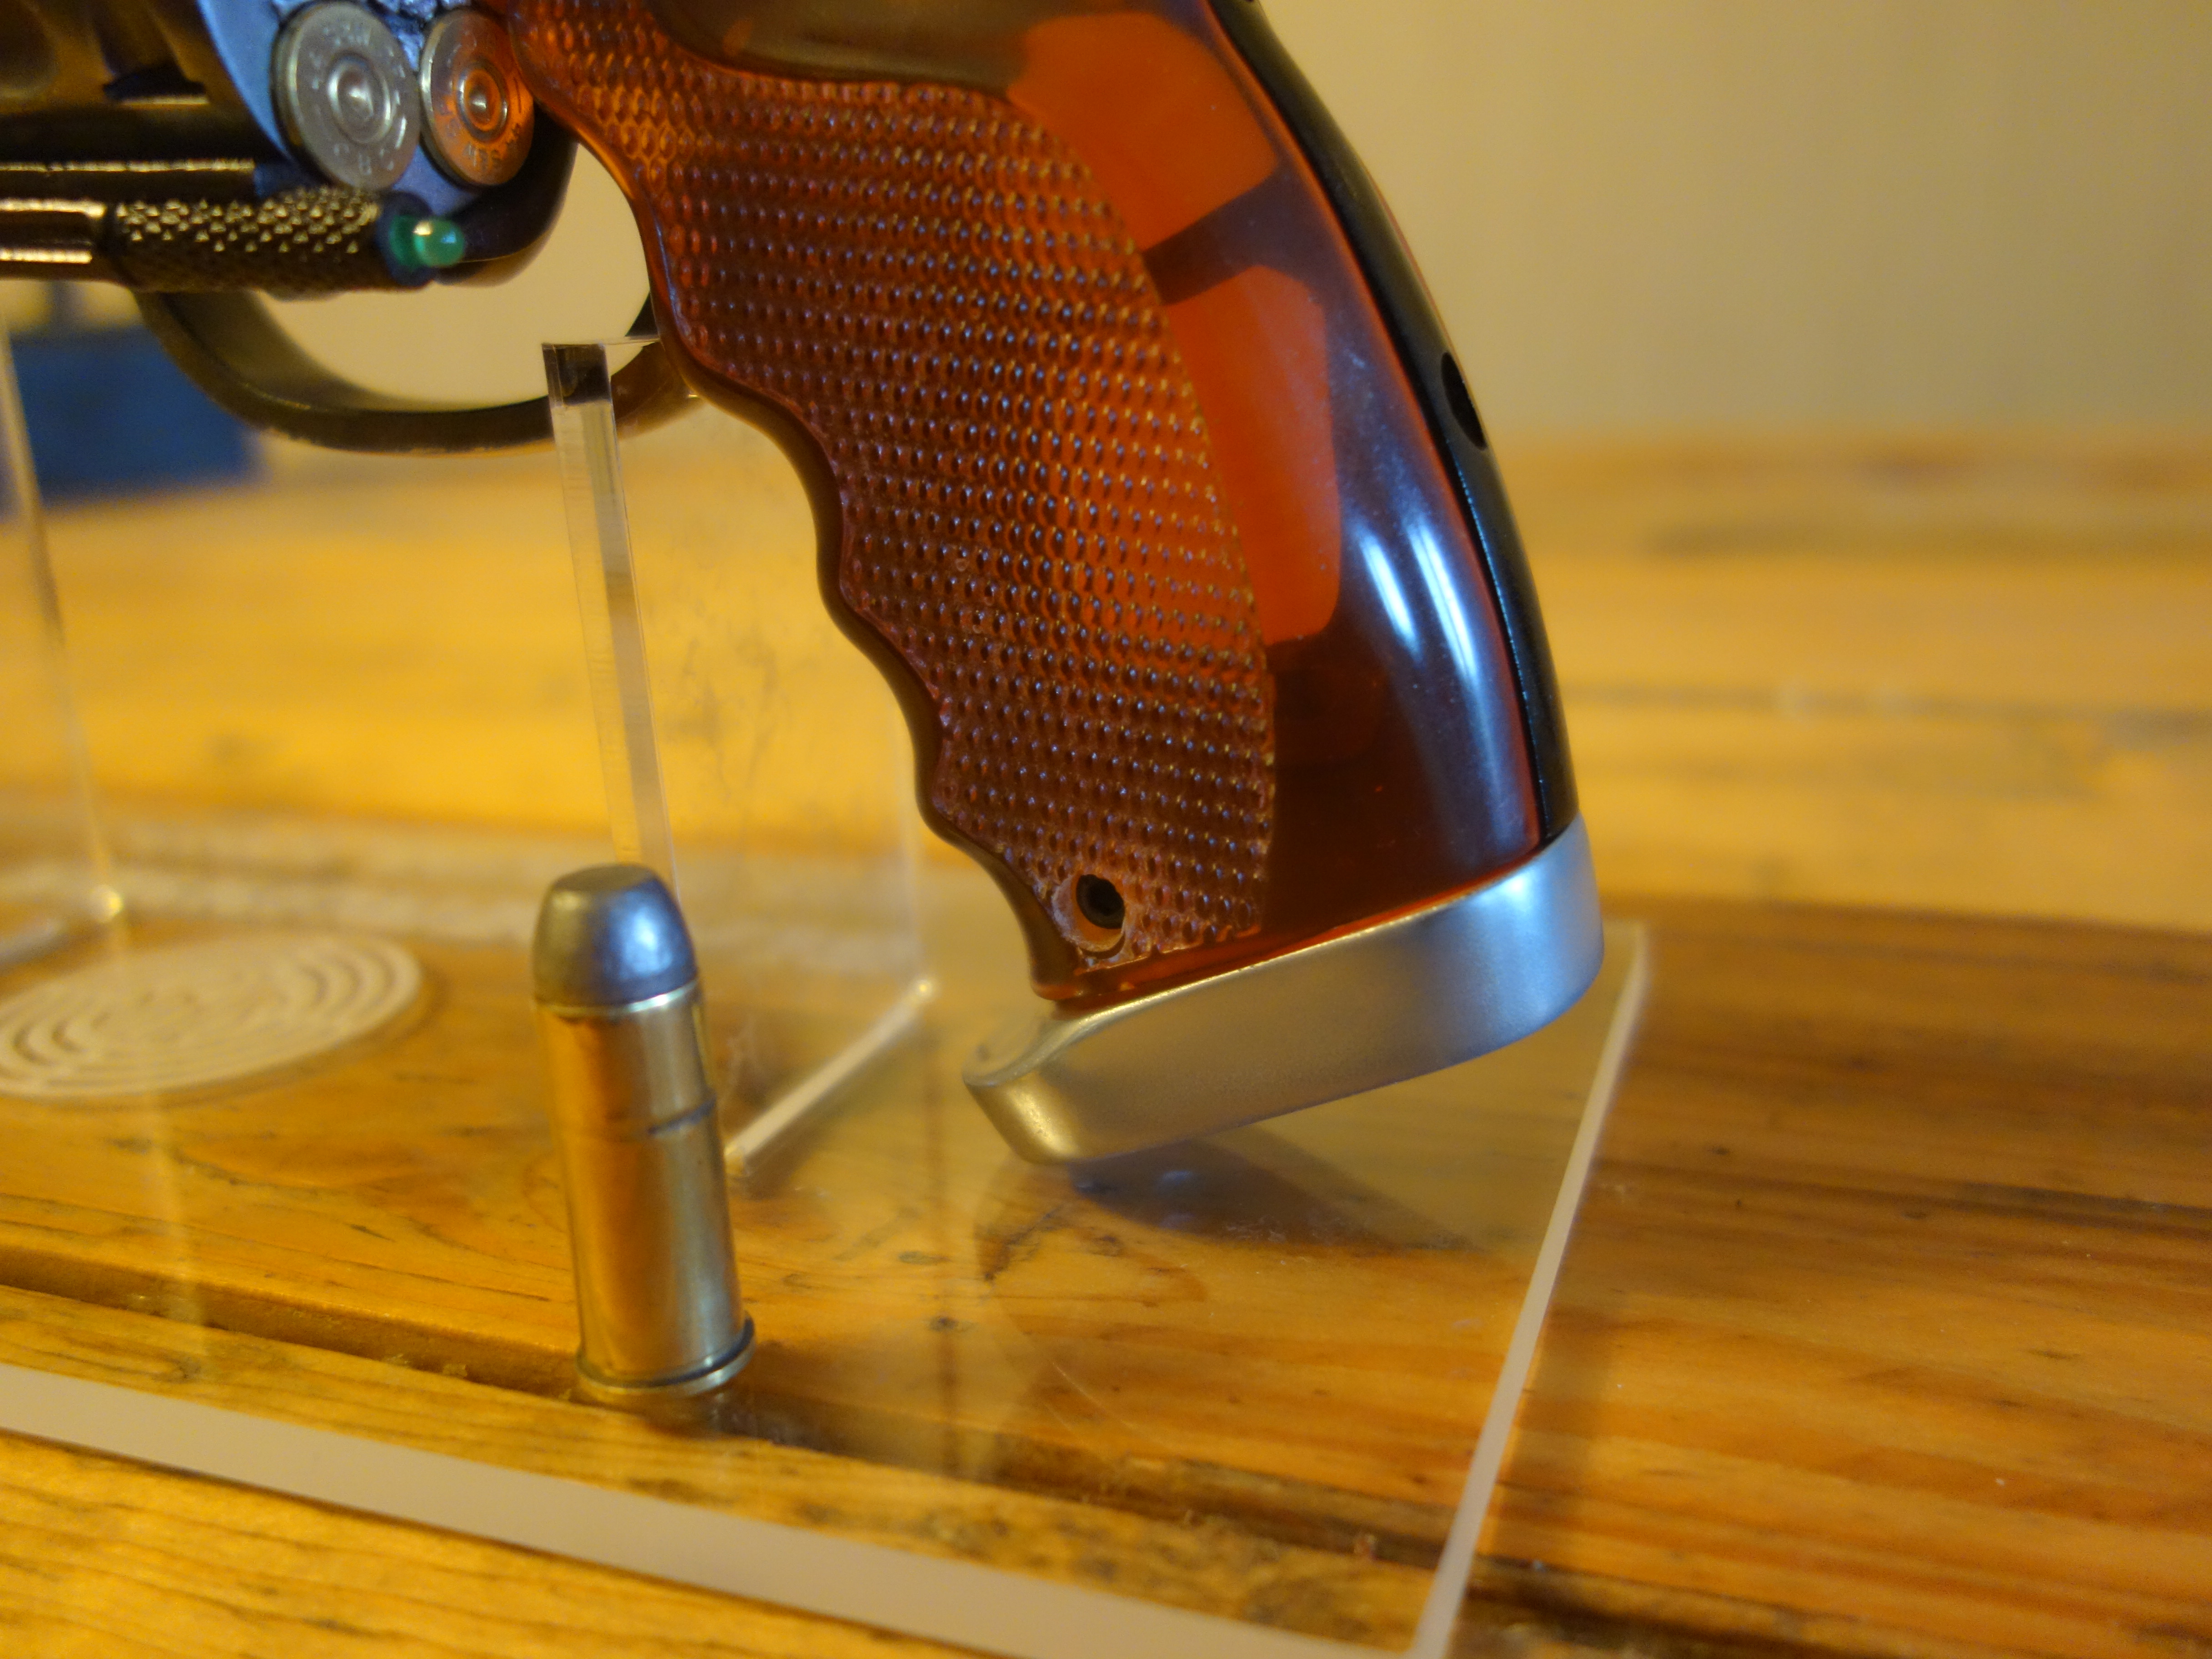
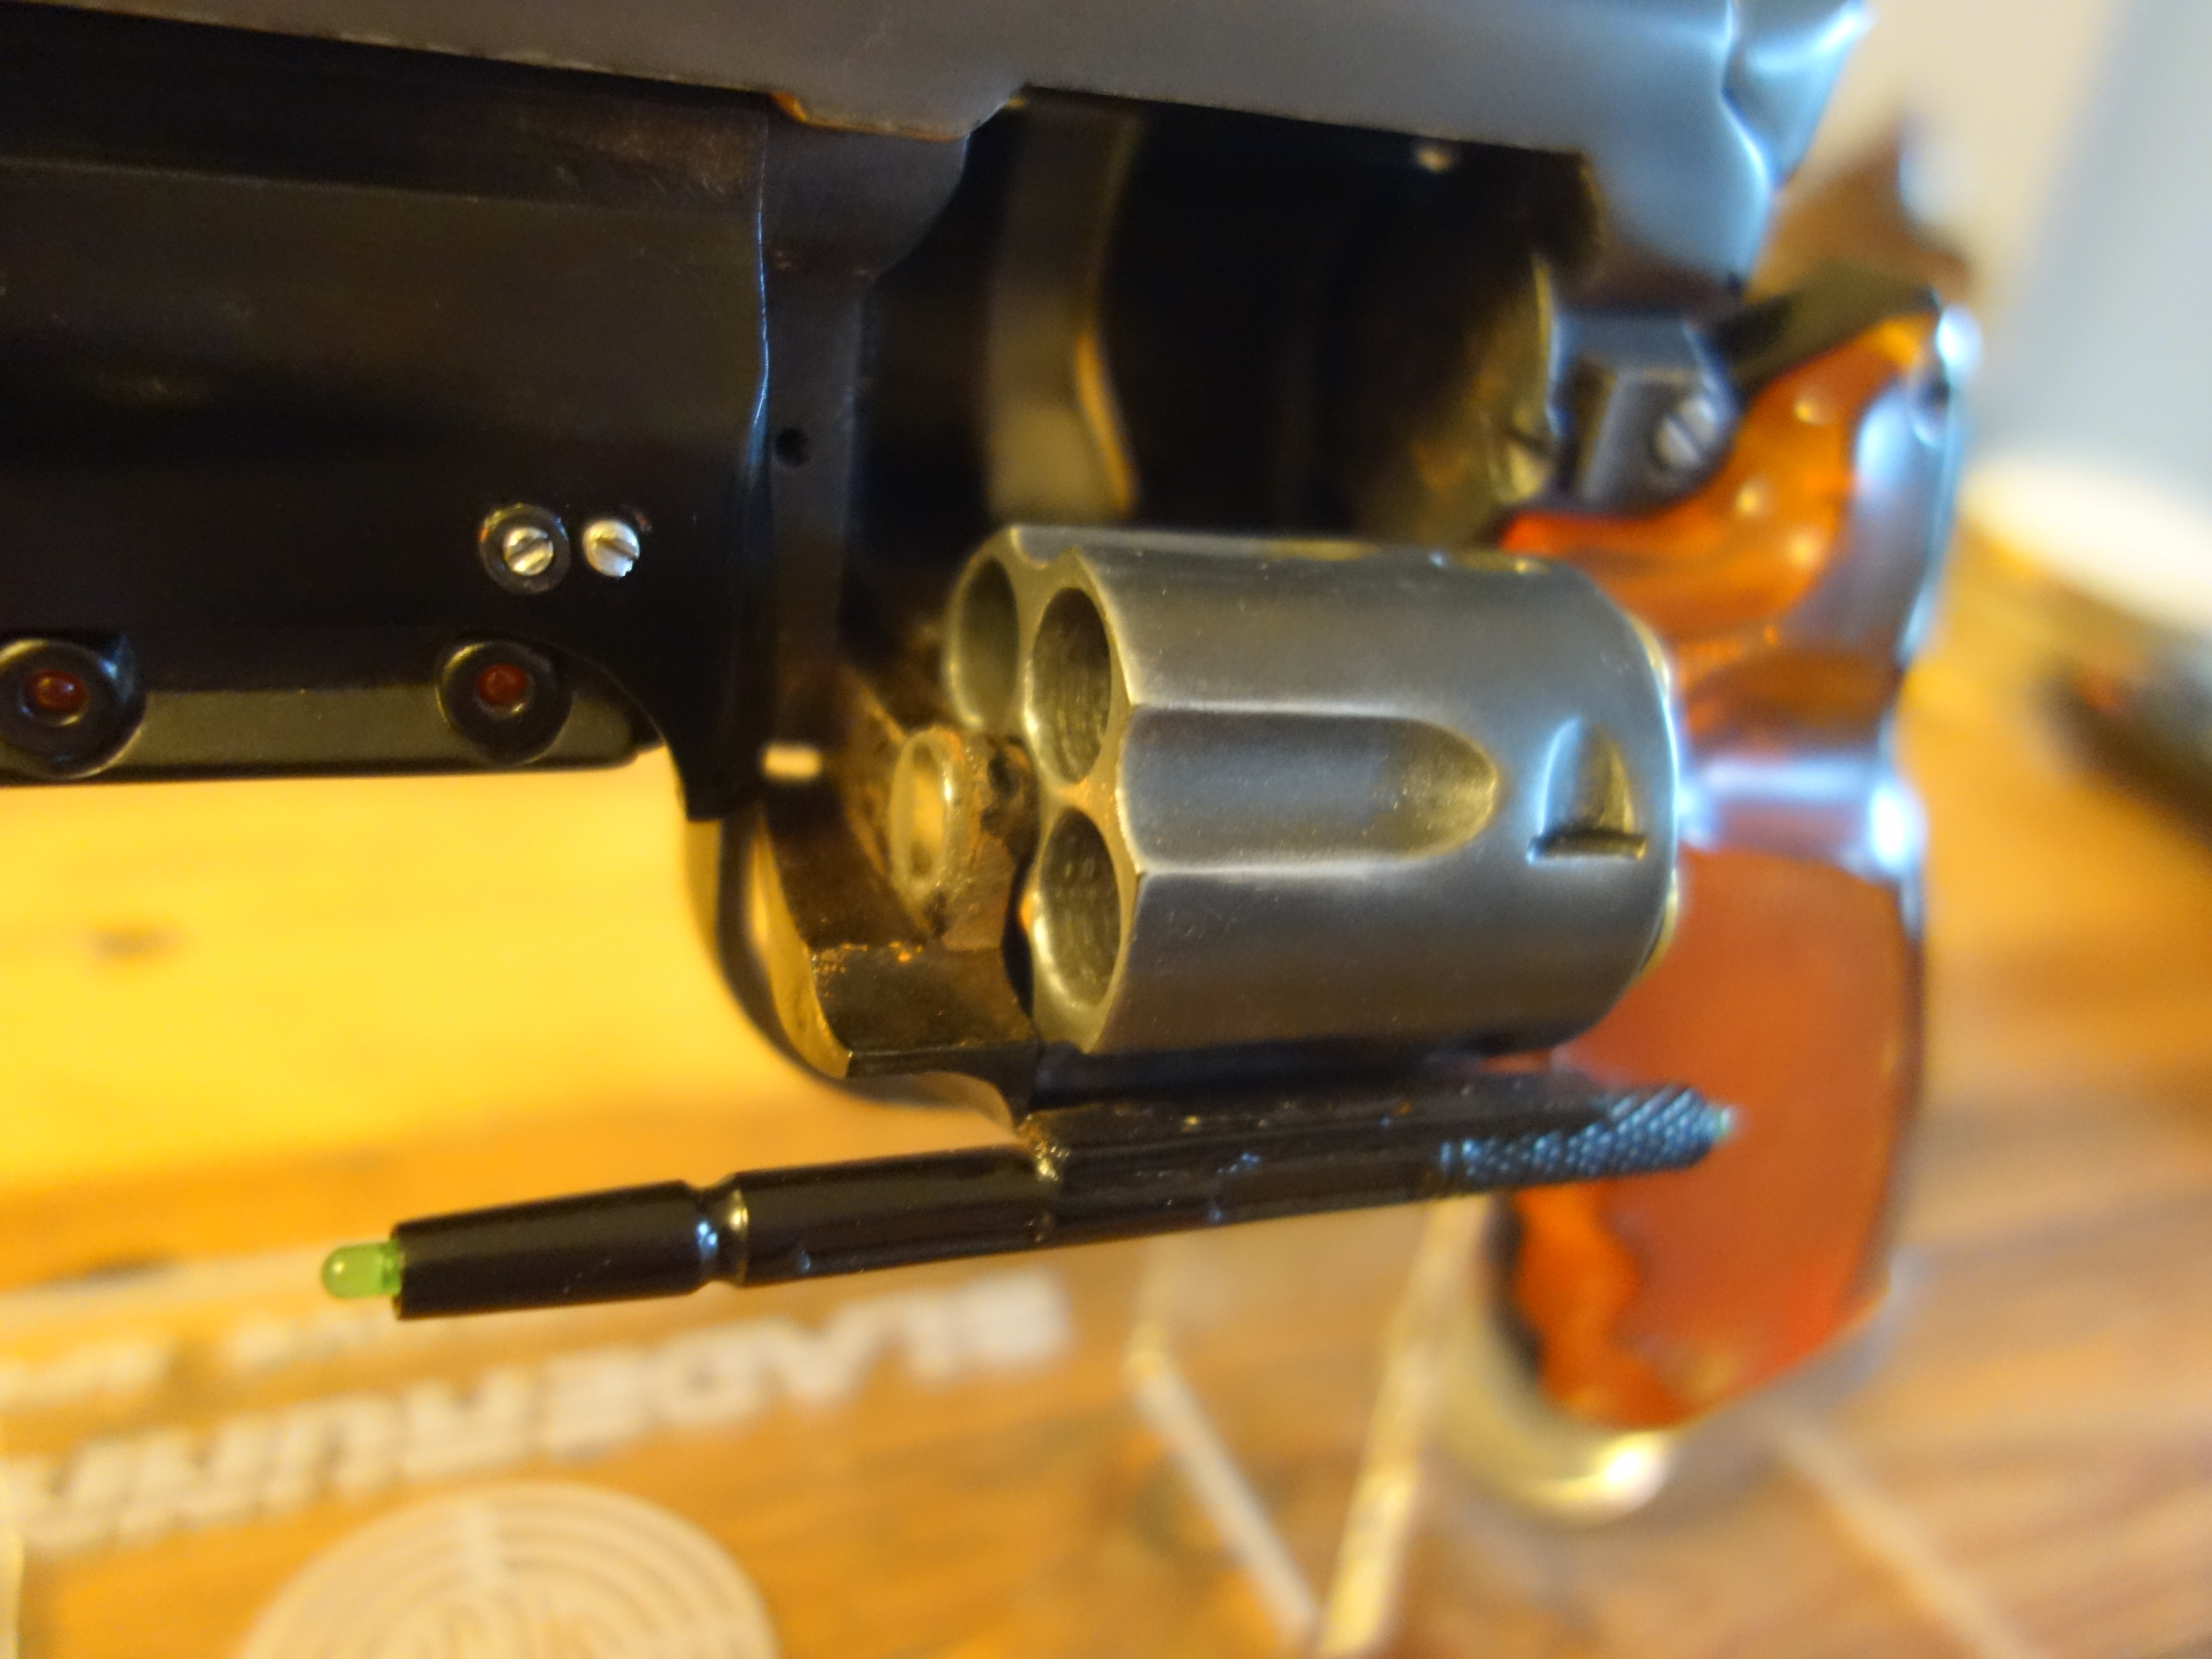
- Added lead bullets to add weight and realism.
- Added burnt sienna chalk scrapings to give a Las Vegas desert weathering.
- Rub n' buff detailing round edges all over.
- Rub n' buff over Alclad aluminium for handle butt, inner ejection port, and rifle ejection lever.
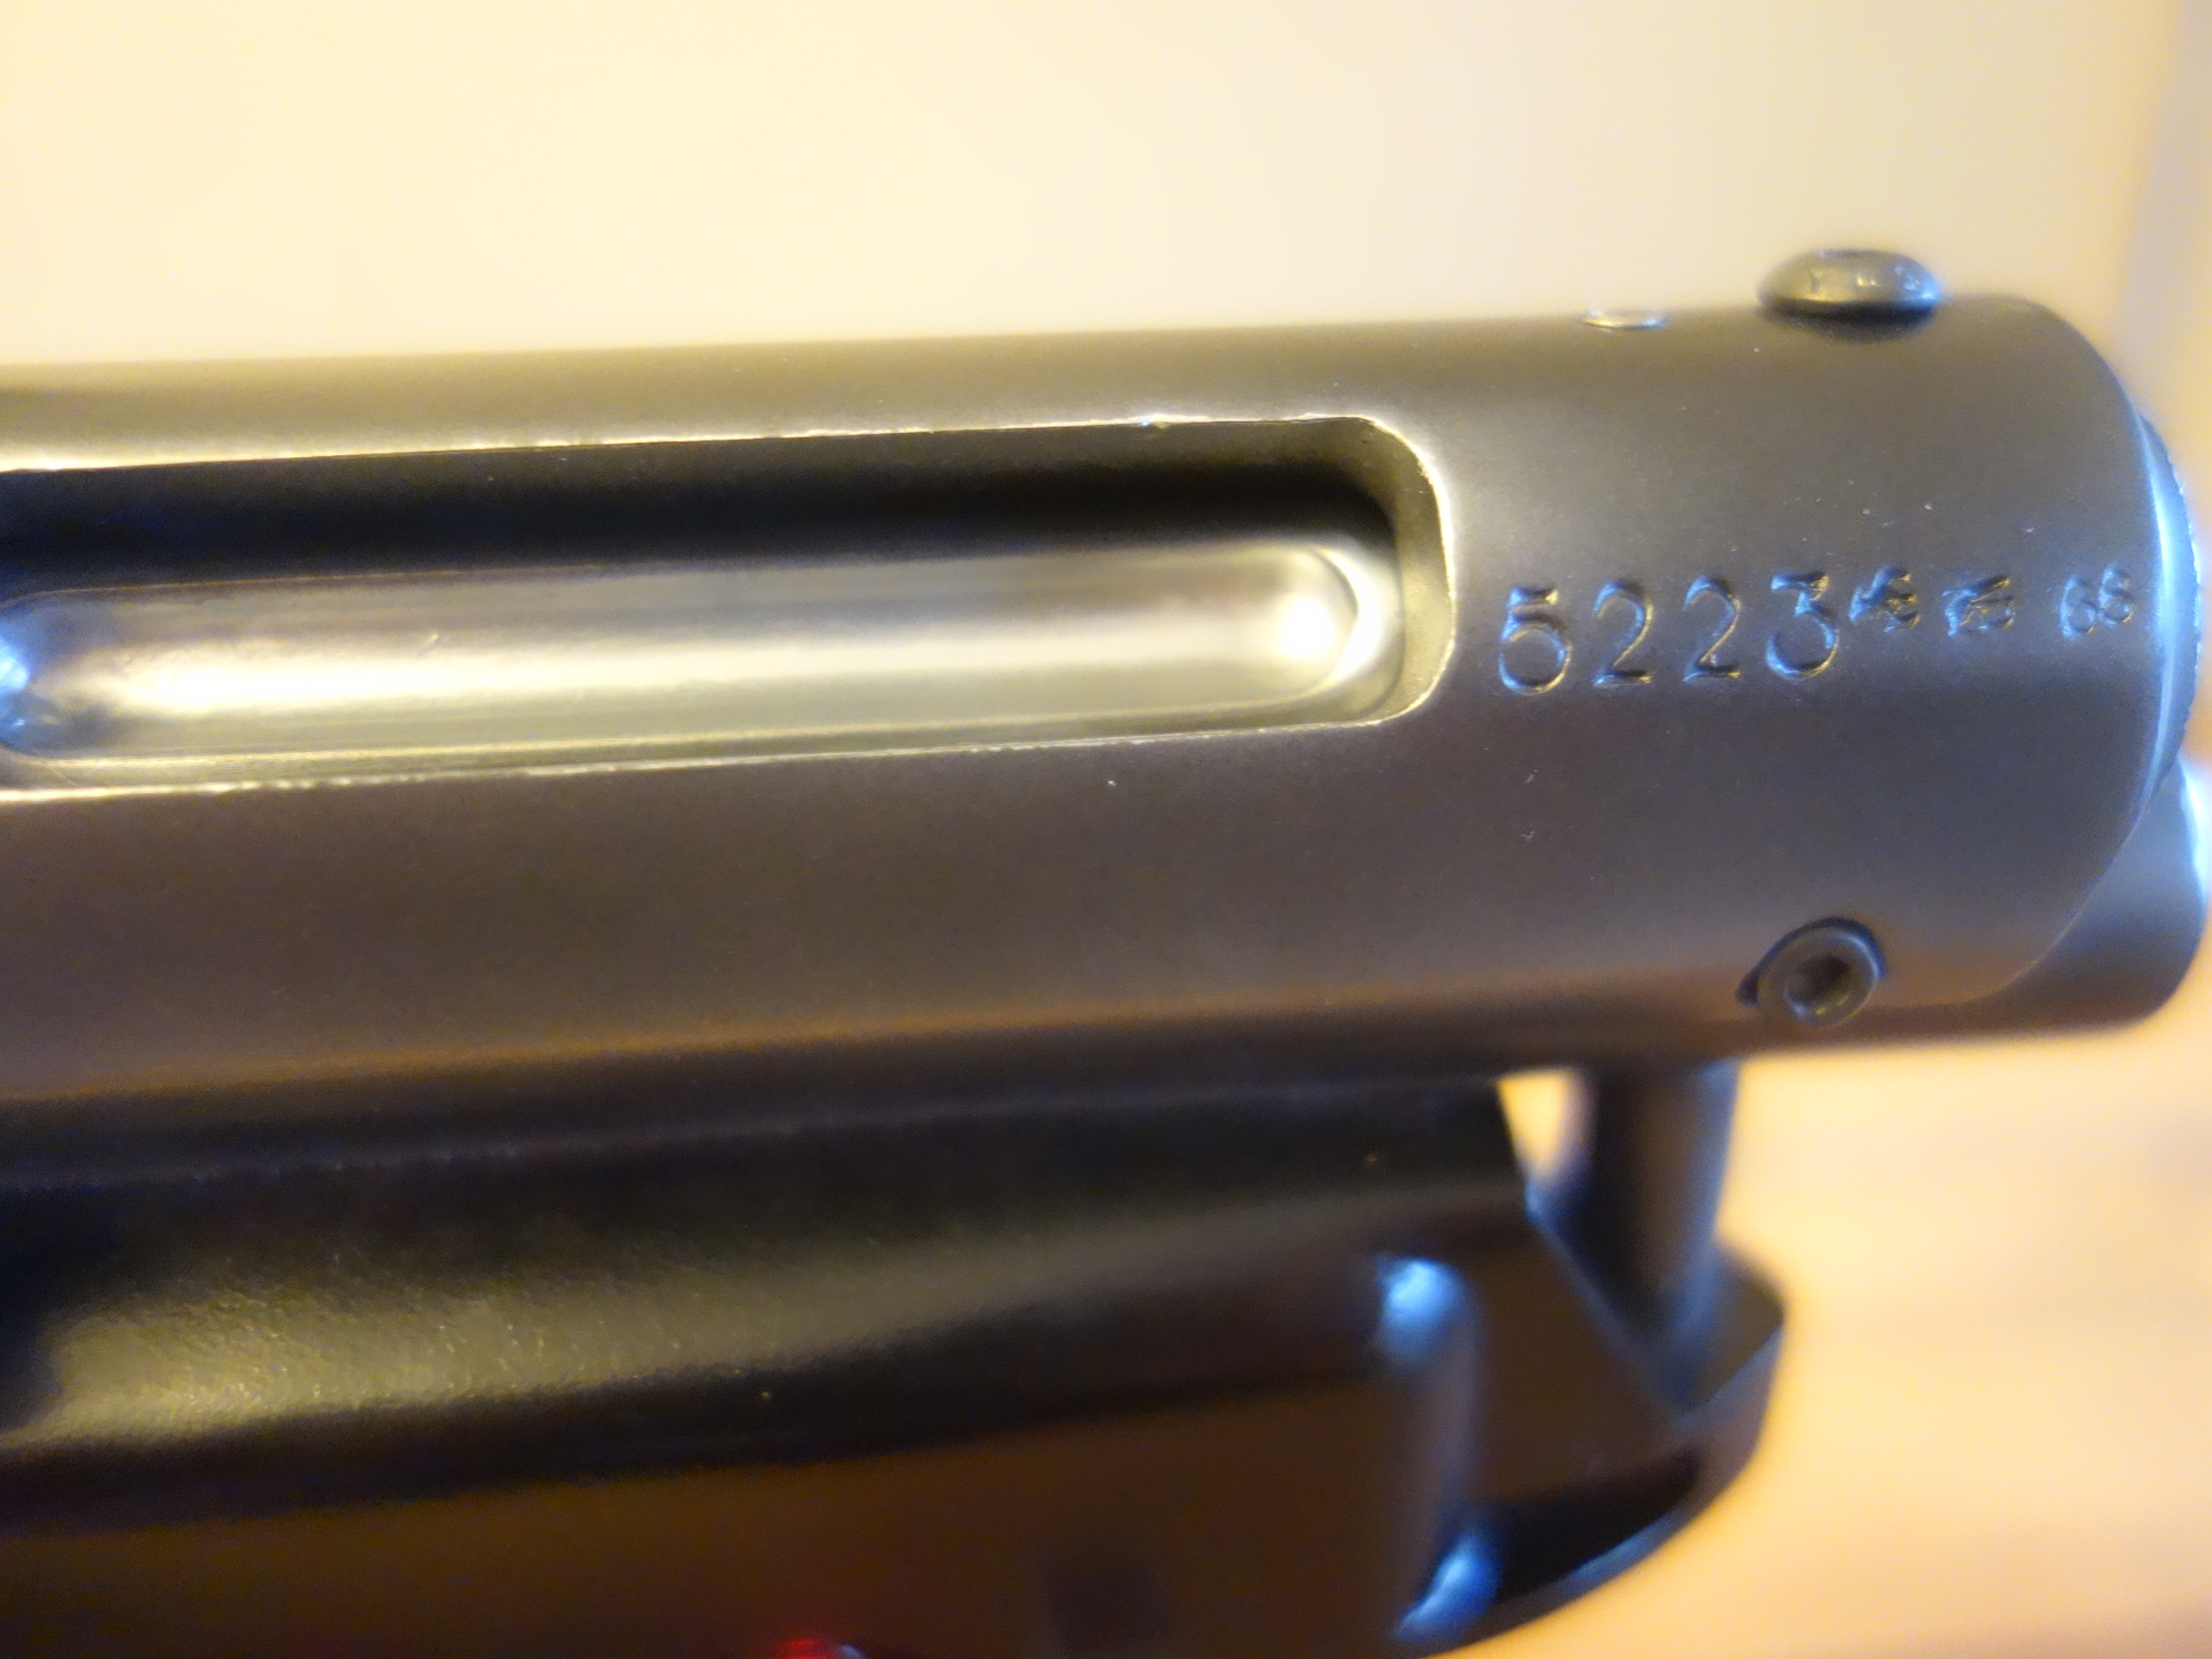
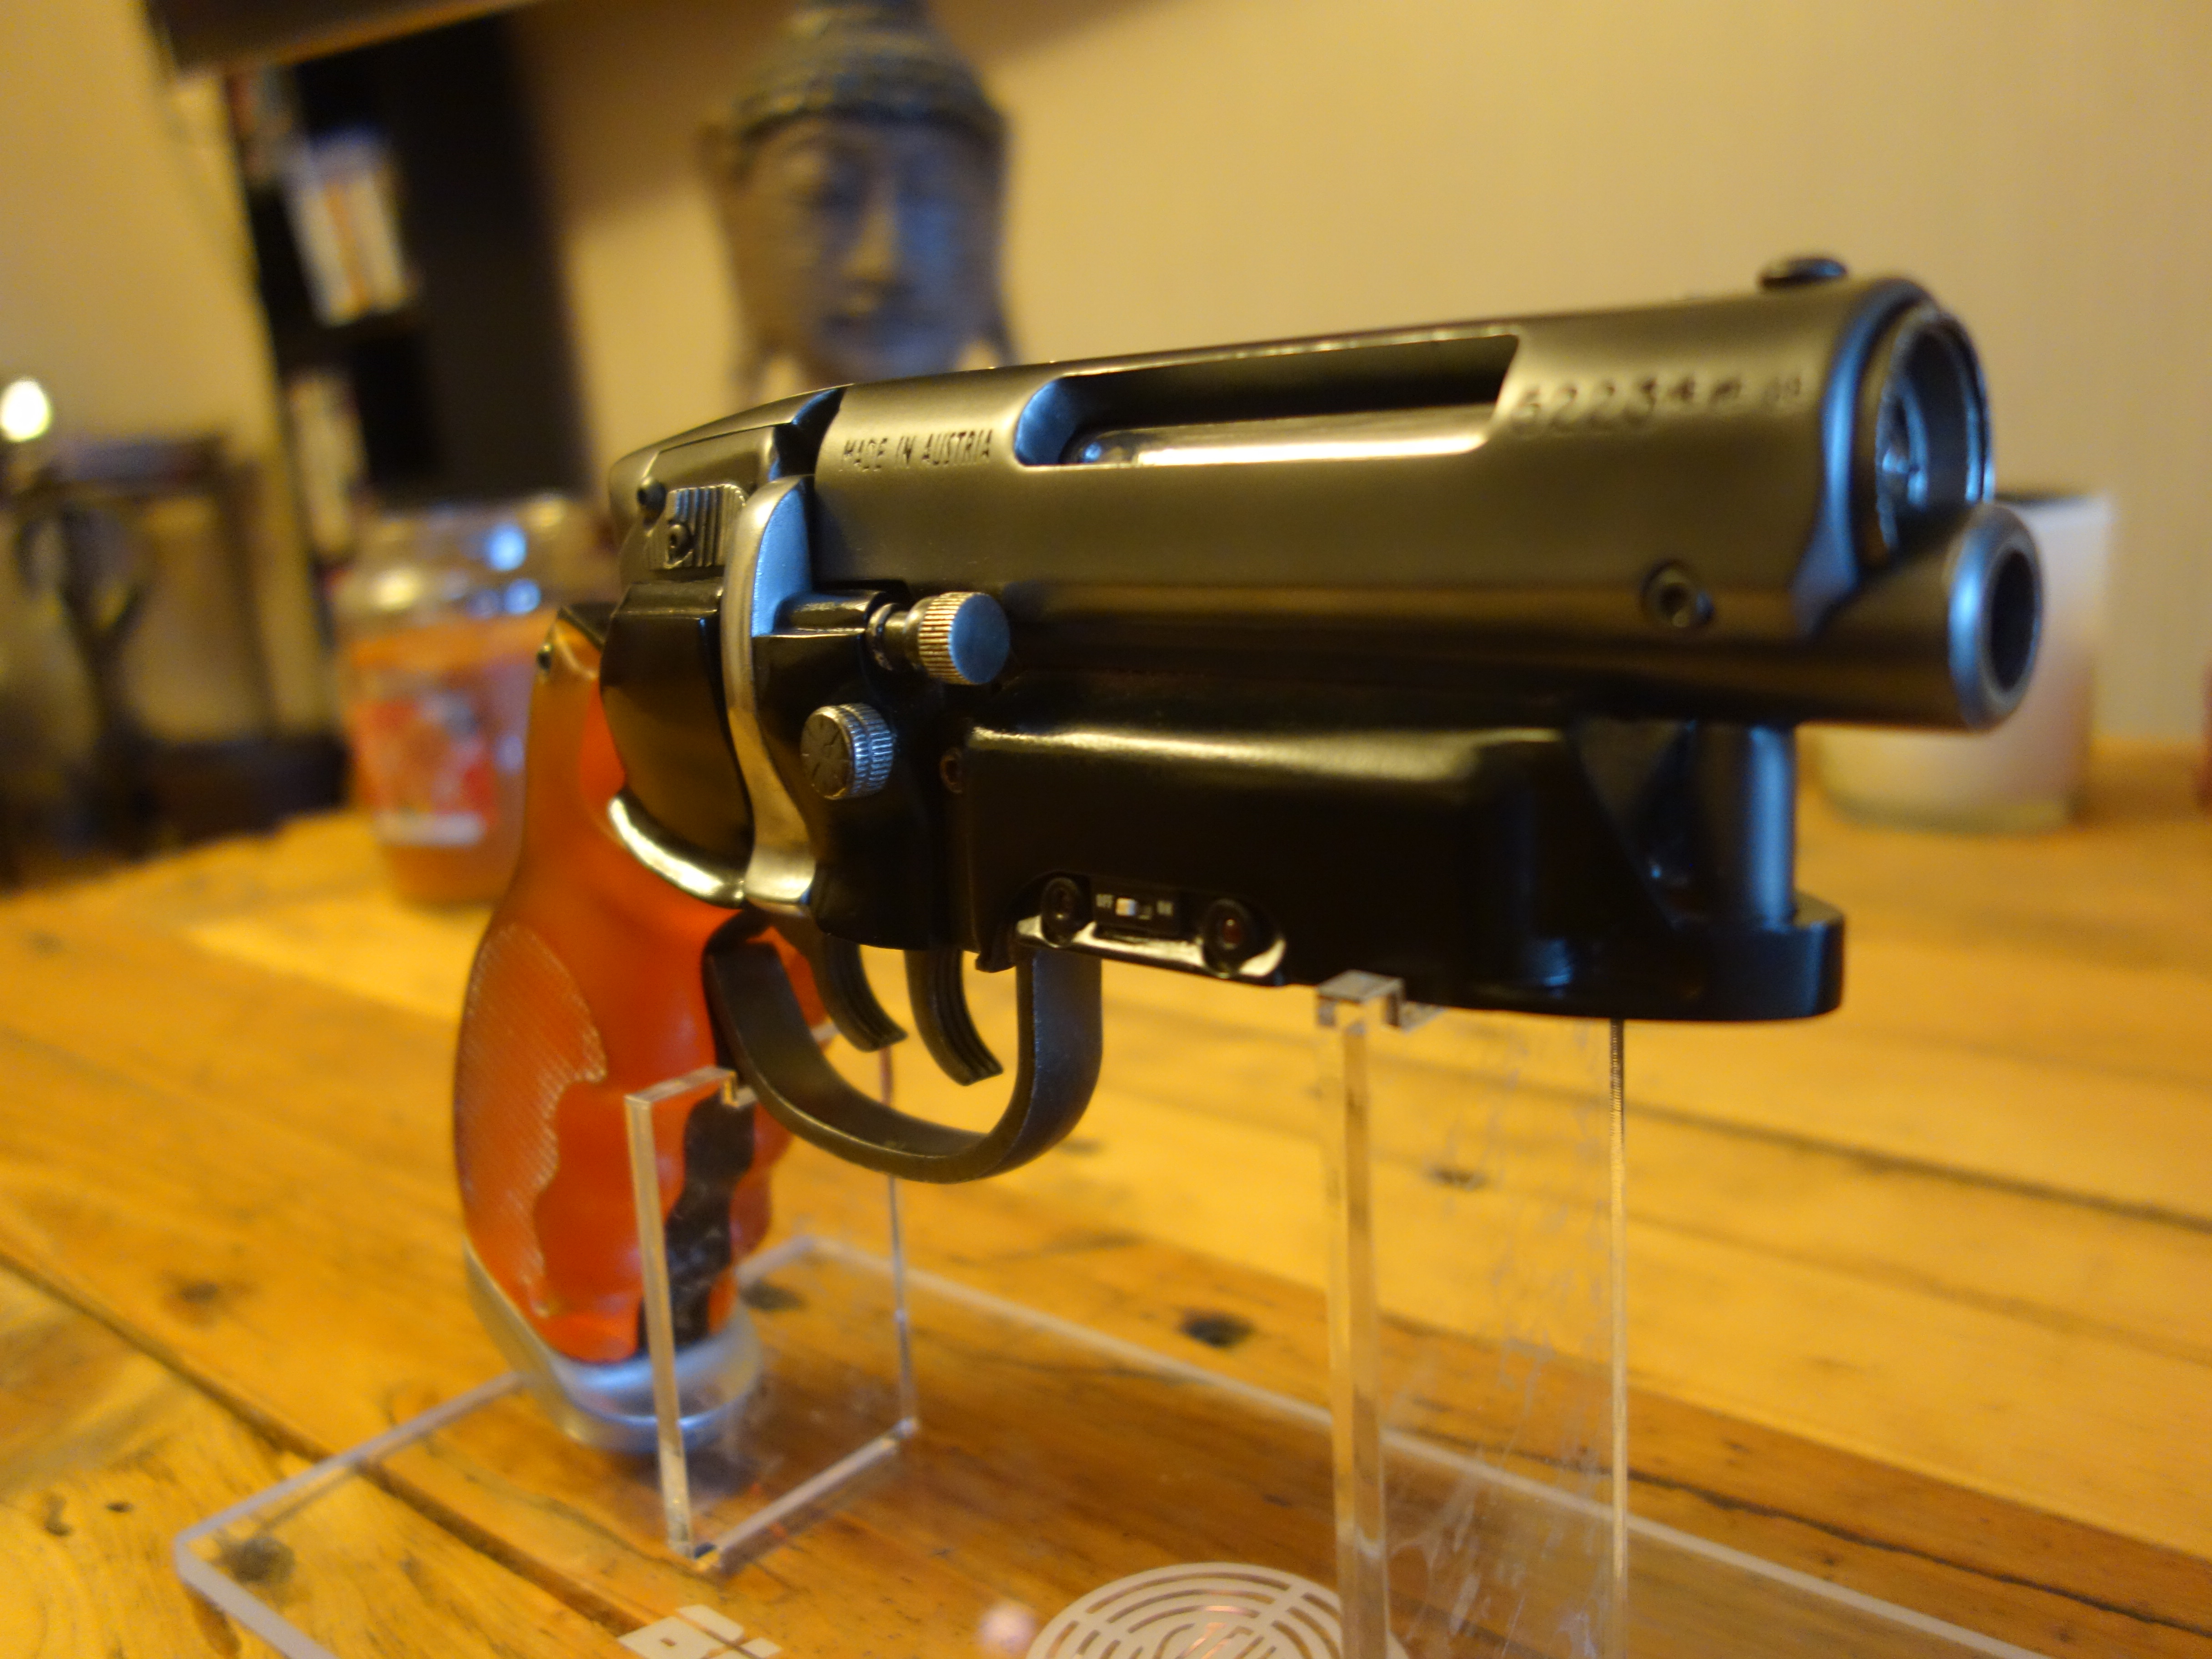
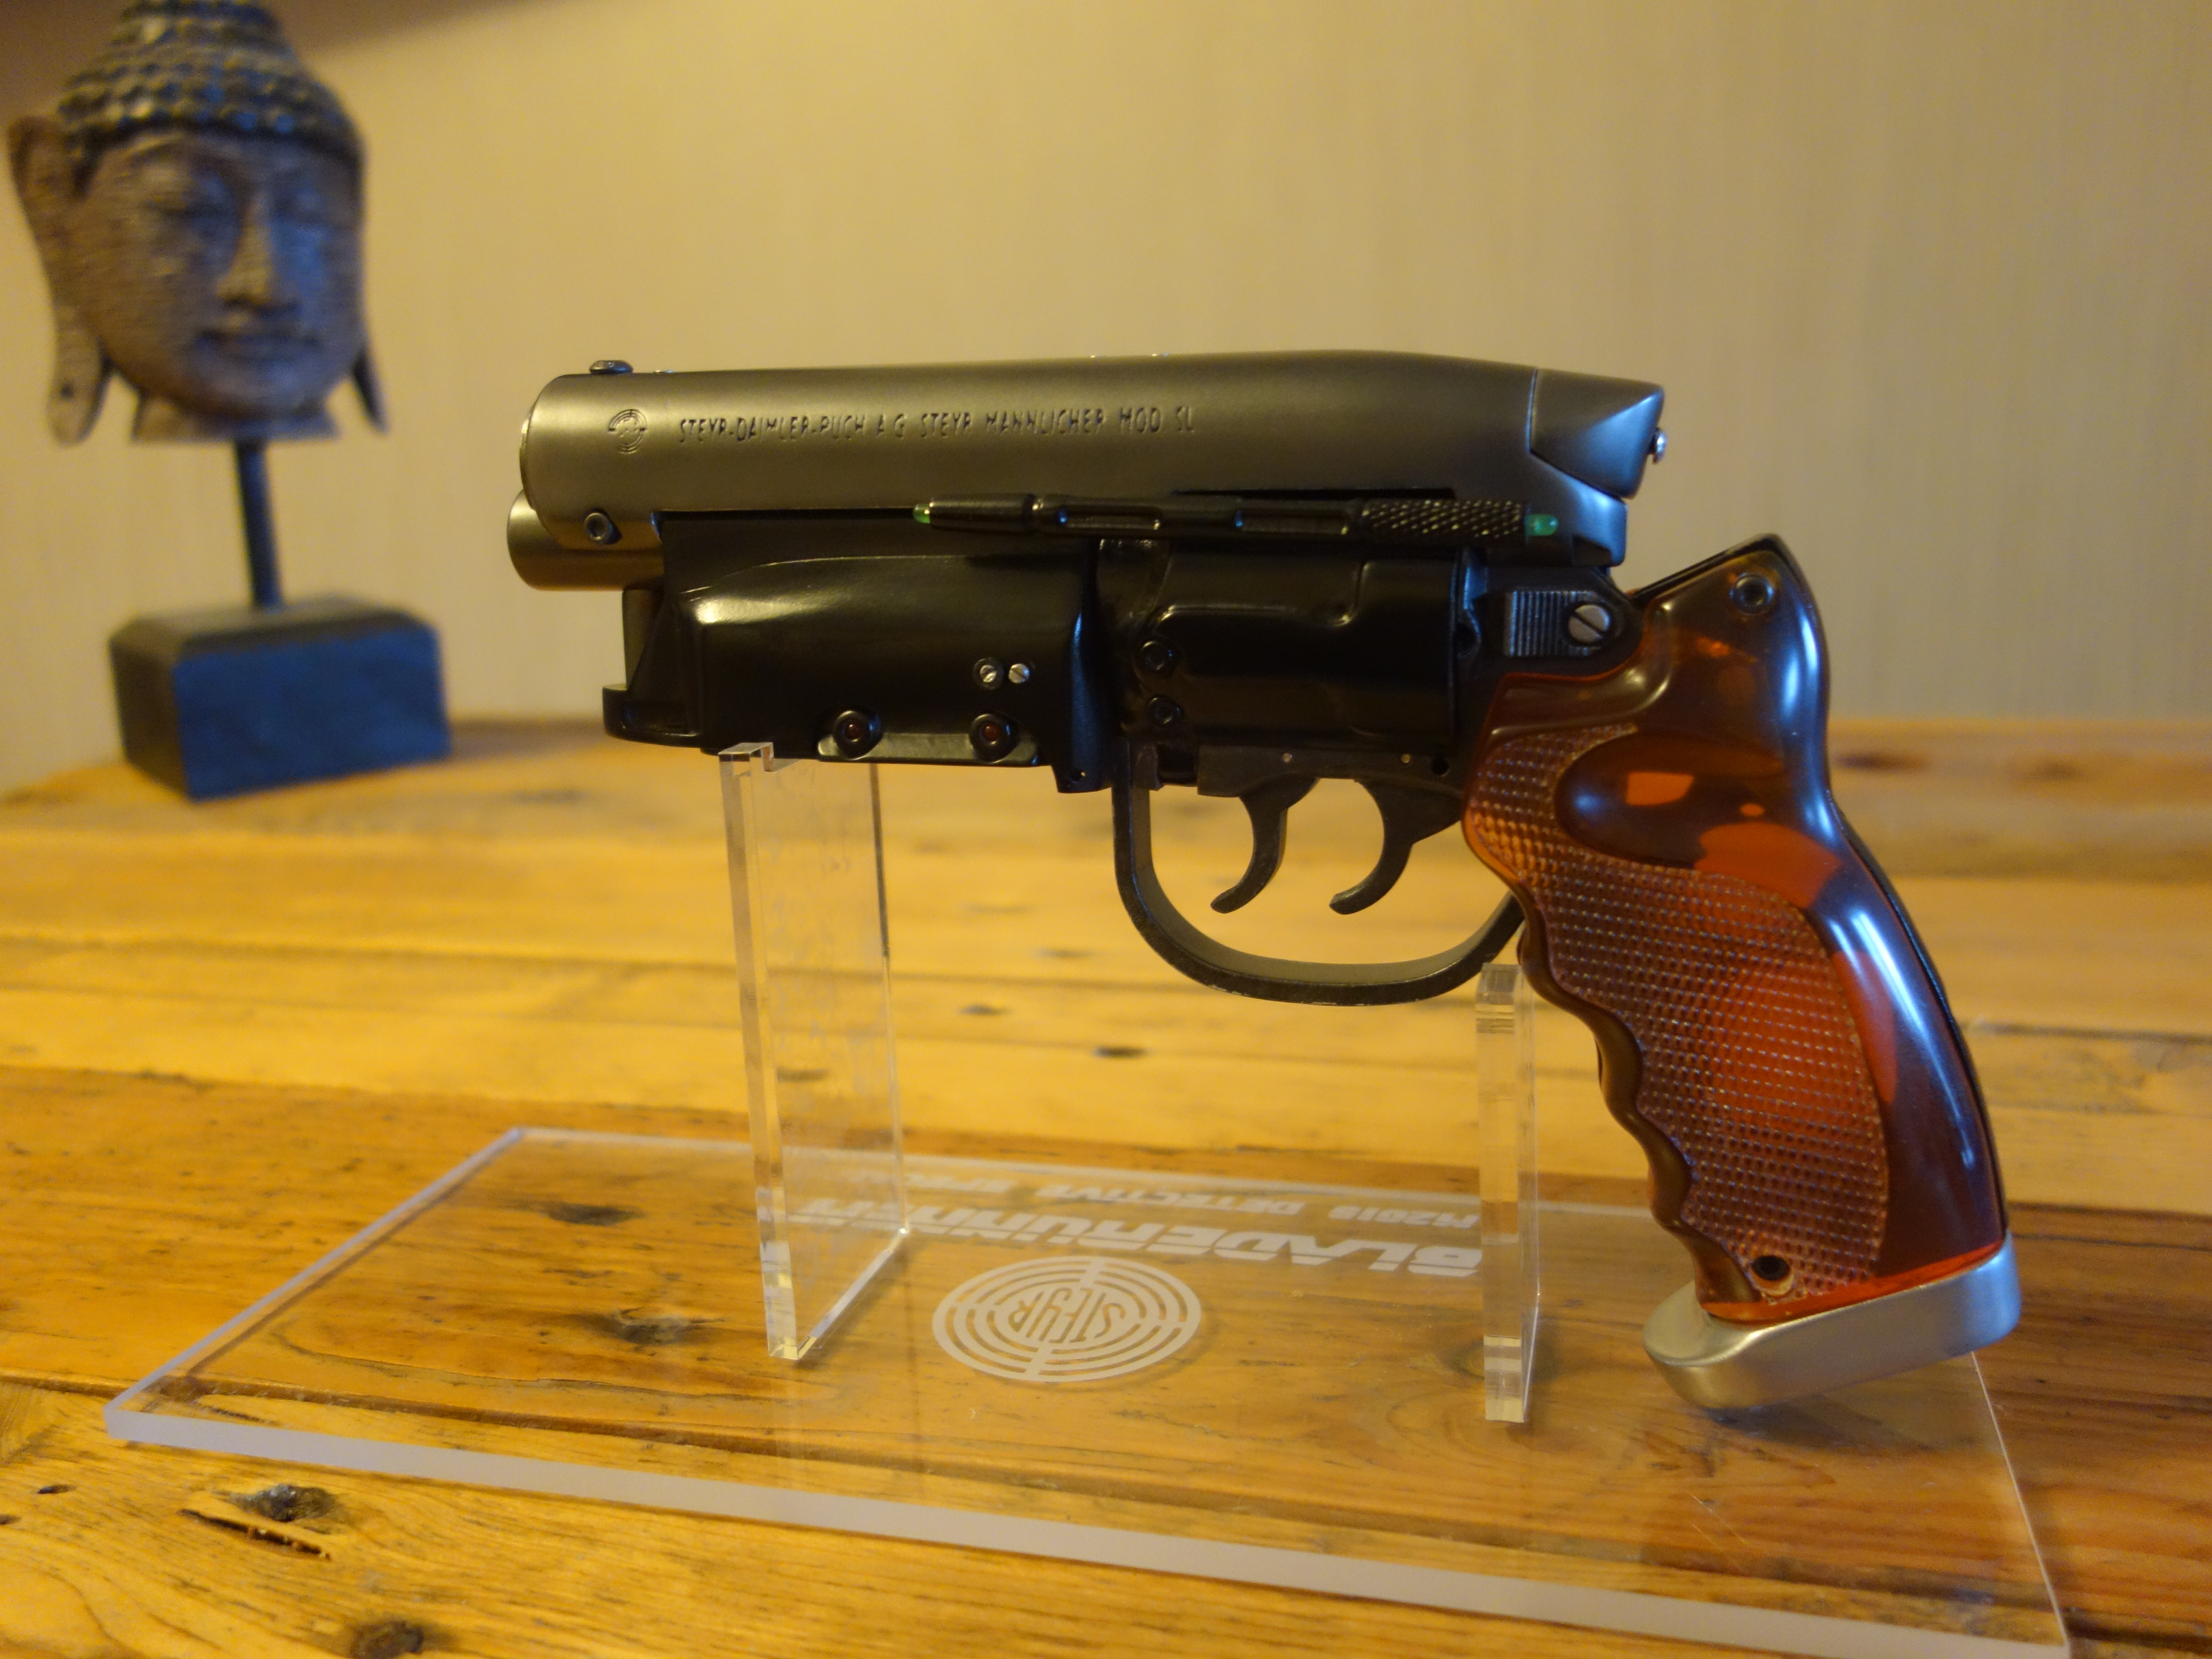
- Drilled barrel deeper so doesn't look blocked.
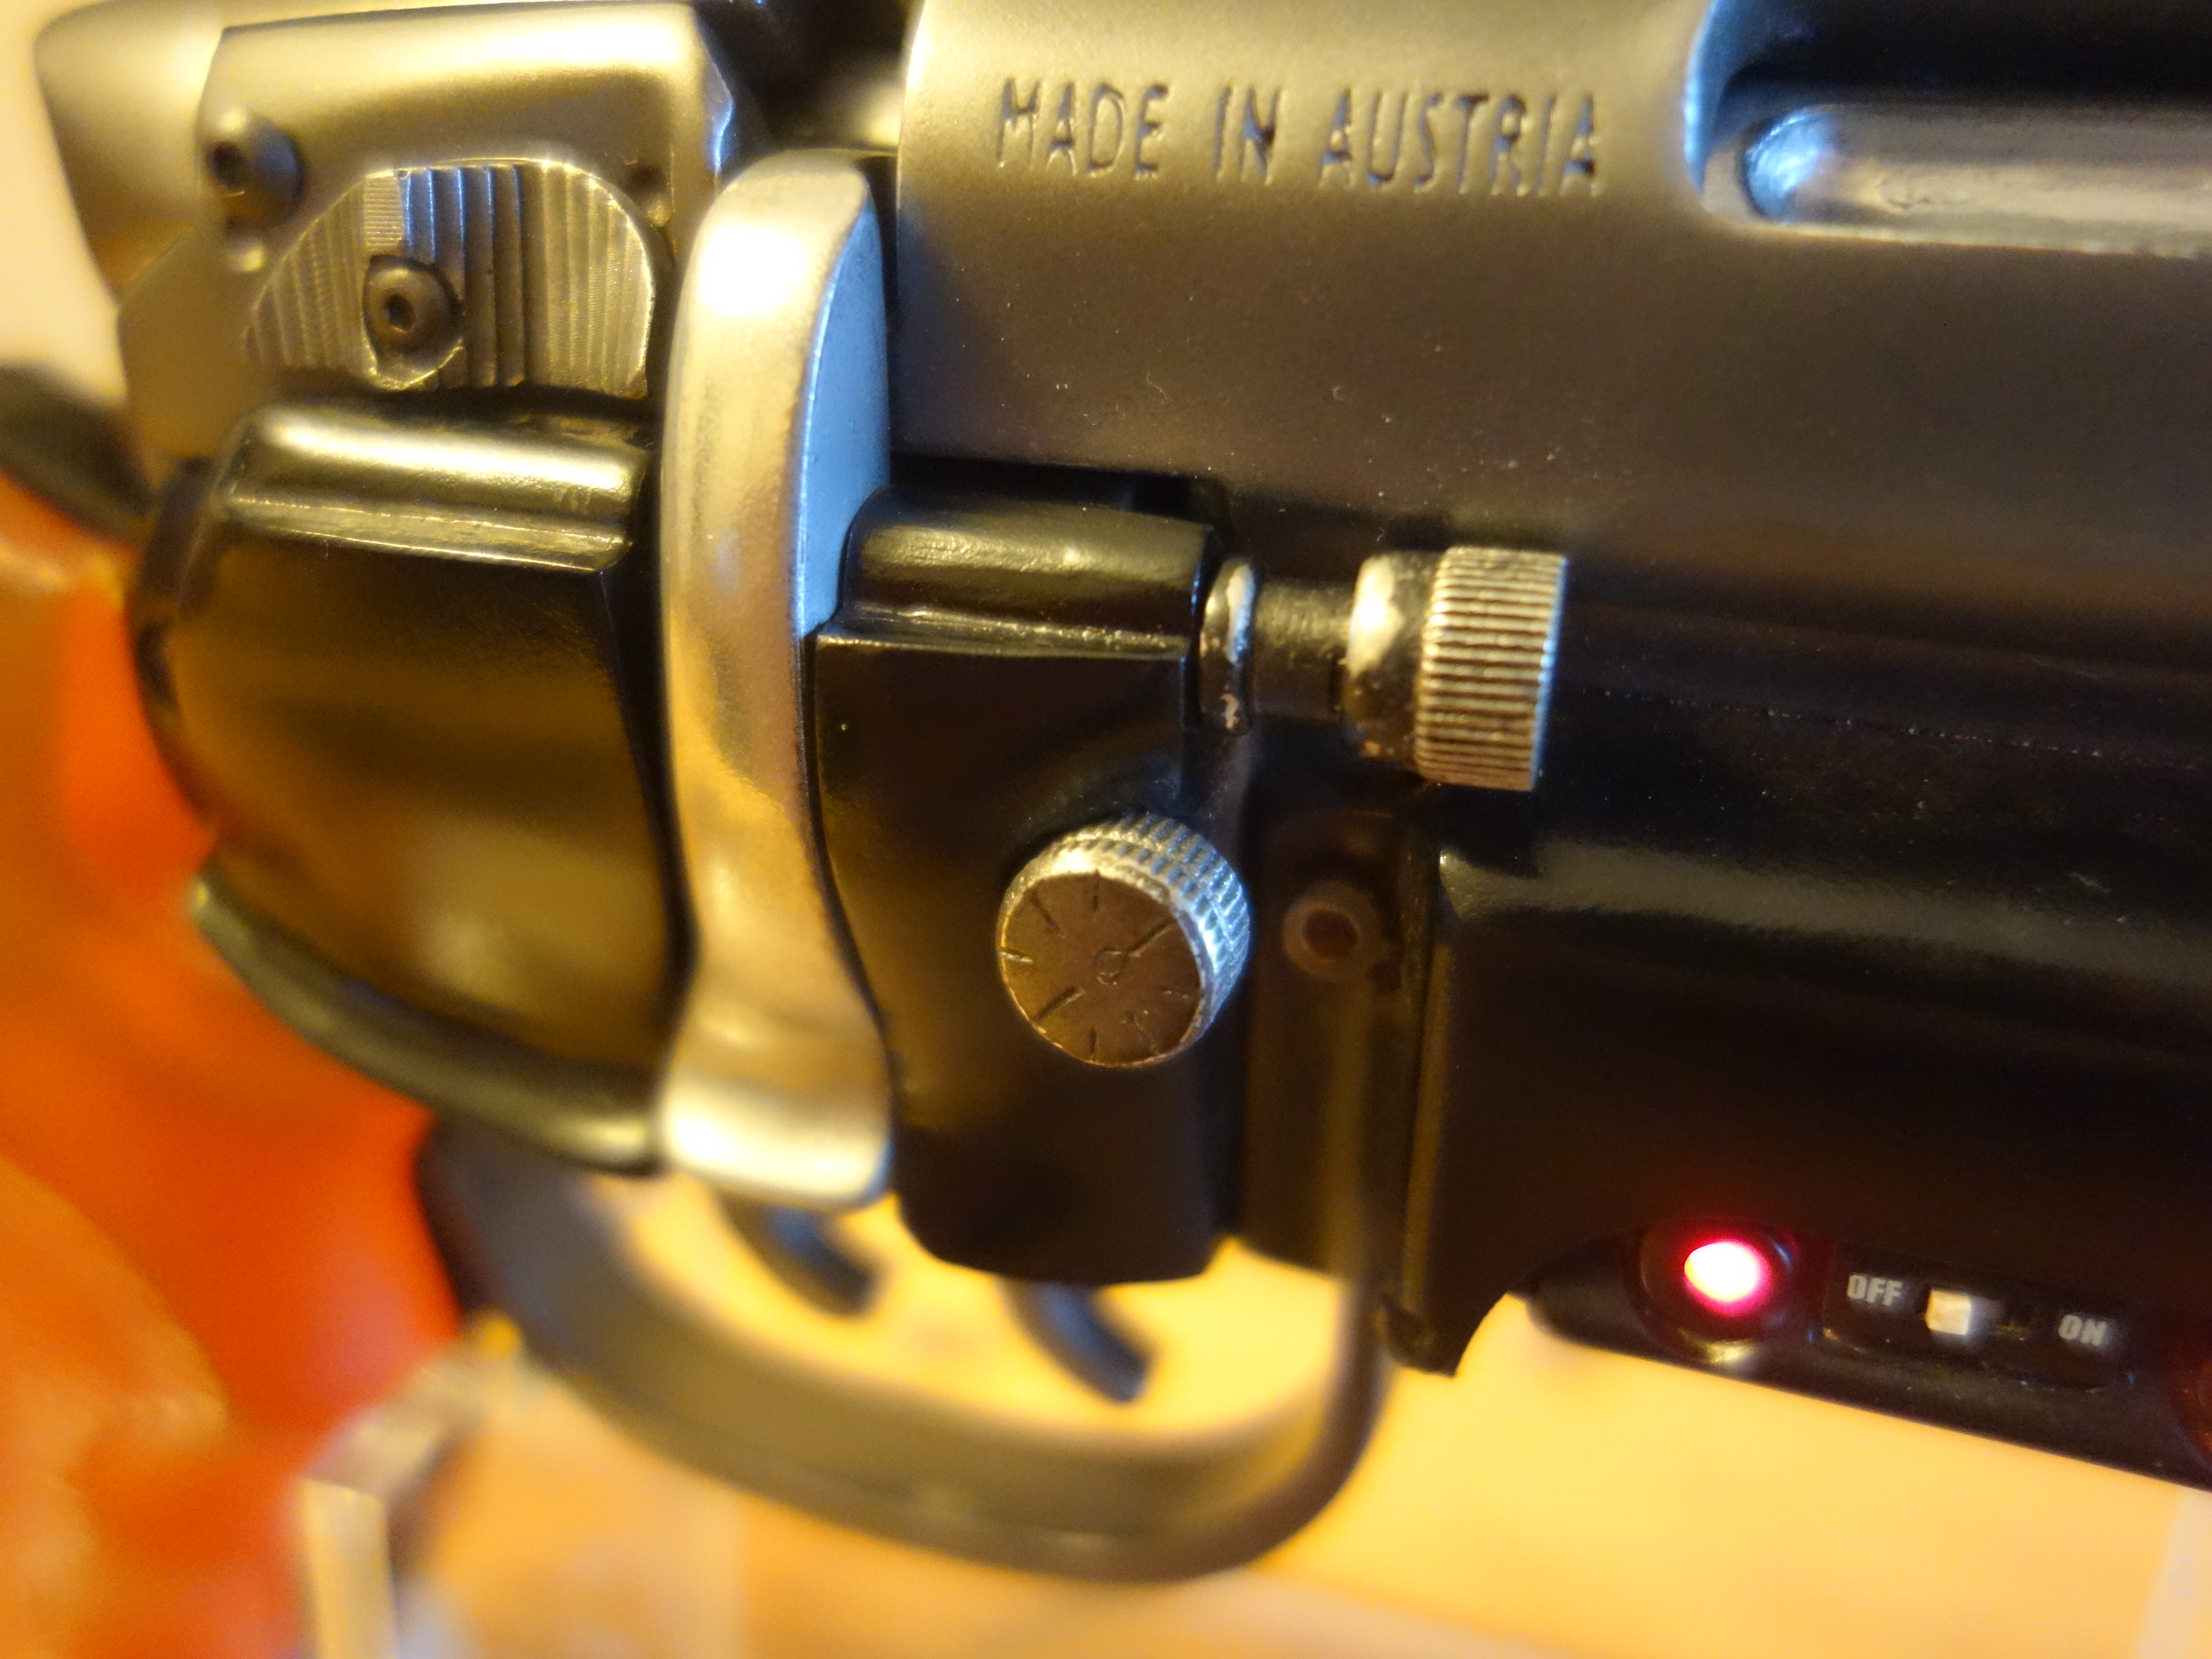
- Replaced the weavel/other knob with real metal pewter cast ones to give weight and real metallic detailing.
Things still to do:
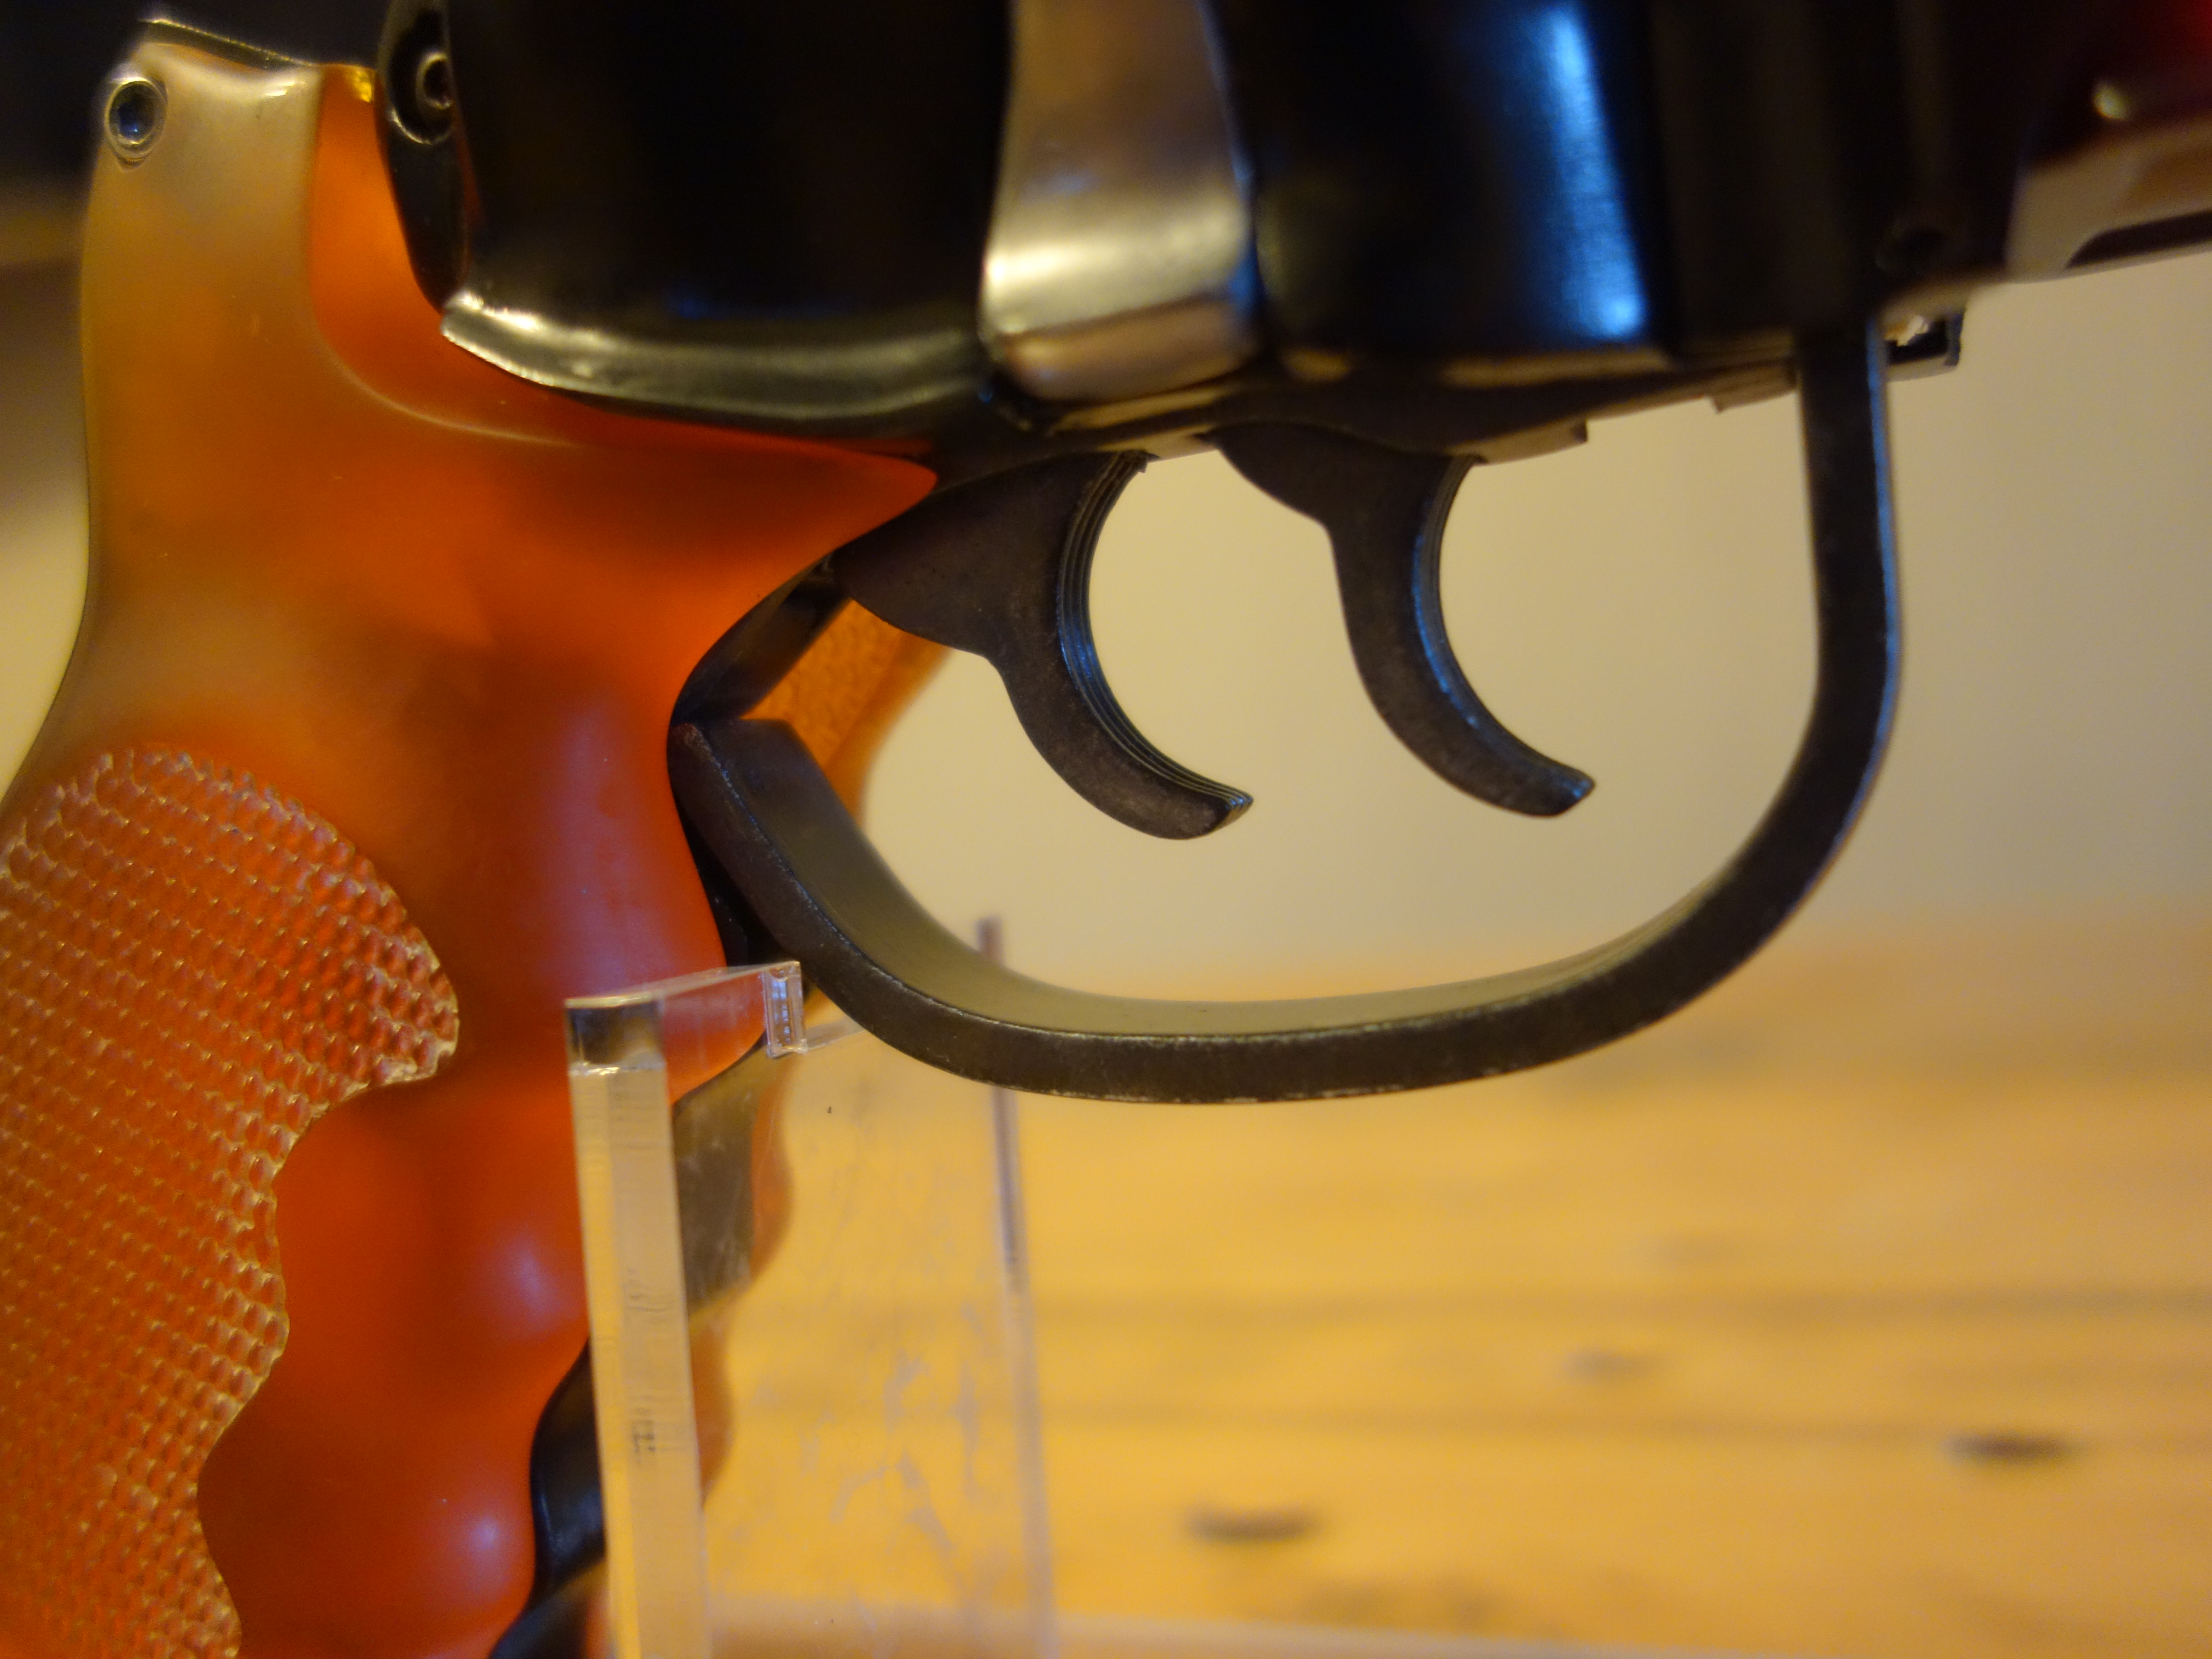
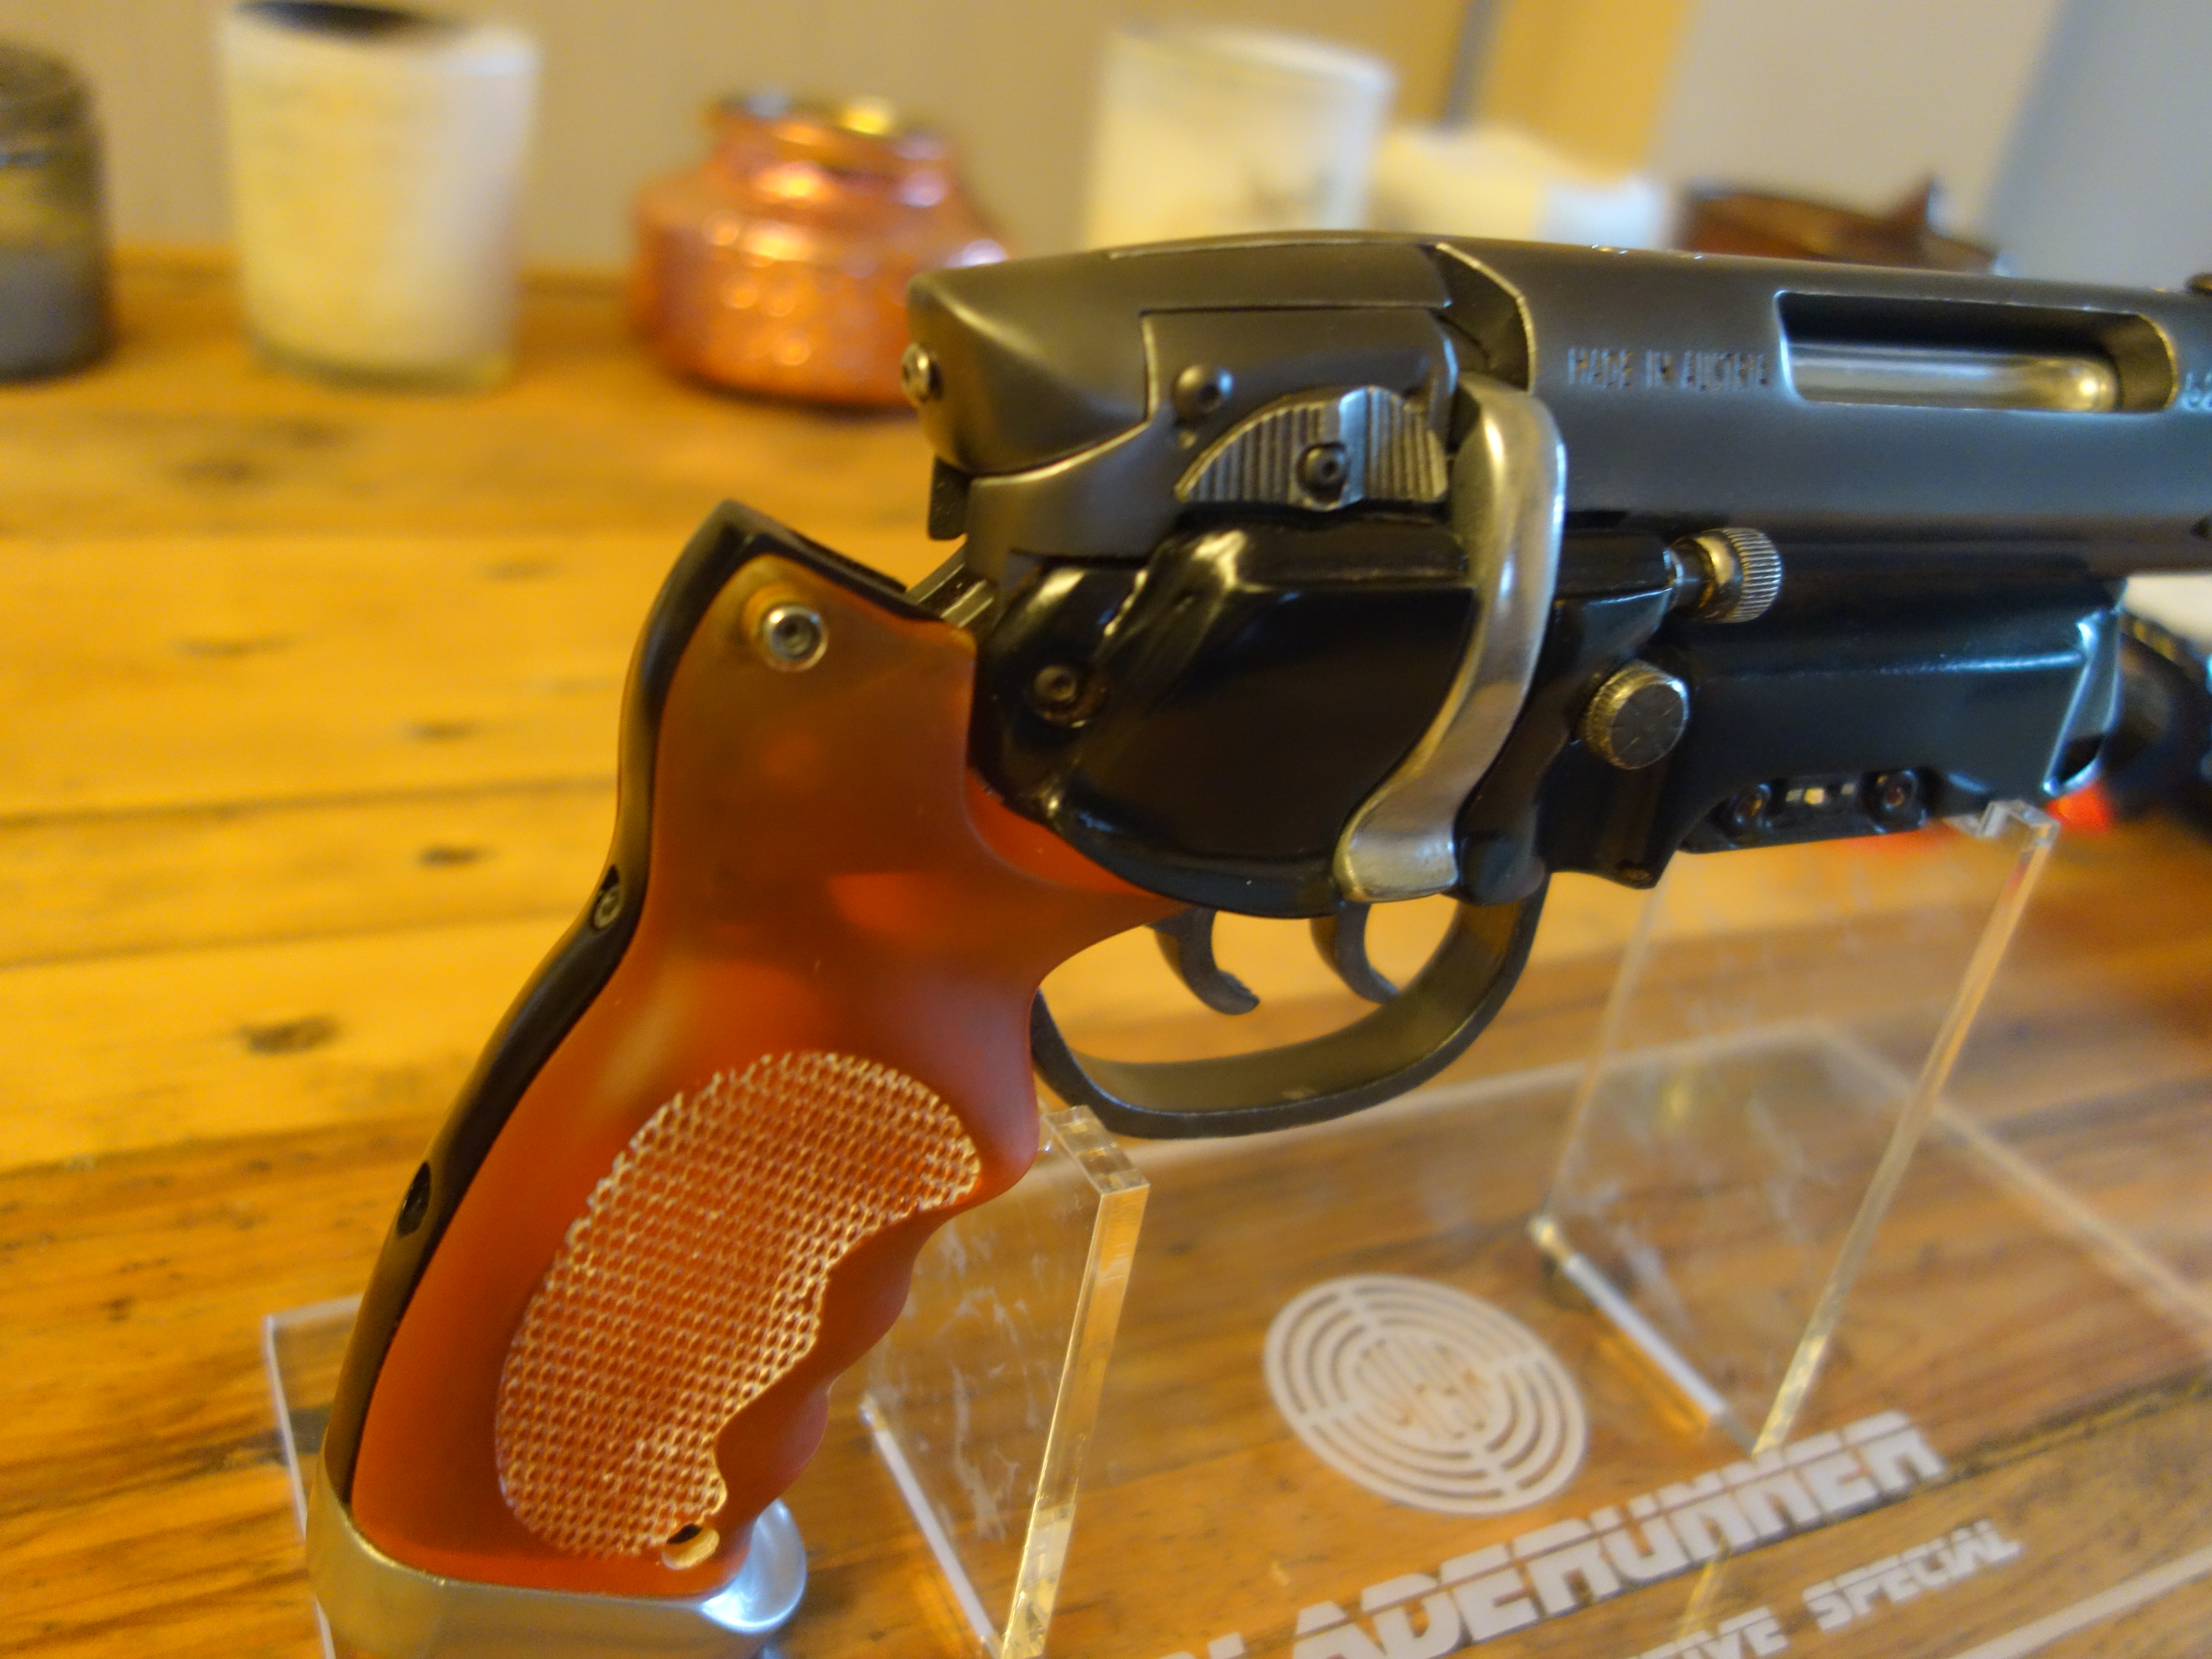
- Triggers and trigger guards still haven't been started yet (need smoothed, painted, and rub n' buff detailed)
- I can't get the handle grips glassy clear: one is ok but that's because I used shoe polish wax - which rubs off and is messy! The other is sanded to grit 3000 and still cloudy. Not sure how to make them glass-like.
- Can't decide if I like the shiny silver metal rifle lever. I had it the same as the body colour before but it seemed a bit boring and uninteresting with the barrel, body, and lever all the same colour. This makes it interesting but I'm not sure if it matches.
Last edited:


")