300 Spartan Costumes Interest Thread

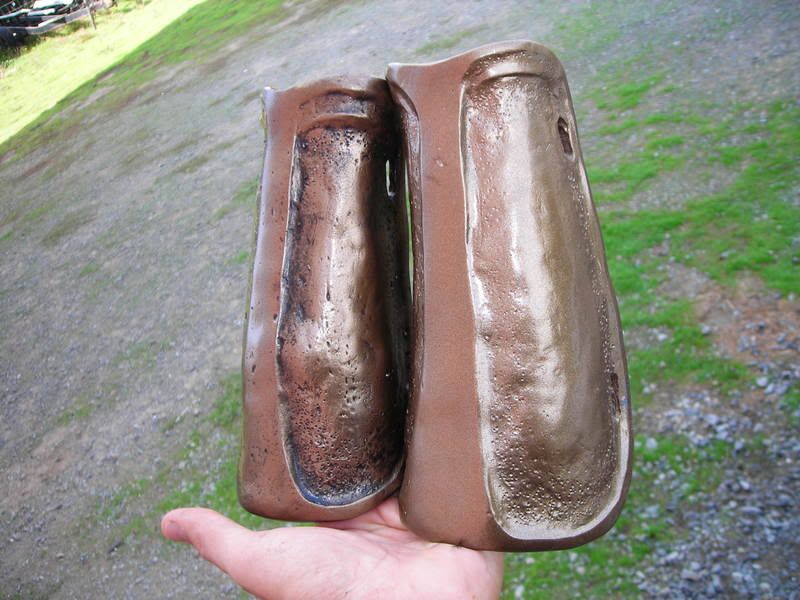
So this is the first of several posts showing pieces and parts of this year's costume for Halloween. Earlier in the month I sculpted out my greaves, but they're cocooned in mold rubber and I'm holding off on pics of them until they look interesting again.

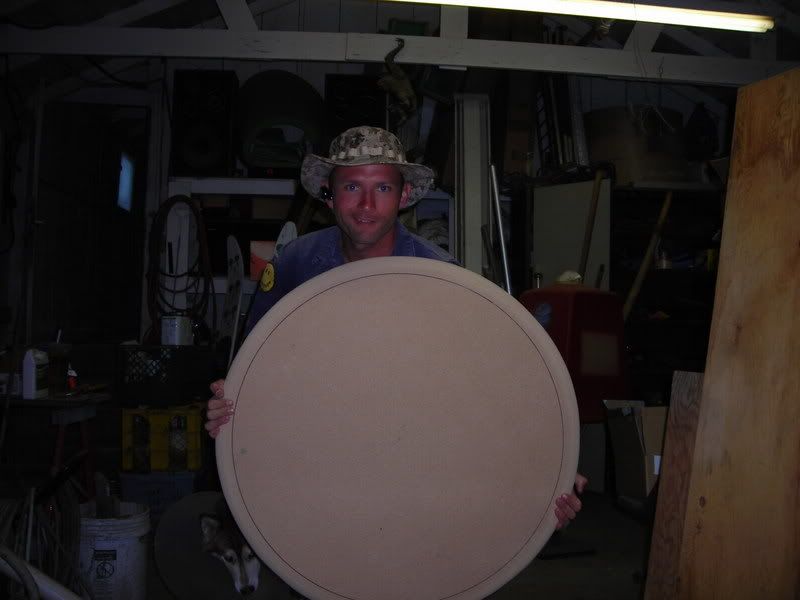
For now, this is the first step in making the shield:

ShieldMaking004.jpg


In case it's not completely clear, this is just a big circle (31.75 inches in diameter, in accordance with the specs for the film) cut from a piece of 3/4-inch medium density fiberboard. Once it was cut I took a grinder to it with a flapwheel sander to round off the outside edge.  Because this is supposed to look like Bronze Age craftsmanship, I couldn't just use a router and make a perfect edge.  Instead, I needed to make it look like I eyeballed it.

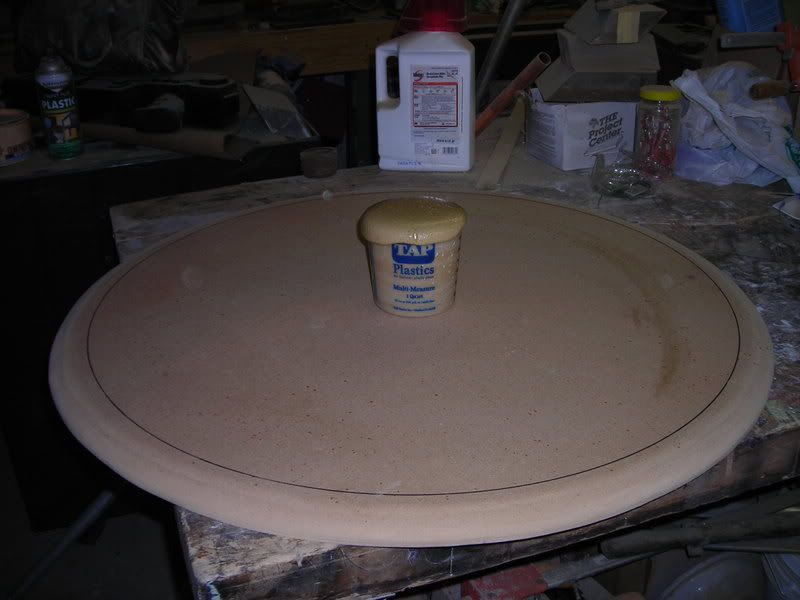
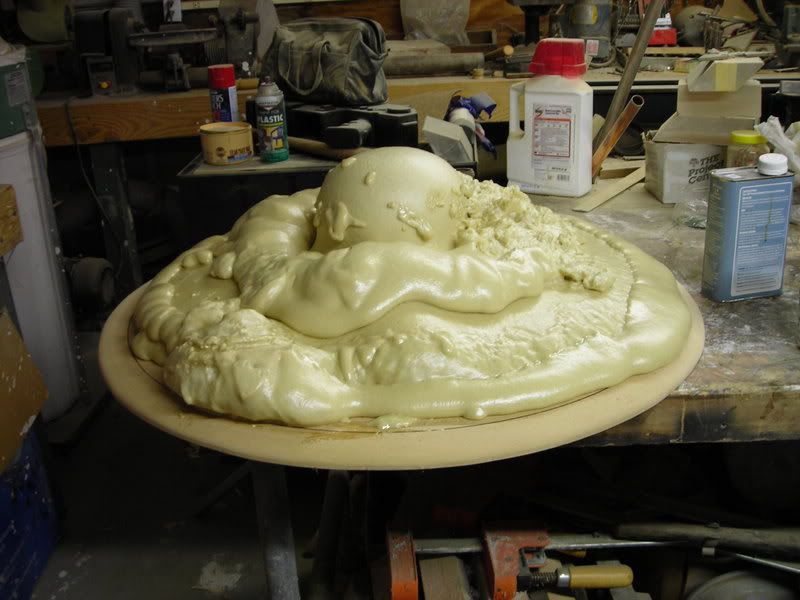
There is also a significant amount of depth to the final shield. To sculpt this would take way too much clay, so I started by fleshing it out with some expanding foam. This started like so:
ShieldMaking006.jpg


And ended up like so:
ShieldMaking010.jpg


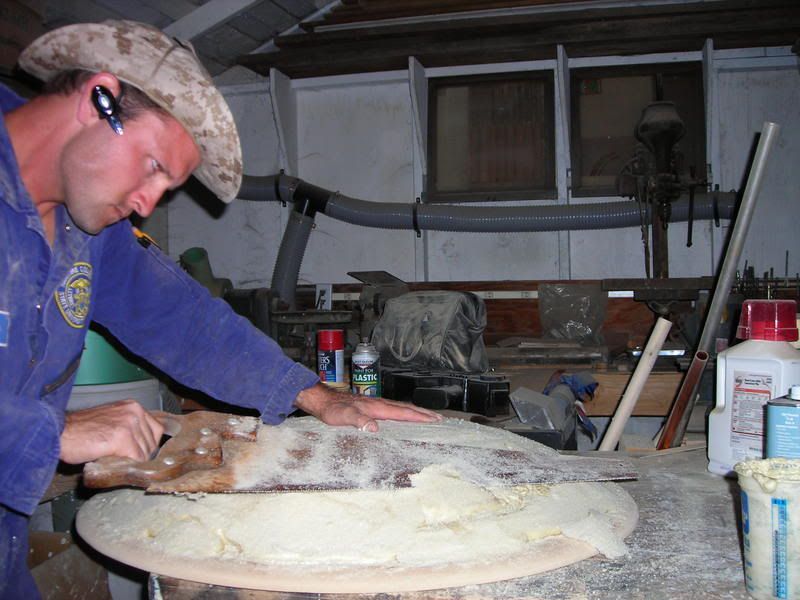
The cup in the middle of all of this mass was cut down to the prescribed 5-inch height of the shield so I can tell when to stop shaving this pile of foam down to the final shape.  For the actual shaping, I used a simple combination saw:

ShieldMaking019.jpg


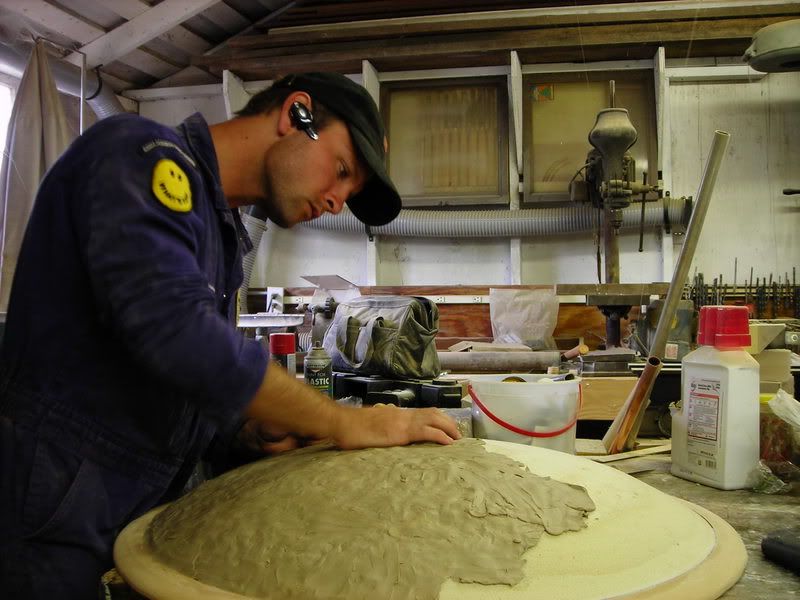
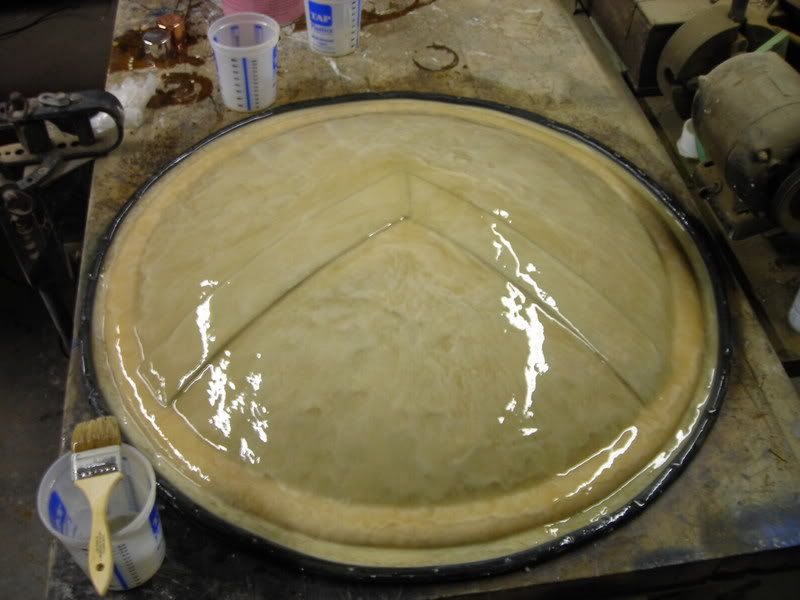
Since the shields in the movie don't have a surface that looks like it was made of foam, I had to build a clay skin over the top of it to sculpt the details into:

ShieldMaking024.jpg


The detailing process essentially involved smoothing the clay using various tools and a heat gun, then pushing dimples and dents into the surface using every sort of blunt instrument I could find in the shop as well as my fingertips.

ShieldMaking031.jpg


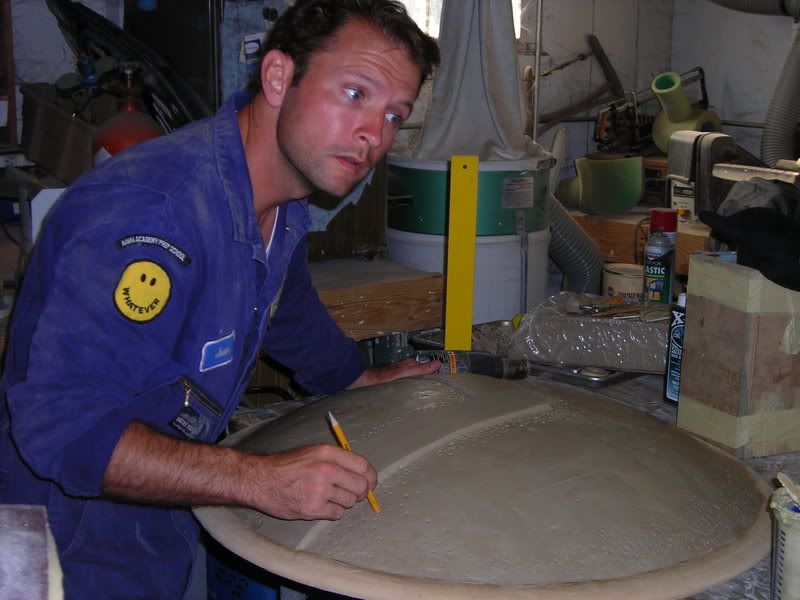
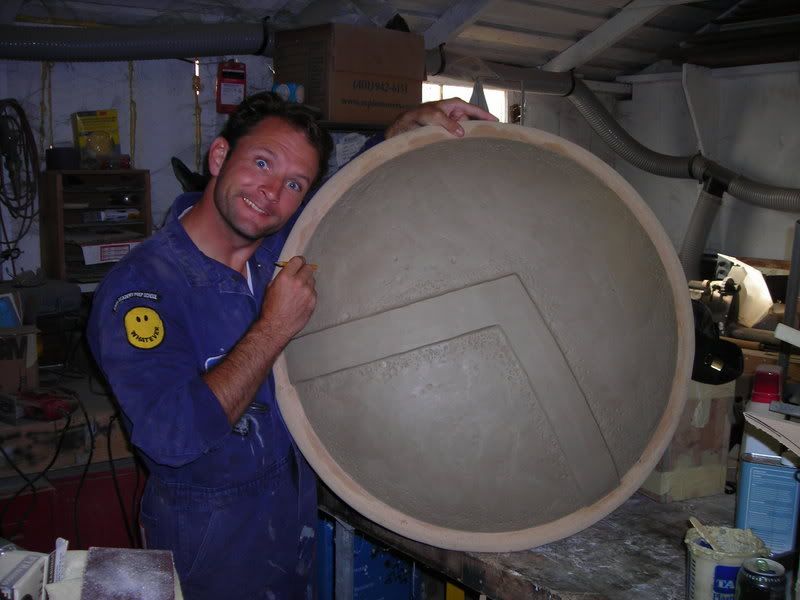
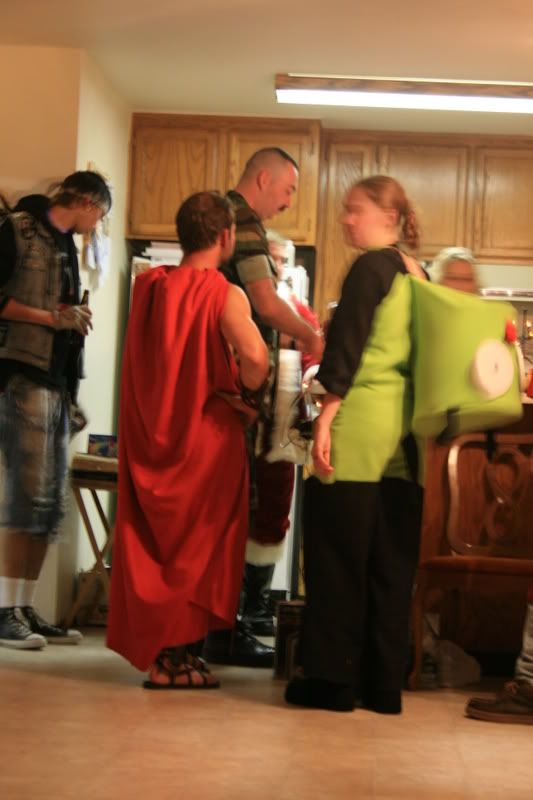
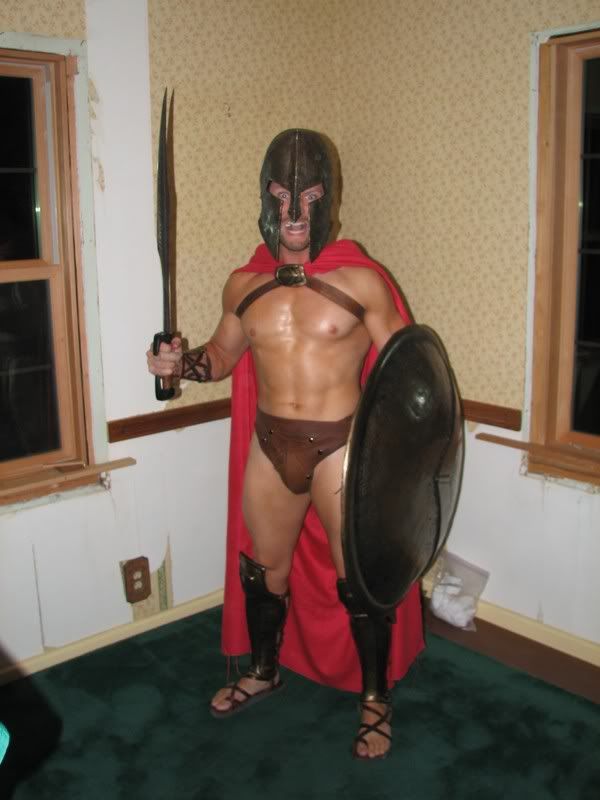
The project took most of the day, but the end result was satisfactory. Believe it or not, there was no alcohol involved in this project despite the look on my face:

ShieldMaking032.jpg


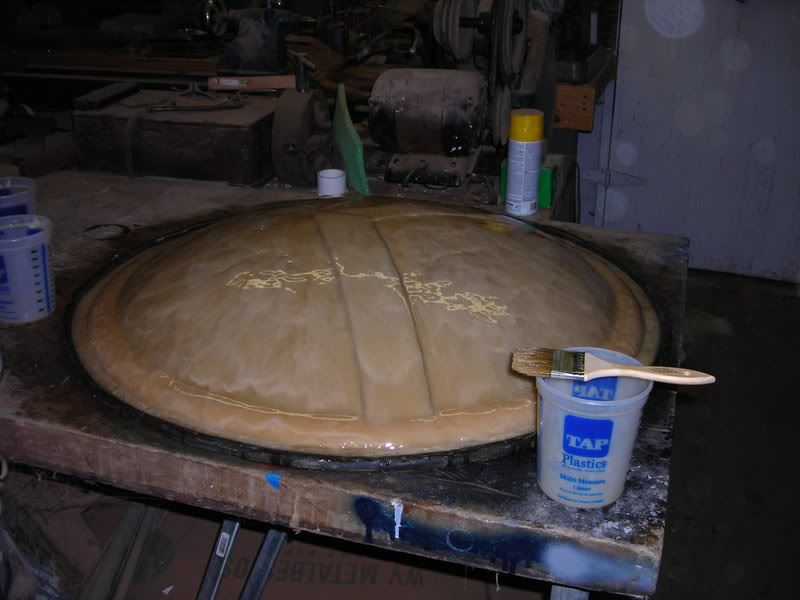
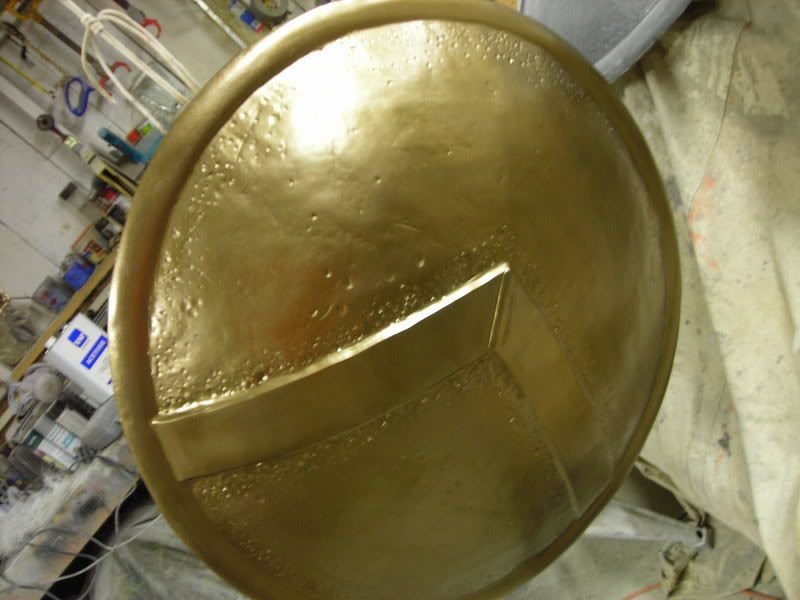
Of course, the more I look at my reference pictures, the more problems I tend to notice. The only thing I have yet to fix is the missing ridge at the top of the chevron in the middle of the shield:

300_phalanx.jpg


I'll get to that today. Then the next step will be making the molds and cranking out copies in fiberglass. Then all I have left to do is paint it and run around in leather Spartan speedos. I haven't started stitching the Spardos together yet.

Stand by for further updates.

In a related query, could anybody else use one of my shields in fiberglass or cold-molded bronze? I haven't settled on a price just yet, but I'll be casting them next week if anyone is interested.
 
I started putting together the mold last night. I will be layering it some more today and making a mother mold in the next 48 hours or so.

I don't want anyone to get too excited about these for Halloween. I won't be able to make any castings at all until Monday at least and even then there's still shipping time to consider.

That said, I'm not going to have a solid idea of material costs per shield until I have the first one out of the mold. I'll let everyone know as soon as I've got a price nailed down.

In the meantime, here's a couple shots of the mold as it sits right now this is a 2-part RTV urethane rubber and I need to build it a bit thicker:

ShieldMaking043.jpg


ShieldMaking047.jpg
 
Here's a quick shot of the first successful pull from the mold. I haven't done the black wash to accentuate the details yet, but I'm happy with the look so far:

ShopProgress018.jpg


The shield is huge and requires a lot of time and material to build. I started with a layer of casting resin to pick up all of the details on the surface. The next step was to laminate in a couple of layers of fiberglass matt for strength. Over the top of the fiberglass, I bondo-ed the inside of the edge to give it some thickness and then added more fiberglass to sandwich the bondo into the structure of the shield. It's not exactly bulletproof, but it will hold up to some significant abuse.

I'm thinking I should be able to sell raw cast copies in dark grey resin for $250 each plus shipping, but I'd like to streamline my production process a bit before I start offering to sell them. Let me know if this sounds too expensive.

Here's another shot that shows the rest of my hard parts hanging up so the paint can dry. The only one I didn't sculpt myself is the helmet which I got from SGT Fang.

ShopProgress038.jpg


The gaunts and greaves are an absolutely airtight fit since I sculpted them on lifecasts of my arms and legs.
 
I went ahead and put a black wash on all of the hard parts of my costume. Here's the SGT Fang helmet in progress:

Blackwash009.jpg


These are the braces. The one on the left has been blackwashed and the one on the right is still just plain bronze paint. You can see how well it pops out the details:

Blackwash008.jpg


Once the painting was done it was time to get my cape stitched together.
The whole thing is made up of three yards of Tussah weave silk. The top two feet have some quilt batting sewn in to add some thickness and help the cape drape a bit better and bulk up the shoulders a bit:

Blackwash010.jpg


Al but the bottom six inches are actually two layers of fabric sewn together to add some weight:

HalloweenPartyOne083.jpg


With all of the parts complete, it was time to add some oil and go out:

HalloweenPartyTwo002.jpg


The whole thing got more attention than I'd have ever anticipated and if any of you are thinking of whether or not it's worth sportin' the spardos, I highly recommend it.
 
Back
Top