You are using an out of date browser. It may not display this or other websites correctly.
You should upgrade or use an alternative browser.
You should upgrade or use an alternative browser.
Nike MAG replicas (V2 and V3 only)
- Thread starter lukebrynycz
- Start date
-
- Tags
- back to the future


cavx
Master Member
WOW! Amazing. Thank you.
OK. I think that is the seams between the 1st and 2nd laces. This means the toe is a separate part. The actual patterns suggest that anyway. I was just being creative joining mine. I don't think it will matter too much, but when it comes to making a cloth version that must be flipped, there could be a problem.
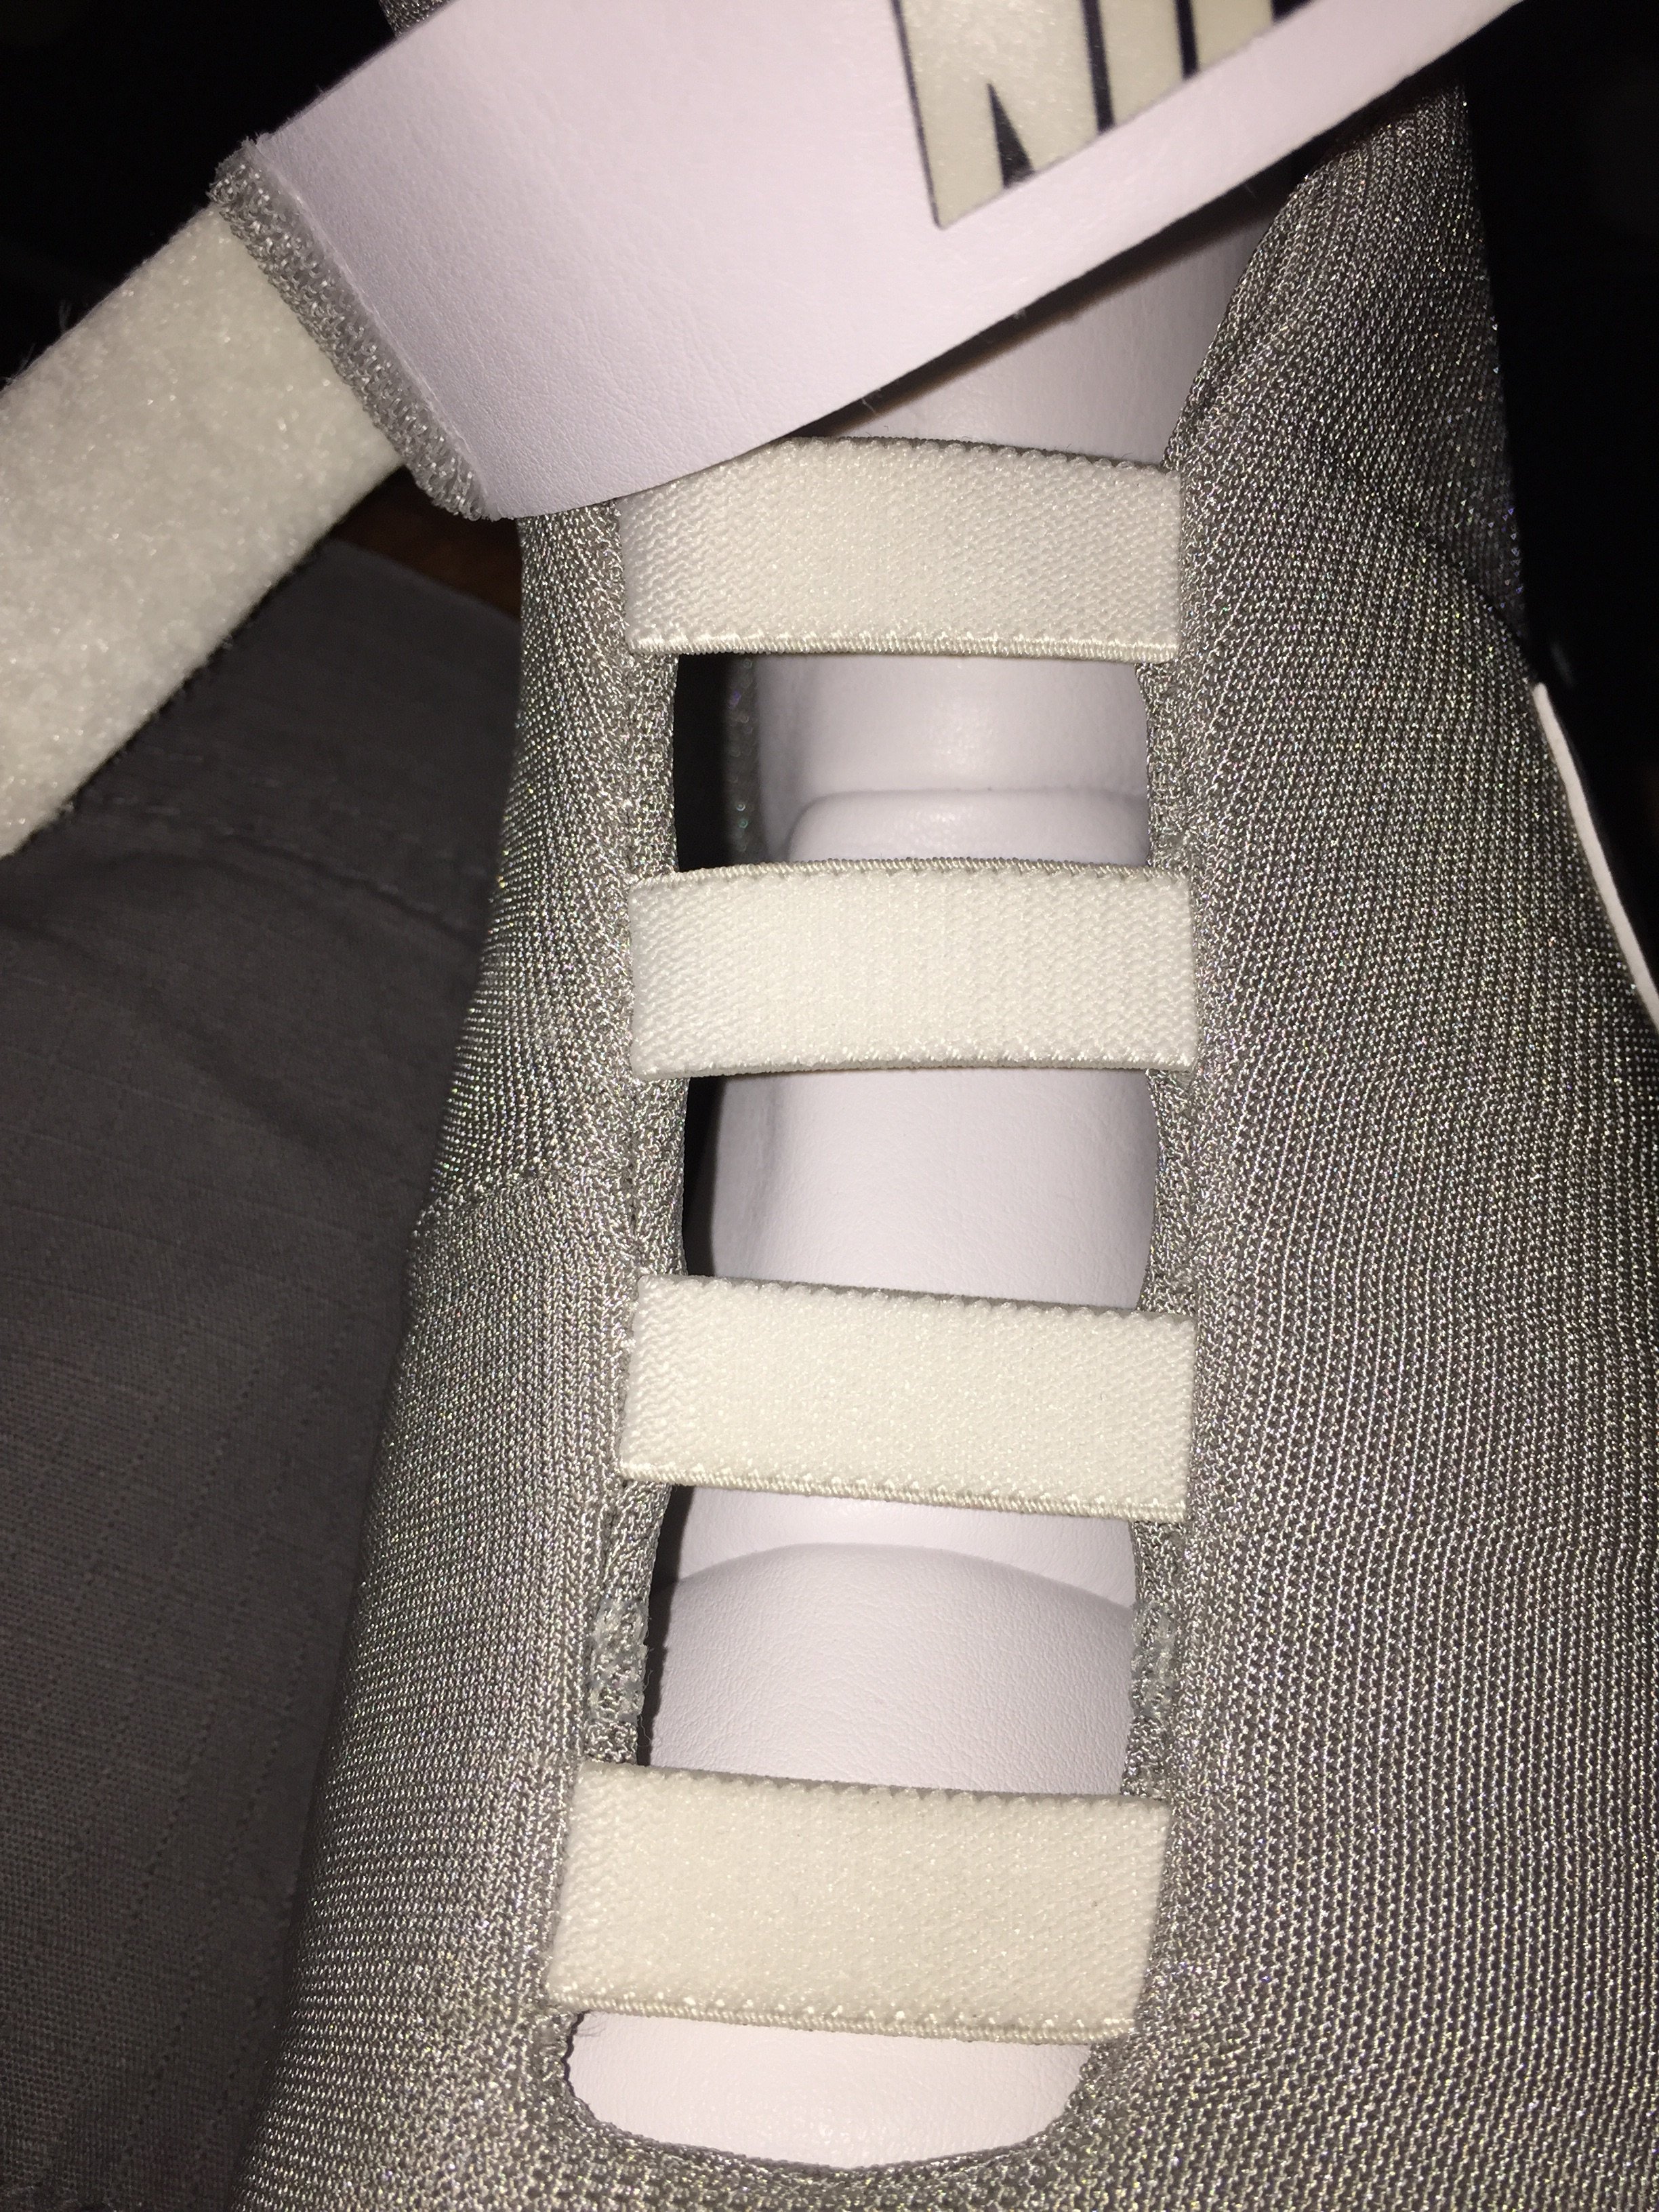
So looking into the shoe, is there no internal seam at all here?
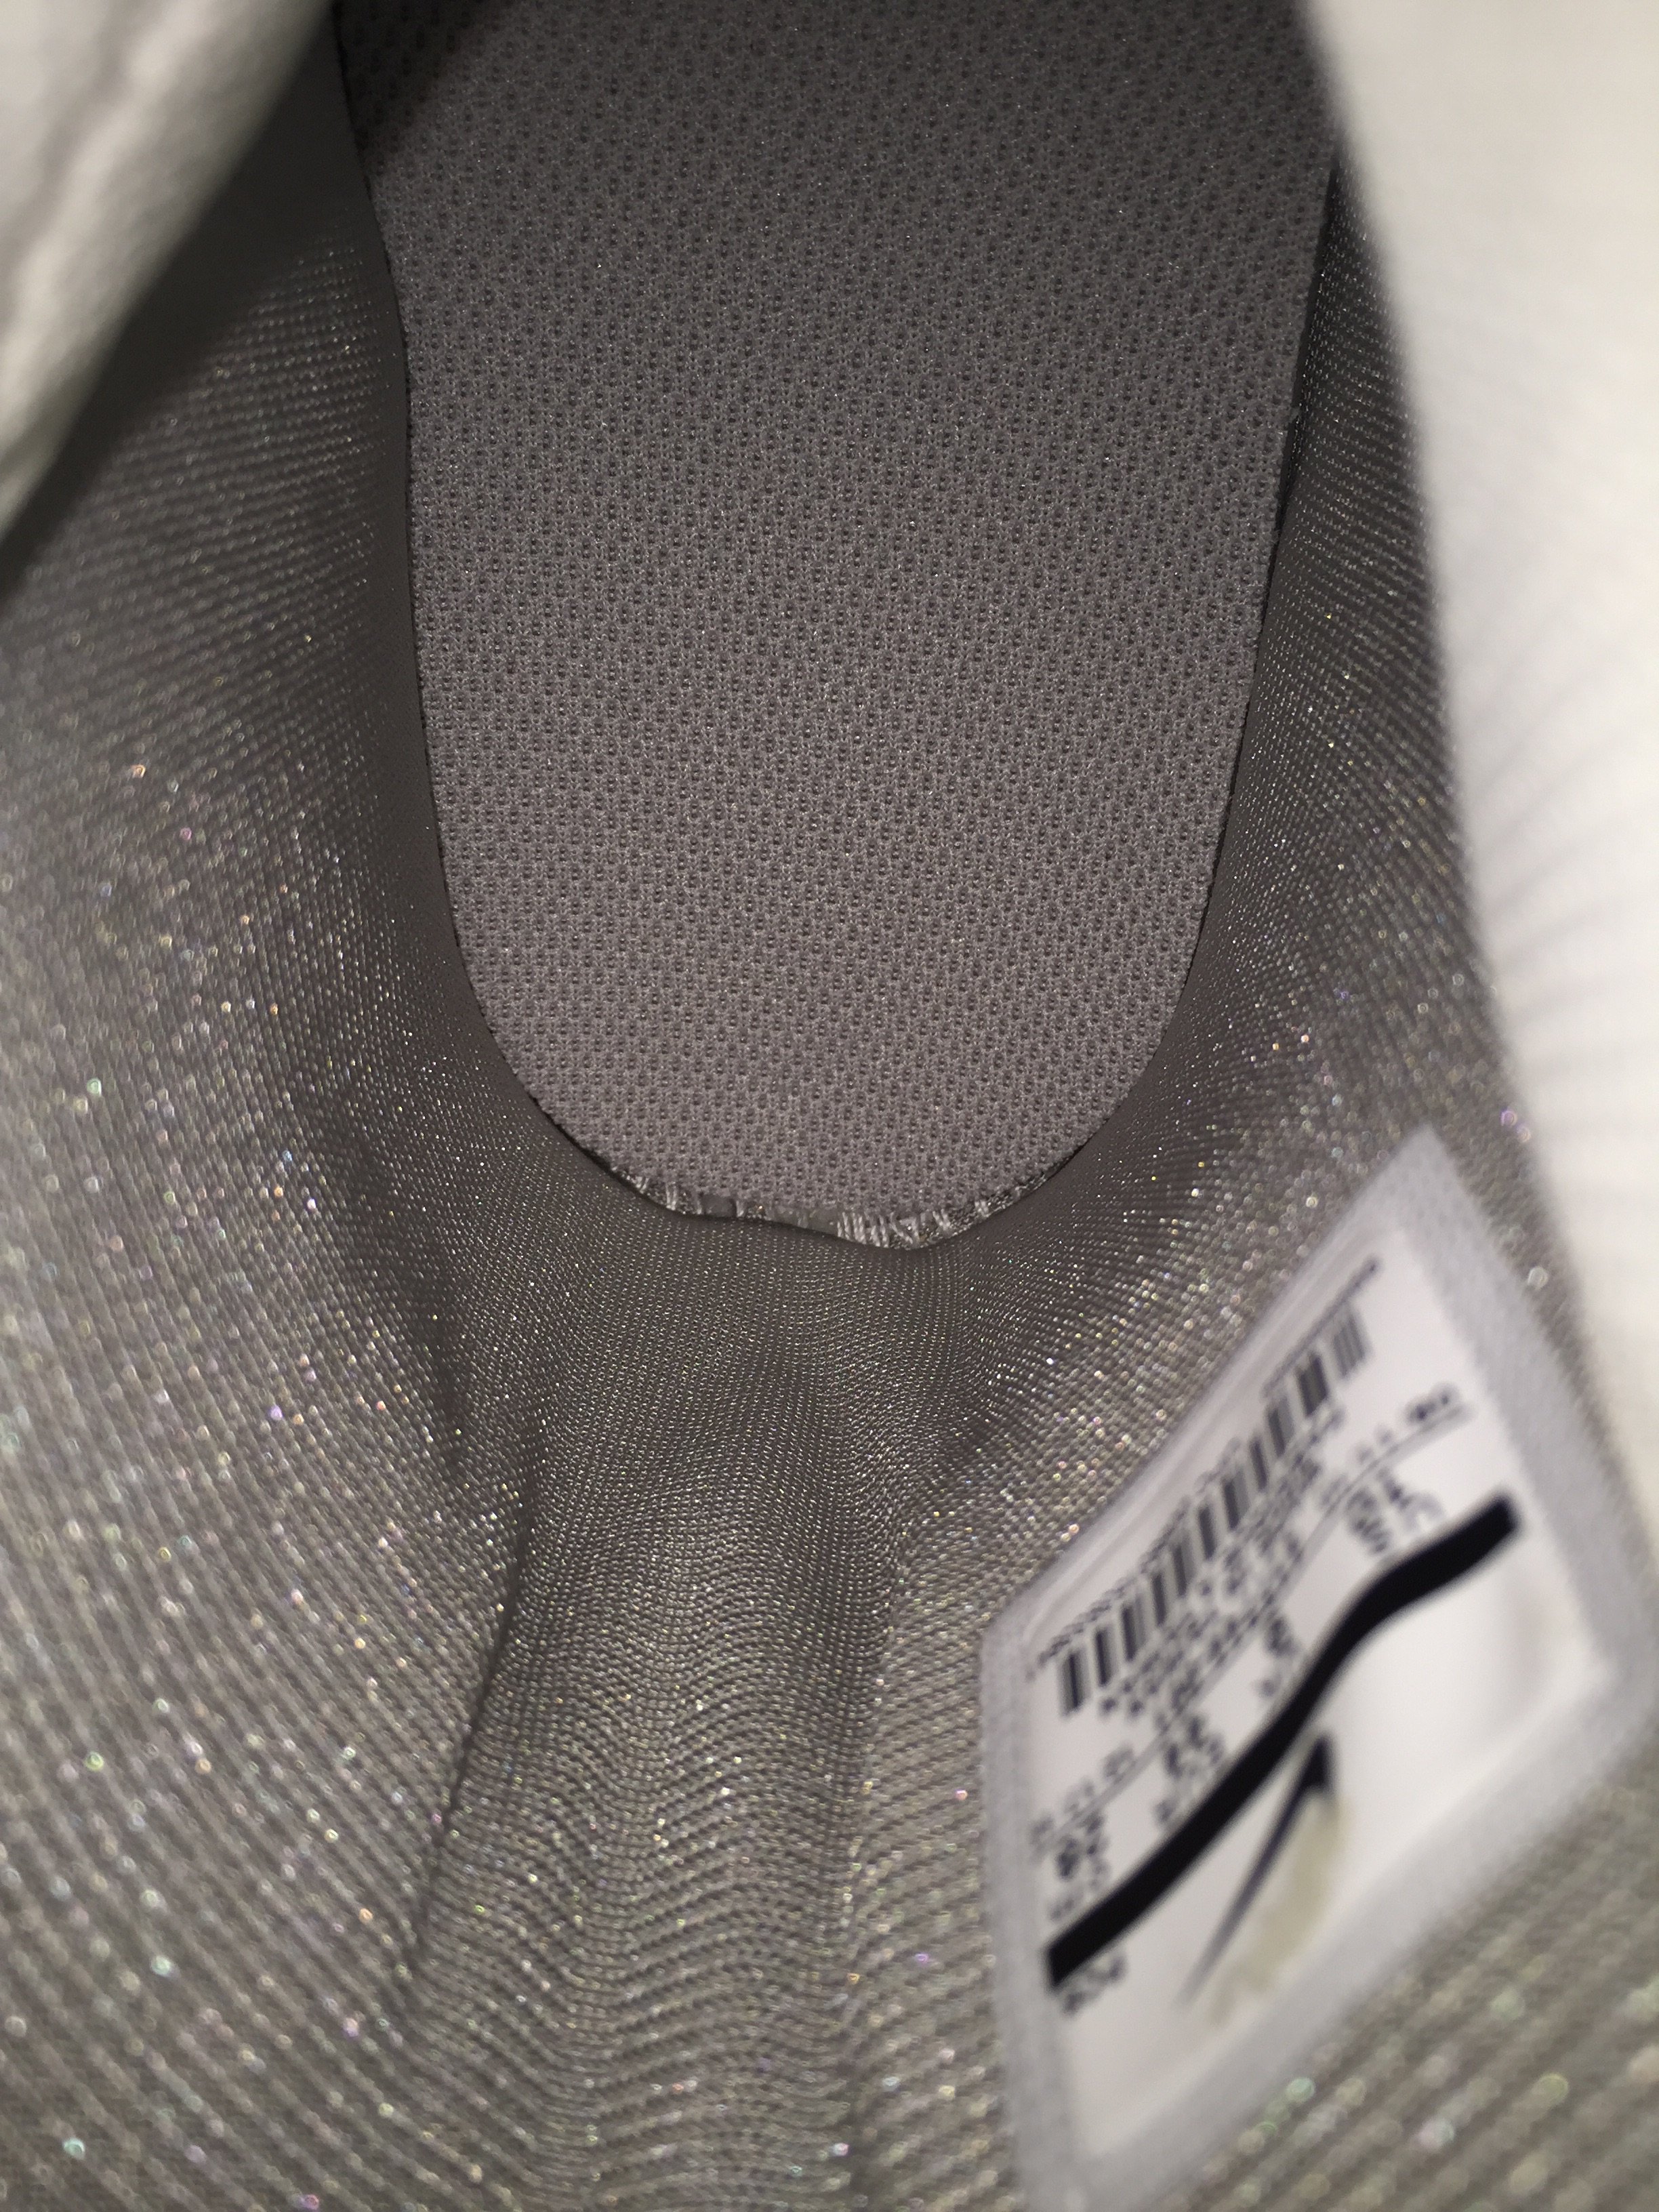
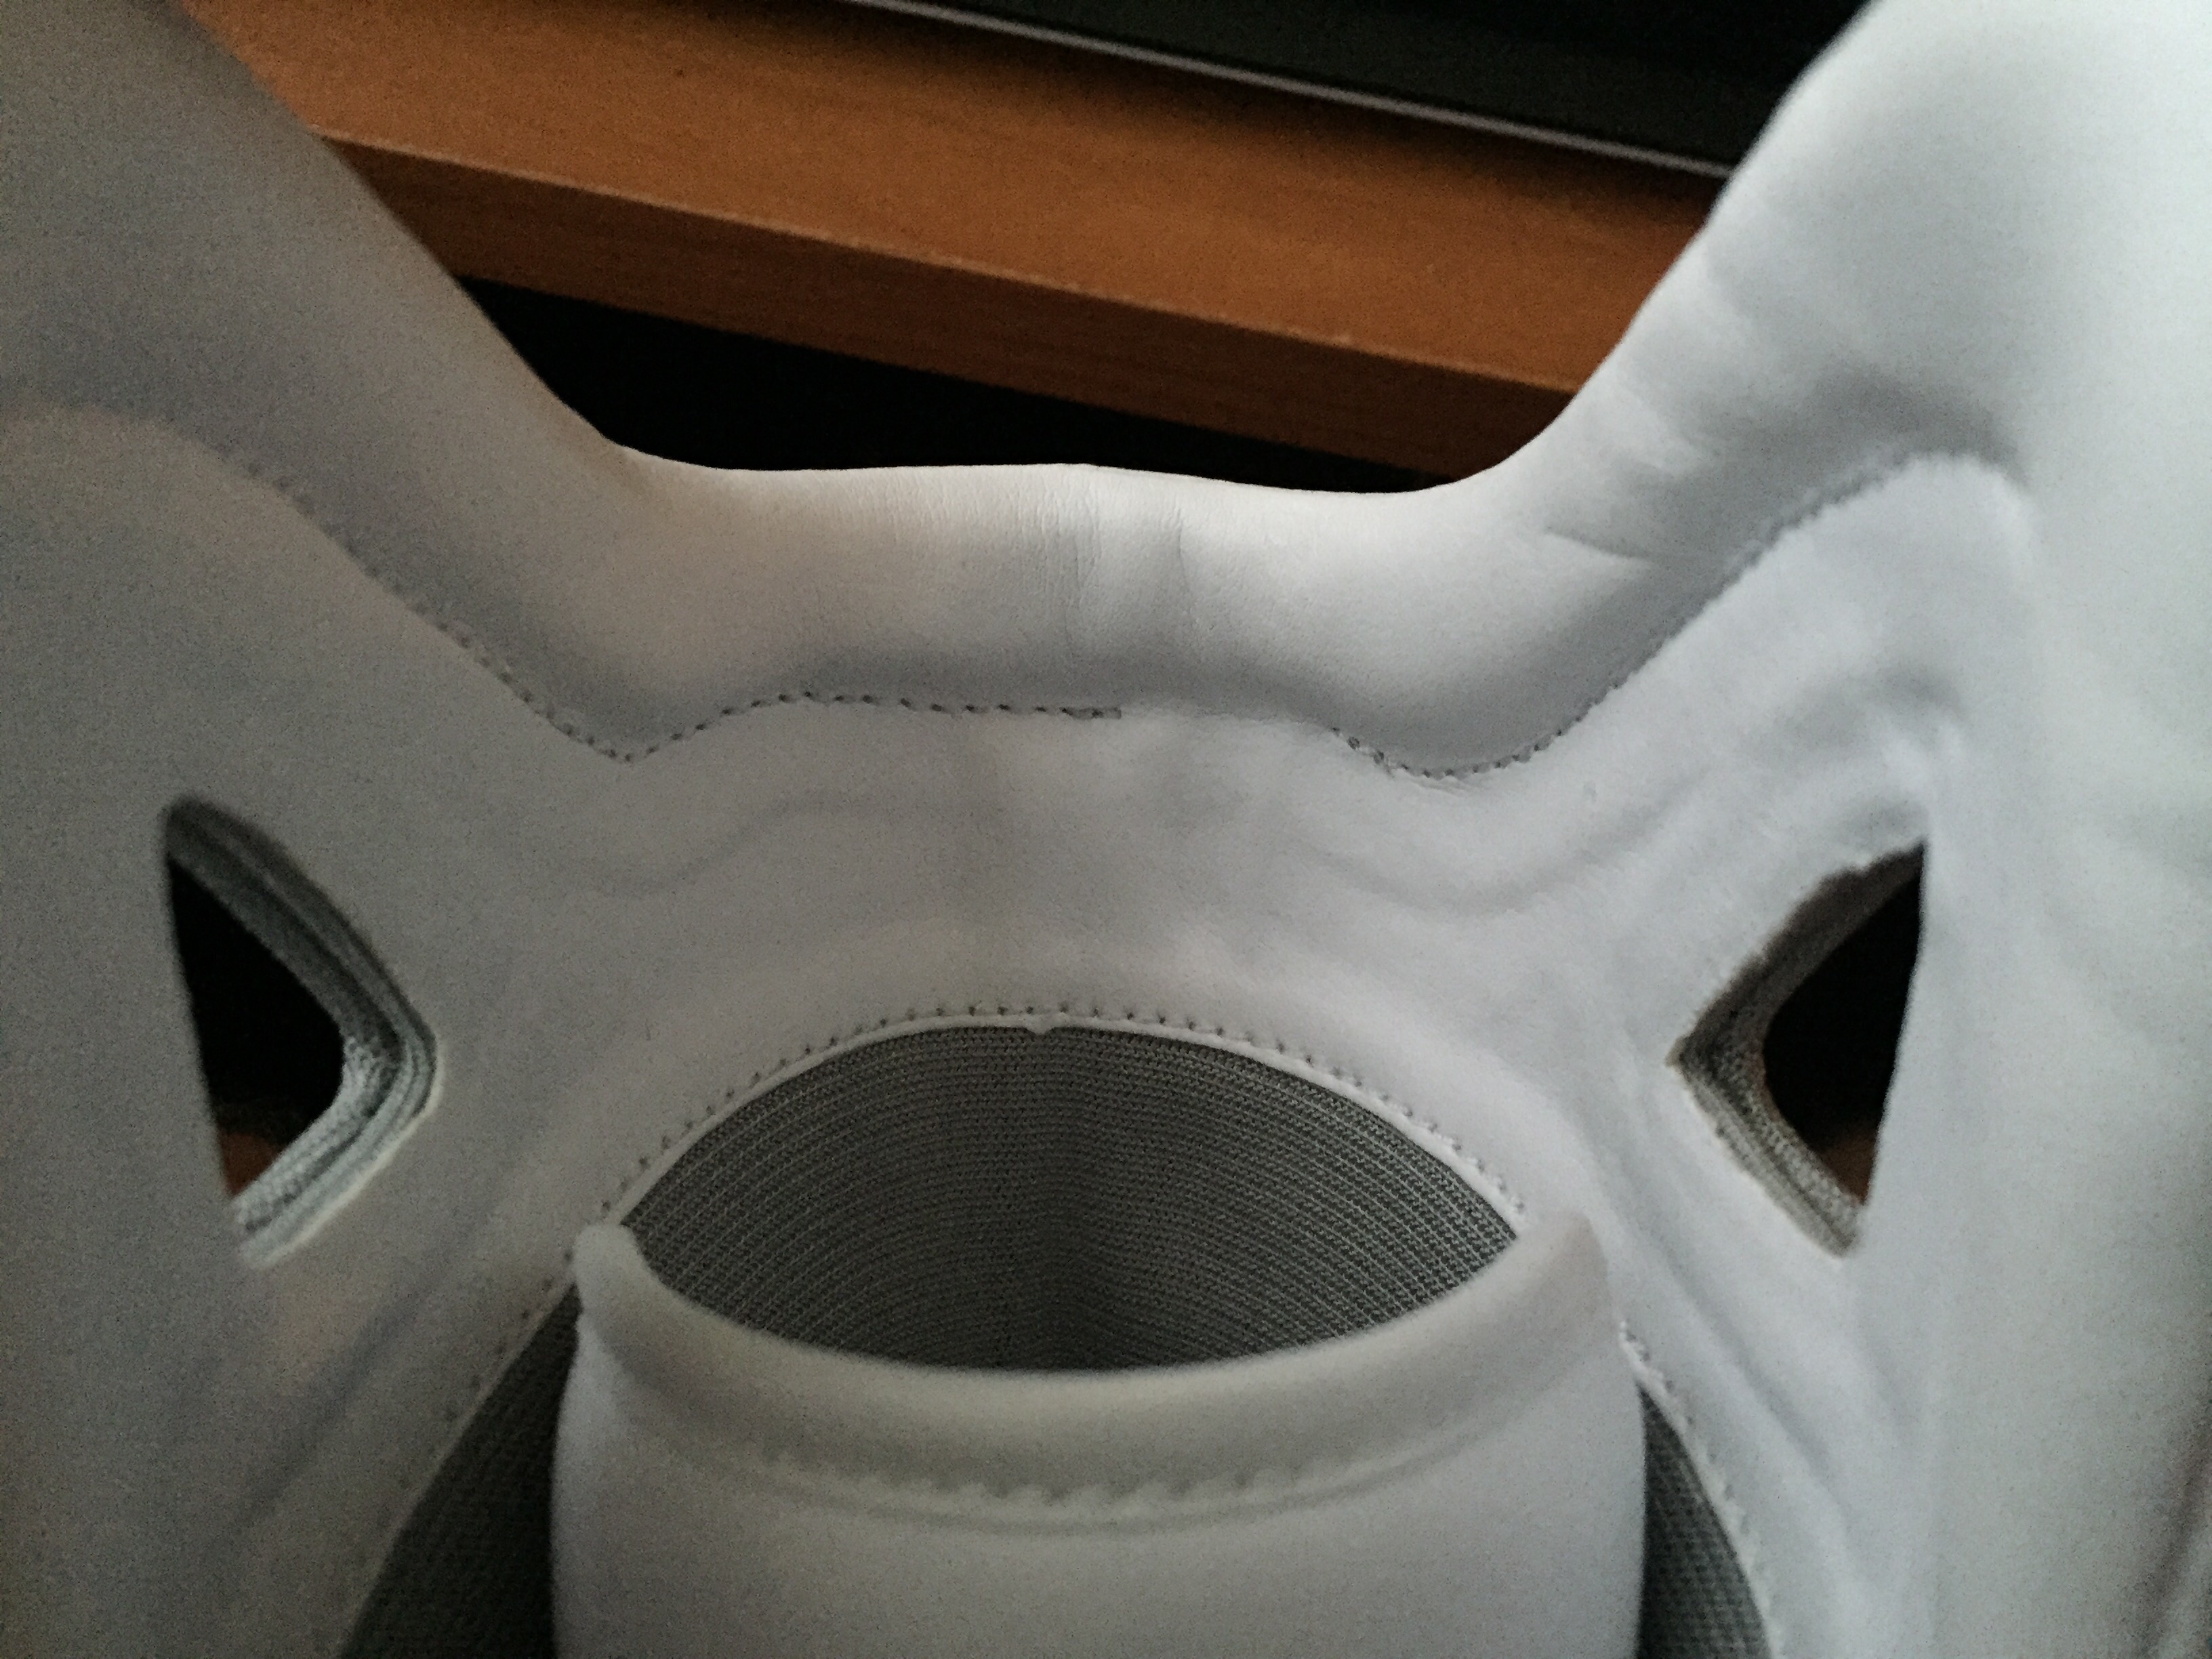
Can you feel the seam where it joins on the sides?
Is the gap in the stitching where the wire passes up to the cuff?
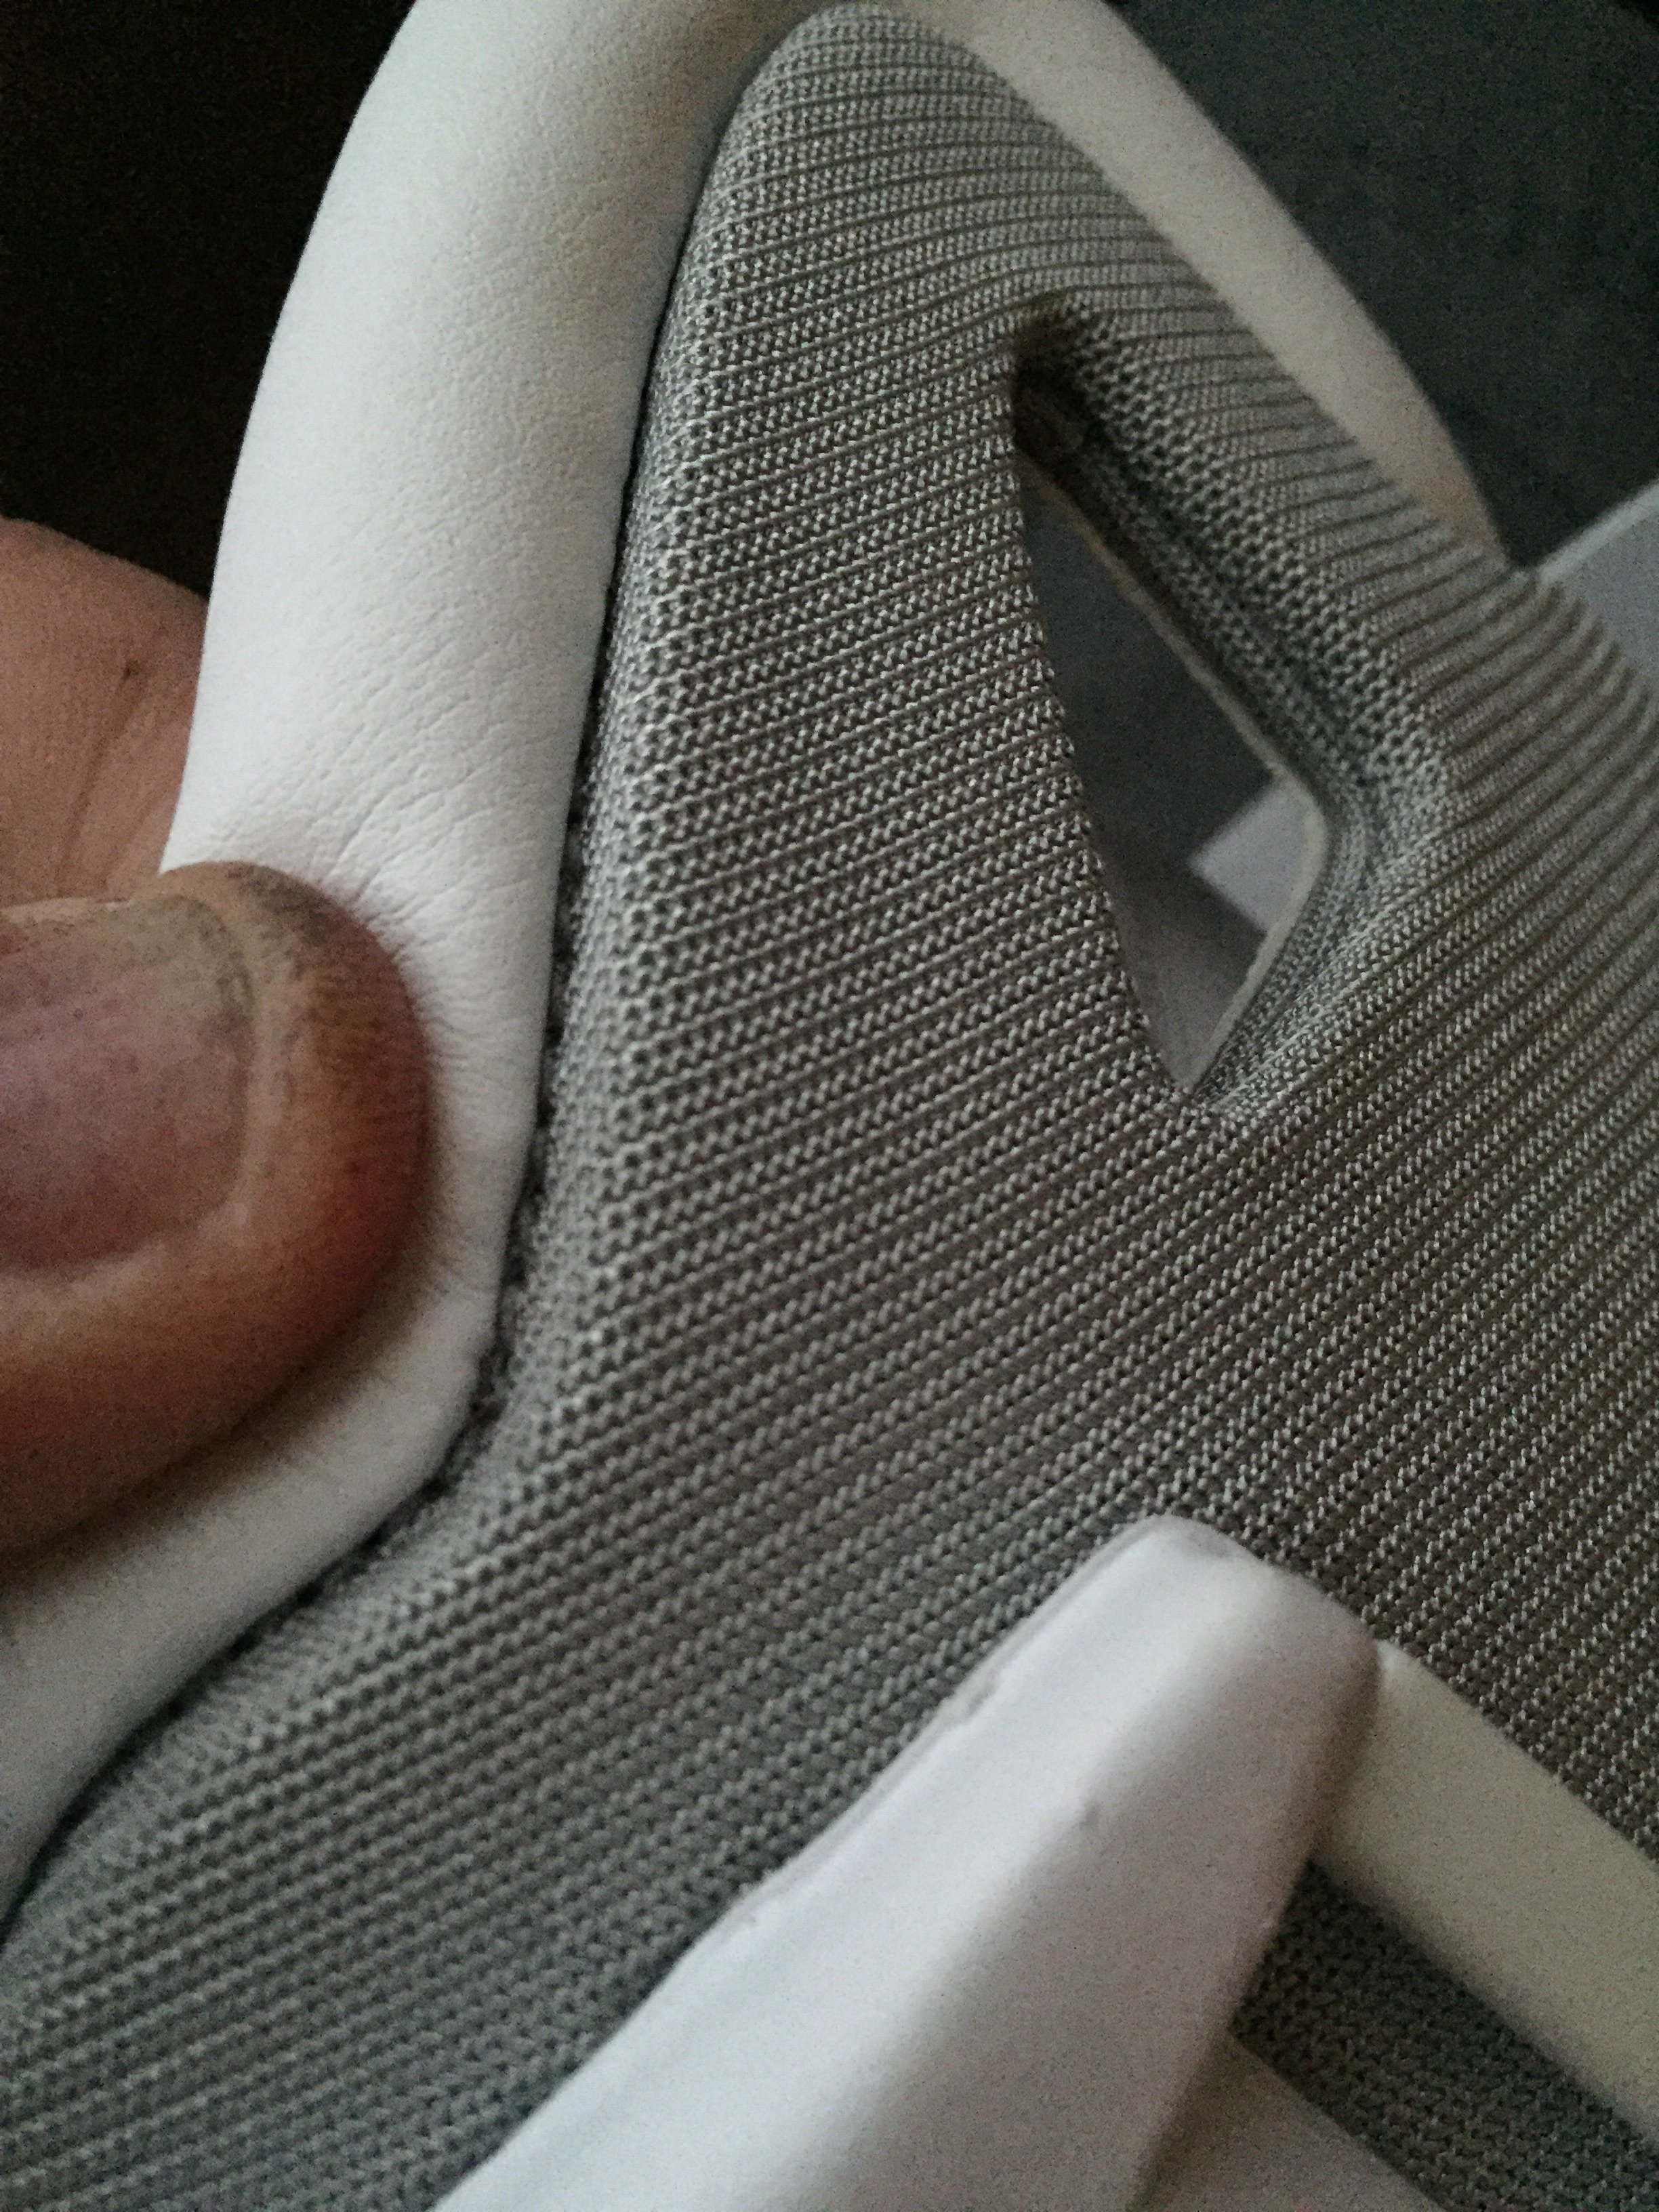
I like how the seam on the top of the collar is hidden by the cuff. I think the Chinese were just being lazy by sewing the cuff directly to the collar the way they have on the V2s.
Those finger pull holes are going to be a challenge. I think at minimum, you will need some type of former in there to pull the fabric against.
Lots to think about. Thank you Jedifyfe for posting those")
OK. I think that is the seams between the 1st and 2nd laces. This means the toe is a separate part. The actual patterns suggest that anyway. I was just being creative joining mine. I don't think it will matter too much, but when it comes to making a cloth version that must be flipped, there could be a problem.
So looking into the shoe, is there no internal seam at all here?
Can you feel the seam where it joins on the sides?
Is the gap in the stitching where the wire passes up to the cuff?
I like how the seam on the top of the collar is hidden by the cuff. I think the Chinese were just being lazy by sewing the cuff directly to the collar the way they have on the V2s.
Those finger pull holes are going to be a challenge. I think at minimum, you will need some type of former in there to pull the fabric against.
Lots to think about. Thank you Jedifyfe for posting those
DragonGalvy
Sr Member
Cool project goin' on here. Just goes to show practice, creativity, patience, and teamwork from other members can let someone achieve all sorts of things. Good luck with the finger pull areas, my prototype idea didn't look good, perhaps the RD's outer grey material is slightly stretchy? Because a material like that would have worked better for being able to hide the cuts. Then again, I just used random material to see how it might be done. Cavx has clearly invested a lot of time here. Good luck with the project!
Good luck with the project!cavx
Master Member
Stretchy material certainly helps with the finger pull holes, but I don't think it is needed on the rest of the shoe.
So after having a long hard think about this, it looks like the back seam is going to have to be done 2nd last now. It appears that the lace box will be where one starts on this and keep the shoe open and flat for as long as possible.
So after having a long hard think about this, it looks like the back seam is going to have to be done 2nd last now. It appears that the lace box will be where one starts on this and keep the shoe open and flat for as long as possible.
Fluxcapacitor
Well-Known Member
Looking good. I just finally got mine done.
cavx
Master Member
Looking good. I just finally got mine done.
EL and LEDs? Toe slim?
Fluxcapacitor
Well-Known Member
V2's from KC. No tow slim, no sole EL, just the straps actually. I'm happy with them though even though I had cut out a hole too large on one strap before I got markpoons parts.
cavx
Master Member
So whilst working on this pair, I thought I might share this. Sure the EL looks neater because it is cut nice, but I don't think it is any brighter than a fully charged GITD 15%/Vol mix.
Kitchen lights off
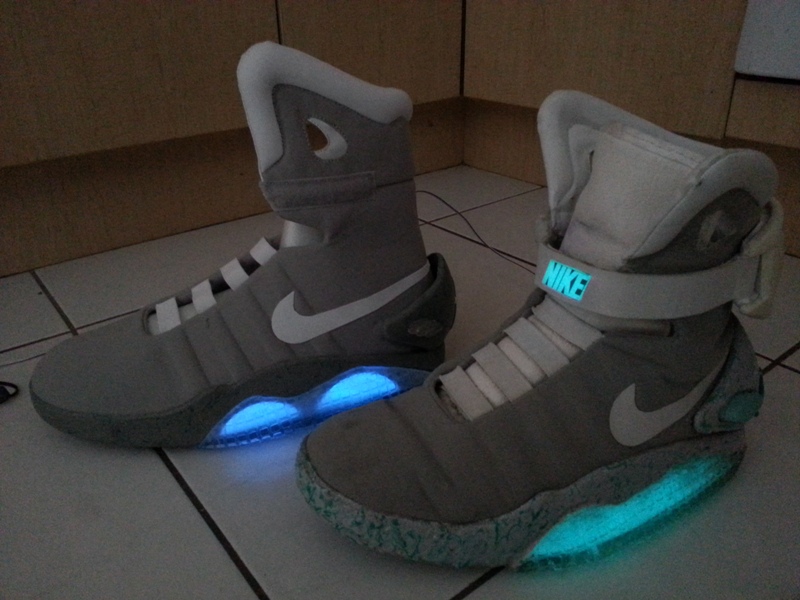
Kitchen lights on
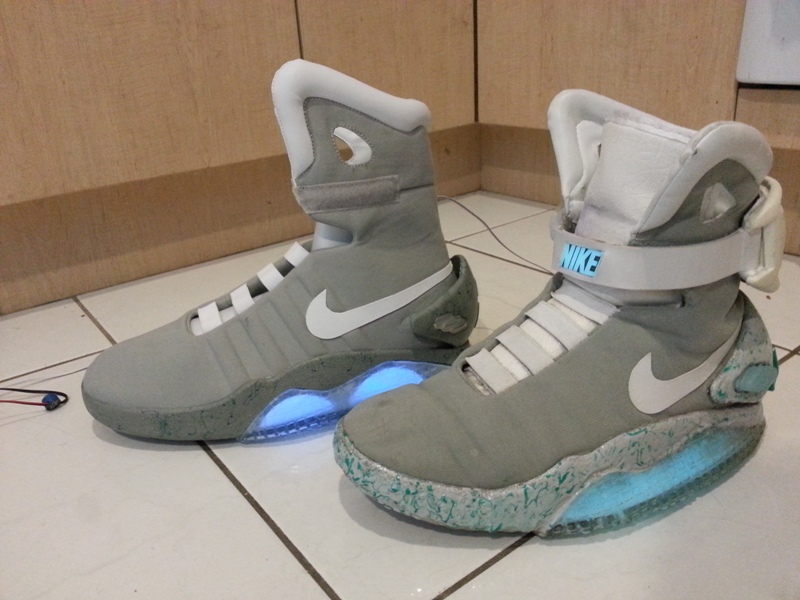
Kitchen lights off
Kitchen lights on
Attachments


cavx
Master Member
V2's from KC. No tow slim, no sole EL, just the straps actually. I'm happy with them though even though I had cut out a hole too large on one strap before I got markpoons parts.
Every time I have a strap mod, I have cut the stamped logo out and the only thing that happens on some of the shoes is the logo is not vertically centered.
DragonGalvy
Sr Member
I think cavx mentioned something like the GITD in his wear pair was sort of squirted in there to fill the space? Prototypes are usually where you find out what to do, or more importantly, what not to do. For example, when I put GITD in mine, I first installed them over the holes in the V2's (since the RD shape for the lighting is different to the V2, which is what I wanted to emulate with the GITD sheet shape cutouts) but then found that the clear sole couldn't attach, so had to remove it all, cut the holes bigger and recess the shapes in (so the side wall was flush under the clear sole) and even after that it took ages to get the clear soles on properly, a bit at a time. My next attempt will be much easier because I found these things out with the first try. I'd love to have a pair with EL but with GITD, I never have to worry about flat battery or wires breaking ever again. As you can see by the condition, my pair got lots less wear days, lol

I'd love to have a pair with EL but with GITD, I never have to worry about flat battery or wires breaking ever again. As you can see by the condition, my pair got lots less wear days, lol
Last edited:
cavx
Master Member
EL for sure. The GITD looks sloppy, IMO.
That is ONLY because it poured in as a liquid when I made them up. Others that have GITD have cut their panels from a cured sheet and therefore, have the same look as EL. I will replace mine with a pre-cut version soon. Whilst I actually like illuminated shoes, electronics in a shoe is just too unstable IMO. GITD does not last as bright as long, but it will NEVER die like electrics in a shoe and when fully charged, lasts all night.
- - - Updated - - -
I think cavx mentioned something like the GITD in his wear pair was sort of squirted in there to fill the space? Prototypes are usually where you find out what to do, or more importantly, what not to do.
Exactly. Too late now as I have to rip these soles completely off to do the upgrade. I am out of GITD sheet too I think, so even though I have myself a pair of these new clears ready, there is no point unless I have the panels to insert.
Even thought DragonGalvy's image is not particulary bright, the GITD used in his shoes came from the same sheet my strap logos came from.
From memory, 100g of clear + 15g of GITD powder made enough for a 2mm thick, A4 sheet of rubber. The next time I make a batch, I am going to have to cover it whist it cures or mix and pour in the day time. As this batch was curing at night, it had been charged up from the workshop light and continued to glow brightly attracting a variety of insects, some of which got stuck in the resin. So those parts had to be cut from the sheet and thrown out. .
Last edited:
DragonGalvy
Sr Member
Yep, covering it sounds good, though I probably wouldn't have thought to cover it either, considering the fumes probably needed to escape as it dried. Perhaps you could cover it with a raised flyscreen mesh? If I could make a suggestion next time you want to manufacture some strap logos, would it be possible to make them just a little thinner? It sticks out just a little at the corners. Or would that make it too prone to break when flexing/curved? The side panels are fine especially as they are covered.
As for the image, one of these days I'll buy a digital camera that can cope better with low light, so disappointed with Apple's camera. Don't know what people were going on about saying they were great.
As for the image, one of these days I'll buy a digital camera that can cope better with low light, so disappointed with Apple's camera. Don't know what people were going on about saying they were great.
cavx
Master Member
Yep, covering it sounds good
Maybe just one of those mesh cake covers will do the trick.
cavx
Master Member
So more playing with the patterns and hit more snags. To get the hollow on the ankle done properly requires a major increase to the size of the cutout. If you look carefully on the actual pattern, it is drawn in the parts I think would be the EVA foam structure. I won't be able to do a proper turned inside out shoe upper at this stage unless I completely mod the plans to all for these tight curves.
cavx
Master Member
Images to better explain my post above.
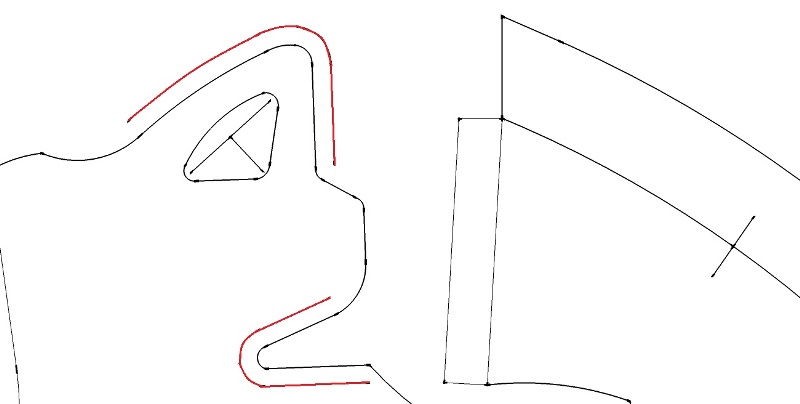
The parts in red are where you need to sew in order to allow the material to sit flat and be at the correct size once turned inside out. I have already run several tests on this and got positive results. The challenge is that adding these lines alters the whole MAG pattern. And you can't just blend them into the existing pattern or it alters the final shape. I one mock up I did, I had to increase the height of the collar to offset the needed radius. The problem it caused was that the front of the collar also then needs to be extended which then changes the length of the lace box, so a total head ****.
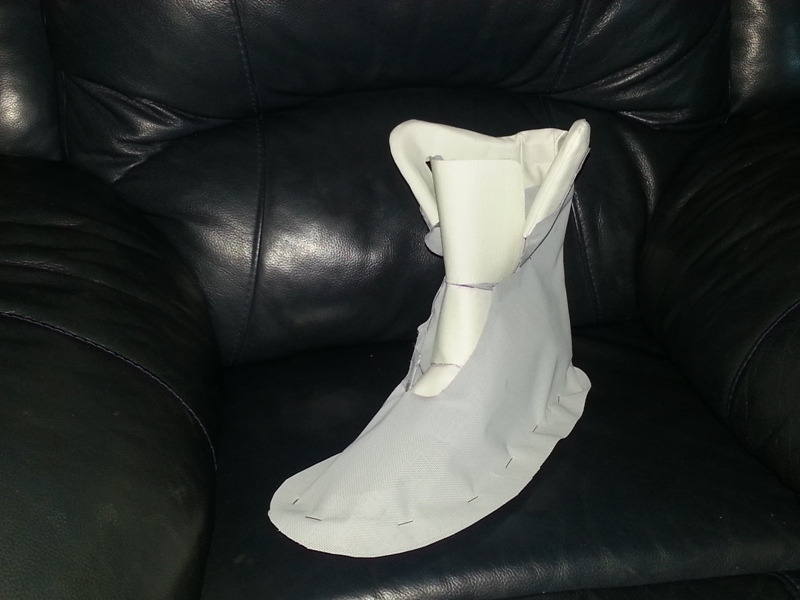
So back to my 'model", I got the shell done after almost 5 attempts. I had to scrap the version I posted an image of as I had fixed the cuff in too high and that threw everything else out.
As mentioned, the patterns size is based on the V2 US8, yet this almost a full inch taller then the US8 V2 I have on hand. It is almost the same height as the US13 in V2. The toe is slightly longer, the seams are in the correct place (I even mocked up 4 laces and the side seam sits perfectly in the centre) and over all shape is just nicer.
The method I have used would work for a leather version, but not suited for cloth.
The parts in red are where you need to sew in order to allow the material to sit flat and be at the correct size once turned inside out. I have already run several tests on this and got positive results. The challenge is that adding these lines alters the whole MAG pattern. And you can't just blend them into the existing pattern or it alters the final shape. I one mock up I did, I had to increase the height of the collar to offset the needed radius. The problem it caused was that the front of the collar also then needs to be extended which then changes the length of the lace box, so a total head ****.
So back to my 'model", I got the shell done after almost 5 attempts. I had to scrap the version I posted an image of as I had fixed the cuff in too high and that threw everything else out.
As mentioned, the patterns size is based on the V2 US8, yet this almost a full inch taller then the US8 V2 I have on hand. It is almost the same height as the US13 in V2. The toe is slightly longer, the seams are in the correct place (I even mocked up 4 laces and the side seam sits perfectly in the centre) and over all shape is just nicer.
The method I have used would work for a leather version, but not suited for cloth.
Attachments


DragonGalvy
Sr Member
no wonder that story on the internet called it the hardest sneaker to retro
Similar threads
- Replies
- 52
- Views
- 5,443
- Replies
- 18
- Views
- 1,837