Stonehavensteve
New Member
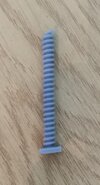
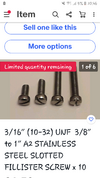
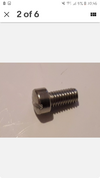
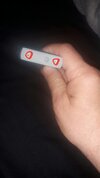
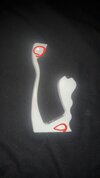
Hi Folks,Received the fillister screw to replace the Weaver knob, but the diameter of the head seems a bit too small. Hmmm.
Anyone have any sources for an accurate screw?
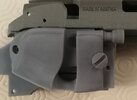
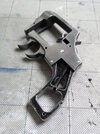
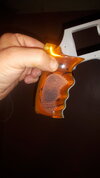
I just found this thread today and am interested in your builds as I'm currently printing out the AndersFP model on my resin printer (Although I did purchase the resin grips of TipTopWorkshop - and ther're great).
I was going to respond on the Fillister screw for a couple of reasons (one being the size).
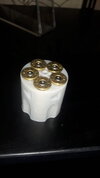
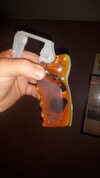
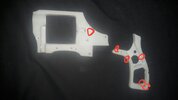
1. Can someone give me a reference photo of the fillister fitted to the hero prop. Most of the reference photos I have are post 2006 and have the screw with the gradients marked on it.
2. I think the Fillister required is closer to the 1/4"-20 thread part on McMaster-Carr (example pn 90280A842). It's possible to load McMaster-Carr Parts directly into Fusion 360 so I have done the following comparison.
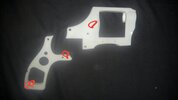
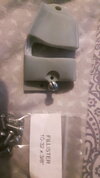
I'm going to try and print some samples out tonight and will post some photos.


")