B1RDY
Active Member
Hello everyone.
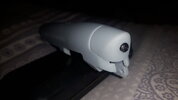
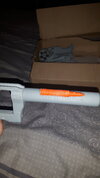
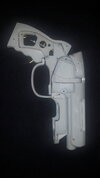
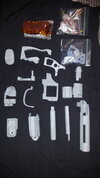
I would like to share with you my build of a resin kit of the Bladerunner PKD blaster. This kit was purchased on etsy from TipTopWorkshop and is listed as the improved version of the Anders's kit.
This wont be a fast build as my skill level, time and equipment are very minimal, I'mko Adam Savage lol and this is being put together in my bedroom... I mean workshop, actually it is my bedroom.
Like I said I am working with minimal tools but I am hoping with patients and determination I will have something I can enjoy at the end.
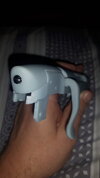
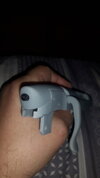
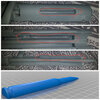
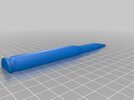
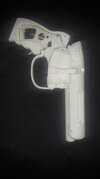
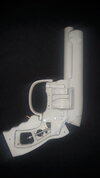
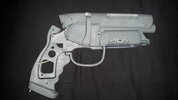
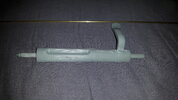
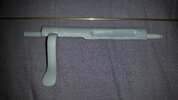
I have just started some light sanding and a quick test fit and am quite pleased with it so far.
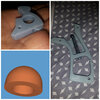
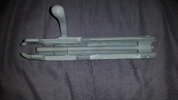
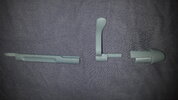
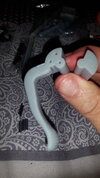
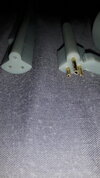
My focus at the moment is the receiver and bolt.
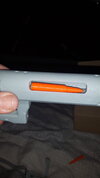
The kit comes with some nylon cord to join the two sections of the bolt but I decided to get some 2mm brass tubing and use a small hand drill to insert three small pieces of tube. These are only pressure fit at the moment but I will probably epoxy these pieces later.
More updates to follow.
I would like to share with you my build of a resin kit of the Bladerunner PKD blaster. This kit was purchased on etsy from TipTopWorkshop and is listed as the improved version of the Anders's kit.
This wont be a fast build as my skill level, time and equipment are very minimal, I'mko Adam Savage lol and this is being put together in my bedroom... I mean workshop, actually it is my bedroom.
Like I said I am working with minimal tools but I am hoping with patients and determination I will have something I can enjoy at the end.
I have just started some light sanding and a quick test fit and am quite pleased with it so far.
My focus at the moment is the receiver and bolt.
The kit comes with some nylon cord to join the two sections of the bolt but I decided to get some 2mm brass tubing and use a small hand drill to insert three small pieces of tube. These are only pressure fit at the moment but I will probably epoxy these pieces later.
More updates to follow.
Attachments
-
 20210418_143350.jpg1.3 MB · Views: 257
 -
 20210422_184728.jpg3.6 MB · Views: 252
 -
 20210428_160158.jpg3.1 MB · Views: 225
 -
 20210418_155950.jpg1.8 MB · Views: 216
 -
 20210429_153145.jpg1.7 MB · Views: 199
 -
 20210429_150252.jpg5.5 MB · Views: 187
 -
 20210429_150306.jpg6.5 MB · Views: 172
 -
 20210429_153237.jpg5.1 MB · Views: 241
Last edited: