B1RDY
Active Member
Sorry to sound totally clueless but I would appreciate some advice from you more knowledgeable members.
In my time here and with this project here I find my self picking up on other members posts and discovering ways with my limited skills and experience along with working with very minimal tools to make this build the best I can. Simple things like swapping certain parts for others and using certain methods to achieve a task or process.
With that in mind may I ask a question.
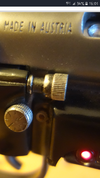
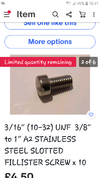
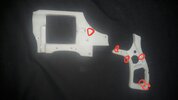
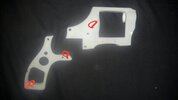
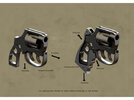
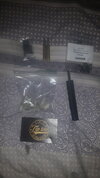
The question is swapping out a weaver knob for a more accurate fillister high profile screw but which of the two screw shown in this picture I am replacing and if the ones I've purchased are good enough?
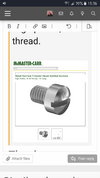
The picture showing mcmaster-carr is one that has been suggested as a replacement but that's in the USA and I'm in uk so hard to find from more local source.
In my time here and with this project here I find my self picking up on other members posts and discovering ways with my limited skills and experience along with working with very minimal tools to make this build the best I can. Simple things like swapping certain parts for others and using certain methods to achieve a task or process.
With that in mind may I ask a question.
The question is swapping out a weaver knob for a more accurate fillister high profile screw but which of the two screw shown in this picture I am replacing and if the ones I've purchased are good enough?
The picture showing mcmaster-carr is one that has been suggested as a replacement but that's in the USA and I'm in uk so hard to find from more local source.