astroboy
Master Member
Burma and Liberia have been to the moon????
As an aside, The metric system is the official system of the american government.
They just never forced it on everyone
Sent from my SM-N910W8 using Tapatalk
Burma and Liberia have been to the moon????
Oooo! Feel like I've just gone through the Stargate . . . to sub-folder oblivion...;-).
") thumbsup
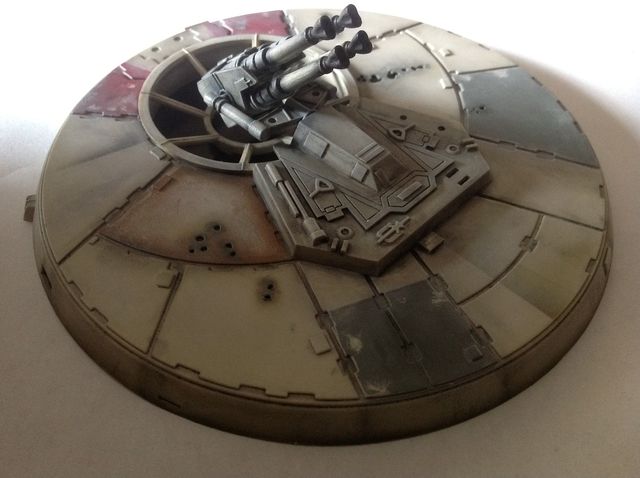
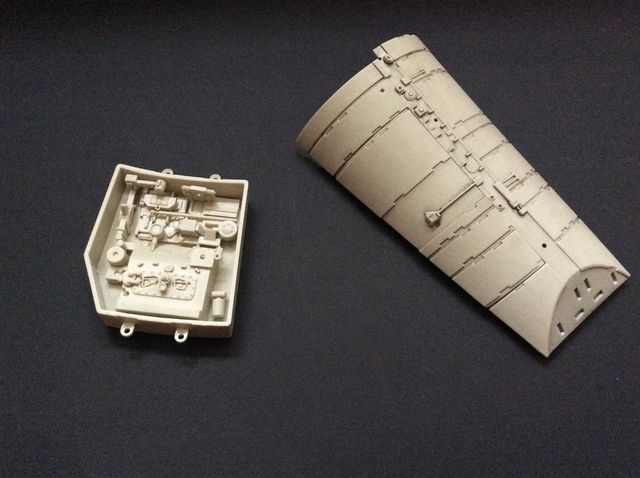
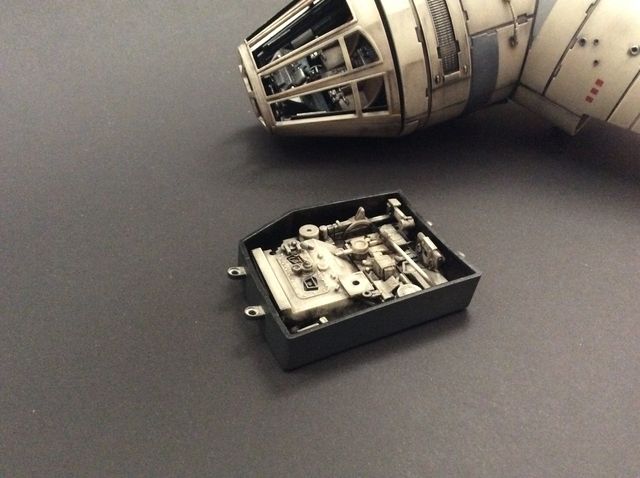
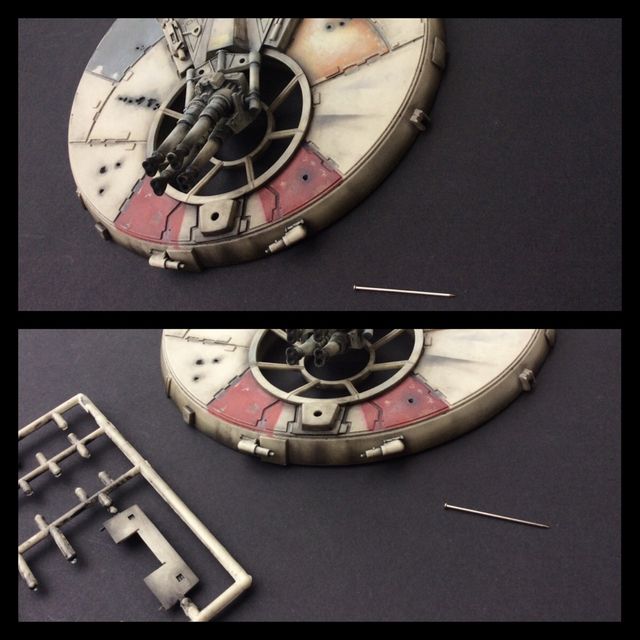
thumbsupIt seems that the main virtue of this kit is that you are forced to have plenty of time to work on getting each part as good as possible before the next batch is received. Unless, of course you are one of the people who are waiting until they receive everything before they begin the build.