Littlemuseum
Member
Mate, I would like to order one kit of Sam and another kit of Ritzler. Just sent you a PM on combined shipping to Singapore. Cheers!
This forum is intended for interest gauging and active runs. Due to the transient nature of this forum, please keep all research and ongoing discussion in one of our main forums so your information is not lost.
Only Premium Members can start a new run.
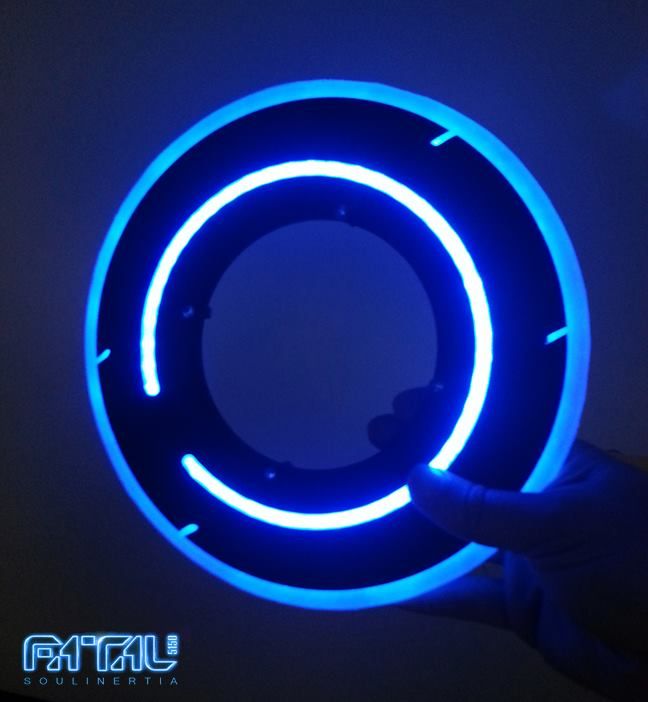
![20140508_003444[1].jpg](https://therpf-f28a.kxcdn.com/forums/data/attachments/100/100325-93f39296d83e1f29ae4e02667b5d7272.jpg "20140508_003444[1].jpg")
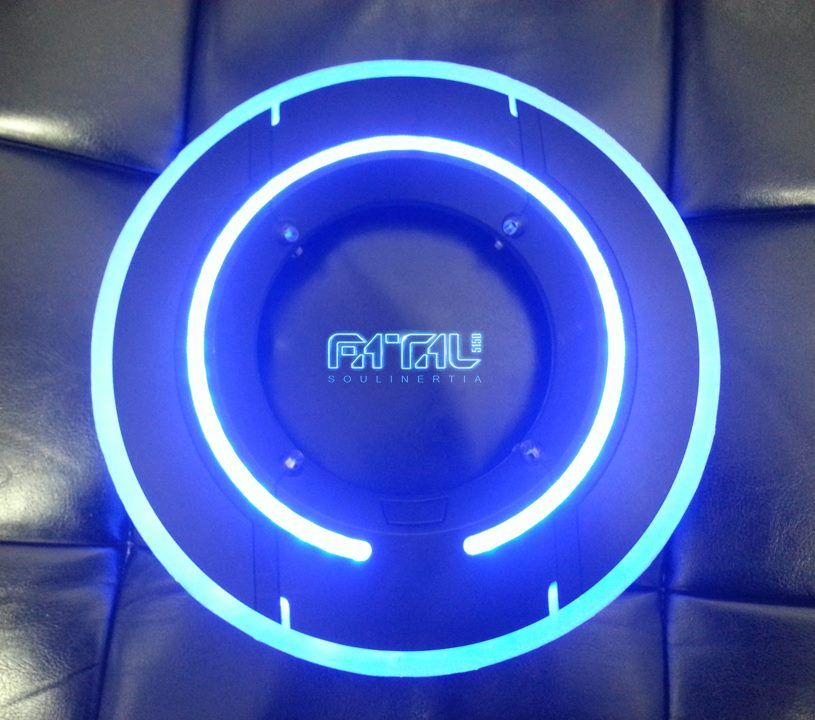
![20140508_003444[1].jpg](https://therpf-f28a.kxcdn.com/forums/data/attachments/100/100324-569f0479fc2d5afdf86460e3475540da.jpg)
")