wayouteast
Sr Member
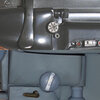
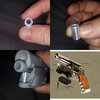
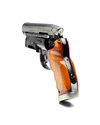
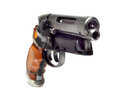
I'm the roommate of MShorey. My paints were standard grey primer, Alclad gloss black, and Vallejo Gunmetal grey. The only thing I wished I knew beforehand on this build was to use FINE primer, as the clearances and tolerances are so exact that the primer I used was too thick and had to be sanded down. As for advice, make sure to use a nice glossy black foundation on all the metal parts you'll be painting. I covered every piece in that Alclad and it came out beautifully. Also, DEEP clean your prints between each coat. It's amazing what shows up when painting.
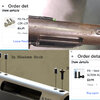
Hey Gregatron! Would you happen to have a link for that switch? I can't find the one listed and it's killing me. Other than that, my blaster is pretty much done
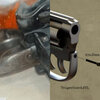
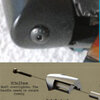
This is the one I've used on a couple of other builds. Sorry for the UK link if you're not in the UK, but you should be able to find the equivalent switch wherever you are!