Re: Looper Blunderbuss Shotgun - WIP pics begin on Page 3
It was only 40 bucks used so even if if can't be modified to my liking, wasn't a huge loss.
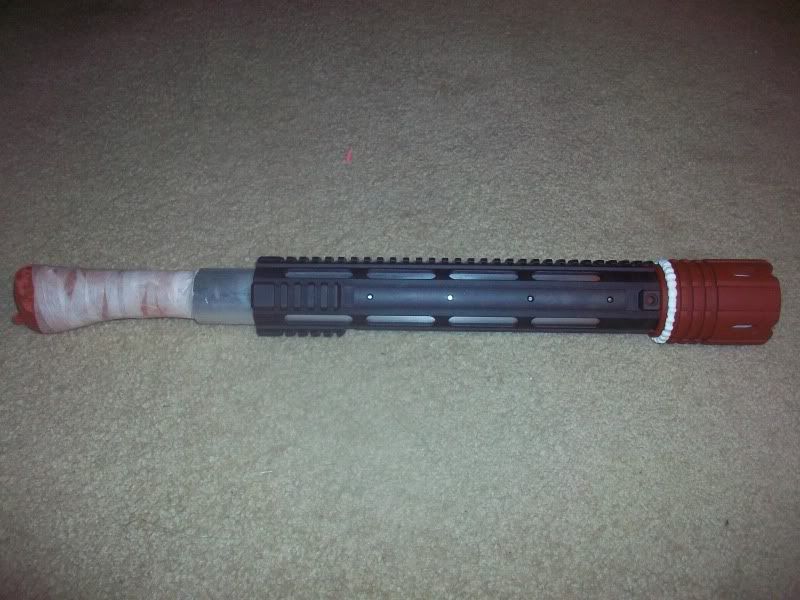
Are you kidding? That rail will work great for the blunderbuss! Just cut it down to 12 inches and go from there! Good luck on your costume, Sharpshooter!
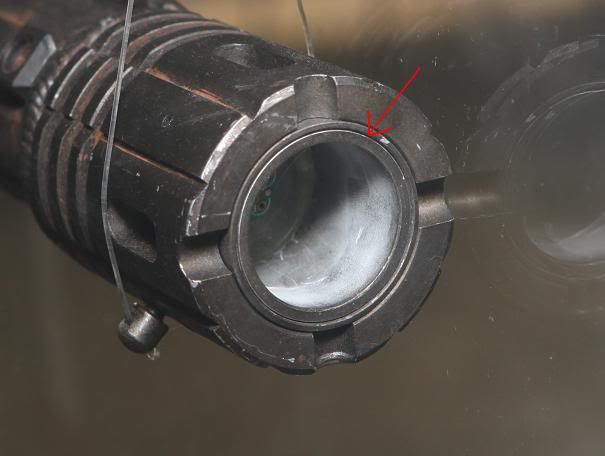
In ref to the "groove" the arrow is pointing at...couldn't you plug the barrel w/a disc of something, find the centerpoint and use a COMPASS to scribe the line in question? I figure you could experiement w/different "bits" to scribe a groove deep enuff as to look like the separation of the two tubes?
I think you hit the nail on the head, Roy. I'll pop over to Micheal's in the morn to see what I can find.
I know I'm being picky, but a compass would be pretty useless for scribing lines. What you need are a 'pair of compasses'

I believe Roy was referring to THESE kinds of
compasses. The ones I've seen are a bit pricey, but at the very least I'll buy it, use it, then return it :lol
Before I go on, I just want to thank everyone for chiming in with advice and support. I knew as soon as the movie came out and people started seeing it, more helpful comment posts and PMs would come in and they really have.
Time for updates!
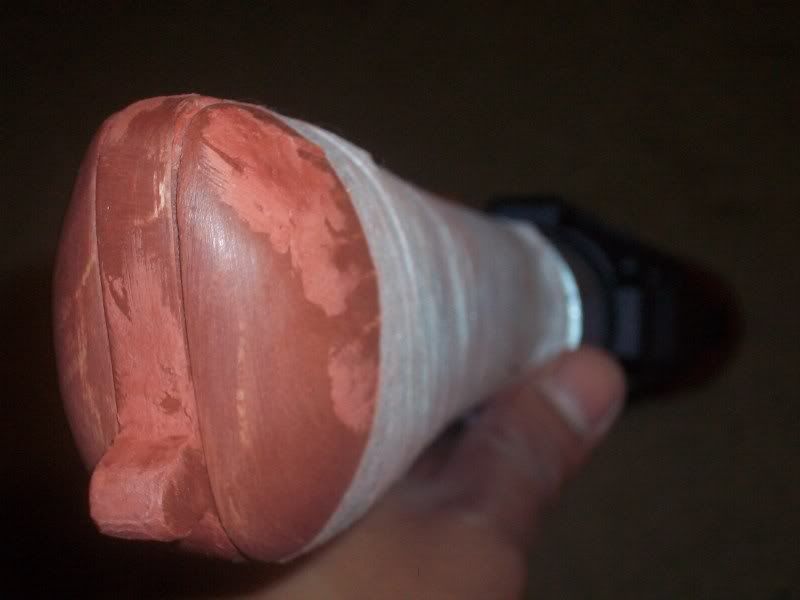
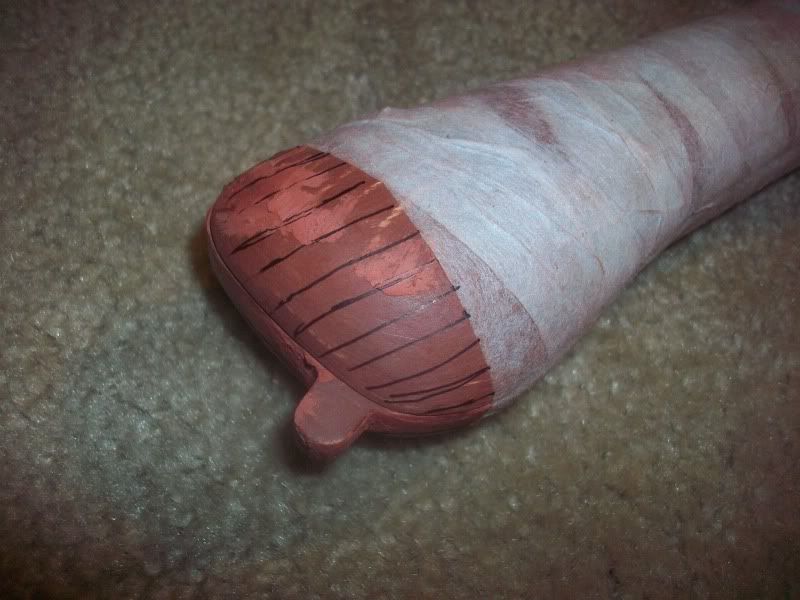
After another hour and a half in the garage, I finally (FINALLY!) got the grips' initial shape to where I wanted it. Just for gits and shiggles, I covered the grips with a couple layers of paper tape to see where it stood. Like I mentioned before, I'm not too sure what kind of tape is used on the actual prop, so I gotta do a bit more research.
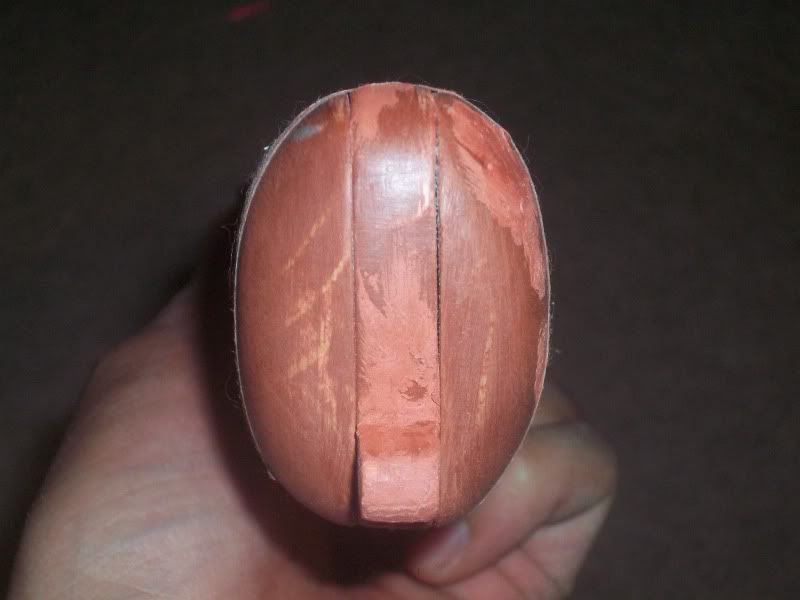
Now, this is the closest I can get to accurate seeing as 80% of the actual grip is covered with tape, but I'm happy with it. At the very least, it feels really good in your hand.
Once the rear endcap is finished and prior to final mounting, I'll probably be modifying the proximal edge of the grip a bit more to make sure it matches the original prop, but I have a feeling that the work will be minimal.
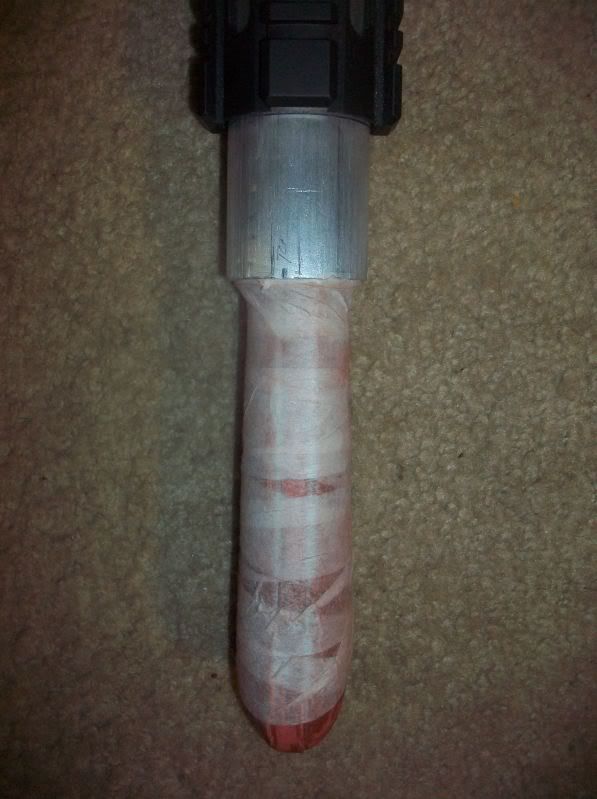
After hitting the grips and grip frame with a bit o' primer, I almost got all the pieces smooth, save for a couple small lowspots and cracks. Even though I have a little bit of Spot Putty to sand down beforehand, I went ahead and used a Sharpie pen to mark out the grooves I plan on scribing in tomorrow. I practiced my grooves on a scrap piece of pine and I think I'll be able to carve them no problem. And I've decided that the grooves will span the entire body of the grip. Visible or not, I'm striving for realism here. And a quick tip for those who're attempting their own build: There are 13 grooves on the right grip, 11 on the left.
Here's where we stand now. Because the grips/grip frame are nearing their completion, I already started planning the rear endcap. Currently, my plan is to mount the rear endcap to the grip frame/plug, but I'll post more details after I start the build.
Thanks for reading, everyone! And don't forget to check out my Interest List in the Junkyard if you're interested in making a blunderbuss of your own!
-Jonaas
