Iron Man Mark III - First Build - Pic Heavy (UPDATE 05/05/2011 - Pg 4)

re: Iron Man Mk III - First Build - Pic Heavy (UPDATE 14/3/11 - Pg 4)

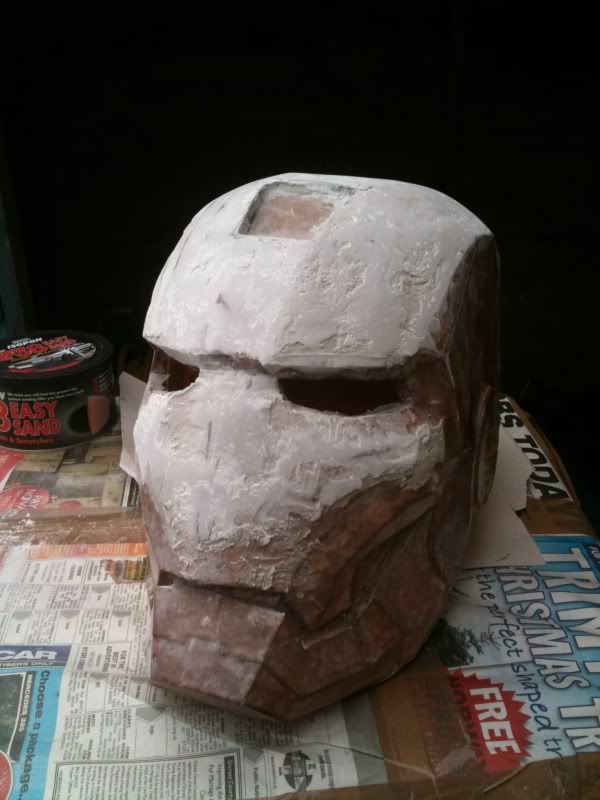
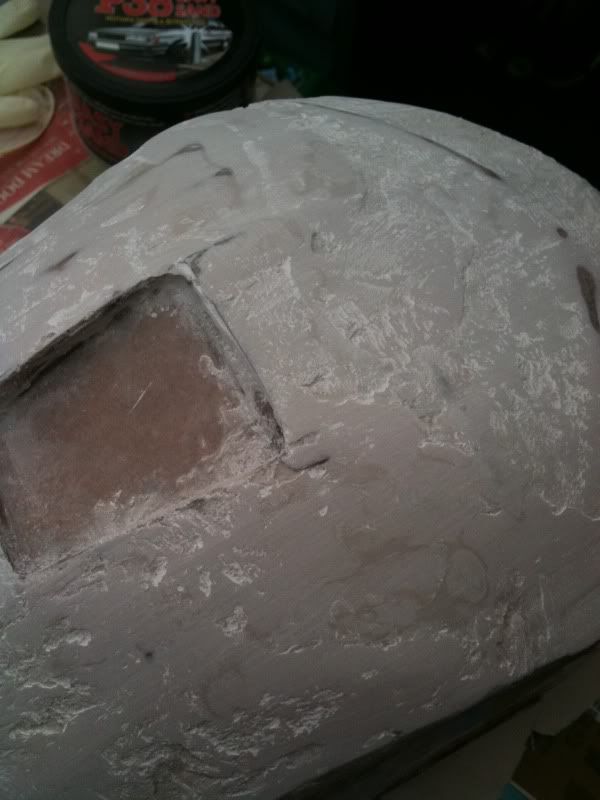
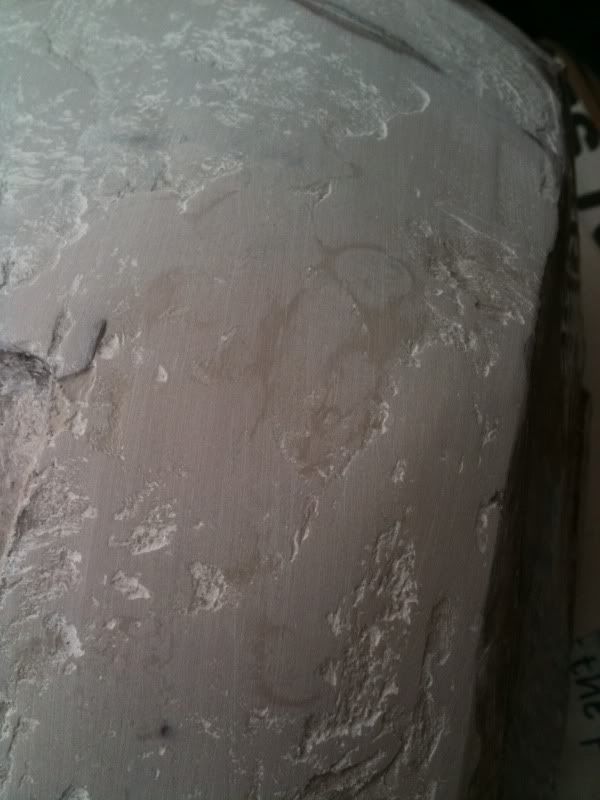
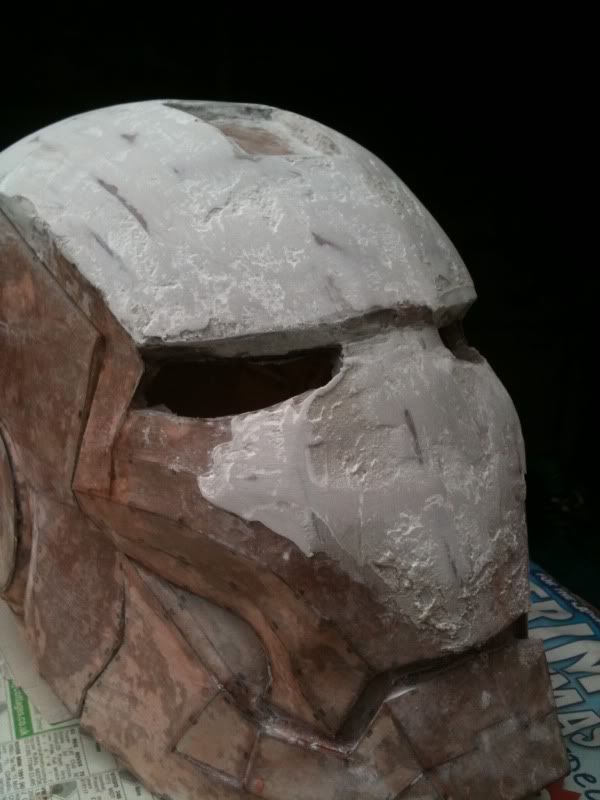
should have been a little more clear, when i said work on one area at a time with the bondo i meant spreading and sanding, spread it on the area and sand it to shape, not a finishing sanding but a sanding to gain the shape, then move on to the next area and do the same, once you have a good shape cut you can go back and add filler and sand it to a finish
 
re: Iron Man Mk III - First Build - Pic Heavy (UPDATE 14/3/11 - Pg 4)

looking real good so far ... you got the right idea so far just keep working at it ... I am pepping more parts tonight so I will look forward to more updates from you if you are working on it
 
re: Iron Man Mk III - First Build - Pic Heavy (UPDATE 14/3/11 - Pg 4)

Yeah, working on it daily at the moment. Hopefully get paid Friday so will have some extra money for more sandpaper grades and some Fibreglass. Although, just noticed what I'd call a serious mistake. Facial Jaw line. Where the check feature dips inward to the mask mine seems to extrude. Worries me a little bit now as it means its not going to be 100% accurate. Although, I did say I'd make another one at some point if I like this, and with the lack of Mk3 pep files around I may switch to Mk 6 as it is newer. :p
 
Re: Iron Man Mk III - First Build - Pic Heavy (UPDATE 14/3/11 - Pg 4)

Facial Jaw line. Where the check feature dips inward to the mask mine seems to extrude.
one area at a time Mykii and when it comes time to work on the sides of the helmet where the jaw line bothers you, just add enough filler on the sides of the helmet to bring the symmetry back, unless the area you speak of is WAY out of wack, but ALOT of problems can be fixed in the filler stage, dont sweat the small stuff, from what i have seen you should have no problem fixing this on your helmet
 
Re: Iron Man Mk III - First Build - Pic Heavy (UPDATE 14/3/11 - Pg 4)

Cheers Surreal/Kagn!

And on this note! UPDATE PICS!!!

IMG_0492.jpg

IMG_0493.jpg

IMG_0494.jpg

IMG_0495.jpg

IMG_0496.jpg


Found my sanding block so had a good go at sanding! Although, you would never believe this thing started from Cardboard unless you had seen it from the beginning. Also, you can see I have eliminated the joining at the top of the helmet. I now am happy because that was the biggest worry that I had, not onto getting everything else looking smoothish so I can then start worrying about applying some a thin layer over the top and start with the finishing on the filler. Yes, I'm thinking way ahead of myself but if I keep that finish line in sight it keeps me smiling.

I have said this before and will say it again. I'm an unorthodox builder. Might be due to my autism or just because I'm weird :p

Thanks everyone for your kind remarks, it is giving me lots of fire!
 
Re: Iron Man Mk III - First Build - Pic Heavy (UPDATE 15/3/11 - Pg 4)

comin together nicely

as a body repairer i would nt bother buying fibreglass kits or using small tins of body filler from car accessory shops,bloody expensive
find your local fibreglass suppliers 5 litres resin 3 metres mat +catalyst £35 goes a long way nearest one to me is in leeds
for filler local car bodyshop suppliers upol easy sand app £17 3kg tin
 
Re: Iron Man Mk III - First Build - Pic Heavy (UPDATE 15/3/11 - Pg 4)

That is coming along nicely so far mykii ... keep going ... you will have the helmet finished and shining in all it's pride and shine ...
 
Re: Iron Man Mk III - First Build - Pic Heavy (UPDATE 15/3/11 - Pg 4)

Yeah, I going to have it shining like a banshee. I want it to look like it was made by a professional. Not just from MykiiAmore in a back garden! So plenty of hours left to go. I am aiming to have the full faceplate finished by the end of the week.

Hey, fingaz. Welcome to the RPF and my thread :D
Cheers for the tips. I am going to look round for supplier in my area as going to need something larger for when I start moving onto other pieces. As I have said from the beginning of this project. IF I like the end result I shall be making the full bodysuit and other helmets as well. So will definitely need cheaper stuff. Also going to need the space to store it all :S

Also!!! What are the rules and regulations here on molding and doing a run to sell? I would like to make some money on this but understand that since I have been using someone elses PEP to start this that it could possibly/almost likely offend someone. If not I may have to learn to clay sculpt for future projects. Never ever thought I'd learn to this kind of stuff a few years ago.

PEACE OUT Y'ALL!
 
Re: Iron Man Mk III - First Build - Pic Heavy (UPDATE 15/3/11 - Pg 4)

Wow Mykii the progress look great! Your at the part that you need the most patience, but is also the make or break stage! fill/sand,fill/sand and the when your done fill and sand again! Then theres the priming in white to pick up the small flaws, then on to spot putty:) Once your done this your get to sand some more, 400 grit,600,and then the wet sanding Oh the fun!!! You got this man, keep up the amazing work!
Here eagerly awaiting updates of your masterpiece:)
 
Re: Iron Man Mk III - First Build - Pic Heavy (UPDATE 15/3/11 - Pg 4)

Cheers Chimmera

Yeah, taking my time. Took me a good three layers to get the top head joints smooth like that, going to take me a while to make it look perfect.

What is spot putty? Not encountered that yet. I was just planning on using the filler to make it flawless. I'm currently just sanding down to the point I'm happy, even if there are some tiny pits that can be filled later. I want to get the details of the helmet first before worrying too much about perfect detail. I'm then once done going to use grey primer as thats what I have and others seem to have used grey too. Then of course comes the best part, the higher grit papers and getting the paint job perfect. Although, I am not wondering whether of not to take the faceplate off first :p

Dang my wondering mind! :p
 
Re: Iron Man Mk III - First Build - Pic Heavy (UPDATE 15/3/11 - Pg 4)

you will want to remove the face plate at that point if you plan to cuz if you wait til after you paint it you will most likely flub up the paint job so aline, fill sand and test the faceplate before you paint it
 
Re: Iron Man Mk III - First Build - Pic Heavy (UPDATE 15/3/11 - Pg 4)

Thats exactly what I'm thinking.
I need to decide what is the best idea. Also, depends on if I have viable options for attaching the faceplate like hinges etc. If I dont, then it will stay attached and I'll think of other options for later helmets. Although, currently thinking of making a mold if possible. Although currently I am liking the weight of the helmet. Just perfect in weight.
I like things heavy as it matches my build.
I was a holiday park entertainer for a while and had to wear a costume character and it was light. Hated it because I couldnt feel it very well.
 
Last edited:
Re: Iron Man Mk III - First Build - Pic Heavy (UPDATE 15/3/11 - Pg 4)

Do you have to use spot putty? I confused since it sounds just like another version of filler.

Would it be cool for me to just go ahead and use the filler as I am doing and just use higher grades of sandpaper to create a nice 'polished' finish and then concentrate on doing a super paint job. (I've got a crap load of tips for paint including which grades of sandpaper to use)

Cheers for the help everyone! (Got some more sanding to do now, so may be back on later with an update if you are all good little boys and girls. :p)
 
Re: Iron Man Mk III - First Build - Pic Heavy (UPDATE 15/3/11 - Pg 4)

hey mykii after you have sanded your part to where you think you are happy with it, spray it with some primer, this will show all the areas that need filling, like pinholes deep scratches and low spots. Now this is where you use the spot filler, just apply it to these areas let it dry, sand these spots and reprime to see if you got everything. spot filler air drys and needs no hardener to mix into it, it sands super easy thats why you want to use it for the touch ups and not body filler, plus you can get it in a squeezable tube!
 
Re: Iron Man Mk III - First Build - Pic Heavy (UPDATE 15/3/11 - Pg 4)

Oh right, I see. DAMN, another thing to add to my list of things I need to buy :p
Just waiting for the current amount of filler I used to dry so I can start some more sanding. I actually enjoy the sanding part the most as I feel I am actually sculpting it in so sense.

Cheers to Chim and Kagn for the spot putty tip, wouldn't have thought of that otherwise!
 
Re: Iron Man Mk III - First Build - Pic Heavy (UPDATE 15/3/11 - Pg 4)

mykii spot putty is also known as stopper here in uk
cellulose/acrylic air drying
also a good one very much like filler is (upol dolphin glaze self levelling) to which you add hardener great stuff
 
Re: Iron Man Mk III - First Build - Pic Heavy (UPDATE 15/3/11 - Pg 4)

Sorry, no updates yet guys.
Girlfriend wanted me to take a day off and go see her.

Also won't have anything tomorrow either, got to film/edit a music video together.

Cheers
 
Re: Iron Man Mk III - First Build - Pic Heavy (UPDATE 15/3/11 - Pg 4)

an update about no updates lol.

You tricked me
 
Back
Top