MykiiAmore
Well-Known Member
Hey All
This is my first project and having seen so many great projects this already left me with a great weight on my shoulders wanting to come bearing a gift to the eyes and not a monstrosity so let's explain my project.
I'm going to create an Ironman suit, preferably a Mark 3 suit, but will use other parts if they fit better. I have been a fan of Ironman for years and Marvel even longer. When the movies came out I was in total awe. So there is the project and also the explanation as to why I'm doing it.
Materials used
[£0.00] 01 x Leftover 220 G/M2 Cardstock
[£2.50] 04 x Loctite Superglue
[£8.99] 02 x David's Fastglass Kits (Contains Resin, Hardener, Fibremat etc)
[£0.60] 14 x Paintbrushes
[£6.99] 01 x Halford's Primer (Grey 500ml)
[£6.69] 02 x David's Isopon P38 Filler
[£3.49] 01 x Halford's Sandpaper 120 grit
Total So Far
£60.24
Third Update // 19th February 2011
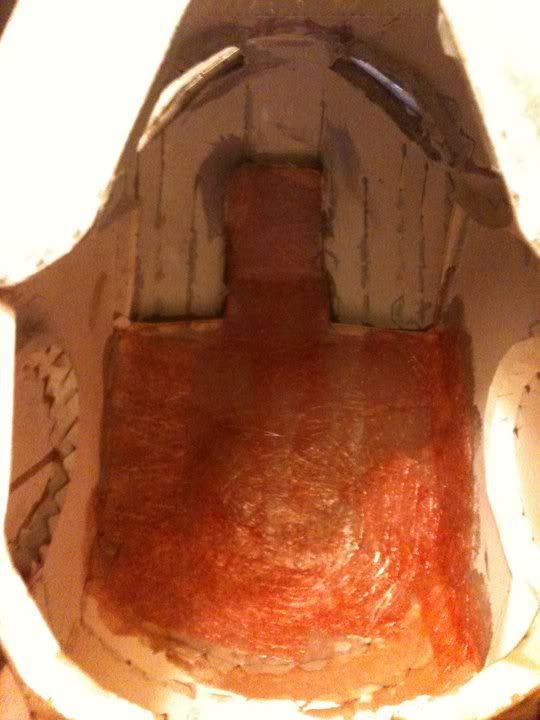
Added the 3 layers of Resin to the helmet and added some Fibreglass to the inside. Was completely shocked when it dried as well. Very very tough.
Cheers for reading!
MykiiAmore
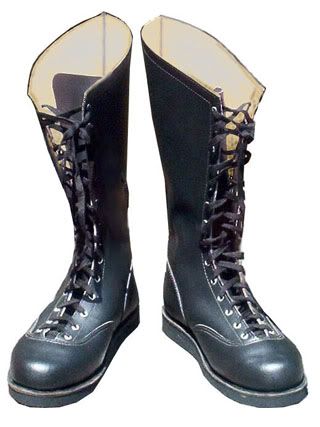
PS. I have these boots at home and was wondering if they would work well to use as the base boots for my costume. And If I did would it be possible to take them out of the costume to use for my wrestling needs again!
Also, if you are from the UK and have any ideas about resources I can use (Card, glue, resin, filler etc) please let me know as I am still finding it hard to find areas where to buy theses things.
Big Thankyou goes to;
Kagn
For being such a great help and inspiration throughout my project so far. You are a complete legend and I can only hope to be half as good as you when I have eventually finished.
Also, thankyou for the inspiration;
TMP, Dancin_Fool, Dungbeetle, Sharkhead, MaulFett, Robo and the RPF Community!
This is my first project and having seen so many great projects this already left me with a great weight on my shoulders wanting to come bearing a gift to the eyes and not a monstrosity so let's explain my project.
I'm going to create an Ironman suit, preferably a Mark 3 suit, but will use other parts if they fit better. I have been a fan of Ironman for years and Marvel even longer. When the movies came out I was in total awe. So there is the project and also the explanation as to why I'm doing it.
Materials used
[£0.00] 01 x Leftover 220 G/M2 Cardstock
[£2.50] 04 x Loctite Superglue
[£8.99] 02 x David's Fastglass Kits (Contains Resin, Hardener, Fibremat etc)
[£0.60] 14 x Paintbrushes
[£6.99] 01 x Halford's Primer (Grey 500ml)
[£6.69] 02 x David's Isopon P38 Filler
[£3.49] 01 x Halford's Sandpaper 120 grit
Total So Far
£60.24
First Update
Second Update // 11th February 2011
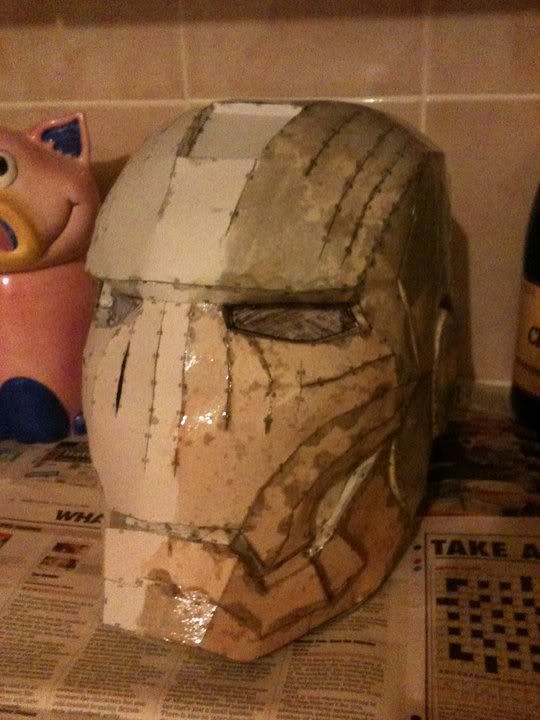
Half a coat of resin onto the helmet done. And boy, this stuff really smells. Looking forward to getting this helmet fully resined up with 3 coats and fibreglassed.
So here come the pics!
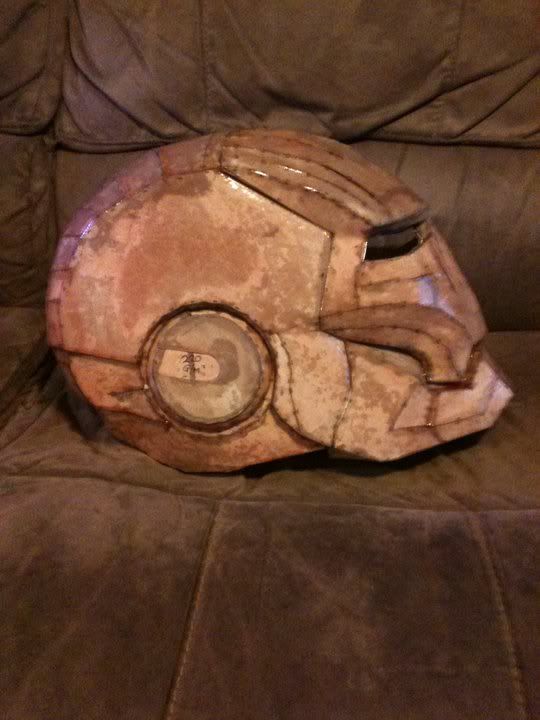
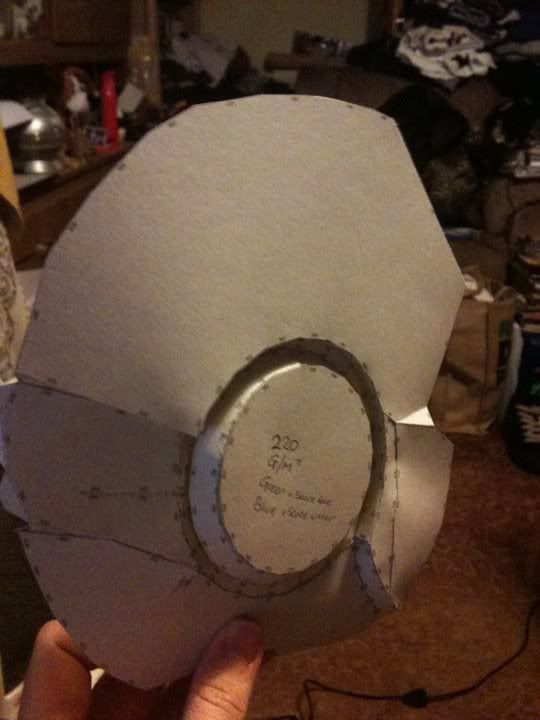
This first picture is the right side of the helmet where I decided to start my project. I found this part difficult at first but after a couple hours of practicing the folds I was starting to get to grips with the way Pepakura works.
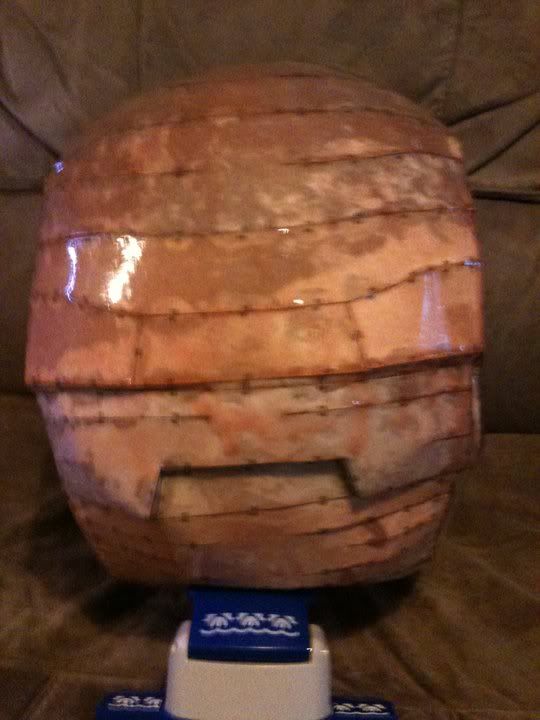
This second picture shows I started to add the back part of helmet next. It proceeded to get trickier as I progressed but was noticing how the Valley/Mountain folds worked meaning it became easier to recognise the shape it would take.
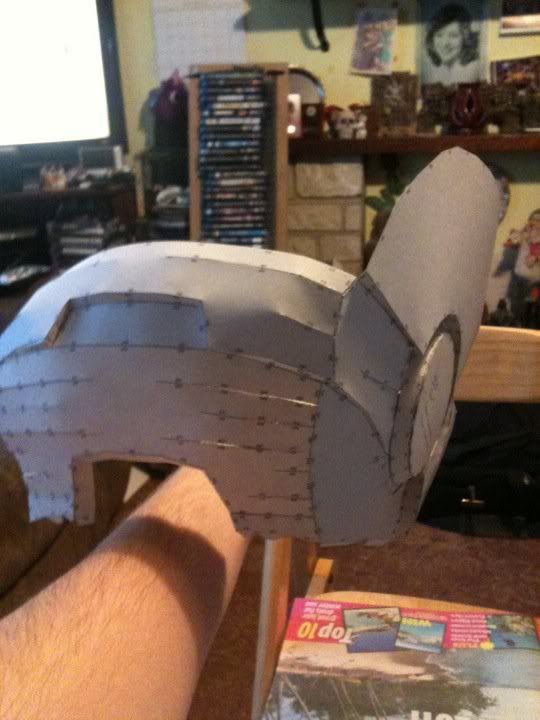
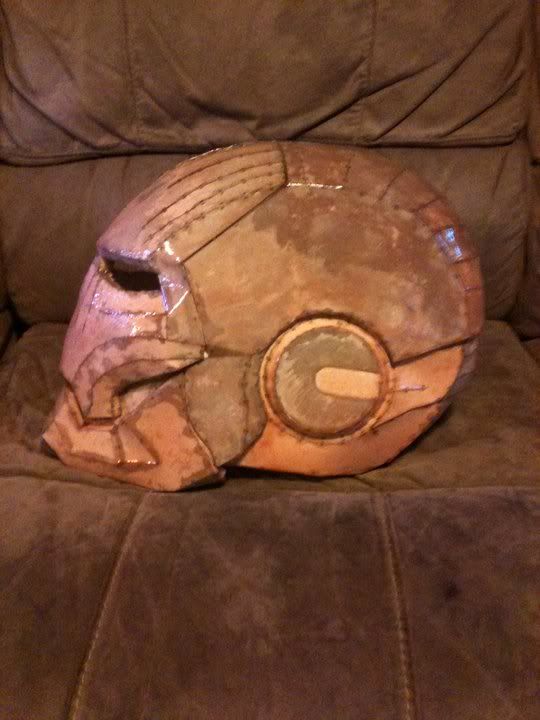
The third picture shows how I progressed to do another side so I now had a 3 sided helmet which to me was starting to look rather good considering I'd never used Pep before.
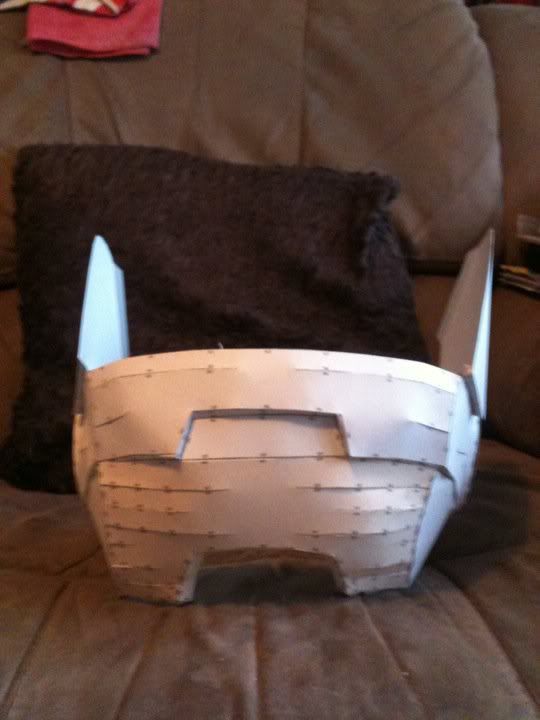
This fourth picture shows how I had added some more height to the rear of the helmet and also started to make the jaw of the helmet. This progressed quicker than the first part as I was now getting used to the process of pep making.

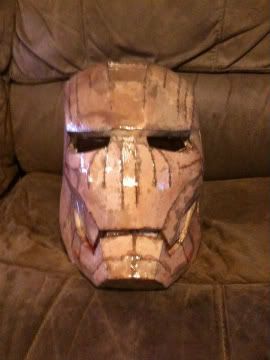
This fifth picture shows how I had finally got the look of a face to it. Was finally starting to feel proud of myself. Yes, I know, it isn't exactly the most amazing piece of work known to man but to me it was awesome!
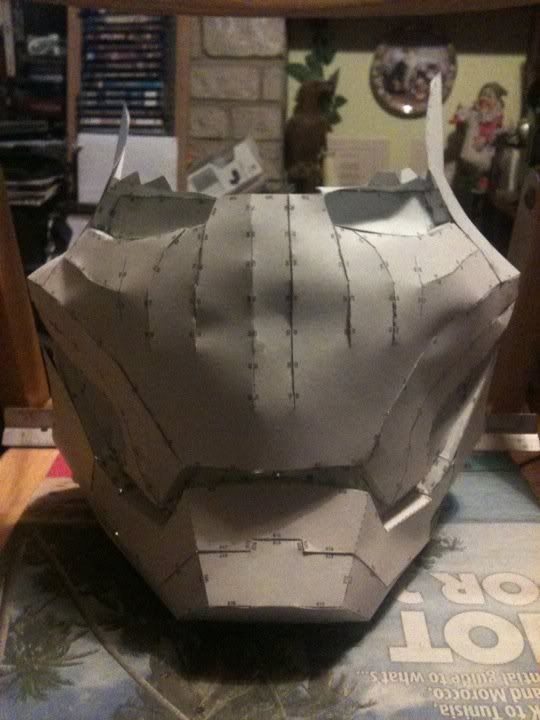
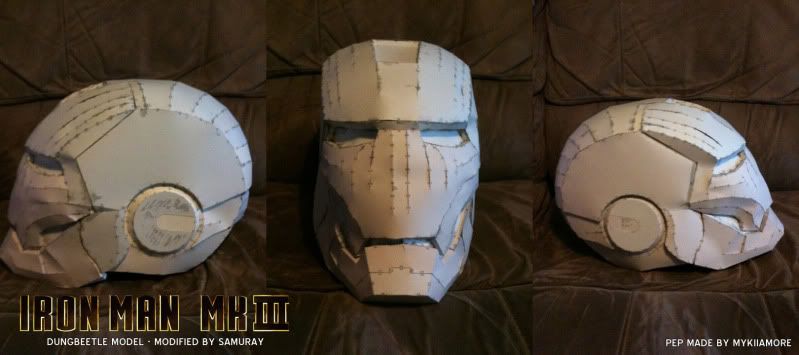
Finally, the finished piece!
So here you go, my finished PEP product. I have really enjoyed doing this and will be looking to do resin/fibreglass/bondo in the next month once I have acquired some money. So any tips would be very, very helpful as I've never ever used resin, fibreglass or bondo!
Going off to Halfords tomorrow to pick up some Resin and fingers crossed if can afford it the Fibreglass sheets and bondo/bodyfiller.
Also I would like to thank Kagn, TMP, Robo, Dancing_Fool and Dung0Beetle for the inspiration for getting me going.
This first picture is the right side of the helmet where I decided to start my project. I found this part difficult at first but after a couple hours of practicing the folds I was starting to get to grips with the way Pepakura works.
This second picture shows I started to add the back part of helmet next. It proceeded to get trickier as I progressed but was noticing how the Valley/Mountain folds worked meaning it became easier to recognise the shape it would take.
The third picture shows how I progressed to do another side so I now had a 3 sided helmet which to me was starting to look rather good considering I'd never used Pep before.
This fourth picture shows how I had added some more height to the rear of the helmet and also started to make the jaw of the helmet. This progressed quicker than the first part as I was now getting used to the process of pep making.
This fifth picture shows how I had finally got the look of a face to it. Was finally starting to feel proud of myself. Yes, I know, it isn't exactly the most amazing piece of work known to man but to me it was awesome!
Finally, the finished piece!
So here you go, my finished PEP product. I have really enjoyed doing this and will be looking to do resin/fibreglass/bondo in the next month once I have acquired some money. So any tips would be very, very helpful as I've never ever used resin, fibreglass or bondo!
Going off to Halfords tomorrow to pick up some Resin and fingers crossed if can afford it the Fibreglass sheets and bondo/bodyfiller.
Also I would like to thank Kagn, TMP, Robo, Dancing_Fool and Dung0Beetle for the inspiration for getting me going.
Second Update // 11th February 2011
Half a coat of resin onto the helmet done. And boy, this stuff really smells. Looking forward to getting this helmet fully resined up with 3 coats and fibreglassed.
Third Update // 19th February 2011
Added the 3 layers of Resin to the helmet and added some Fibreglass to the inside. Was completely shocked when it dried as well. Very very tough.
Cheers for reading!
MykiiAmore
PS. I have these boots at home and was wondering if they would work well to use as the base boots for my costume. And If I did would it be possible to take them out of the costume to use for my wrestling needs again!
Also, if you are from the UK and have any ideas about resources I can use (Card, glue, resin, filler etc) please let me know as I am still finding it hard to find areas where to buy theses things.
Big Thankyou goes to;
Kagn
For being such a great help and inspiration throughout my project so far. You are a complete legend and I can only hope to be half as good as you when I have eventually finished.
Also, thankyou for the inspiration;
TMP, Dancin_Fool, Dungbeetle, Sharkhead, MaulFett, Robo and the RPF Community!
Last edited:
