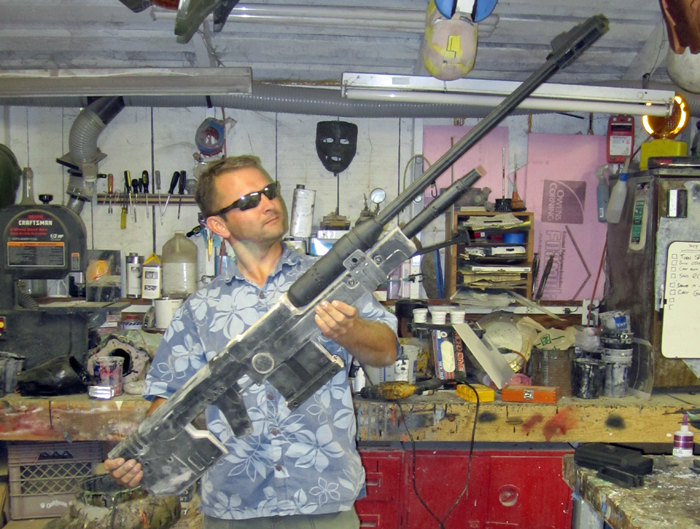
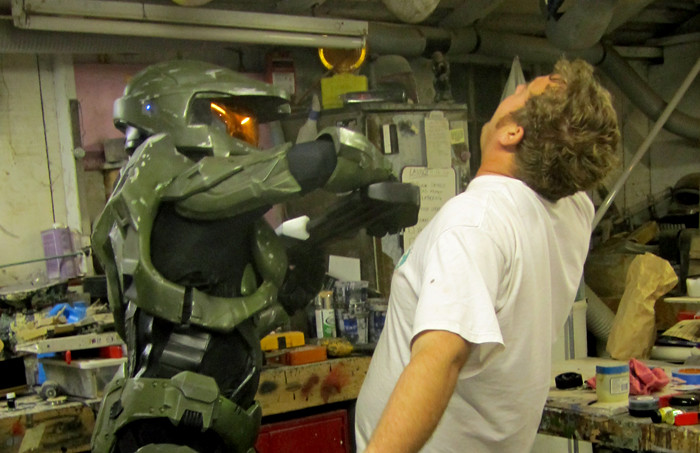
Re: HALO Master Chief Costume Progress Thread
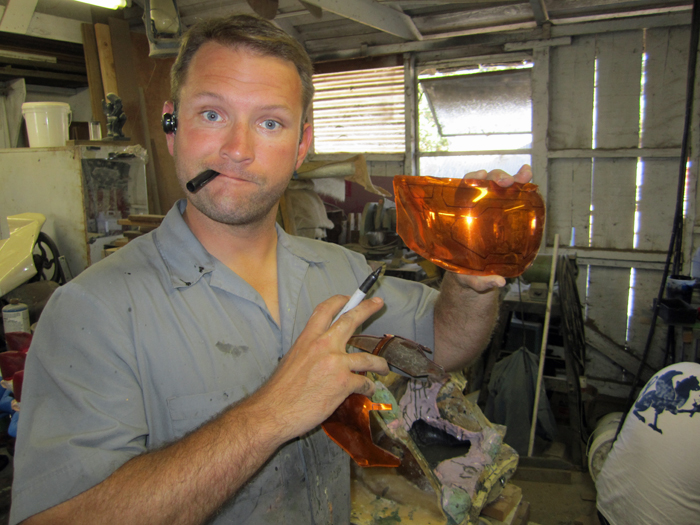
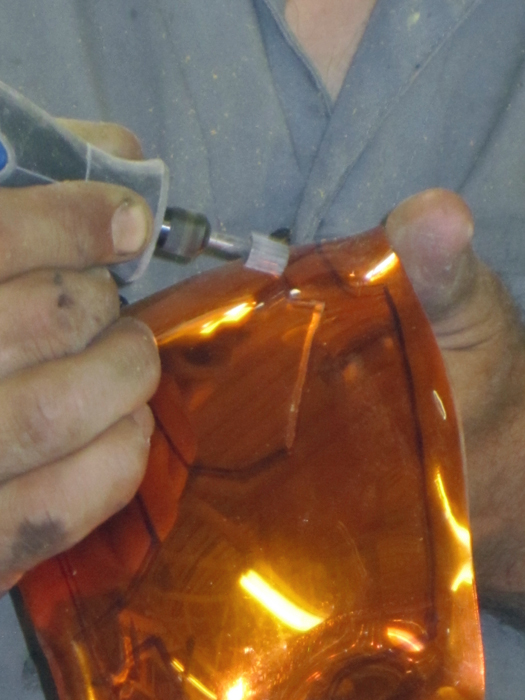
No buck. For this method I'm actually sucking the plastic into a hole the same size and shape as it needs to fit the helmet. It makes a nice profile, but there's nothing to form details. I was thinking of using two of these visors layered together and cutting the details out of the top one, but it ends up being too thick and the variations from one pull to the next make it nearly impossible to get them bonded together without bubbles or voids.
I also tried using a thinner sheet for the outside detail layer. This ended up looking hokey since I can't get the thinner acrylic sheet in the right color.
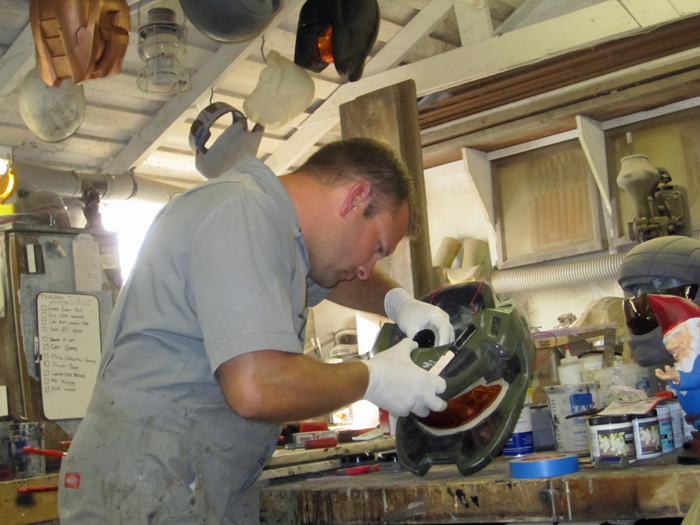
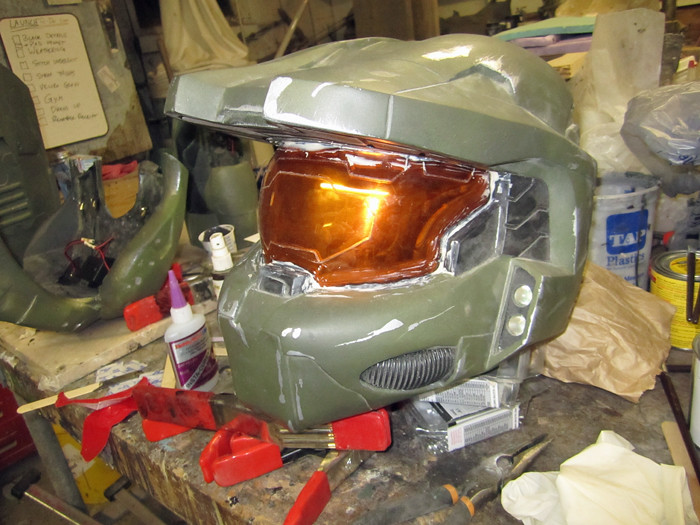
In the end, the absolute best solution is going to be to carve out a few proper bucks and actually vacform them like normal, but I've got to upgrade my vacforming rig first.
This was really looking like a step in the right direction, but you're right. I'll be happier when I've got the proper forming buck made up and I'm started making the actual shapes the way they're supposed to be.
I'm not sure how your vac-forming buck is, but I imagine that if you added the details using really thin plastic, that it'd be good for forming and would solve the problem?
No buck. For this method I'm actually sucking the plastic into a hole the same size and shape as it needs to fit the helmet. It makes a nice profile, but there's nothing to form details. I was thinking of using two of these visors layered together and cutting the details out of the top one, but it ends up being too thick and the variations from one pull to the next make it nearly impossible to get them bonded together without bubbles or voids.
I also tried using a thinner sheet for the outside detail layer. This ended up looking hokey since I can't get the thinner acrylic sheet in the right color.
In the end, the absolute best solution is going to be to carve out a few proper bucks and actually vacform them like normal, but I've got to upgrade my vacforming rig first.
This was really looking like a step in the right direction, but you're right. I'll be happier when I've got the proper forming buck made up and I'm started making the actual shapes the way they're supposed to be.


")