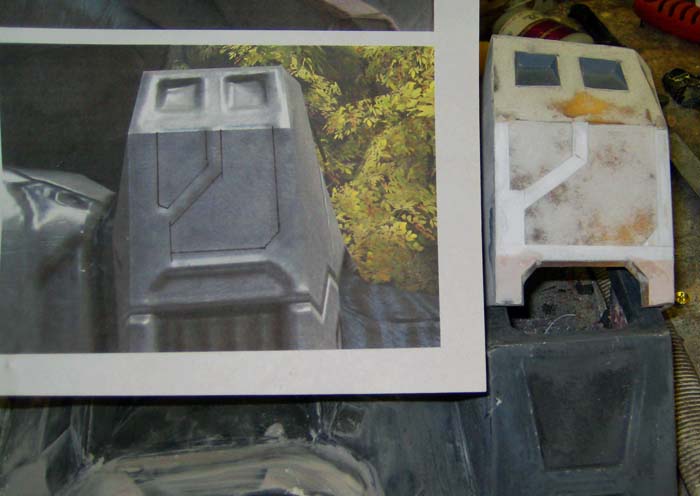
HALO Master Chief Costume Progress Thread (helmet rebuild begins on p.19)

Re: HALO Master Chief Costume Progress Thread

Best thighs I've seen. I love the innovation for the insides of them.

There's an epic joke just waiting to be made about your comment... must. resist. :lol


In other news, I 100% agree. Thorssoli's build progress is always inspiring either in terms of progress or methods --- and he makes it look easy! :thumbsup
 
Re: HALO Master Chief Costume Progress Thread

Best thighs I've seen. I love the innovation for the insides of them.

They'll look infinitely better once I finish the paintjob:
4476604251_8b1ddf4cdd_o.jpg


Apologies for crappy cellphone pic.
 
Re: HALO Master Chief Costume Progress Thread

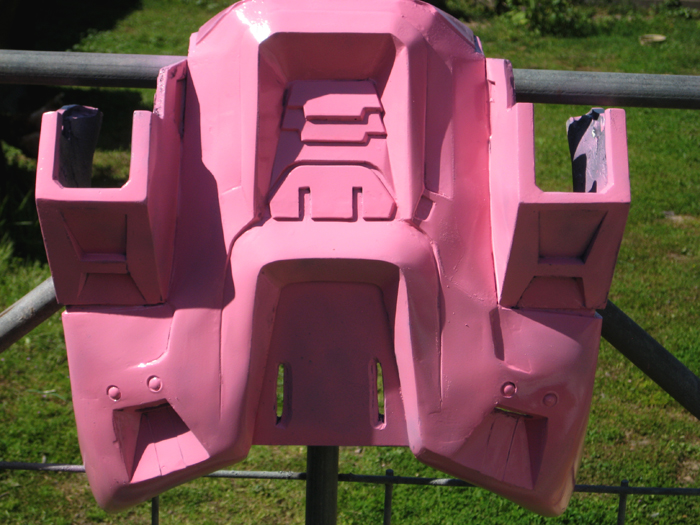
Finally focused on making progress on the larger torso. Today I got the chest plate about 90% done. I still have a bit of fairing to do on the outside, then a bit more smoothing on the inside. Here's a quich shot of some of the details:
4504887142_50519b7217_o.jpg


I'm on track to have these molded by next week sometime. If you'd like to own a copy of my larger torso assembly, I've got a pre-order thread going in the Junkyard.

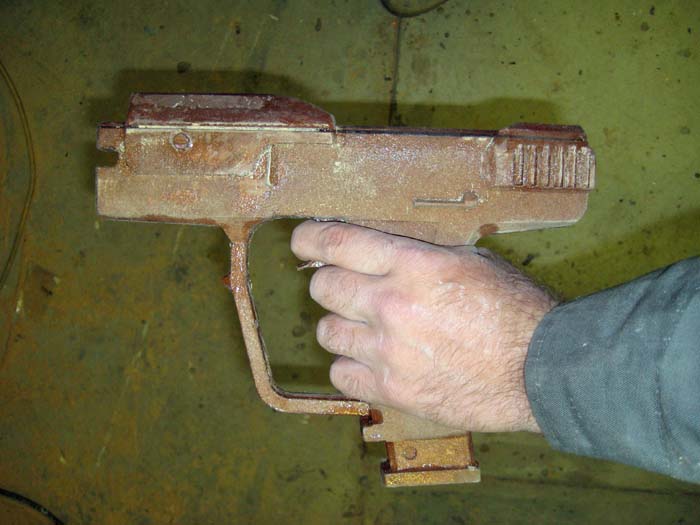
On a lesser note, I've made a tiny bit of progress on the pistol. Here's a couple shots of all of the pieces glued together and sealed up:
4504904944_ddbb75666b_o.jpg

4504904354_380470674f_o.jpg


Once I've got it sanded smooth and painted glossy in the appropriate places, I'll be molding it up and offering a run of raw castings as well. There won't be any moving parts so they'll just be big pistol-shaped blocks of resin, but they'll look pretty cool on the shelf or clipped onto your thigh armor.
 
Last edited:
Re: HALO Master Chief Costume Progress Thread

Random updates...

I was thinking about it, and I realized I've never explained the assembly of my various upper arm armor parts. When I cast the pieces, there are three parts for either side; the bicep plate, the tricep plate, and the shoulder/outer arm plate. The shoulder/outer arm is set up so it can easily be separated into two pieces and shortened. Unless you're over 6'9" tall, it will need to be shortened. Separating the shoulder from the outer arm plate makes four cast pieces per side. Here's how it goes together...

First, I fasten these three parts together using epoxy:
4560146794_a761947c77_o.jpg


Then I add a strip of foamed PVC to the inside (fastened with pop rivets as well as epoxy):
4560146526_90f91e647b_o.jpg


I also added a small piece of foam PVC to connect the top of the bicep plate to the bottom of the shoulder plate. Once the epoxy had cured, the next step was to paint it up:
4559519259_b21531ac58_o.jpg


The idea behind my multi-part design is to make it sizeable. This way I'll be able to custom fit a variety of wearers.

In other news, I've painted up a bunch of the small parts:
4559519827_3e8ecaeff8_o.jpg


I'm also making slow progress on the larger torso. Here's the chest plate (which is almost ready for molding):
4560149464_c9061f02c3_o.jpg


Here's a shot of one of the shoulder boxes:
4559517035_7ee82b75b2_o.jpg


And both of them sitting atop the rest of the back armor:
4560147348_f0bcacdb3d_o.jpg


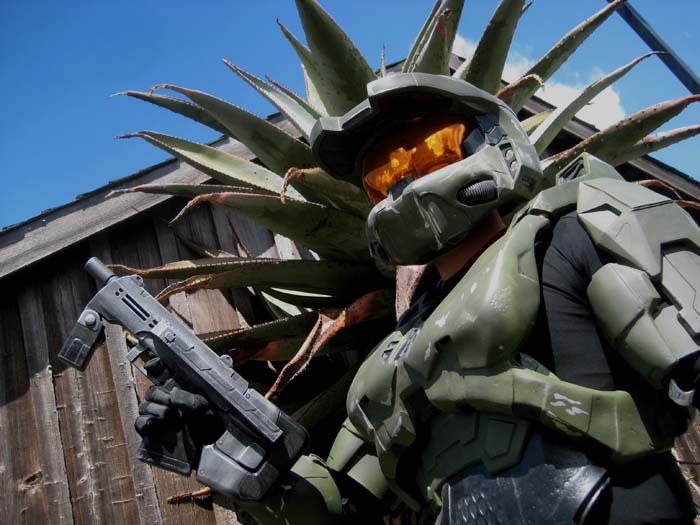
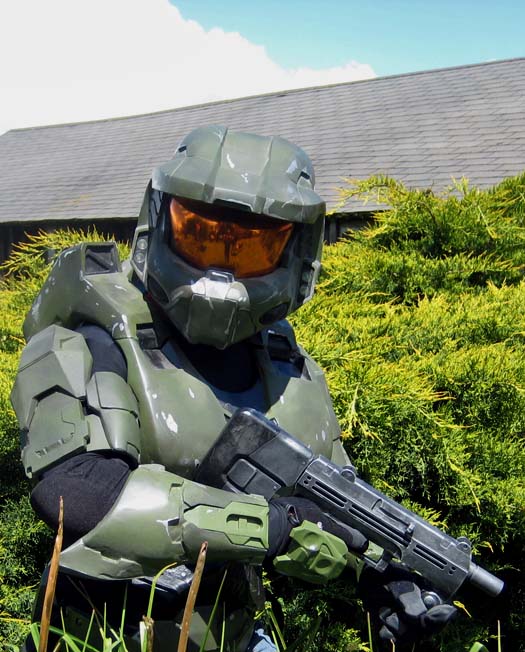
During a few free minutes the other day, I went ahead and put on the top half of the armor for a few photos. I still haven't put together my undersuit, but it's starting to look pretty cool regardless:
4539986646_2322b182ea_o.jpg


4539986750_b56aee3e55.jpg


4539353249_18c0192a8b_o.jpg


4539353327_56d1ba6e8b_o.jpg


I've been a bit distracted from my main project here with my pistol run, but I'm still tinkering my way along. Hopefully I'll have the whole costume knocked out in a month or two. For now, I'm running out of workspace and wasting a lot of time tripping over things, so I suppose it's about time to do some cleaning in the shop:
4560147876_b6b3235d72_o.jpg


A I have left to make at this point are the boots and the larger torso armor, so stay tuned...
 
Re: HALO Master Chief Costume Progress Thread

I SO WANT one of these. Looks awesome. I would definitely need the bigger size pieces.
 
Re: HALO Master Chief Costume Progress Thread

So I found the floor in my shop again:
4576946087_9263612b99_o.jpg


Now progress can continue on my larger torso prototype:
4594660294_86c9238632_o.jpg


At this point I've got a bit of fairing to do, but I'm already making good progress on the tiny details:
4594045965_12142313bb_o.jpg

4594661004_25cff2c768_o.jpg


I still need to add the detailed parts in these two areas:
4594660496_7eff731ab1_o.jpg

The larger one below that will be a separate casting.

At the current rate, I'll have this thing smooth, primed, and be about ready to order moldmaking goo in a day or two.

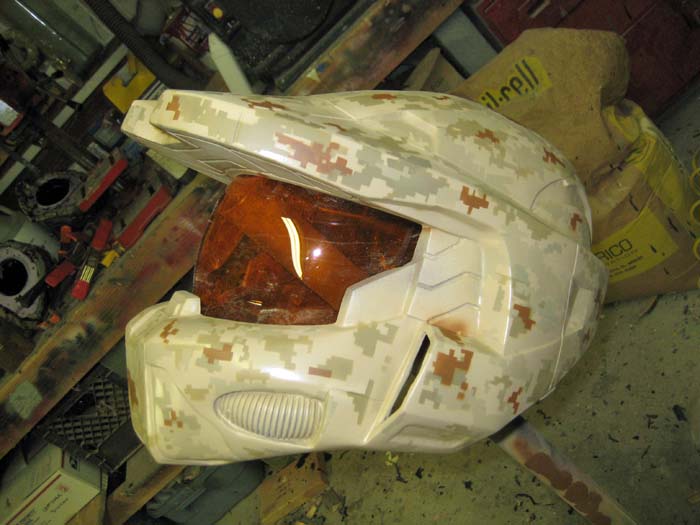
In other news, I started tinkering with a digital desert camo helmet:
4586227116_ac1b3e070a_o.jpg


I've also been painting up three of my M6G pistol castings. I'll post some pics of them once they look like something I can be proud of.
 
Re: HALO Master Chief Costume Progress Thread

Quite a while since I've updated this project, so I guess it's due.

The other day I decided to call the chest armor good enough and spray it with a coat of my standard prototype shade of light red:
4634300313_06bb03b038_o.jpg


I also did the same thing with the back armor:
4634900752_f36957c3e9_o.jpg


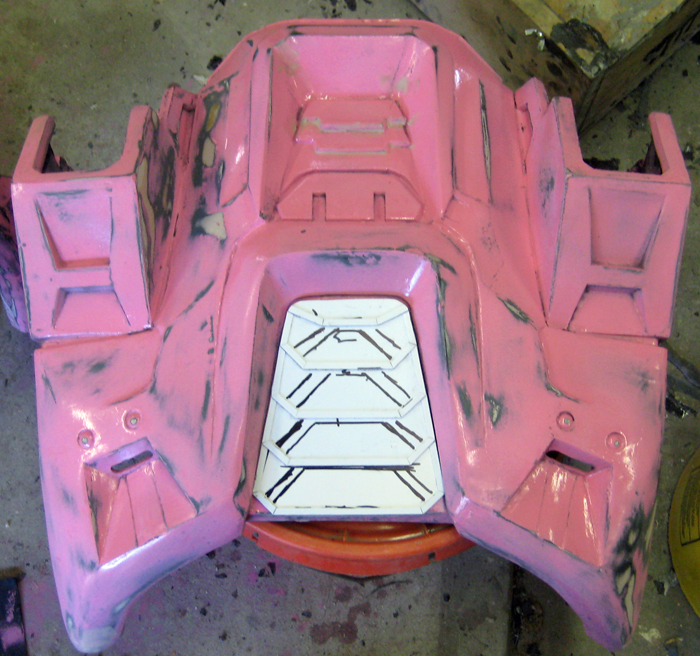
As is always the case, the pieces that looked just fine in flat black turned out to look absolutely terrible with a glossy finish. So today I ended up doing some fine sanding on both parts. I also had a friend of mine making the insert for the lower back, so at the end of the day it looked about like so:
4634304975_3860bf151f_o.jpg


The only other thing I got done was a lot of sanding and a little bondo work on the shoulder boxes:
4634904830_123fbbe6f9_o.jpg


Monday's goal is to have the four main parts completely ready to mold. Then I'll build the mold walls and finalize the smaller parts on Tuesday, mothermold and small part molds on Wednesday, jacket mold for the big parts Thursday, and hopefully have my first pulls coming out of the mold on Friday.

Stay tuned...
 
Re: HALO Master Chief Costume Progress Thread

This is very impressive each time I see it. Now all you need is a shotgun.... Shotgun.... I said, "Shotgun!"
 
Re: HALO Master Chief Costume Progress Thread

Torso Moldmaking Step One, prepare the workspace:
4640386317_eff9ce8b81_o.jpg


Step Two, build the mold walls and sprues for the chest armor:
4640386801_0e6dbf59ac_o.jpg


Step Three, run out of time before finishing the same work on the back armor:
4640386547_995404259c_o.jpg


Tomorrow I'll be finishing the mold wall on the back armor, then layering clay over the whole thing before building the mother mold.

Stay tuned...
 
Re: HALO Master Chief Costume Progress Thread

I'm sure if you keep searching, you'll find your car in there!!

This is awesome work.
Gives me a hardon just watching it's progress :love
 
Re: HALO Master Chief Costume Progress Thread

I'm sure if you keep searching, you'll find your car in there!!

This is awesome work.
Gives me a hardon just watching it's progress :love

I don't keep my car in there. This is my workshop. The car was in one of the other shops.


Apologies for not updating sooner, but the weather's been sketchy, so my pirate internet connection on the boat wasn't working and I haven't had time to stop and log on anywhere else. Enough of that, here's what I've been up to for a couple of days...

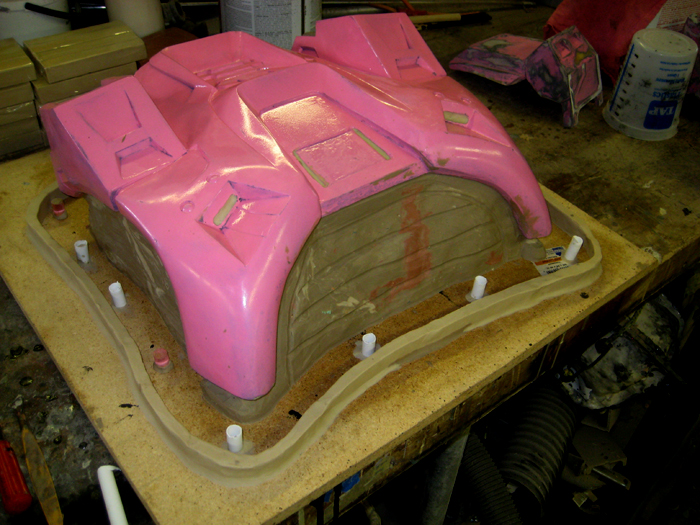
First, I finished building up the base around the back and chest pieces:
4645263760_432ab64314_o.jpg


That done, I built a clay wall to keep the silicone from running all over the place once I started brushing it on:
4643819819_c3ca469a9c_o.jpg


I did this with both pieces:
4644644081_972da1aff2_o.jpg

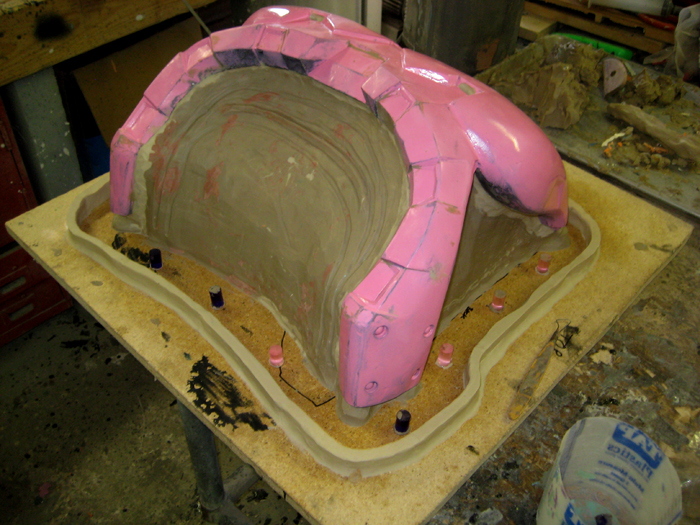
The little pink and purple pegs spaced around the edge are there to form holes in the rubber. Later, when I build the mother mold, they will be removed to form keys in the holes. This will all become clear as progress continues.

With both parts ready to mold, it was time to mix some rubber:
4644375108_8dbaf916db_o.jpg

This is a pretty physical task with a full bucket of silicone, but it gets easier every time.

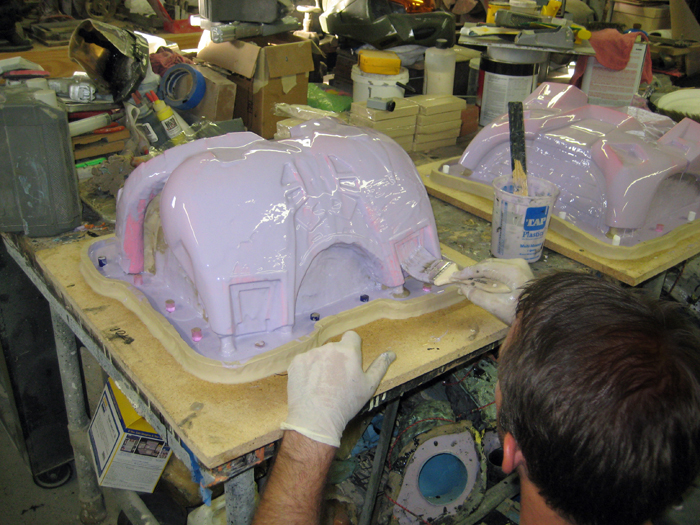
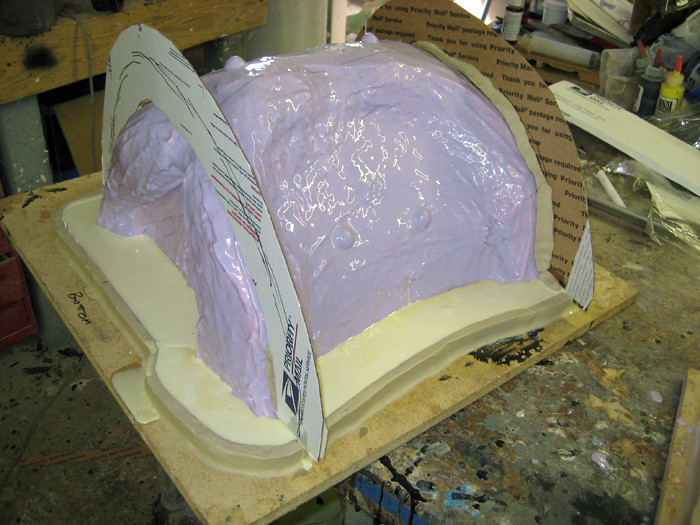
The first batches were mixed with a purple catalyst that makes the uncured rubber pourable. Once it's mixed, I brush it on to pick up all of the surface details:
4644657559_e2e8f6aa1d_o.jpg


Here's what the back looked like with about four pounds of rubber laid on:
4645268644_d75b3e0b7c_o.jpg

All of the pink parts are where the high points of the prototype are almost poking through. These parts are paper thin at this point and will need reinforcement if I want the mold to survive the removal of the prototype. More on that in a moment.

Here I am brushing rubber into some of the chest details:
4644363422_fb396be986_o.jpg


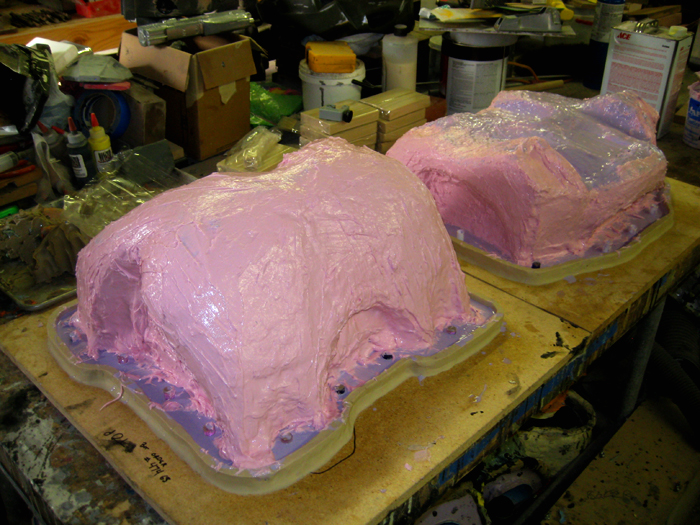
Once the plurple silicone had cured, the next step was to mix a few batches with the thixotropic (pink) catalyst. This catalyst makes a much more viscous uncured rubber that will cling to a vertical surface while it cures. This way I can build up a lot of thickness without having the rubber dribble away from the high points:
4647833511_ebcd3d3c88_o.jpg


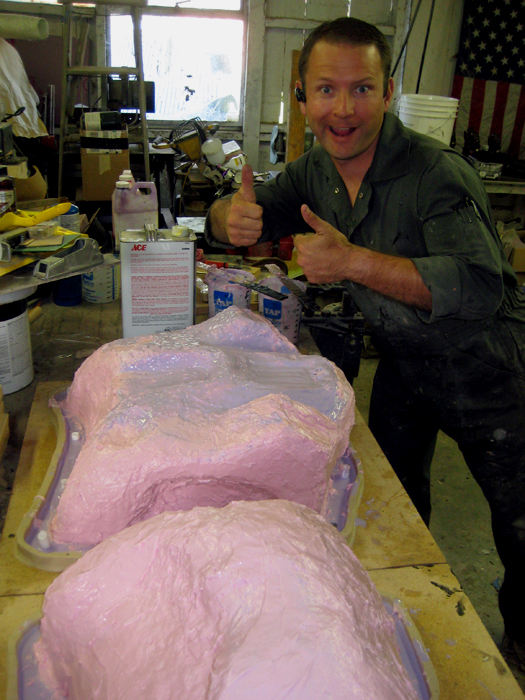
After a solid day of frosting my armor with noxious chemicals, it was time to knock off before I started getting goofy:
4648447706_e494bc4d52_o.jpg


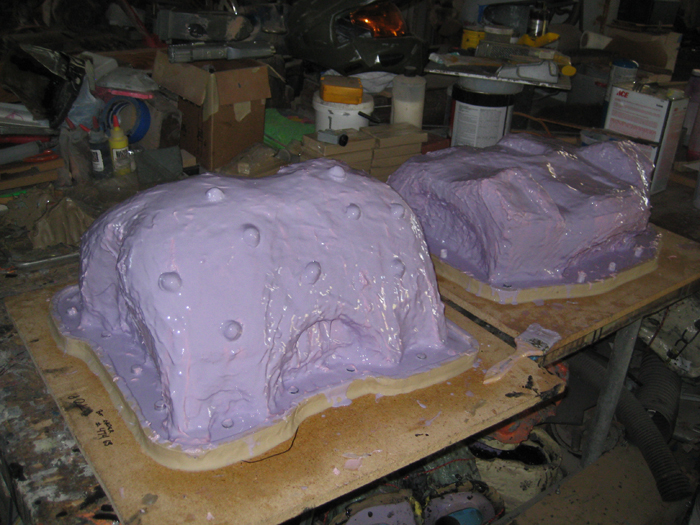
The problem with the thixotropic catalyst is that you end up with little ridges and spikes all over the outside of the mold. When you build the mothermold these are likely to lock the rubber into the rigid mothermold in ways you don't want, so the next step is another coat of pourable plurple rubber. I did this this morning:
4647833917_239d2f95af_o.jpg


The back has lots of unique shapes that will keep the rubber jacket mold properly aligned in the mother mold. There aren't as many to the chest, so in order to keep the rubber jacket mold from moving around in the mother mold I added these little bumps to the chest:
4647833725_c8cb737960_o.jpg


Right now I'm on a lunch break while I wait for the rubber to cure. Hopefully I'll have the mothermold done today sometime.
Meanwhile, I've finalized the shoulder boxes:
4644367624_fc2d5bb875_o.jpg


Here's a shot of the rear details (because I'm proud of them):
4644372944_a62a129571_o.jpg


And I've also finished the lower back detail insert:
4644371730_0c69efd312_o.jpg


I've used up about half of the rubber I've budgeted for this mold, so I think I'm just about right on track. Stay tuned...
 
Re: HALO Master Chief Costume Progress Thread

You sir have got me as a garunteed customer in the future! Doing this costume right!!!!
 
Re: HALO Master Chief Costume Progress Thread

Apologies to anyone and everyone who have been waiting on updates for this project. I was called away from my shop for a little while and will be back to it tonight or tomorrow.

At this point the mothermolds for the two large pieces of the chest are over halfway done. I will be posting progress pictures once I've got them completed. At this rate, that should be tomorrow evening.

Thanks for your patience.
 
Re: HALO Master Chief Costume Progress Thread

Awesome job.... It seems we have the same technique for making that type of a large mold.
I use an EZ-spray mold gun from smooth-on for larger molds
The last large bust size mold I made using the EZ spray mold gun was a contract job for a local artist
I found the gun to be a bit messy as I did not have a high enough wall behind the bust
to catch the excess spray and ended up with purple splatter all over the shop wall :confused :lol at least it was silicone and easy to clean off
and spraying the liquid plastic to make the mother mold can be a bit toxic respirator is required

Sorry to digress away from your thread, Once again Fantastic Job

Here is a link of a video when I first got the gun spraying a simple
one sided mold

http://www.youtube.com/watch?v=aJXt2IFLi6A
 
Last edited:
Re: HALO Master Chief Costume Progress Thread

It's been far too long since I've updated this thread. There's been a lot of delays in this project, many of which are hard to detail. Suffice it to say, life has been interfering with the important business of finishing this project.

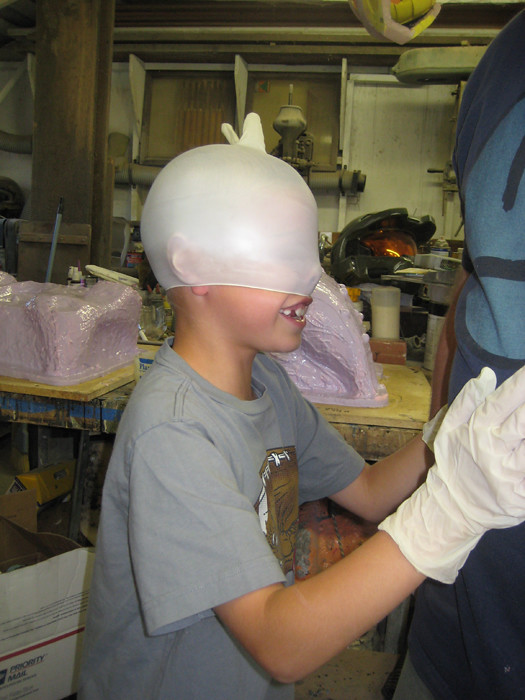
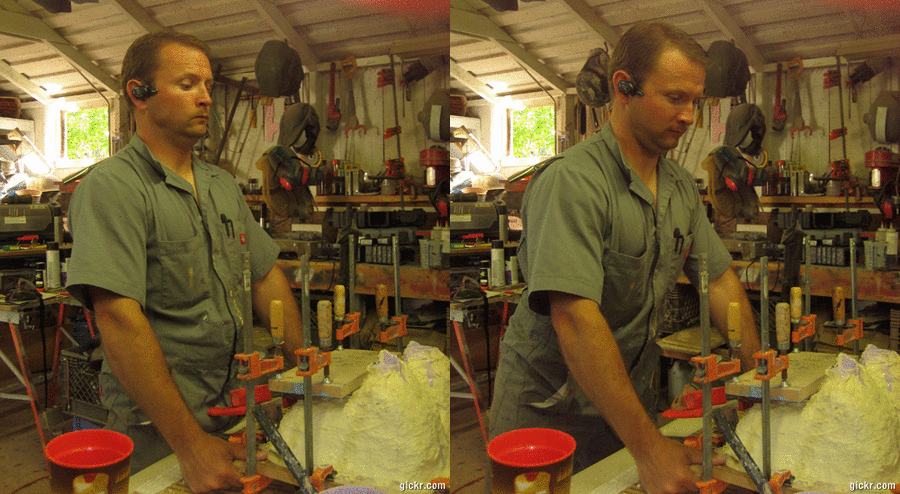
I've had my nephew "helping":
4684451990_39e040a290_b.jpg


Enough about the delays though. Let's see how many pictures I can cram into one post...

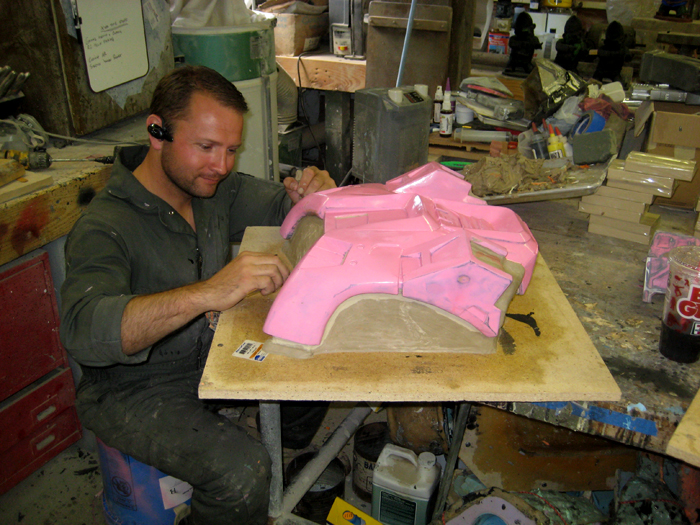
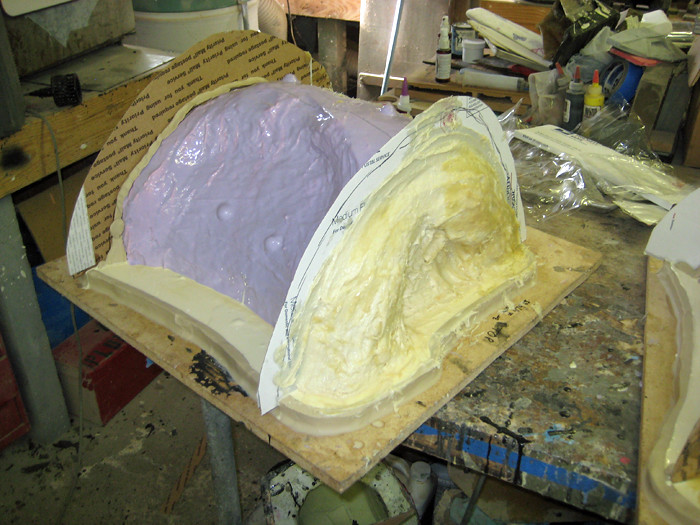
When last I updated, I had just finished the jacket molds for the main chest and back pieces. Once the rubber had cured, the next step was to move the clay dam half an inch or so from the edge of the silicone flange and pour some urethane casting resin to form the edge of the mothermold. Then I made cardboard walls to form the mating edges of the separate mothermold sections. At this point, it looked like so:
4683819237_2e446da21c_b.jpg

It's important to remember to brush some sort of release agent onto the cardboard at this stage. I did not remember and ended up spending far too much time scraping cardboard off of the mothermold edges later on. Oops.

The next step was to mix up some mothermold paste and start spreading it on:
4683818605_e3c79b6287_b.jpg


These are pics of the chest mold, but I was working on the back mold simultaneously. After the first solid afternoon of work, here's how they looked:
4684451708_e0db6c96f1_b.jpg


At this point, everything was going swimmingly. Little did I know that it would be five days before I got back to the shop. When I did get back to it, things came along pretty quick. I peeled, cut, and scraped away the cardboard on the edges of the mothermold sections. Then I greased them up with a mold release paste so the middle pieces wouldn't become permanently bonded to the outside pieces. Then it was time to start spreading more paste.

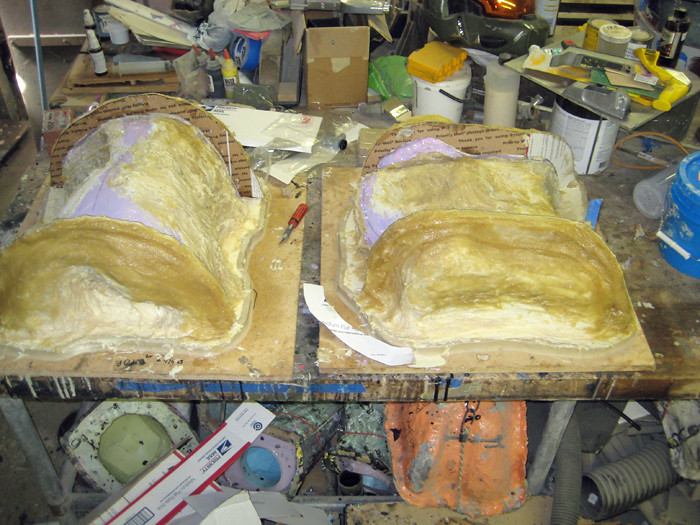
The mothermolds for both the chest and back were made in four sections. Here's the back with three out of the four sections built up (the unfinished part is the section at the back of the neck):
4684219009_275150938c_b.jpg


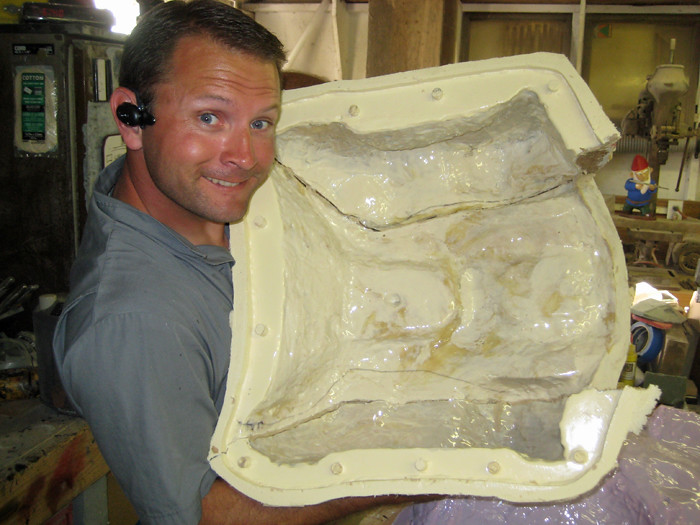
Once I'd built all four sections, it was time for a break while the plastic cured. The next day, all there was to do was pry them apart and pull the mothermolds off of the jacket mold. Here I am holding up three of the four sections of the mothermold for the back:
4684451402_ec4c904da3_b.jpg


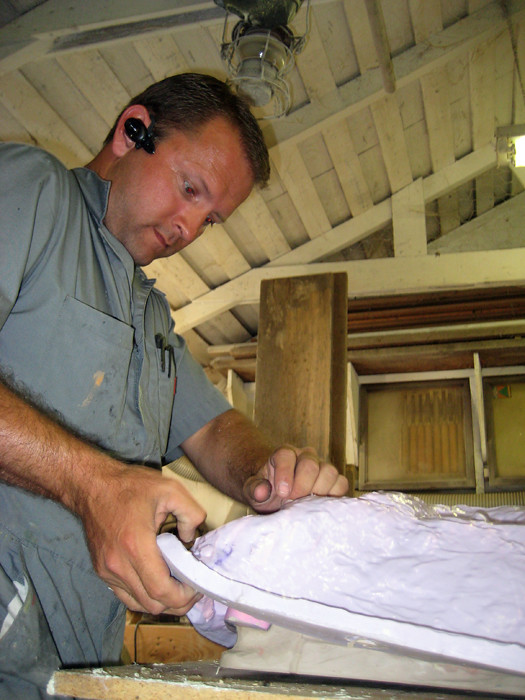
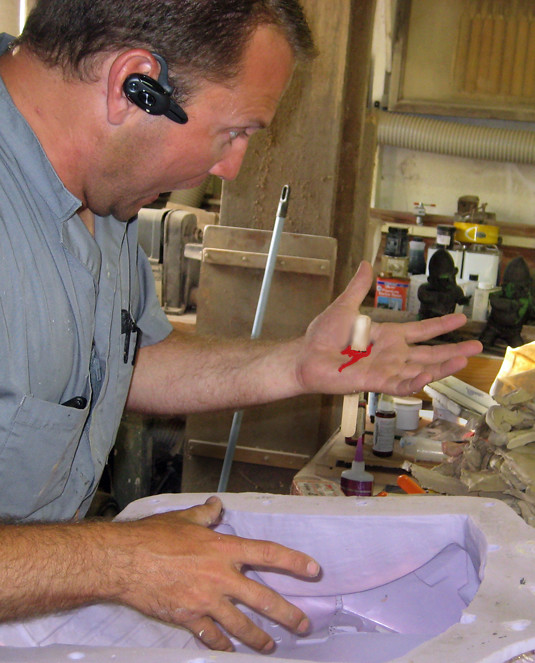
Then it was time to CAREFULLY peel the jacket mold off of the master:
4683820487_7122445000_b.jpg


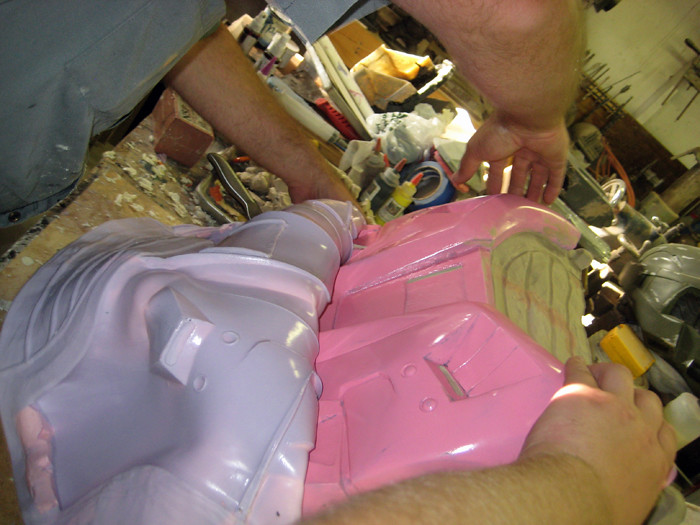
Here's another action shot of me coaxing the master out of the jacket mold:
4684451108_733dc2d687_b.jpg


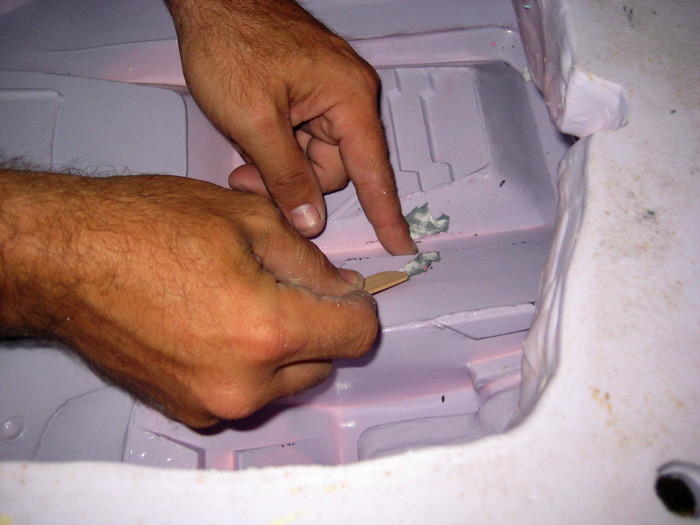
Despite all of my care and gentle handling, some tiny bits of the prototype remained in the mold. I picked these out as delicately as I could using a tongue depressor:
4684450250_ac34c7ebda_b.jpg


If you're doing this at home, be sure to follow all of the tongue depressor manufacturer's safety guidelines:
4683820221_77d620222e_b.jpg


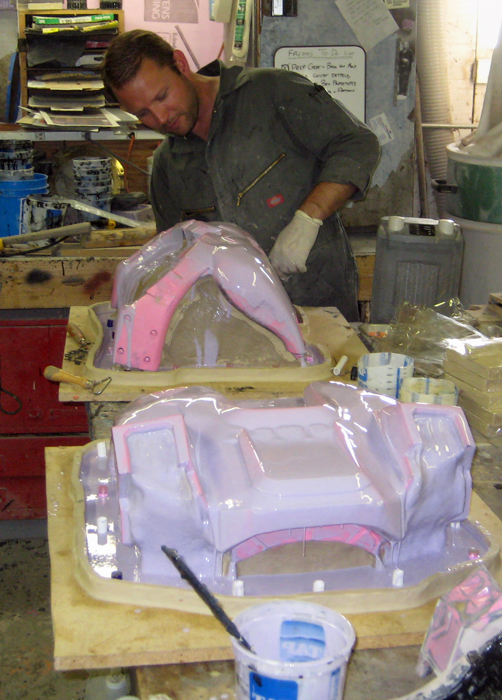
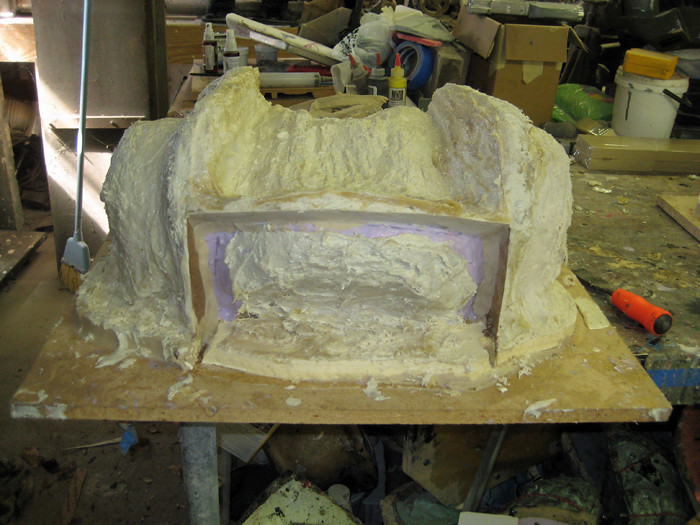
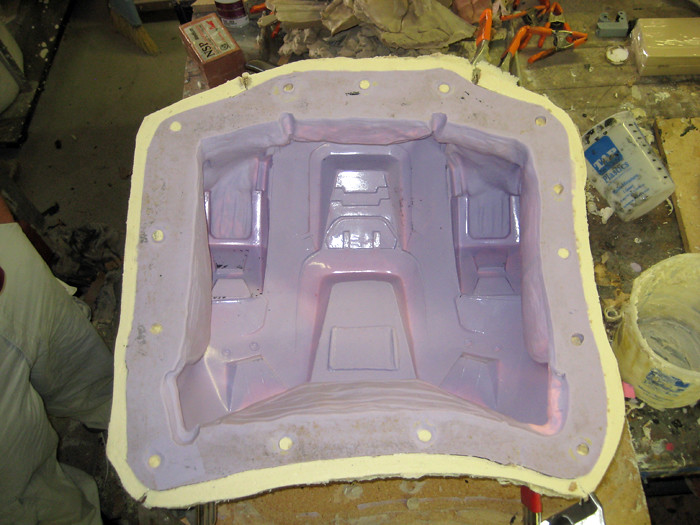
With the jacket mold rid of debris, it was time to reassemble the mother mold, then fit the jacket mold back into it, then get ready to rotocast a copy of the armor. Here's the mold all together again:
4683819763_89d2e47259_b.jpg


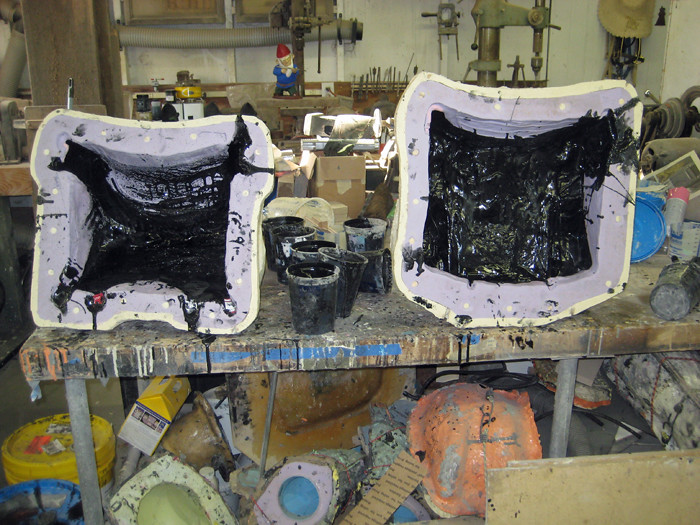
My plan is to make and inside to this mold as well, but since I had it this far along I figured I should see how hard it is to rotocast a copy of each of the pieces. The answer is: damn hard. Each of the large molds weighs in at around 35 pounds, so they're a bit much to handle. Still, I managed to pour a cast. Here's the chest and back molds while I was working on them:
4684854888_483259f4cb_b.jpg


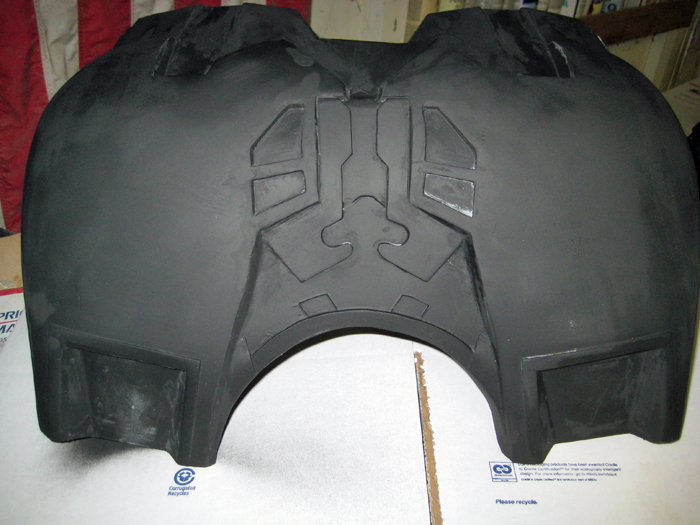
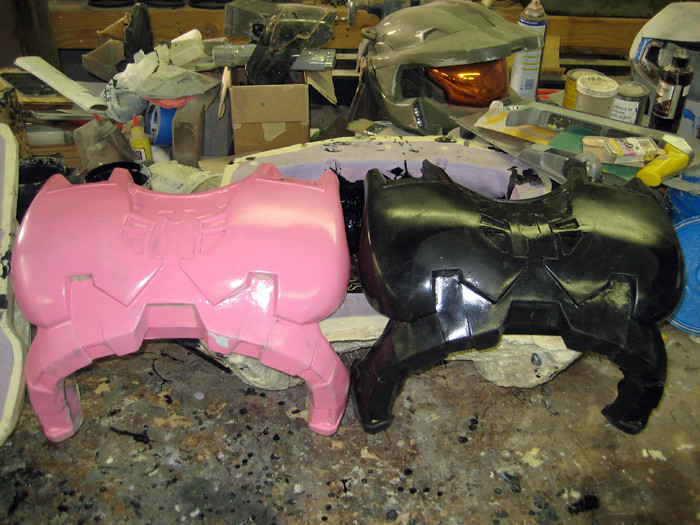
And here's the first copy of the chest (black) next to the prototype (light red):
4684854178_422624af87_b.jpg


The first pull wasn't terrible. Still, there are some thin spots I'm not happy with and a lot of thick spots where I wish there weren't. I'm thinking I still need to go ahead and build the inside portions of the molds so I can just pour the resin and walk away. That'll have to be part of the next update though.

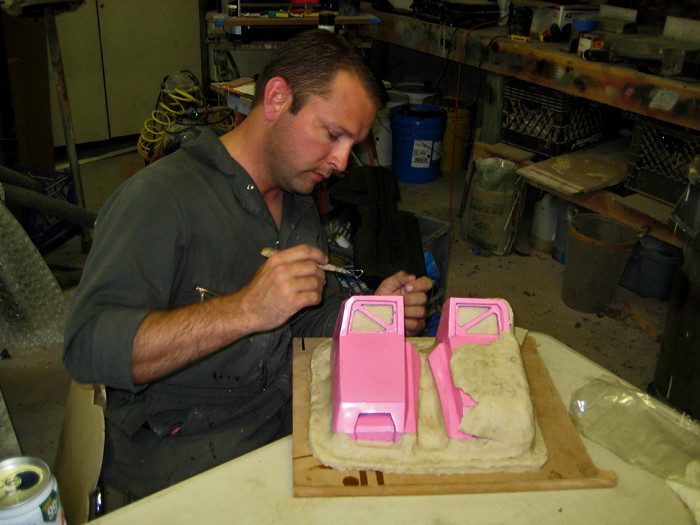
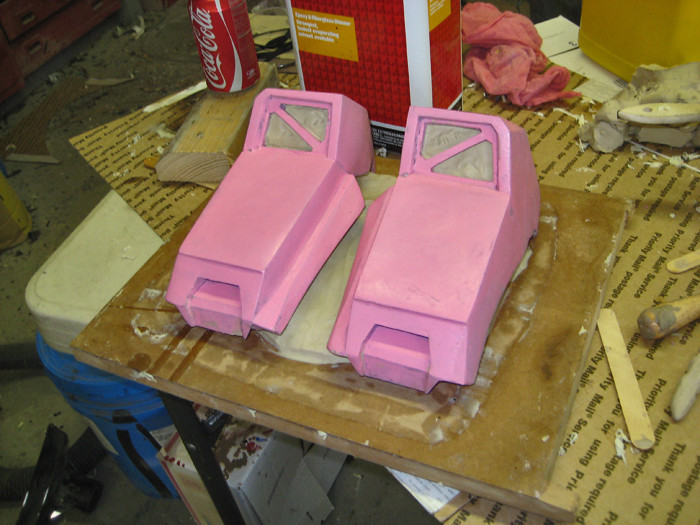
In other news, I made molds for the shoulder boxes. In this case, I decided to make the mothermolds first, then the rubber jacket molds second. The first step was to build a clay bed for the masters to sit in, then cover over them with clay of a uniform thickness:
4684448566_1fa1cc6343_b.jpg


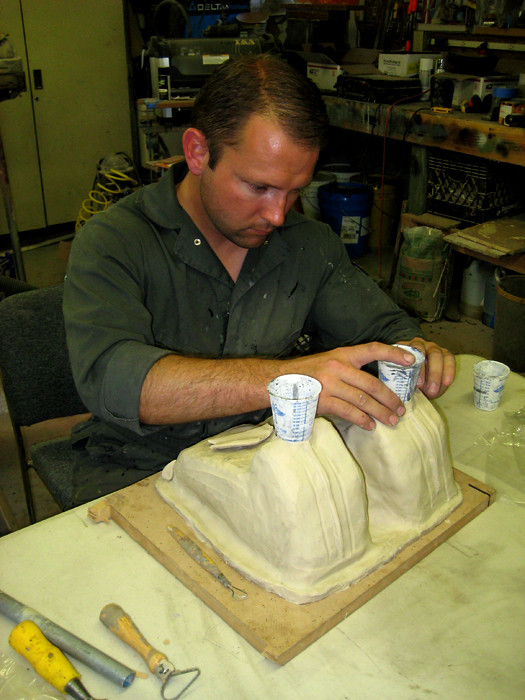
With the clay built up, the last touch is to add what will become pour spouts in the tops of the mothermold:
4684448318_b439f3a95b_b.jpg


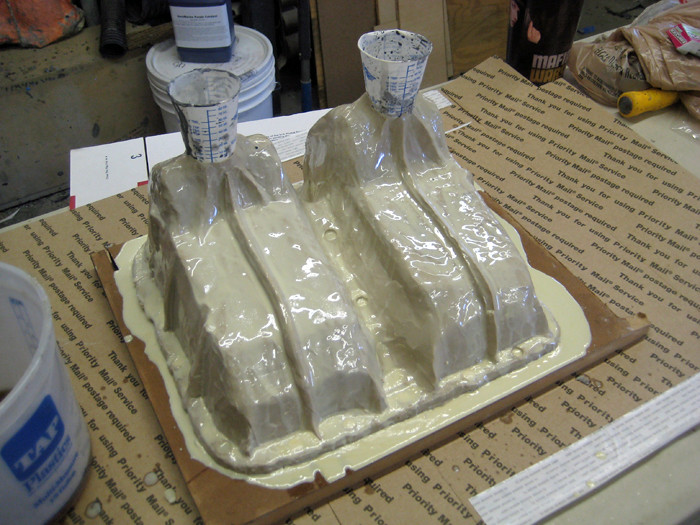
Then I layer over the whole thing with a thickened-up batch of casting resin to make sure I'll have a nice, smooth surface underneath:
4684449742_c66eec34f9_b.jpg


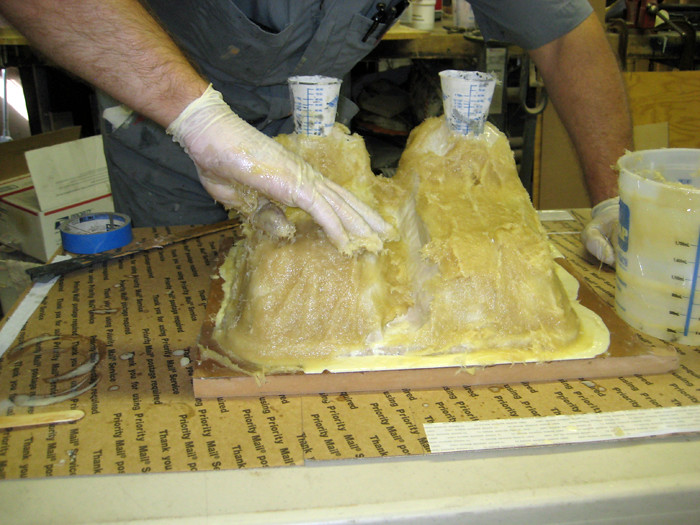
Once the resin has cured, it's time to start spreading on the mothermold paste:
4684449184_af1af40373_b.jpg


After building up adequate thickness, the mothermold is left to cure. Once it hardens, the next step is to pry it off of the prototype and remove the clay. Then re-check that the master is still in the same place with a strong bed of clay under it:
4683822027_4730363e35_b.jpg


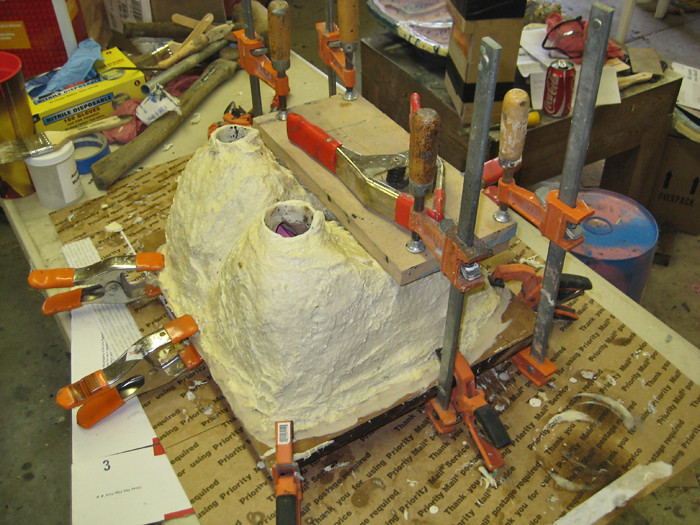
Once the prototype is cleaned up and ready to mold again, clamp the mothermold in place over it (be sure to use oodles and gobs of clamps):
4684452682_646e4aa37c_b.jpg


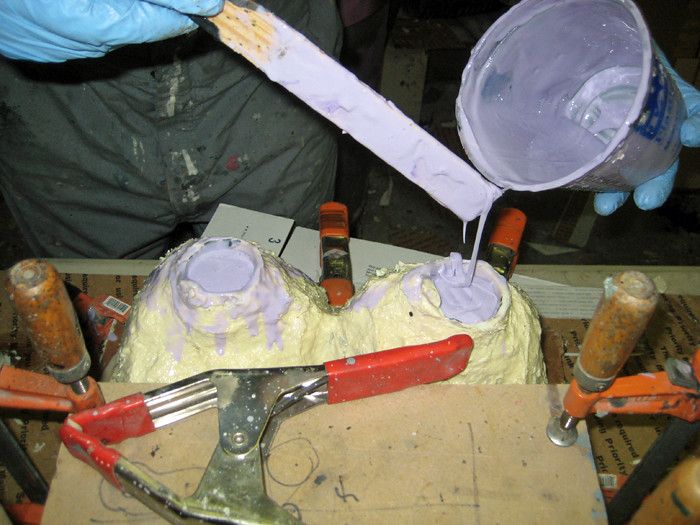
Then mix and pour the silicone into the void where the clay used to be:
4683822657_a97f786ef7_b.jpg


Make sure you don't mix too much silicone. Either that or have a small part waiting for a mold all ready to go so you don't have to get creative in using up the leftovers:
4684453228_14ff2ed72f_b.jpg

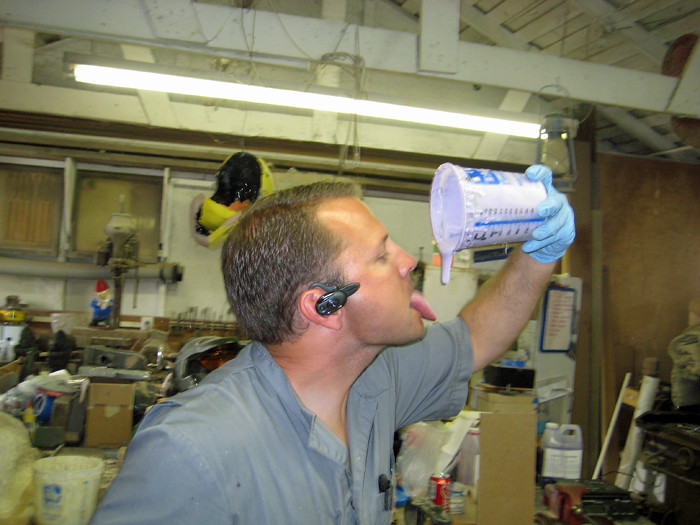
NOTE: Although the uncured silicone may look and smell delicious, DO NOT EAT IT. 'Nuff said.

Once you've filled the void with rubber, shake the mold vigorously for ten or twenty minutes to help any bubbles rise to the top:
anim_d693f847-af26-3794-b9b8-44f37e31d9e2.gif


After that, realize that you've stopped making sense and call it a day. The rubber needs a few hours to cure anyway.

When the rubber has cured, it's time to pull the jacket mold out of the mother mold:
4684889734_c9fcb3a80a_b.jpg


With the jacket and mothermold complete, all that's left is to pop out the prototype, reassemble the mold, and slush cast some copies. Here's a shot of the first pull from the mold next to the prototypes (which didn't survive the de-molding process):
4684251245_73c9b14c99_b.jpg


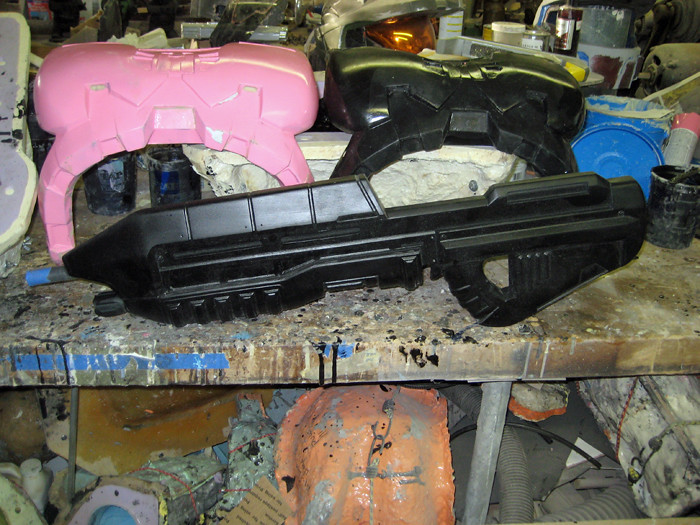
In other news, I've started finishing up a resin Assault Rifle that I picked up from Mjolnir Armor:
4684267745_791b93686b_b.jpg

I'm trying to decide if I can move the flashlight switch to somewhere more convenient and still stop myself before I start trying to add a working ammo counter and removable clip and movable trigger and blank-firing receiver and...

ahem.

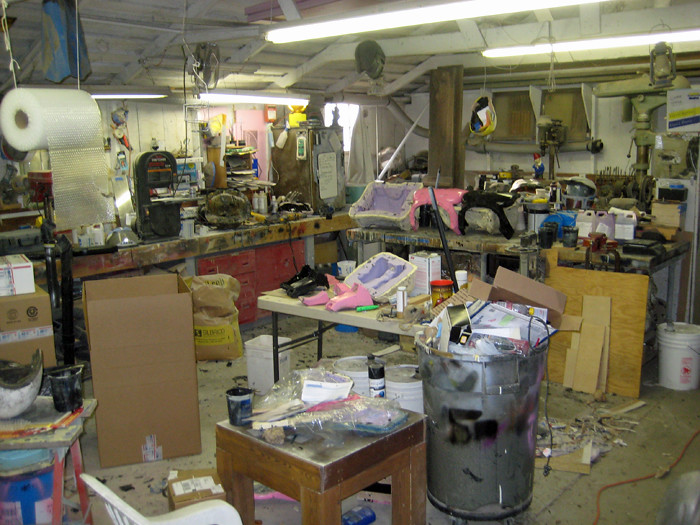
I also need to clean up my workshop again:
4684902608_d5b548c19a_b.jpg


Stay tuned...
 
Back
Top