DARKVIEW
Sr Member
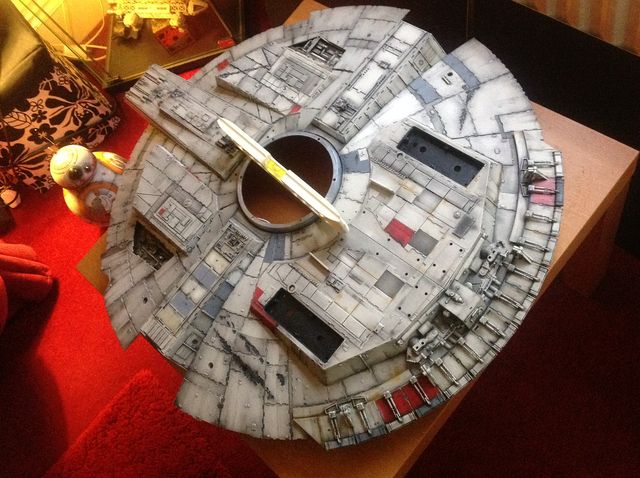
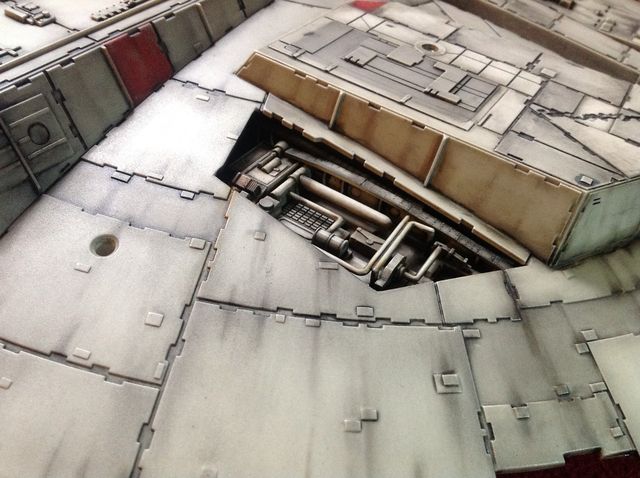
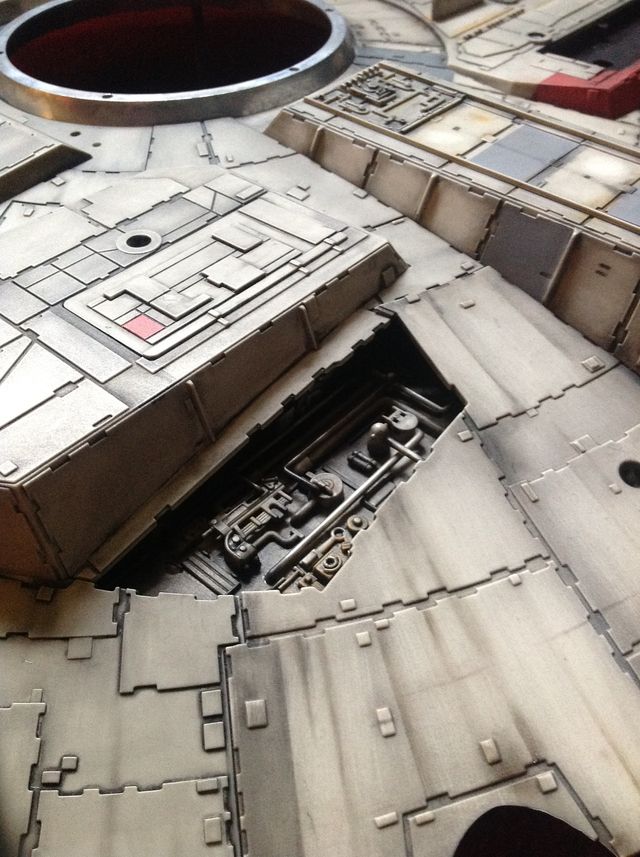
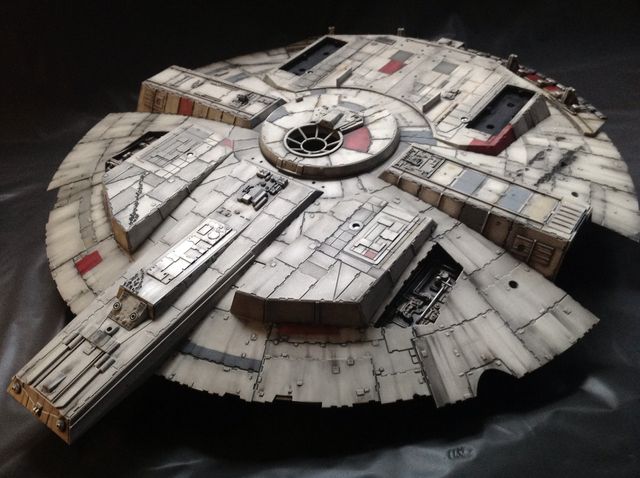
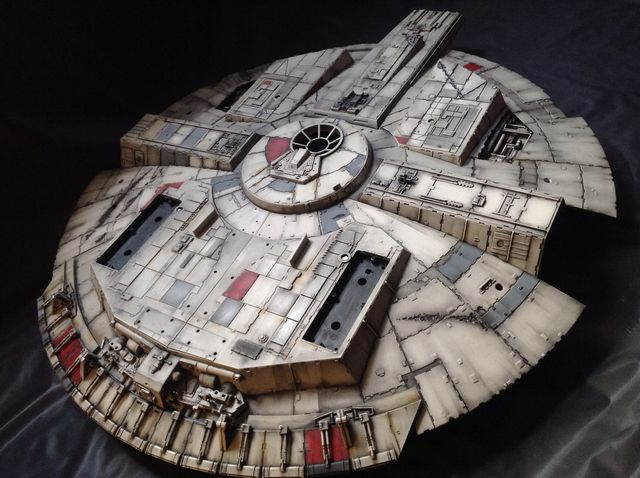
Thanks for the compliments dudes, but I'm really limited for space too!!! This is my Falcon underside.... I'm pleased so far considering l did the panels separate to help me focus on details. This is up to issue 46. Plenty more to do in fine detailing.
Note lve not yet done the majority of small black pen marks yet! I'll tell you why next time!!
TIP1: spirit level the underside as the roofing bolts will need it, plus lm to believe the jig is now a throwaway. (make sure the floor/table is level too).
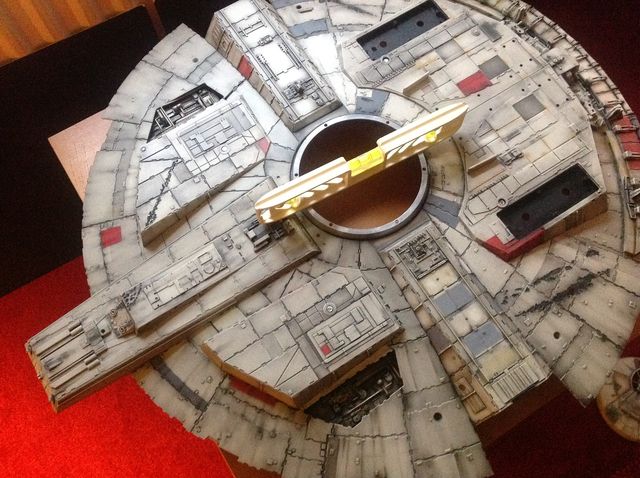
Note lve not yet done the majority of small black pen marks yet! I'll tell you why next time!!
TIP1: spirit level the underside as the roofing bolts will need it, plus lm to believe the jig is now a throwaway. (make sure the floor/table is level too).
Last edited:
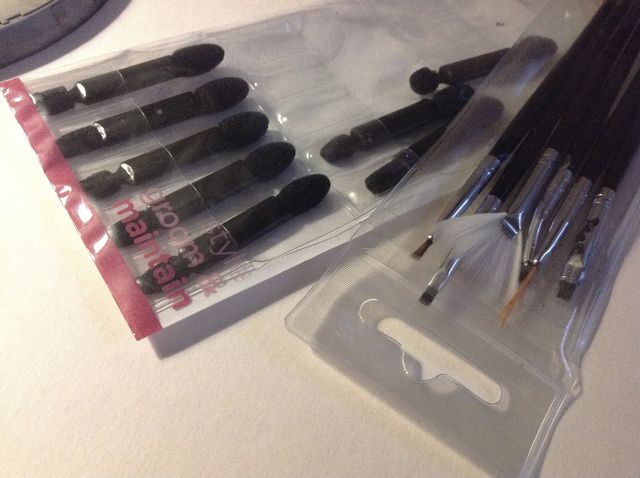
") the spongers are great replacements for the Tamiya weathering kits.. The brush sets are mint, theres 2 flat headed brushes in a pack that are perfect for streaks! I mostly use soot in set A of Tamiya kits.
the spongers are great replacements for the Tamiya weathering kits.. The brush sets are mint, theres 2 flat headed brushes in a pack that are perfect for streaks! I mostly use soot in set A of Tamiya kits.