Commander Cody Helmet build thread

merkava74

Sr Member
RPF PREMIUM MEMBER
UPDATE: COMPLETED PHOTOS POST #40


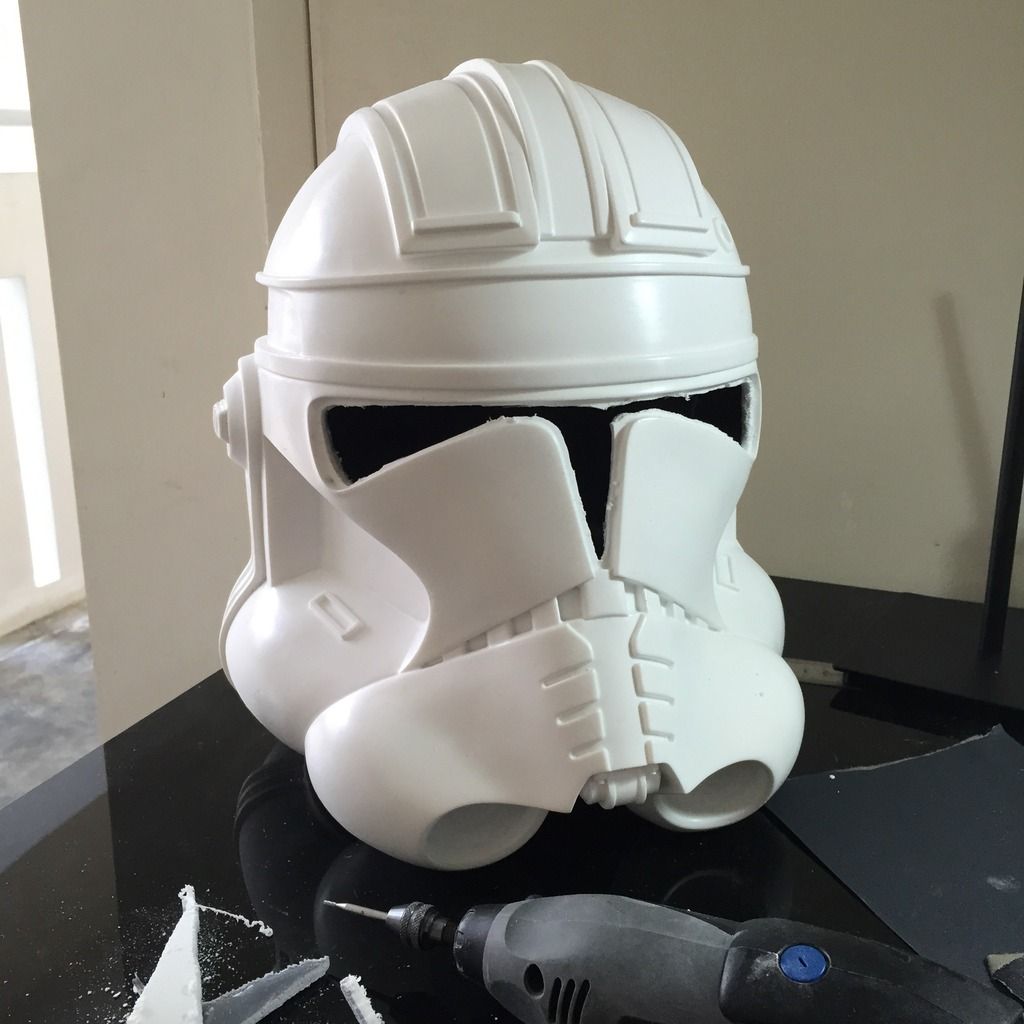
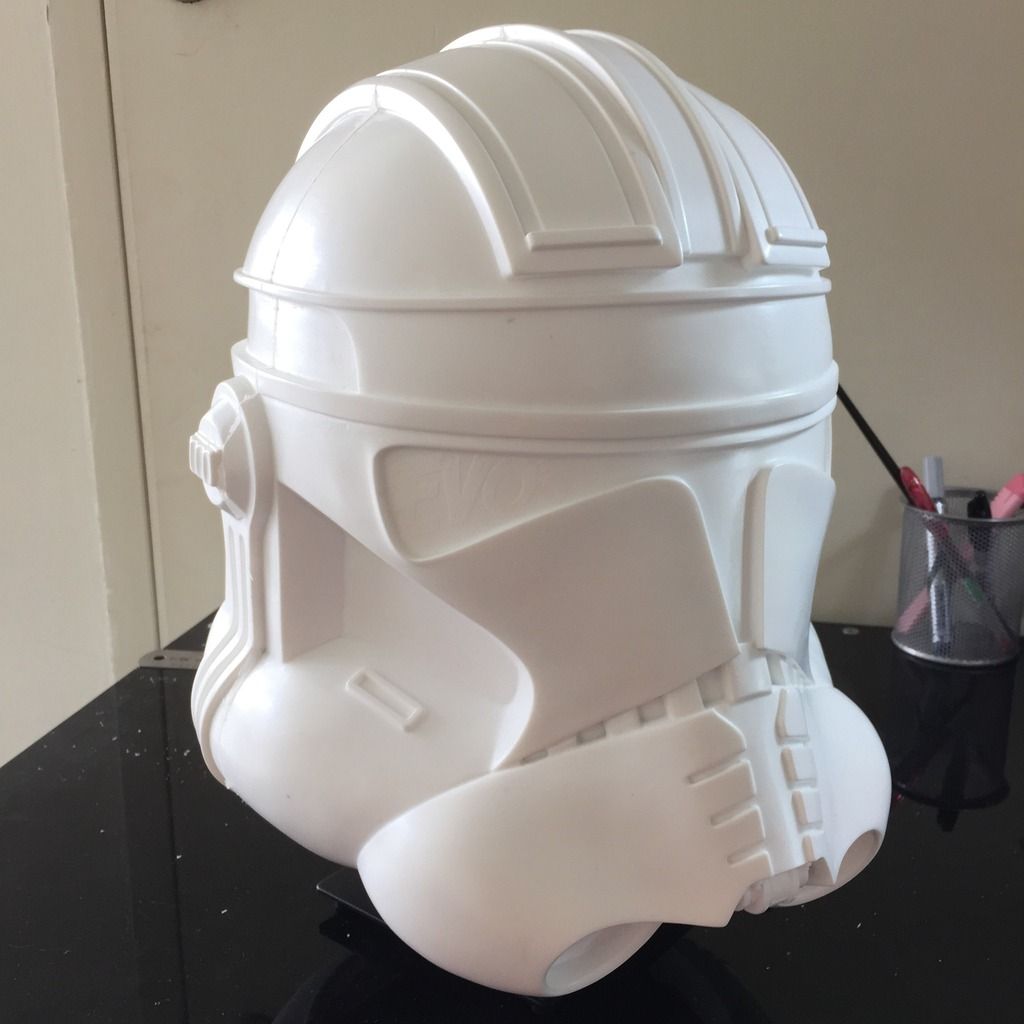
By a stroke of luck, I got my hands on an EVO3 Cody bucket!

Arrived in the mail today, and wasted no time jumping right into the build!

Here's the very well cast kit

Photo%206-7-15%204%2053%2056%20pm_zps8ana9nnw.jpg


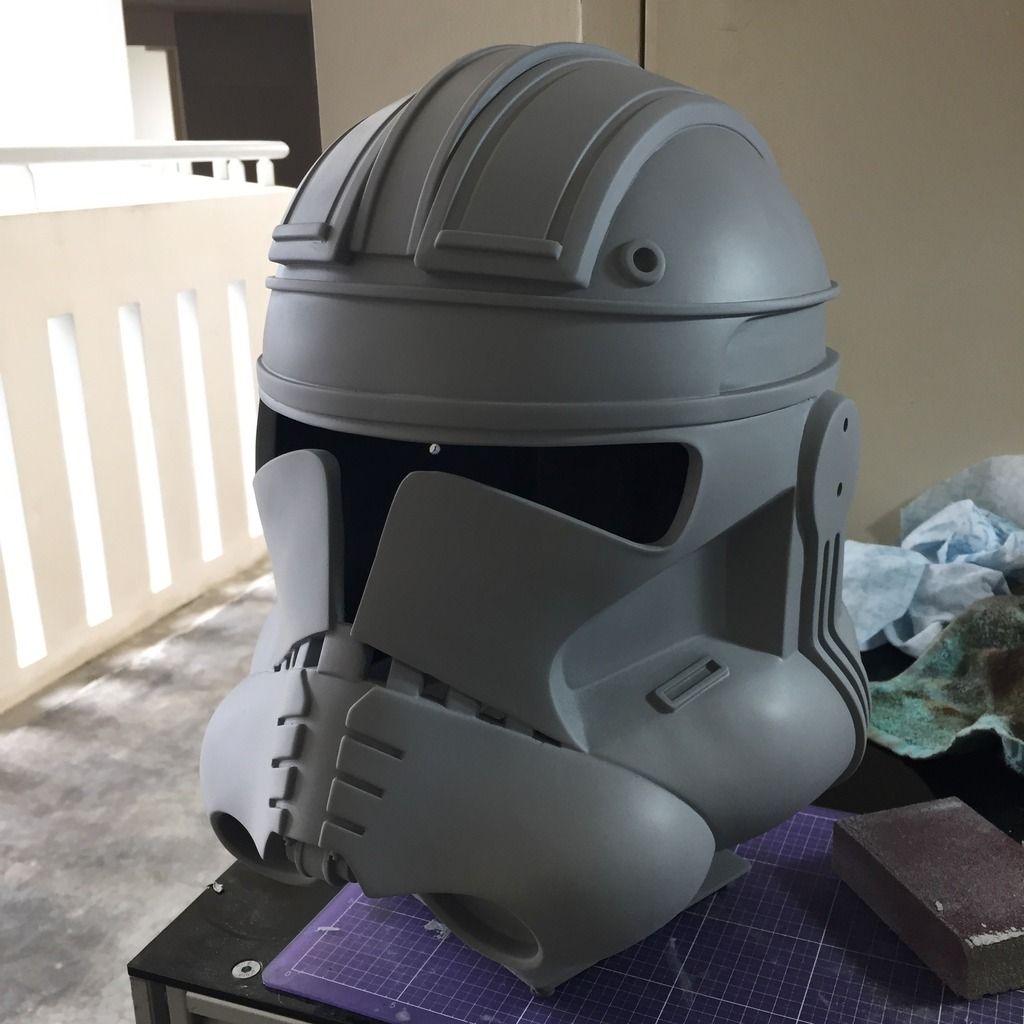
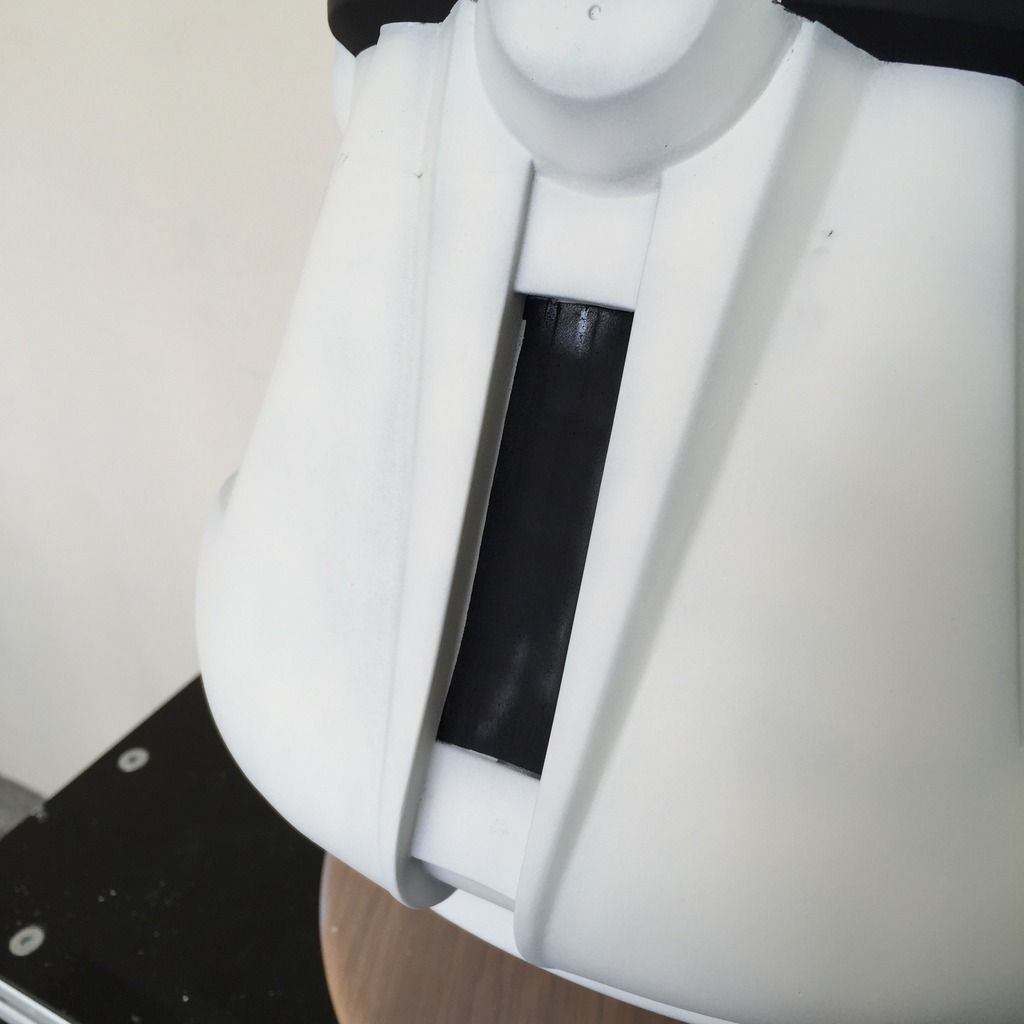
Used a Dremel with a routing bit to carve out the visor and the breathing vents:

Photo%206-7-15%205%2053%2033%20pm_zpsn7v9zumd.jpg


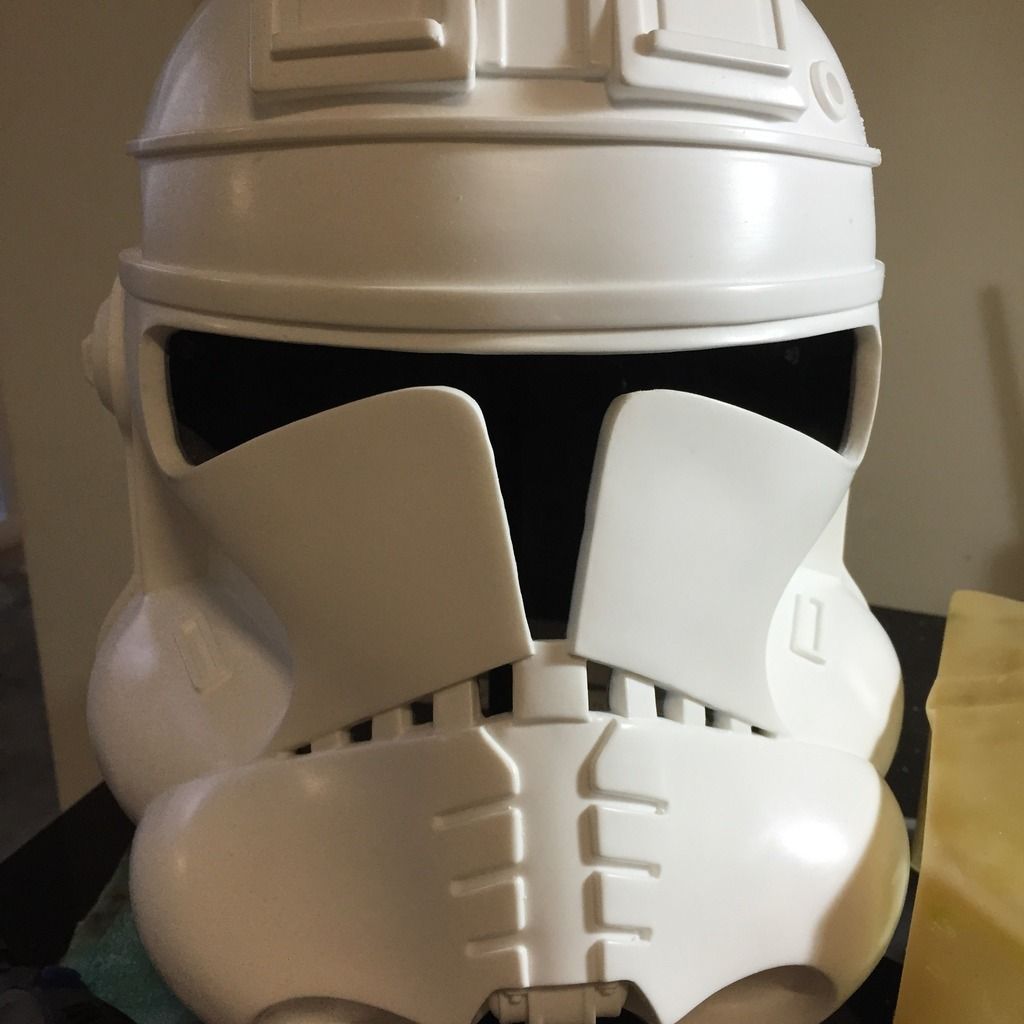
Smoothed it out with files and sandpaper:

Photo%206-7-15%207%2010%2025%20pm_zpszw7ikkwt.jpg
 
Last edited:
nice! when its about clone helmets, I m always into. I m exited about how this will look like finished. you got the visor too?

Yup. Got the whole kit. Visor is made of fibreglass and is more difficult to deal with. I'm tackling that tomorrow. :)
 
How-where did you get this? This is right up my alley.

Ill be watching this build intently!
 
great. as I said, I m already exited. the cody helmet is a very beautiful I think. already liked your great work on the Boushh-Helmet. r u using a normal net for the mictips or do you have other plans? for my helmets I made some kind of CAD drawing and ordered laser cut parts out of stainless steel.


I could send you the file if you want to, but it would still need some resizing. and I think some thinner steel could work more movie accurate.
 
How-where did you get this? This is right up my alley.

Ill be watching this build intently!

Thanks! Got it from a fellow RPFer who had one lying around! EVO is too busy to even reply my mails, so this is definitely a prayer answered!

great. as I said, I m already exited. the cody helmet is a very beautiful I think. already liked your great work on the Boushh-Helmet. r u using a normal net for the mictips or do you have other plans? for my helmets I made some kind of CAD drawing and ordered laser cut parts out of stainless steel.

http://i1289.photobucket.com/albums/b518/alienbuilder/mictipbw_zpsafb6a96f.png

http://i1289.photobucket.com/albums/b518/alienbuilder/20150110_003238_zpscd0b4595.jpg

http://i1289.photobucket.com/albums/b518/alienbuilder/IMG_9717Kopie_zps5e26cd05.jpg

I could send you the file if you want to, but it would still need some resizing. and I think some thinner steel could work more movie accurate.

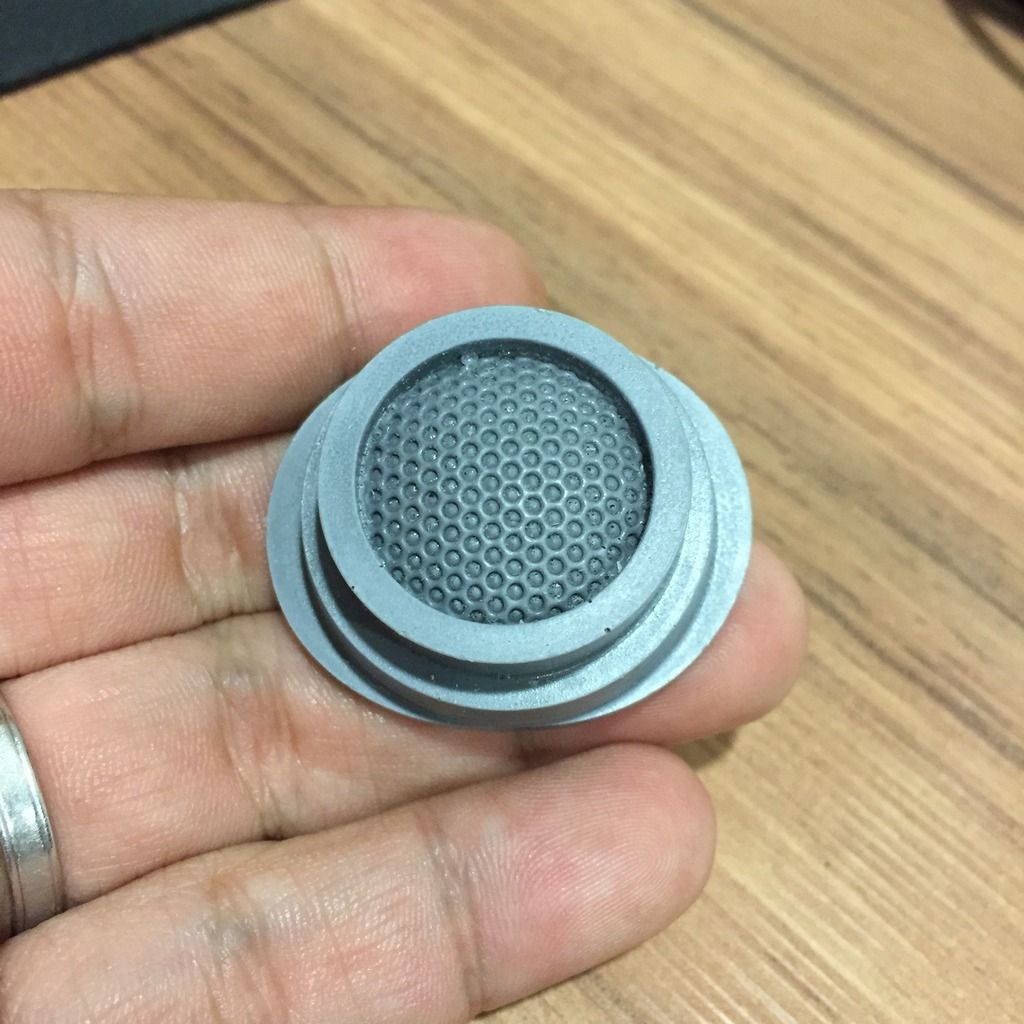
Thanks for the offer. Your tips look great! The kit comes with 2 tips that have the meshing cast in. They look alright, so I'm gonna stick with the kit parts. Thanks!

Photo%207-7-15%207%2046%2051%20am_zpsqql6woae.jpg
 
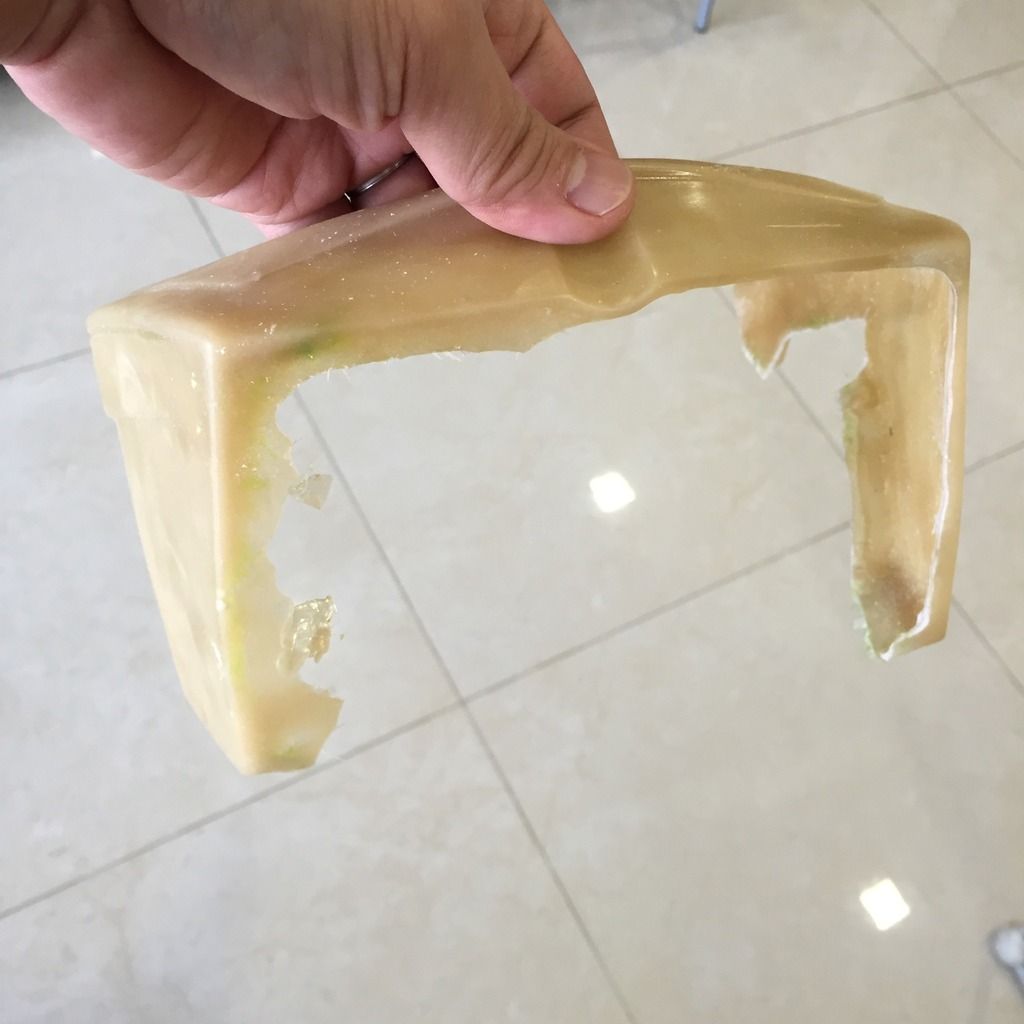
So, continuing the build, I tackled the visor today. The fibreglass visor is a b@#$h to clean up, and the glass dust can cut your skin in a million tiny places. Work safe guys.

Here is the visor half done (forgot to take a photo of the visor in its original state):

Photo%207-7-15%208%2003%2000%20am_zpsfiqghq4p.jpg


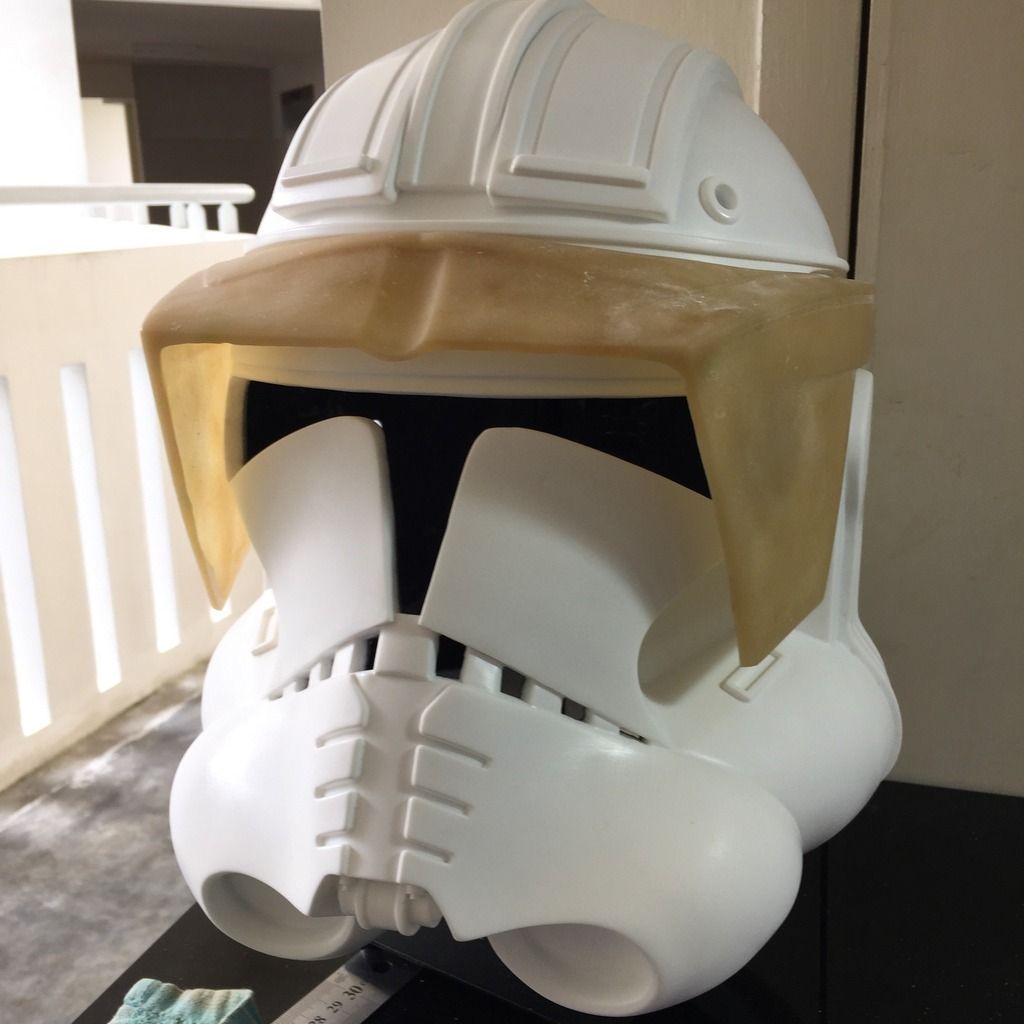
And here it is sanded down and dry fitted to the helmet. The 2 plates at the bottom that join to the helmet will be fixed on later for a perfect fit:

Photo%207-7-15%2010%2012%2027%20am_zpslbc3p75g.jpg


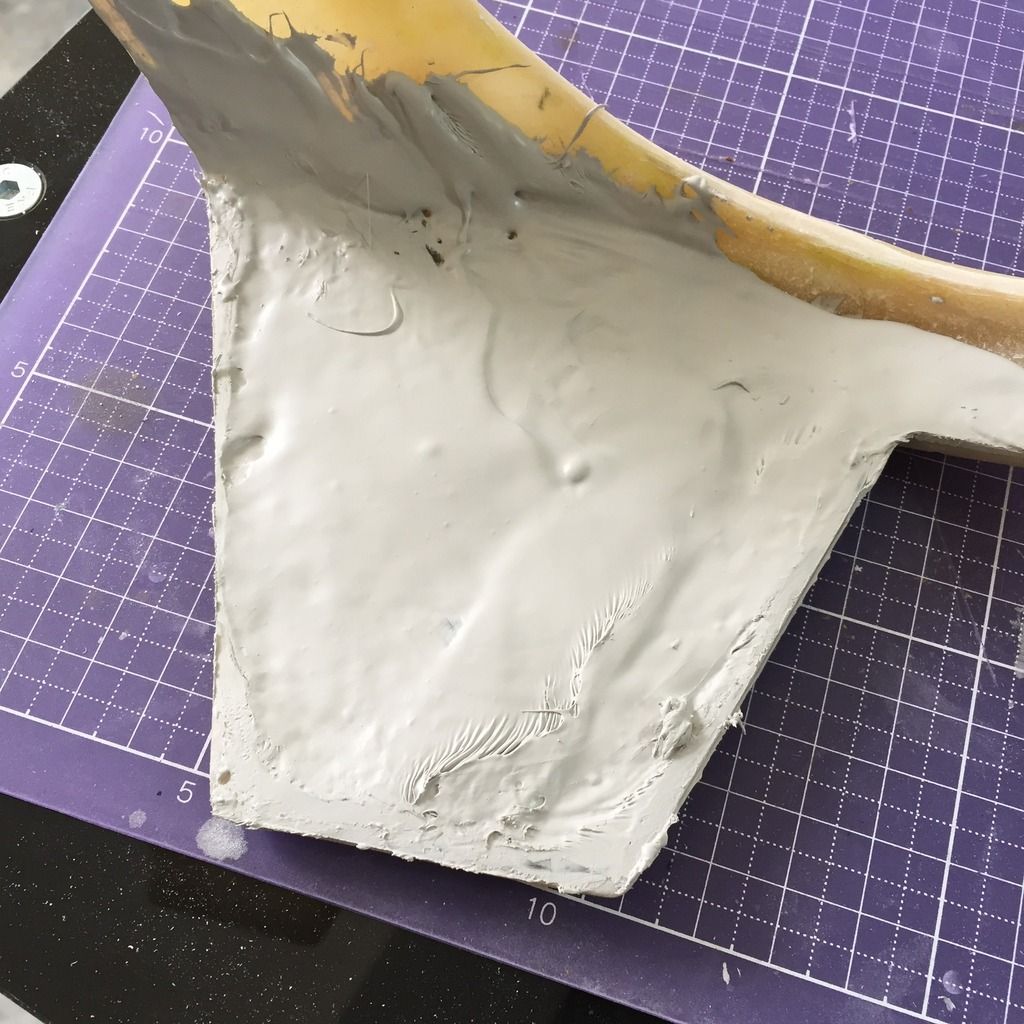
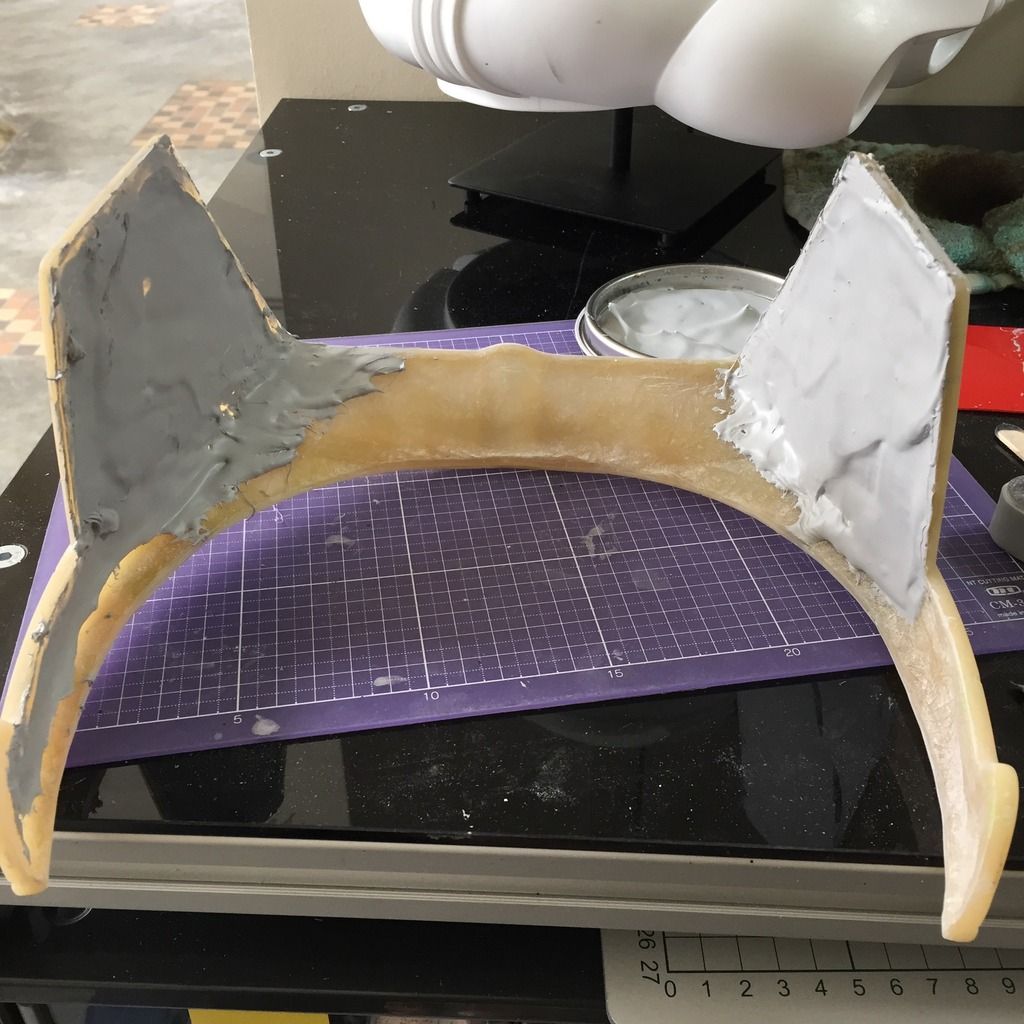
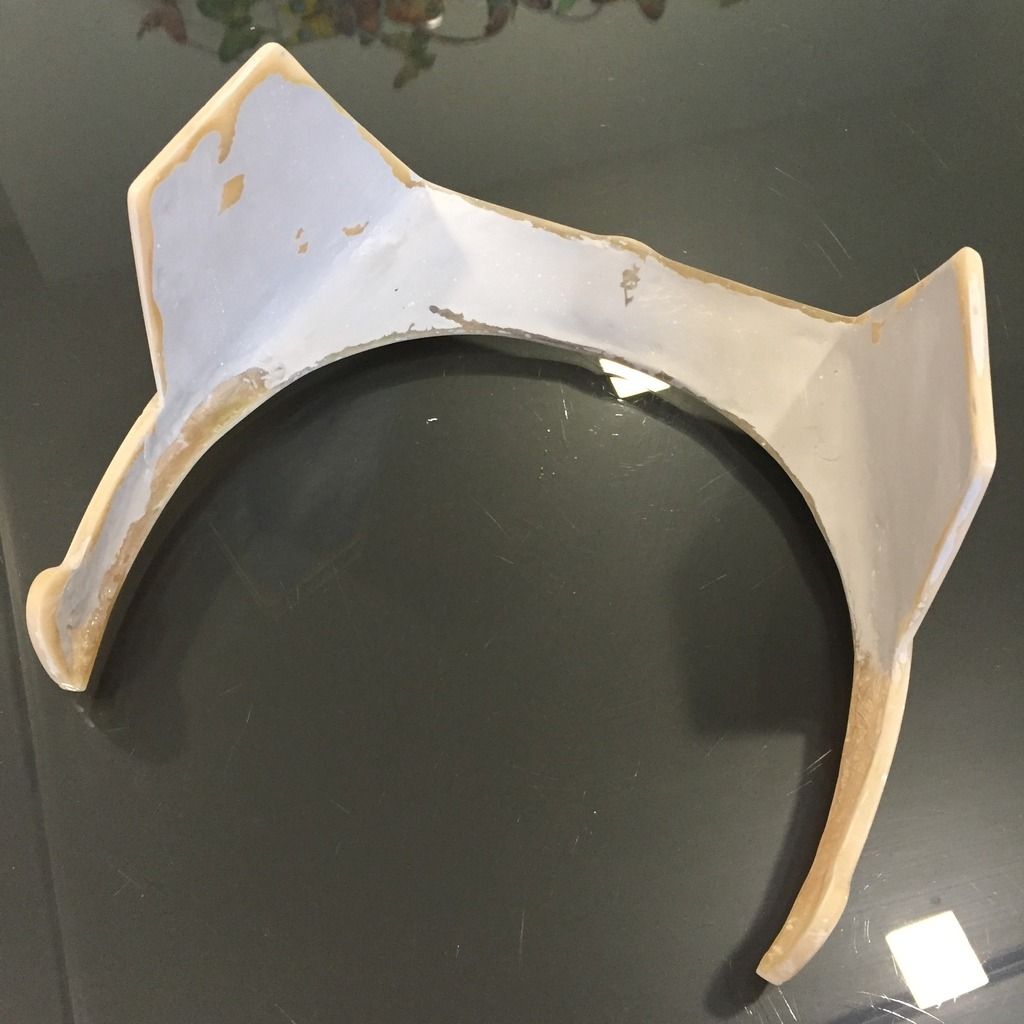
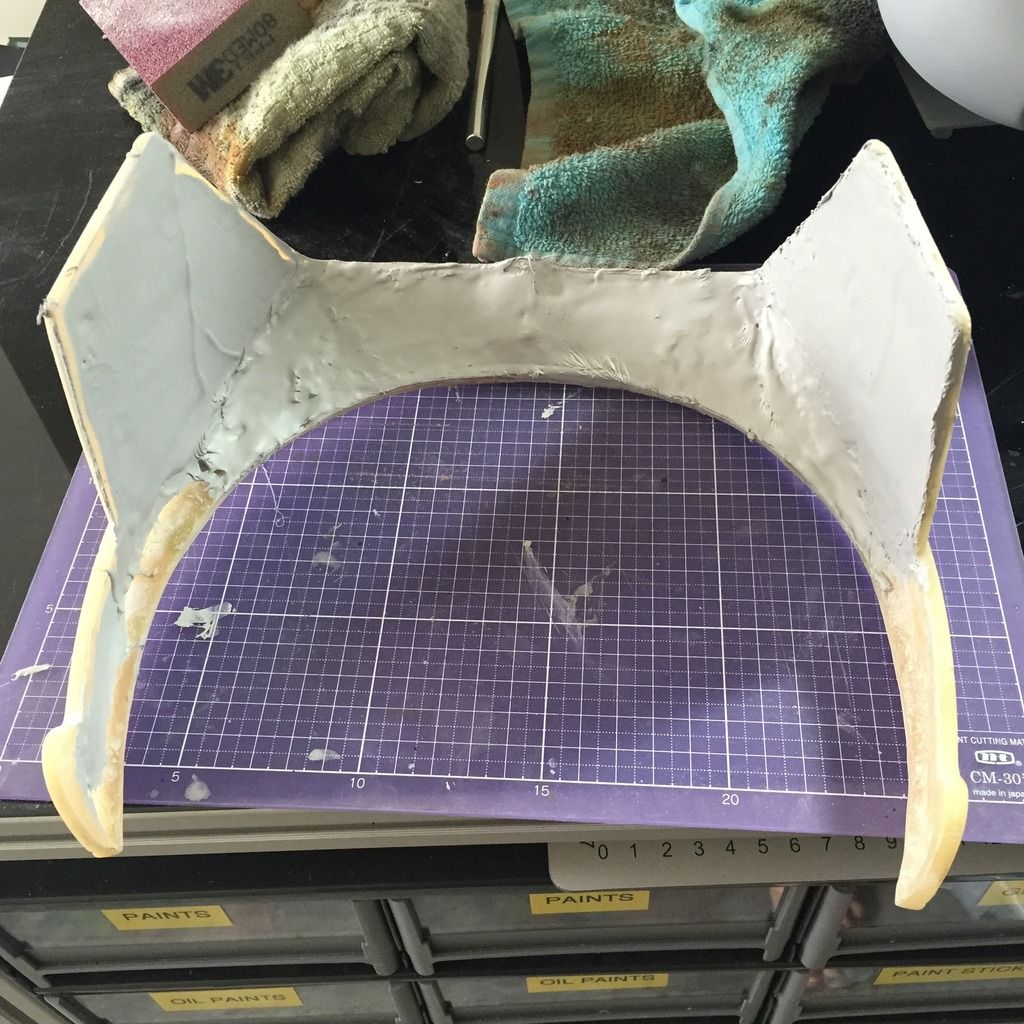
Next, as the visor came as a glassed piece, I had to fill up the inside with filler to make it look better as a solid piece. Here is the first rough fill. I'm sure I would have to give it another later after this dries. The lazy bum that I am, I only filled in those areas that will be visible. ;)

Photo%207-7-15%2011%2000%2025%20am_zpsqkb1eqpw.jpg


Photo%207-7-15%2011%2004%2014%20am_zpsdvk7kkaz.jpg


So this is waiting to dry for 24hrs.

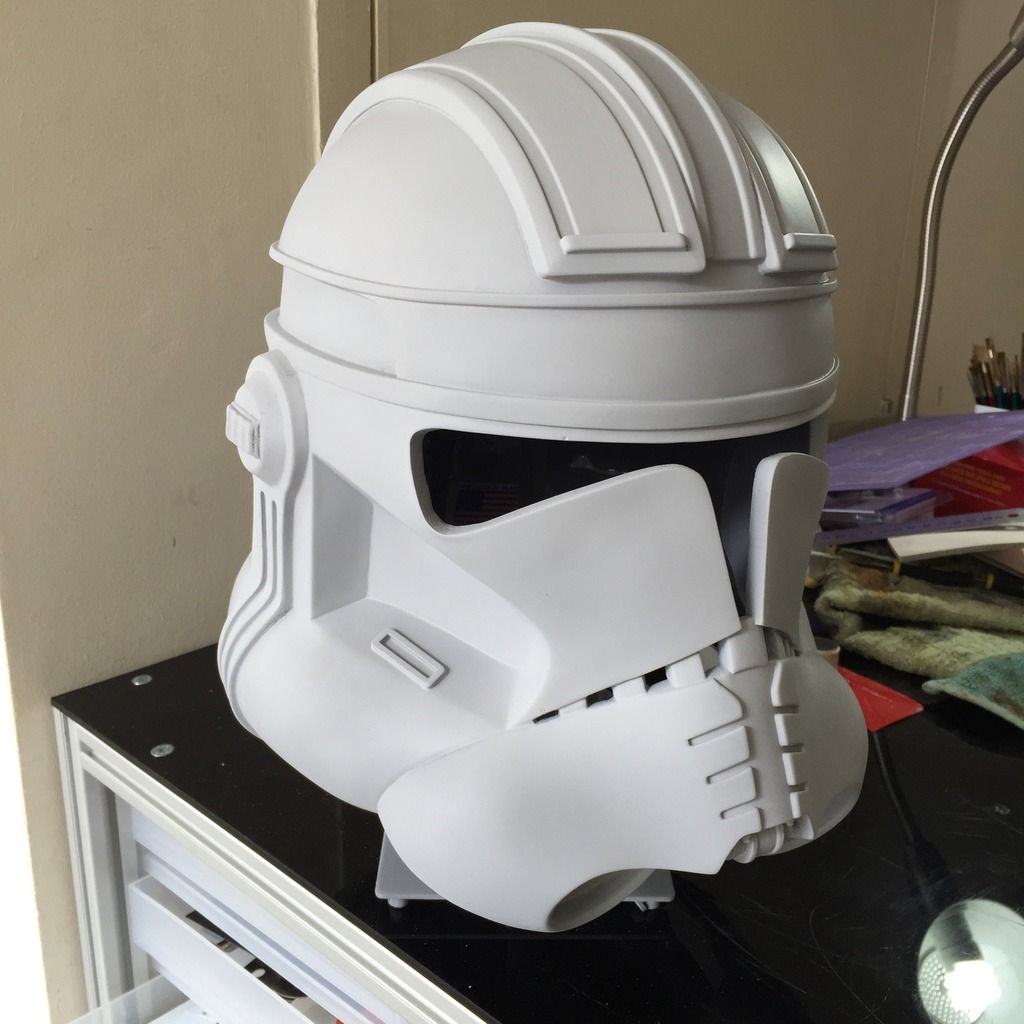
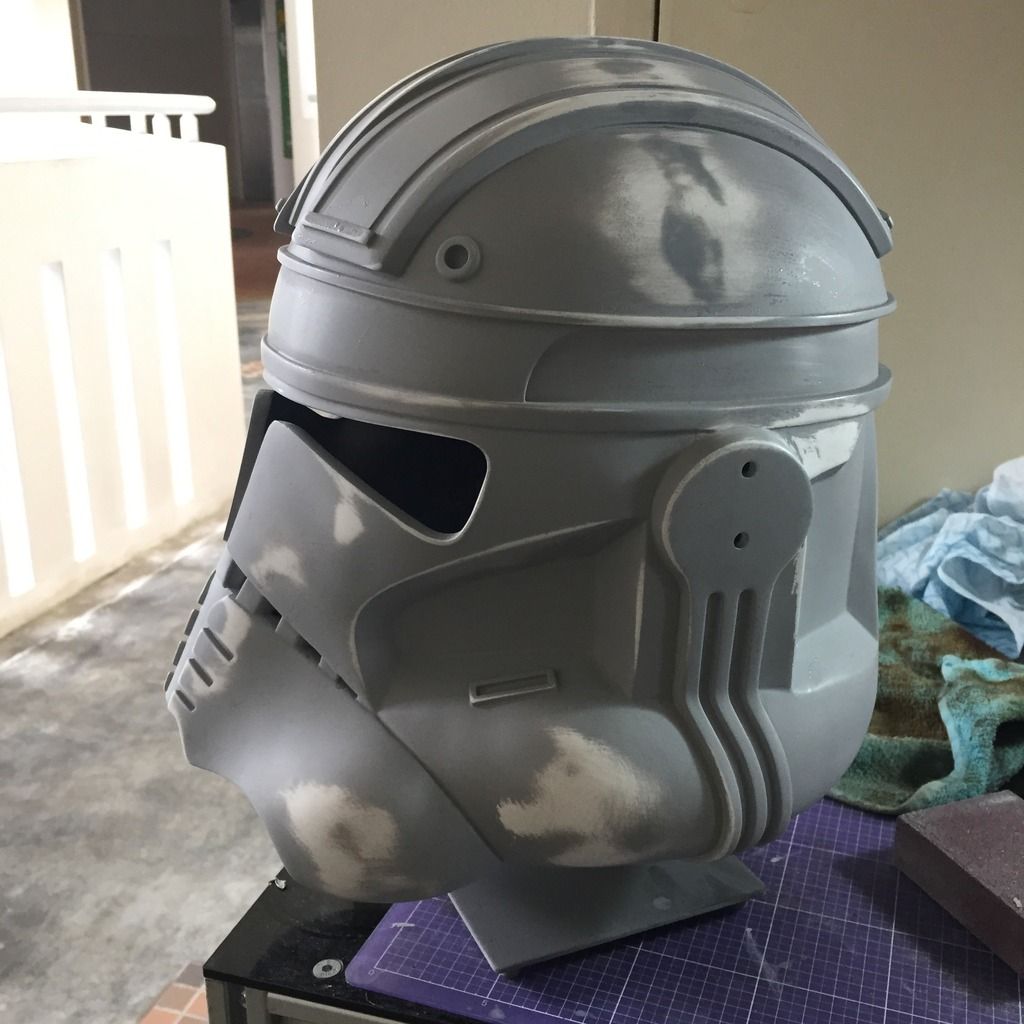
Next, I gave the helmet a coat of primer to see where the micro bubbles and imperfections are. There are minimal. Tamiya putty will do the trick, sand down, and then prime again:

Photo%207-7-15%2011%2022%2048%20am_zpsf4vjfqxm.jpg


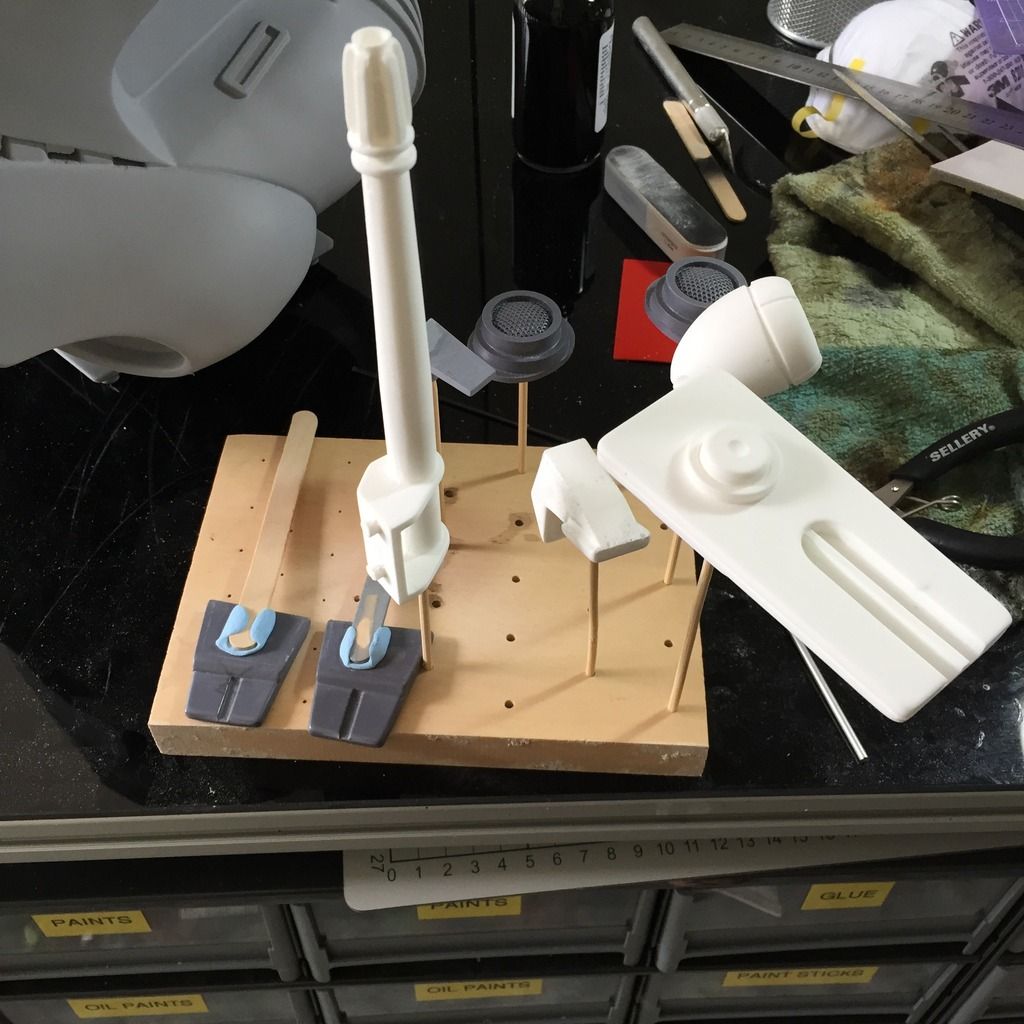
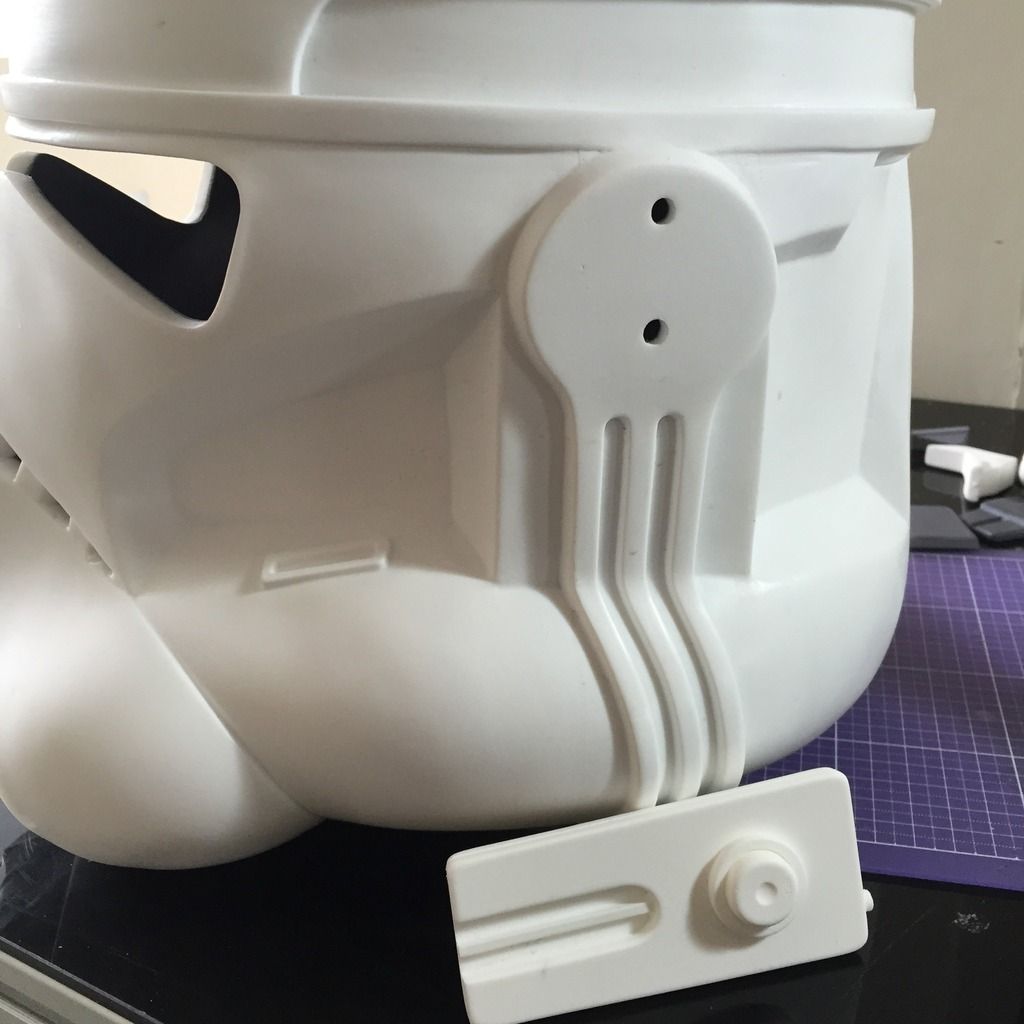
The rest of the greeblies have been sanded down, holes drilled, and ready for primer and paint:

Photo%207-7-15%2011%2041%2044%20am_zpsxgf5nwyv.jpg


I almost forgot. Had to drill the corresponding holes in the helmet sides (both sides) for a good fit with the greeblies later:

Photo%207-7-15%208%2041%2013%20am_zpsbuhtqreo.jpg
 
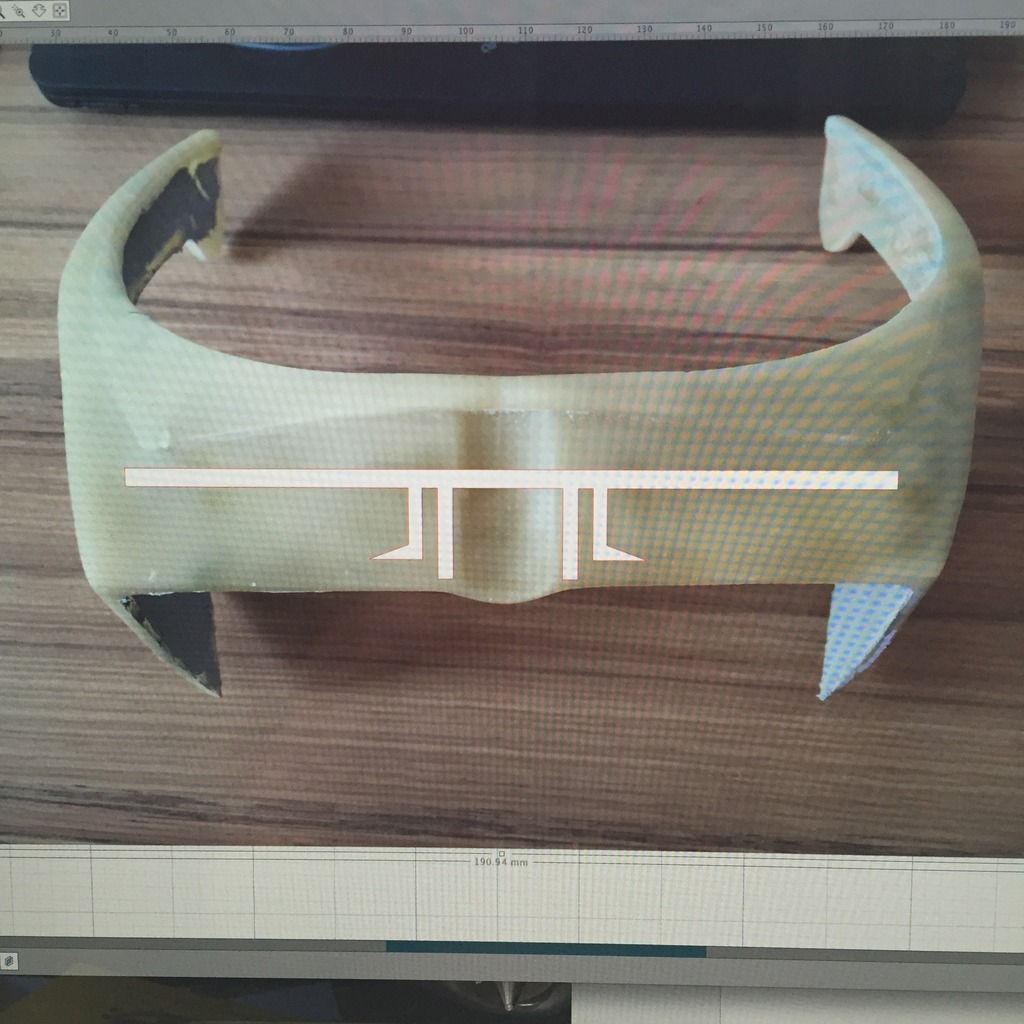
While waiting for everything to dry, I made the stencil for the visor pattern on my Silhouette Cameo cutter. This will be cut on vinyl sticker for masking later.

Photo%207-7-15%201%2011%2013%20pm_zpsgtglyucb.jpg
 
this is very interesting. being a newbie i don't know how rare this helmet is, but by judging from everyone posts it seems you have a very hard find. congratulations on scoring such a rare piece. i think your work is phenomenal i watched your other threads and was very impressed. i feel your pain when it comes to fiberglass grinding that stuff gets everywhere... idk about you but it seems to always burn the inside of my nose when grind glass, i always where a mask because of this reason

keep going strong, i love all the pics

Thanks for your kind words!

EVO3's Cody helmets are touted to be one of the best available, and he's a very busy man to catch hold of, let alone get the helmet, so yes it was a stroke of luck that I landed one!

Yes, a face mask is important when grinding either glass or resin. In fact, even spraying primer is extremely hazardous to your lungs! Work safe, everyone!


Sent from my iPhone using Tapatalk
 
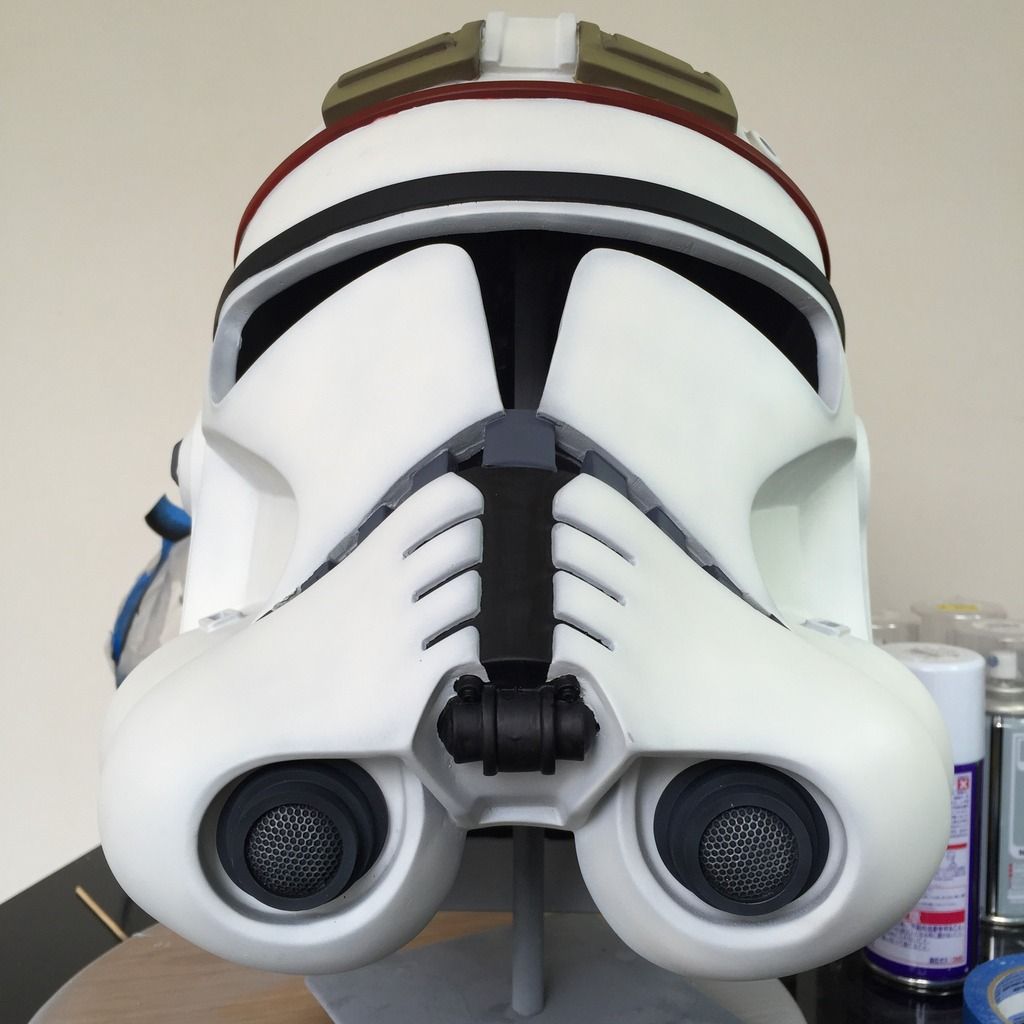
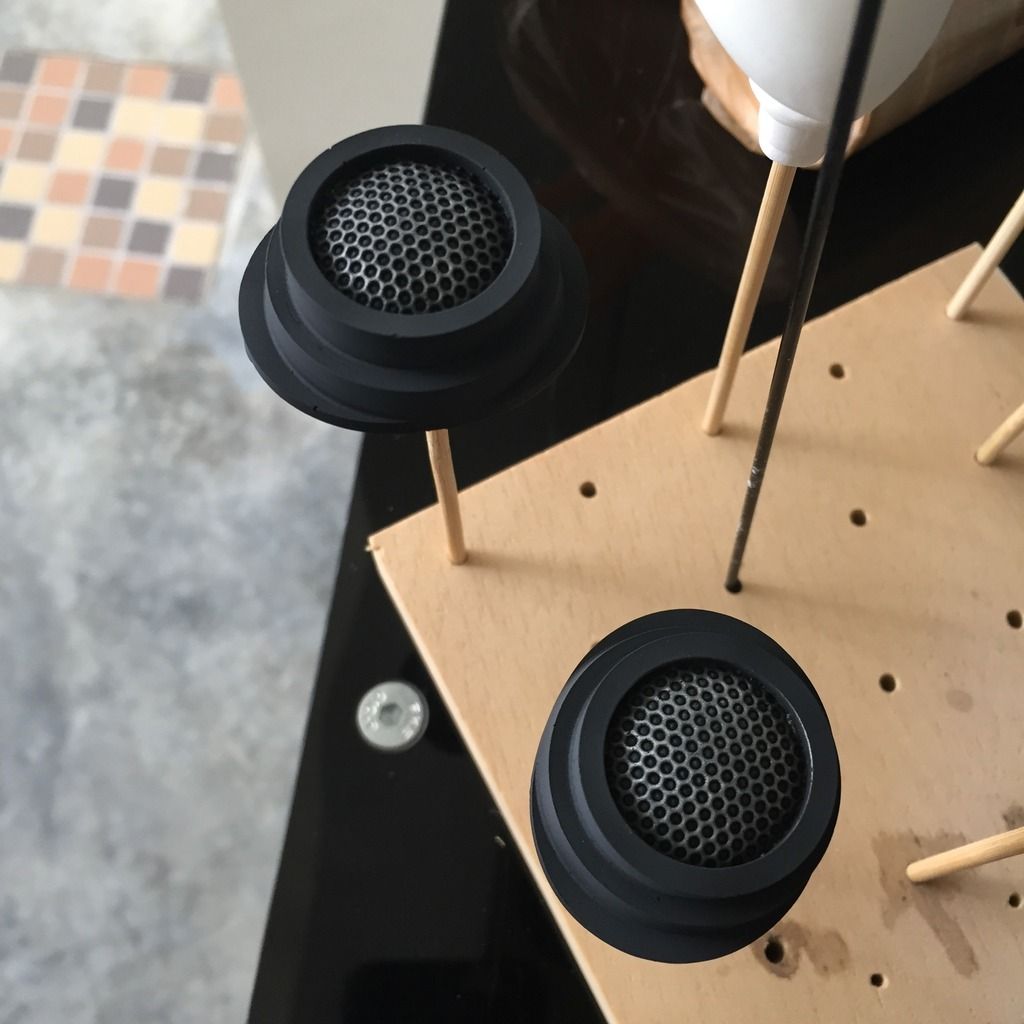
Managed to squeeze in a little bit of time to get the mic tips primed, base-coated with black, toned with German Grey, and then dry brushed the mesh with Flat Aluminium. Still need a coat of clear before weathering with wash and dry brushing again.

Photo%207-7-15%204%2047%2029%20pm_zpskzswuoib.jpg
 
Today was a good day, except for a huge accident with my Cody which I will share in this post. Nevertheless, lots were done today, so here goes.

Woke up and found my visor filler hardened, so I went for a second layer, and this time also filled the front of the visor. Let dry again before sanding. I'm hoping I don't need a third layer. We'll see:

Photo%208-7-15%209%2006%2046%20am_zps9wt0fwry.jpg


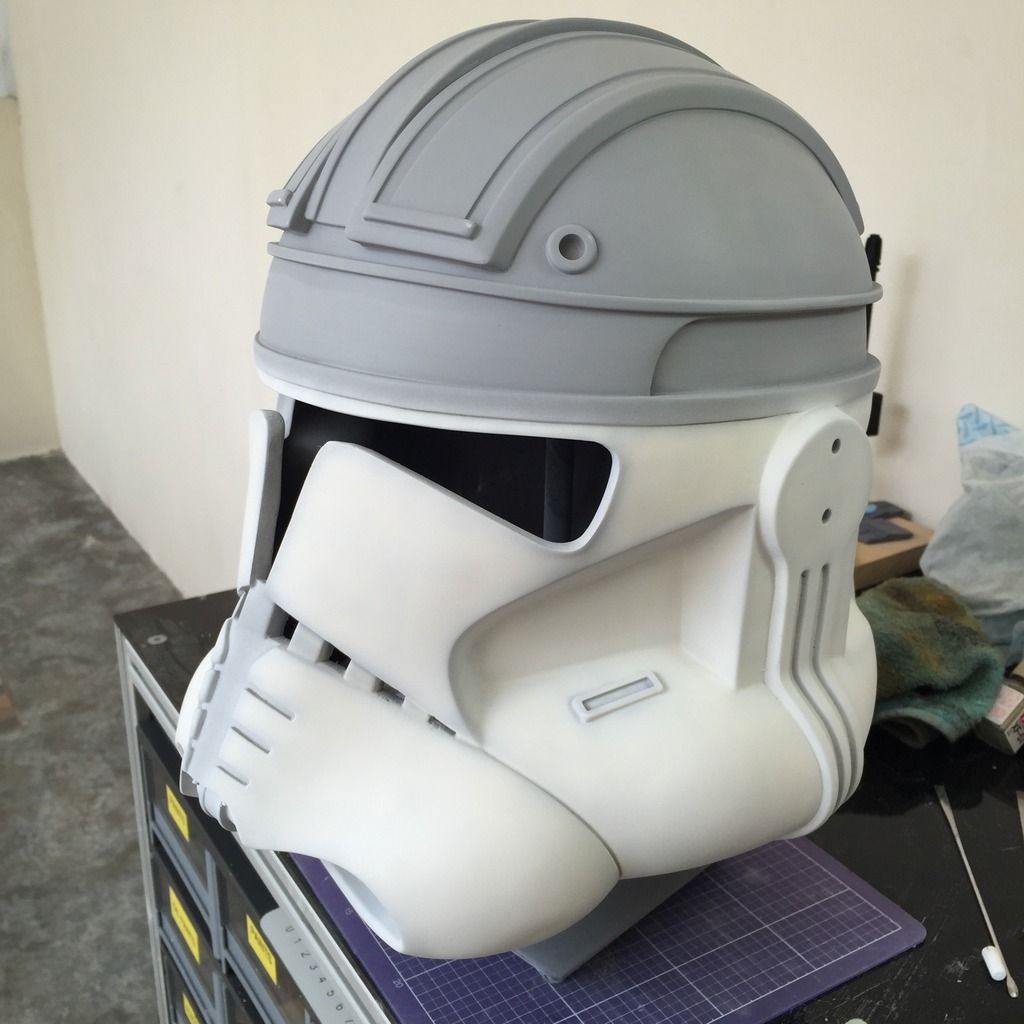
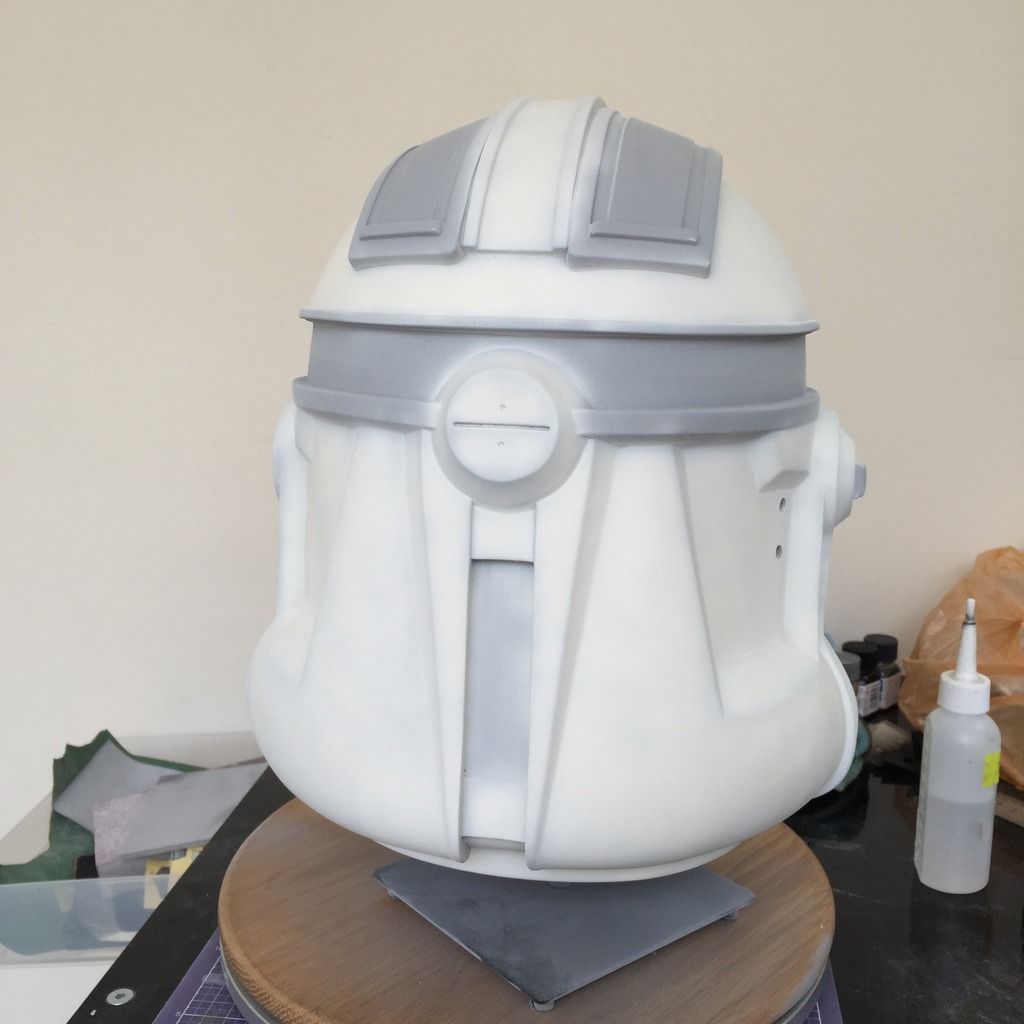
Next, sanded the helmet down again, and primed it again, ready for paint:

Photo%208-7-15%2010%2028%2054%20am_zpsmrz6lk6m.jpg


Photo%208-7-15%2010%2042%2021%20am_zpsekoehges.jpg


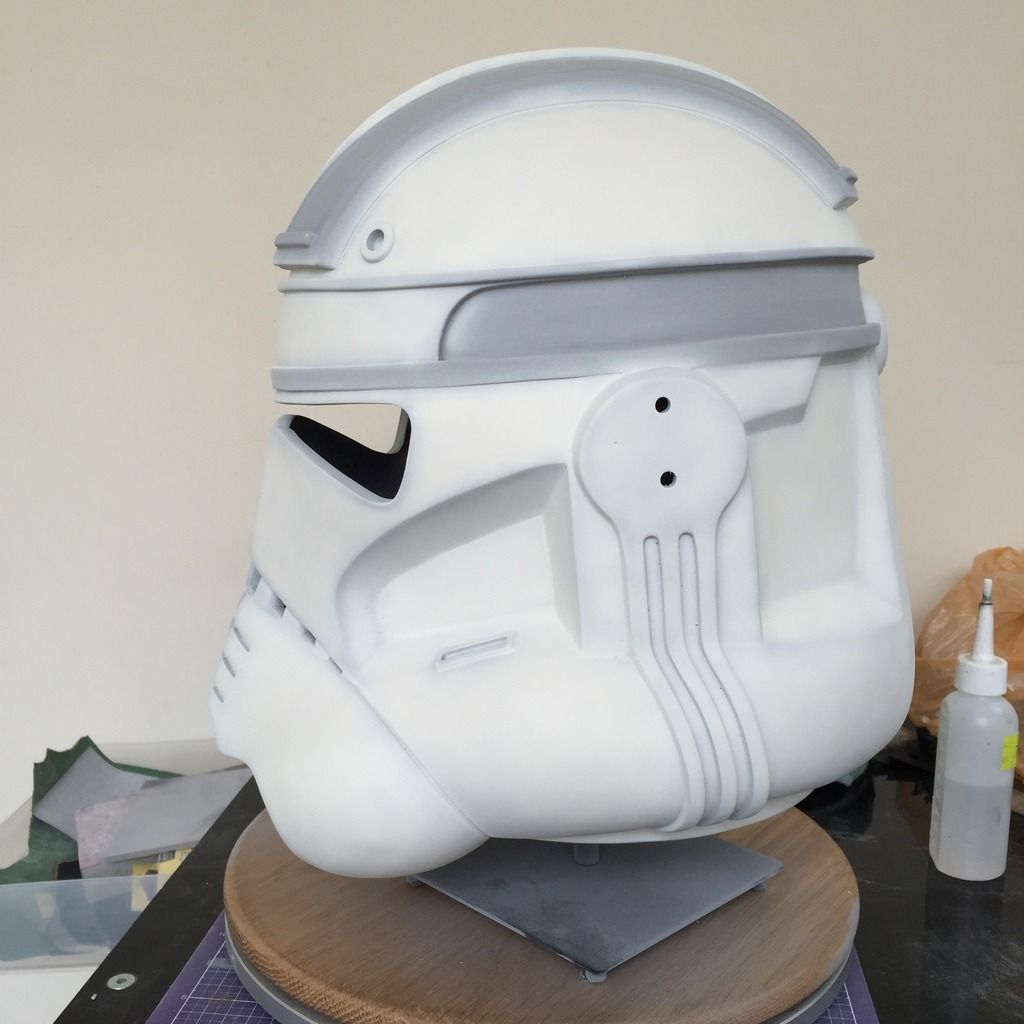
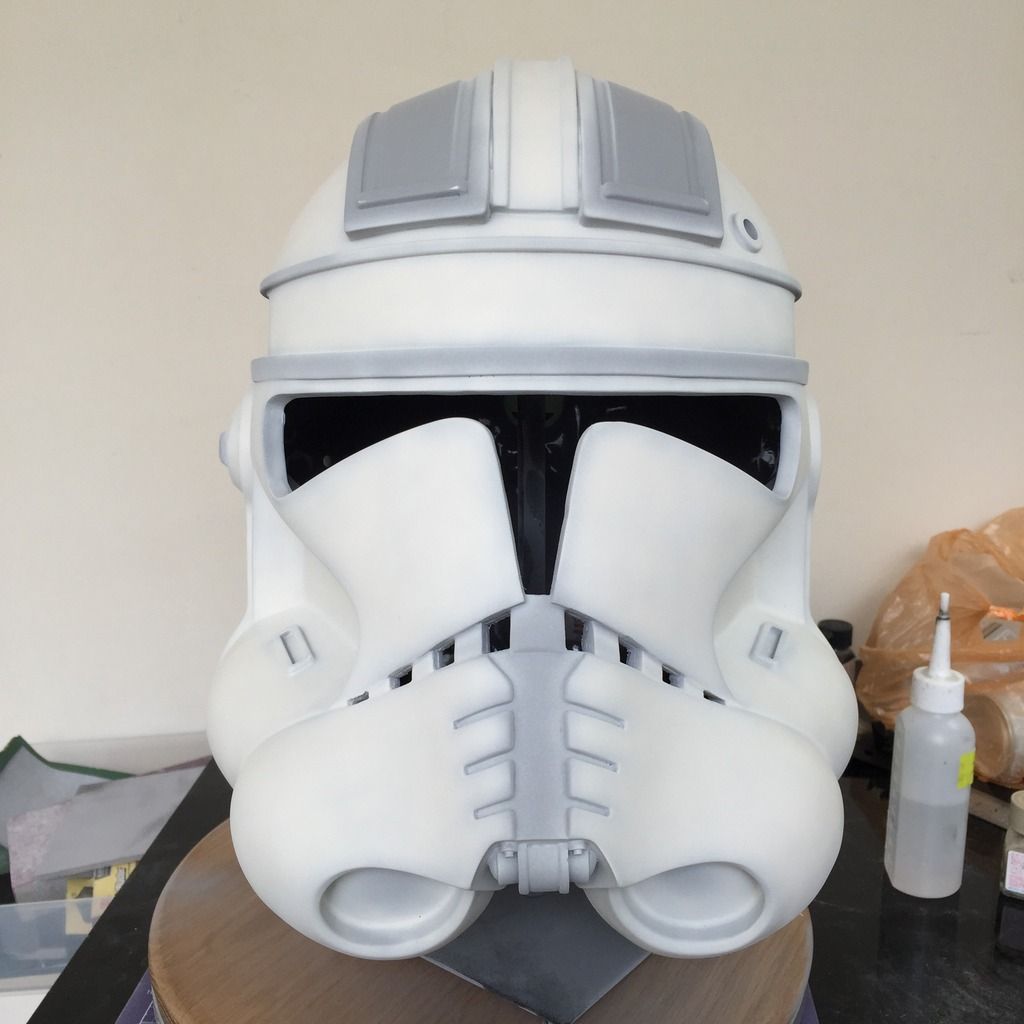
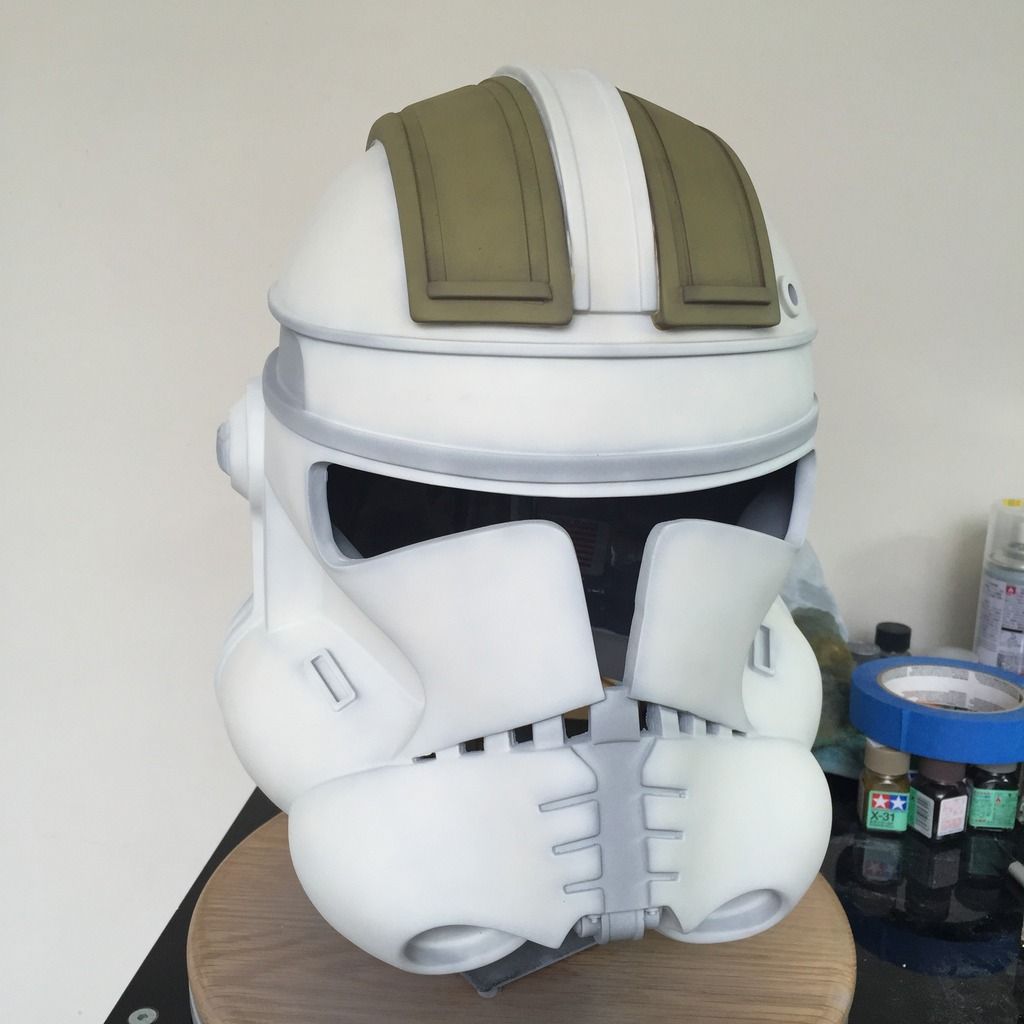
The primer colour is exactly what I wanted for the base coat, and so I went straight to toning it with my own mix of Off-white, which is essentially White with a dash of Buff (all Tamiya Enamels).

Photo%208-7-15%2011%2048%2037%20am_zpsjl2mvo6l.jpg


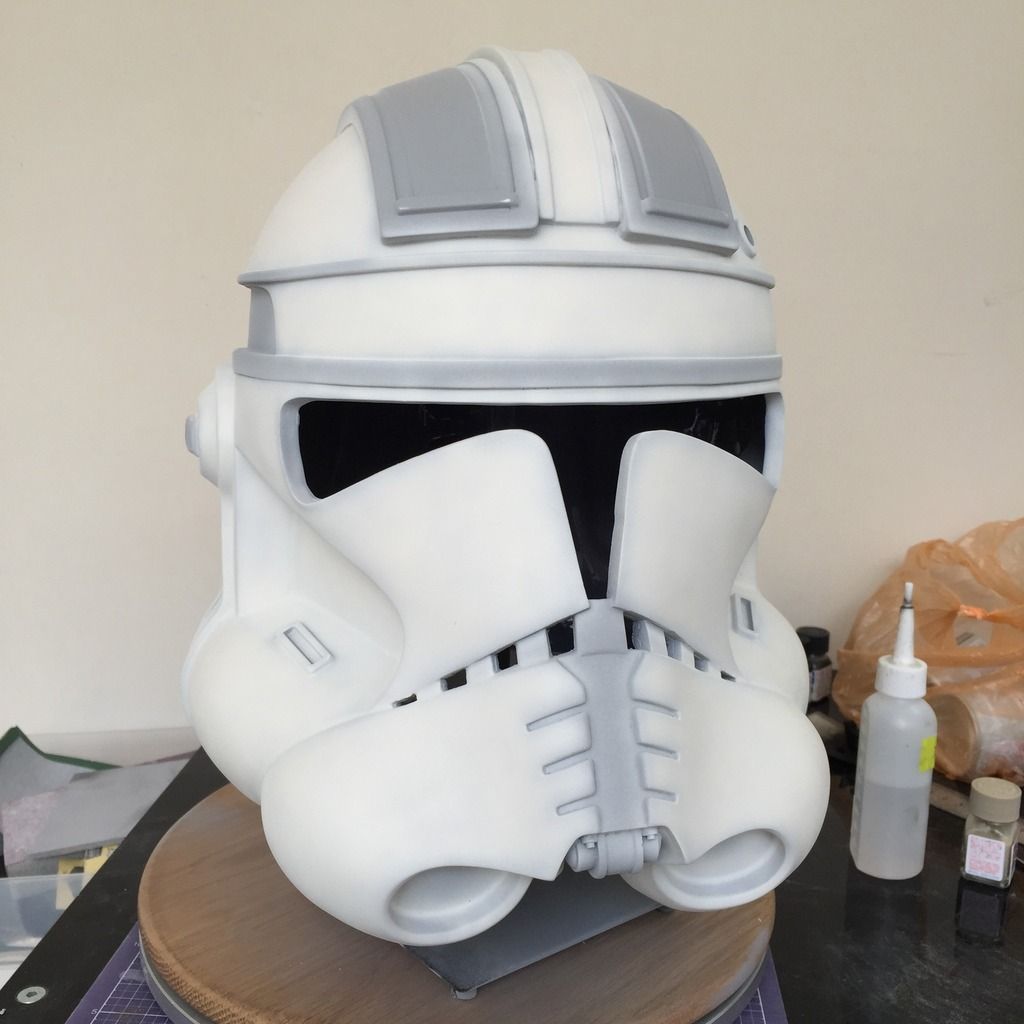
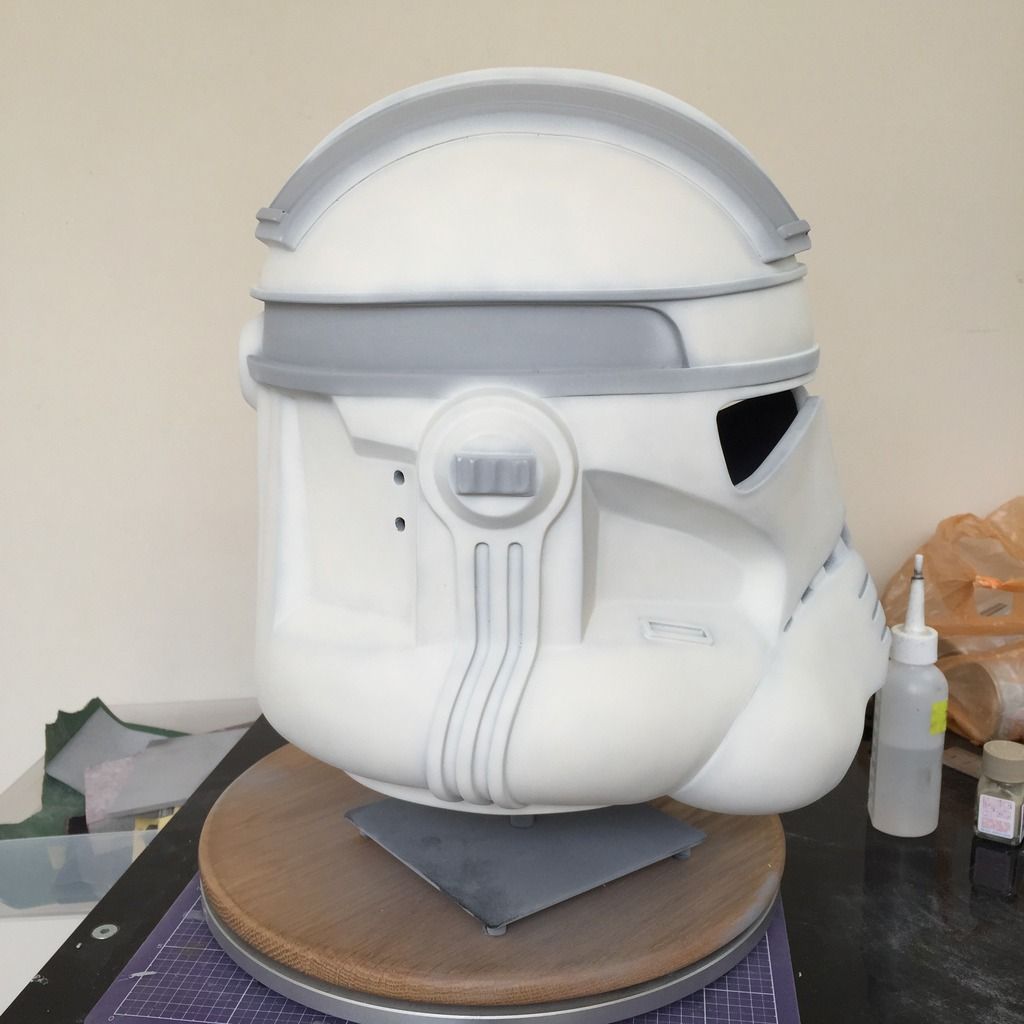
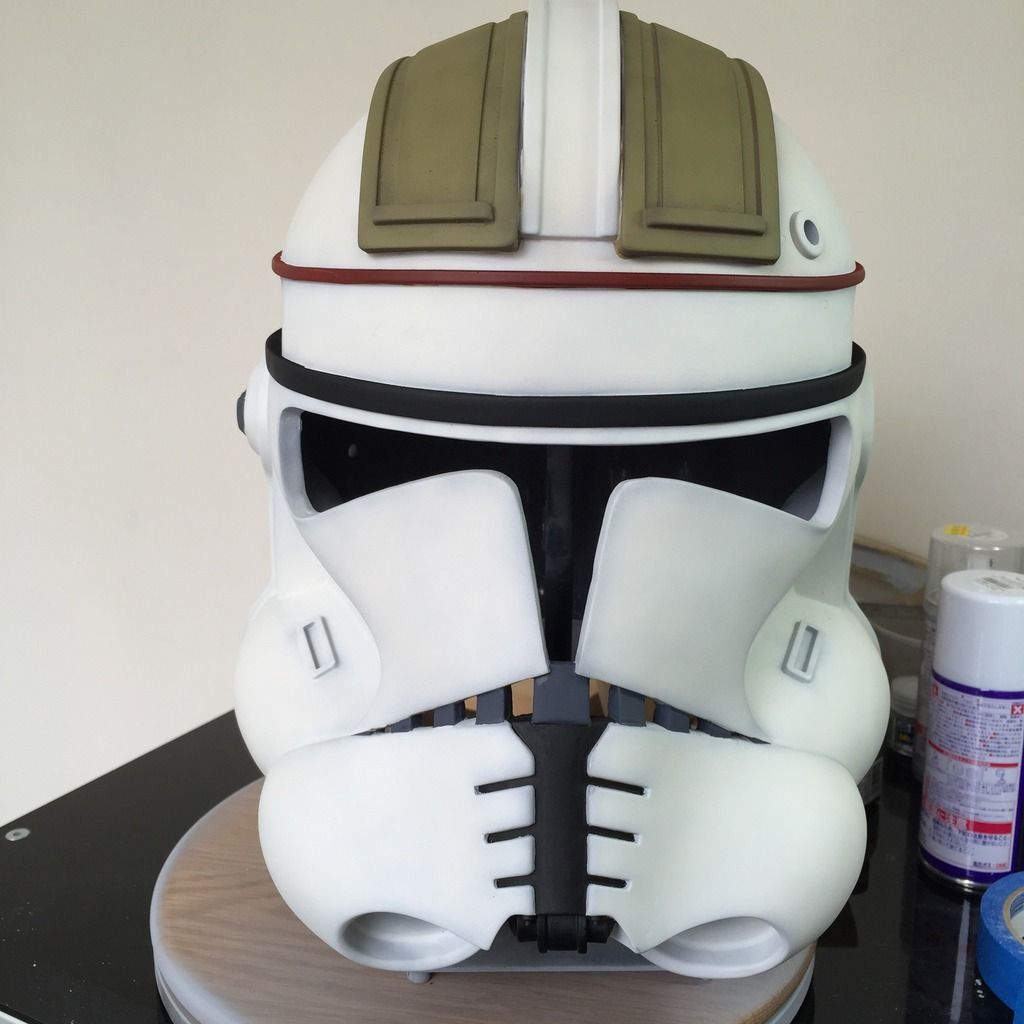
By toning, I mean not spraying the entire thing white and filling every corner and edge. Essentially, I spray liberally on all the flat surfaces, right up to near the edges or corners, where I mist the white, showing a little of the grey underneath. This allows more depth to the paint, and has a little wear and tear feel to it.

Photo%208-7-15%2012%2040%2006%20pm_zpsuopviwrs.jpg


Photo%208-7-15%2012%2040%2014%20pm_zpsu3w6mjqt.jpg


Photo%208-7-15%2012%2040%2021%20pm_zpsg0j6wyzc.jpg


Photo%208-7-15%2012%2040%2031%20pm_zps9c0o2uve.jpg


Photo%208-7-15%2012%2040%2041%20pm_zps66nxe0aj.jpg


The white is paler than what you see from my iPhone.

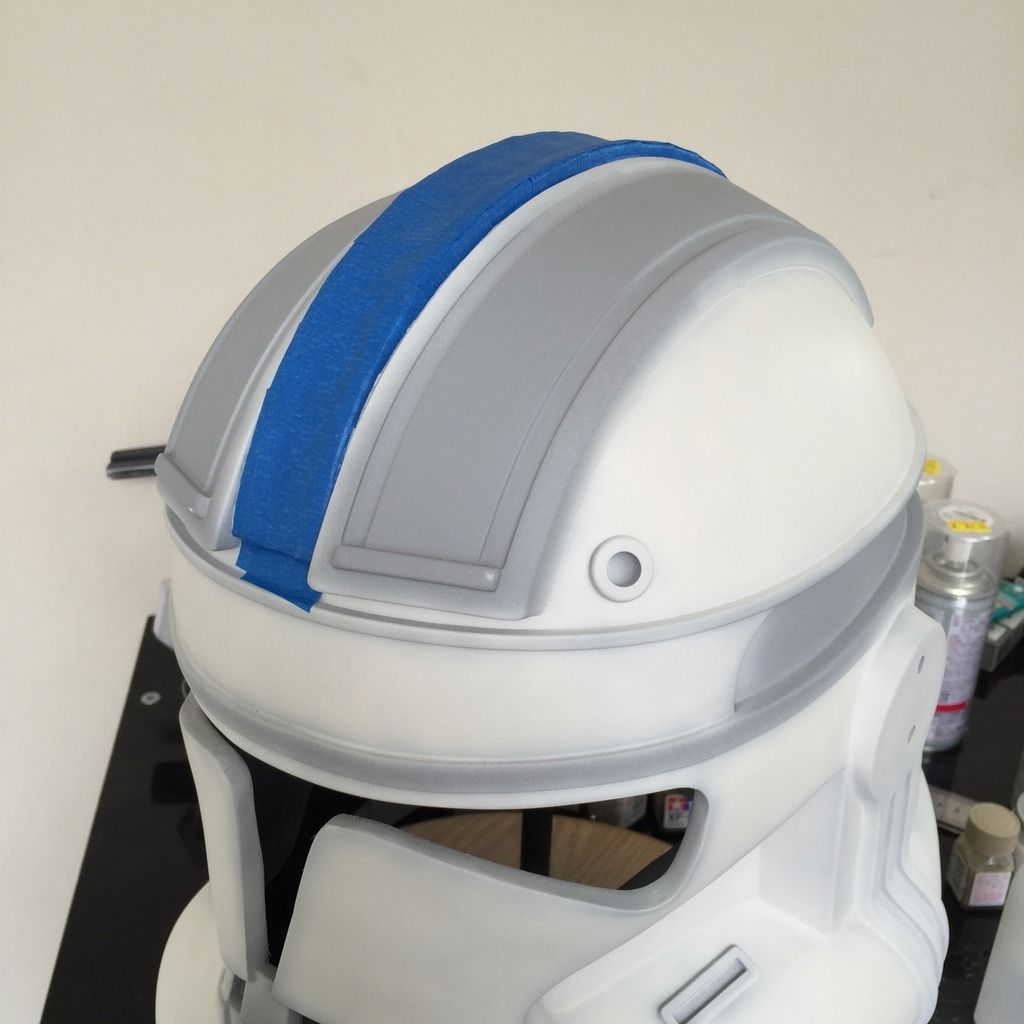
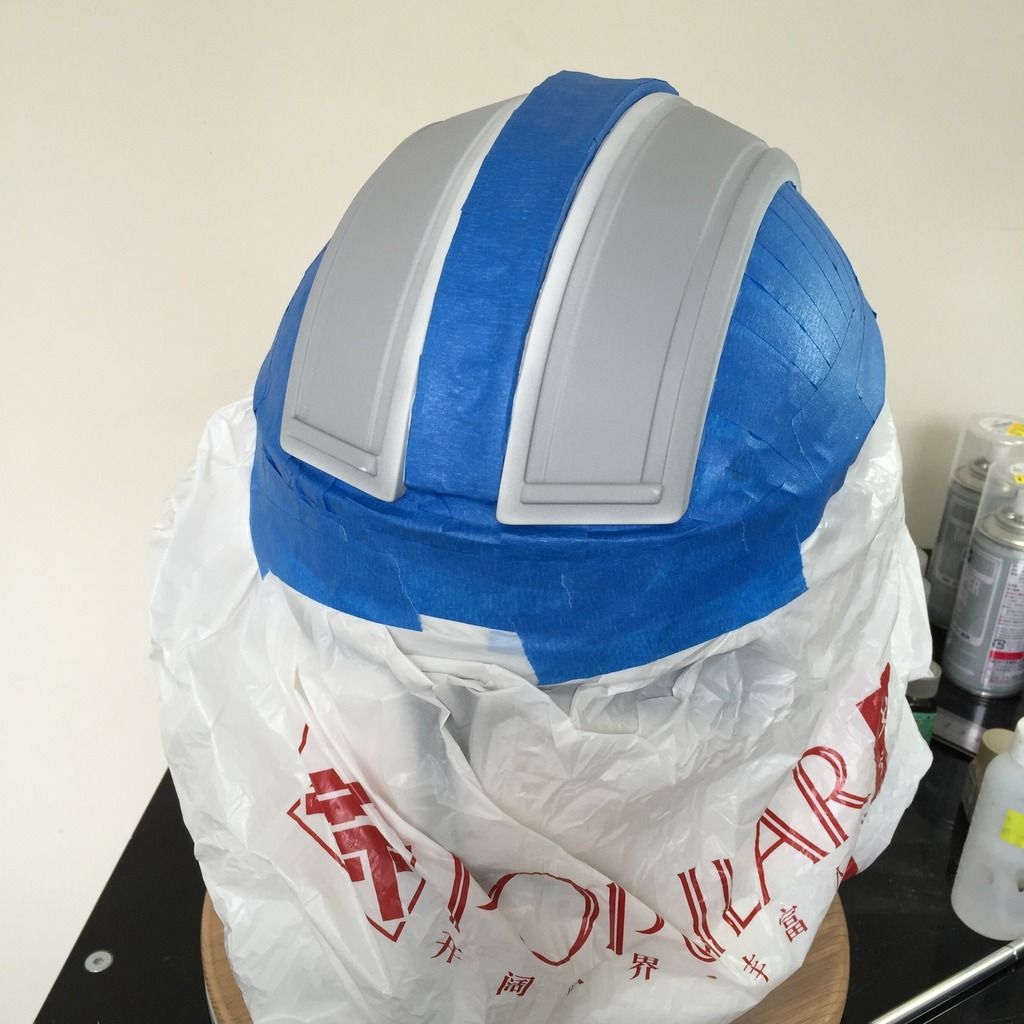
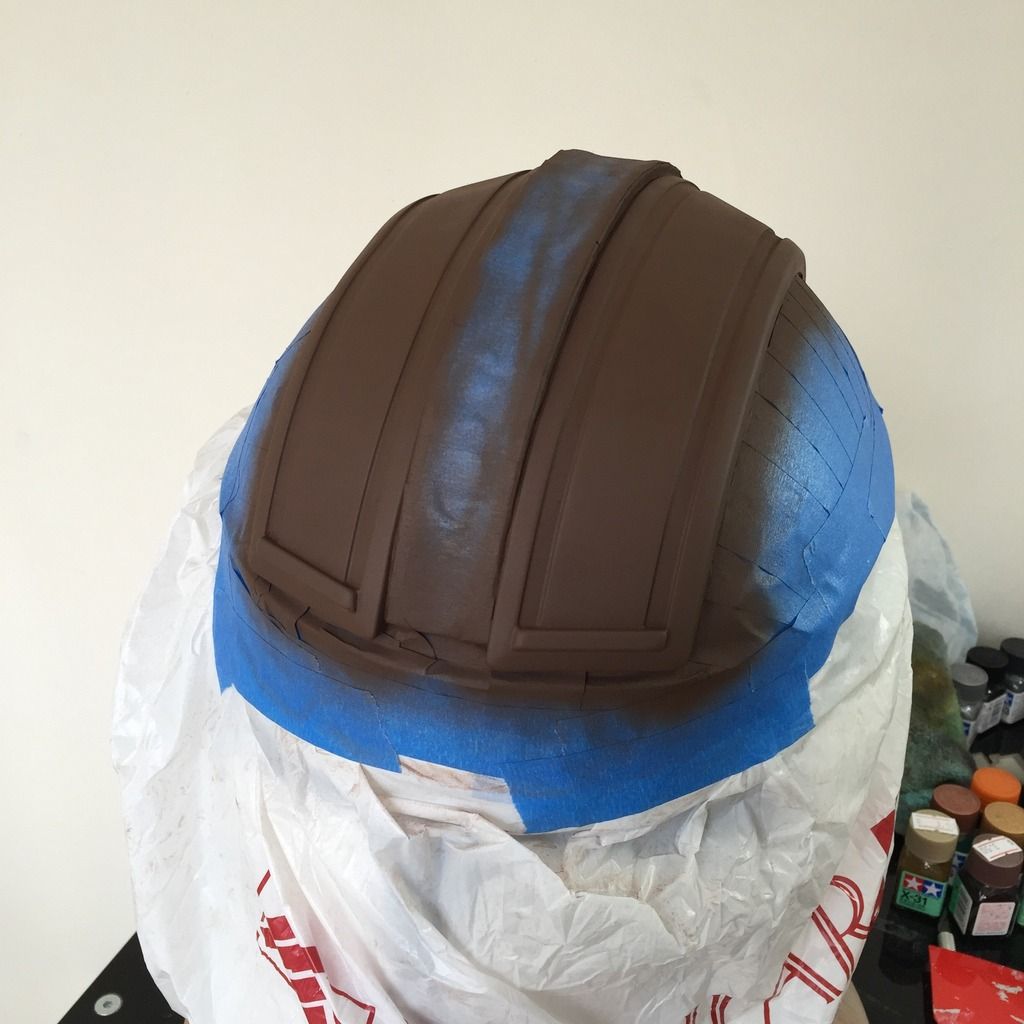
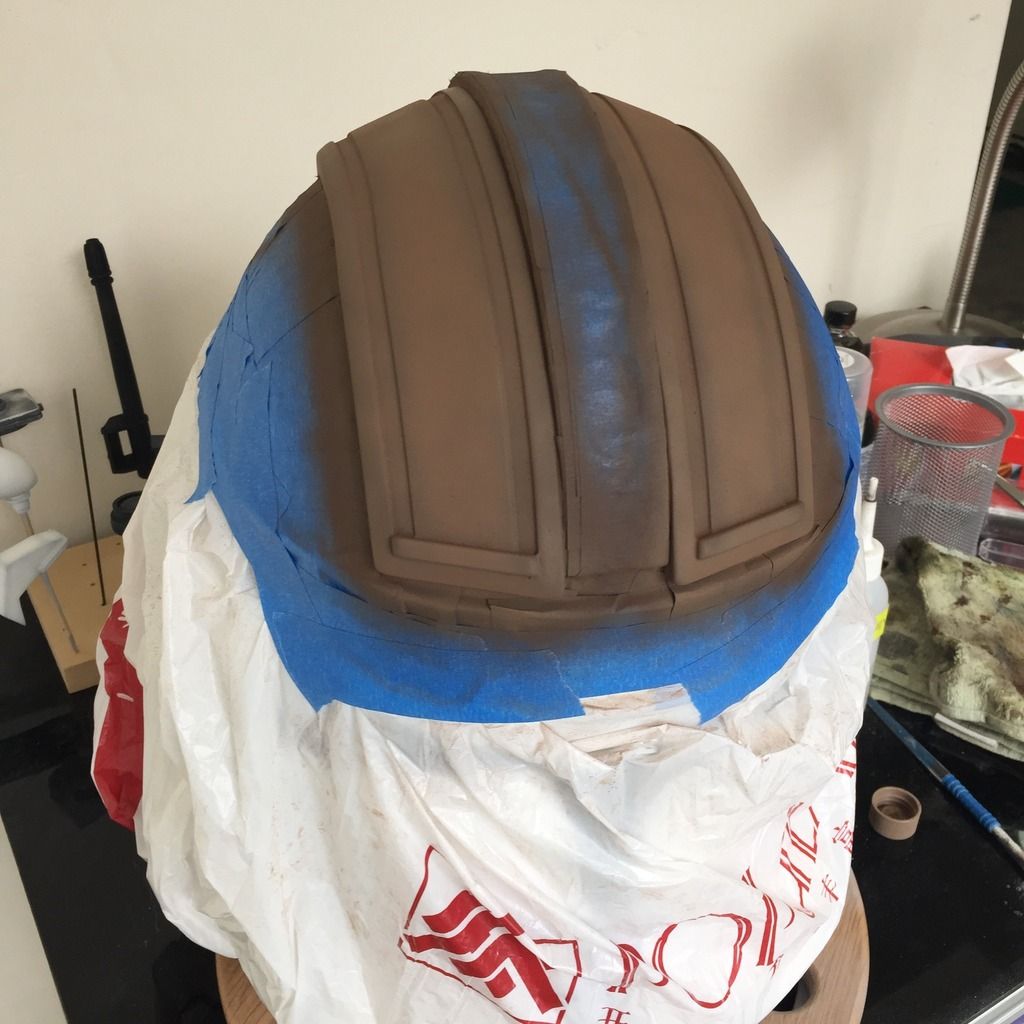
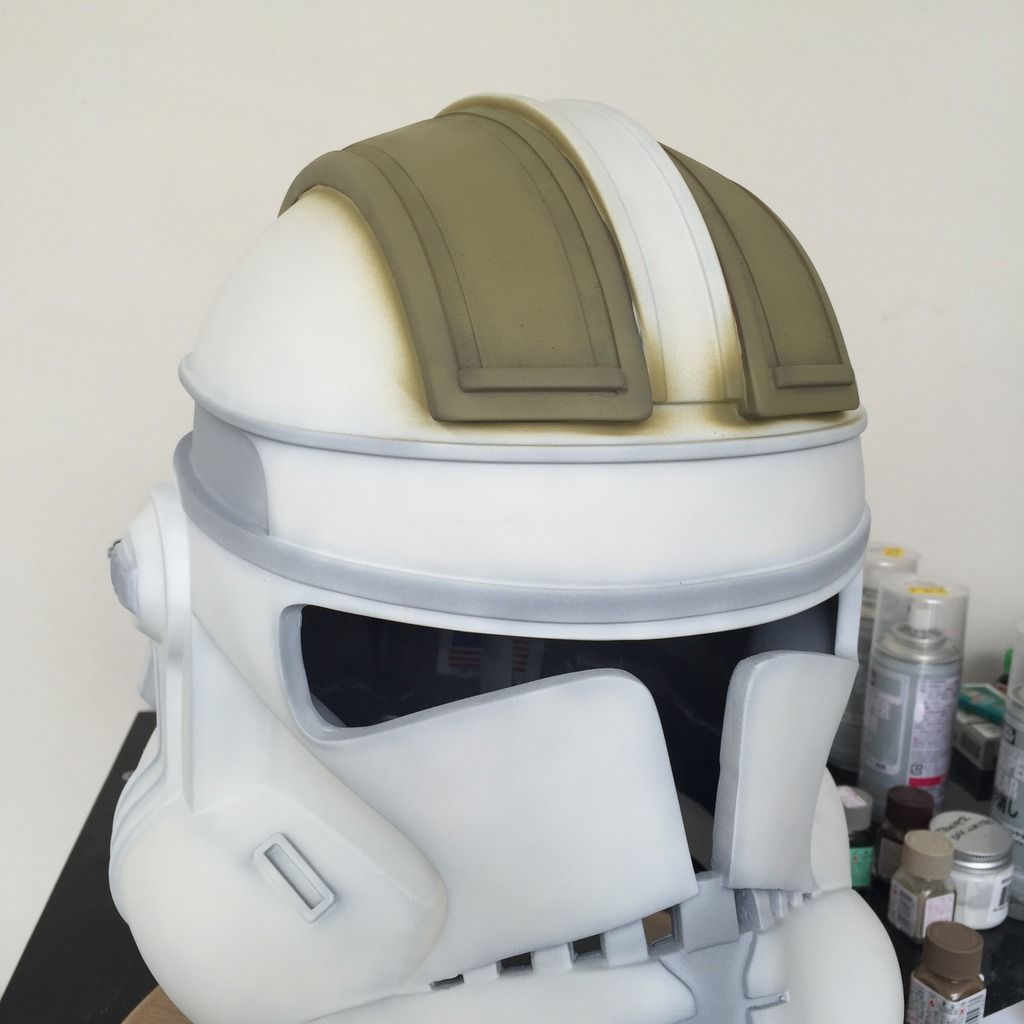
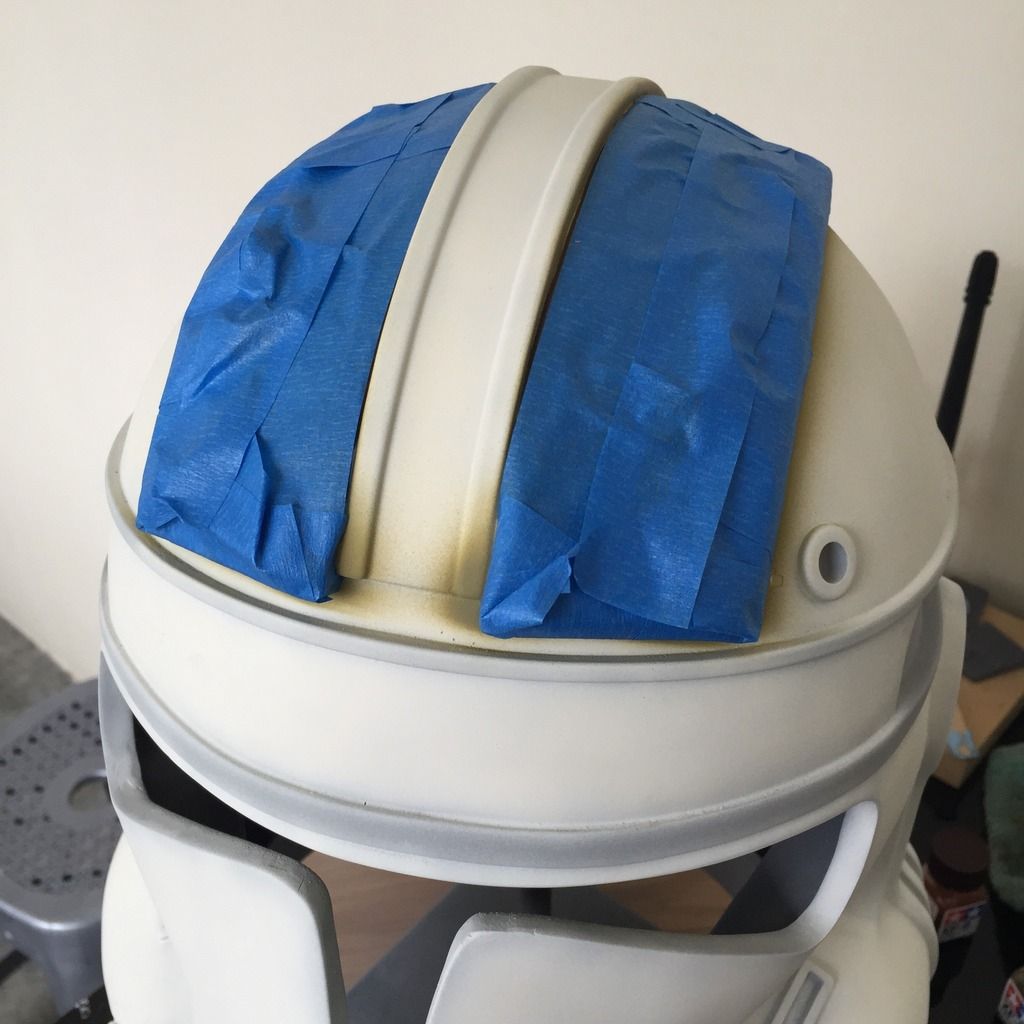
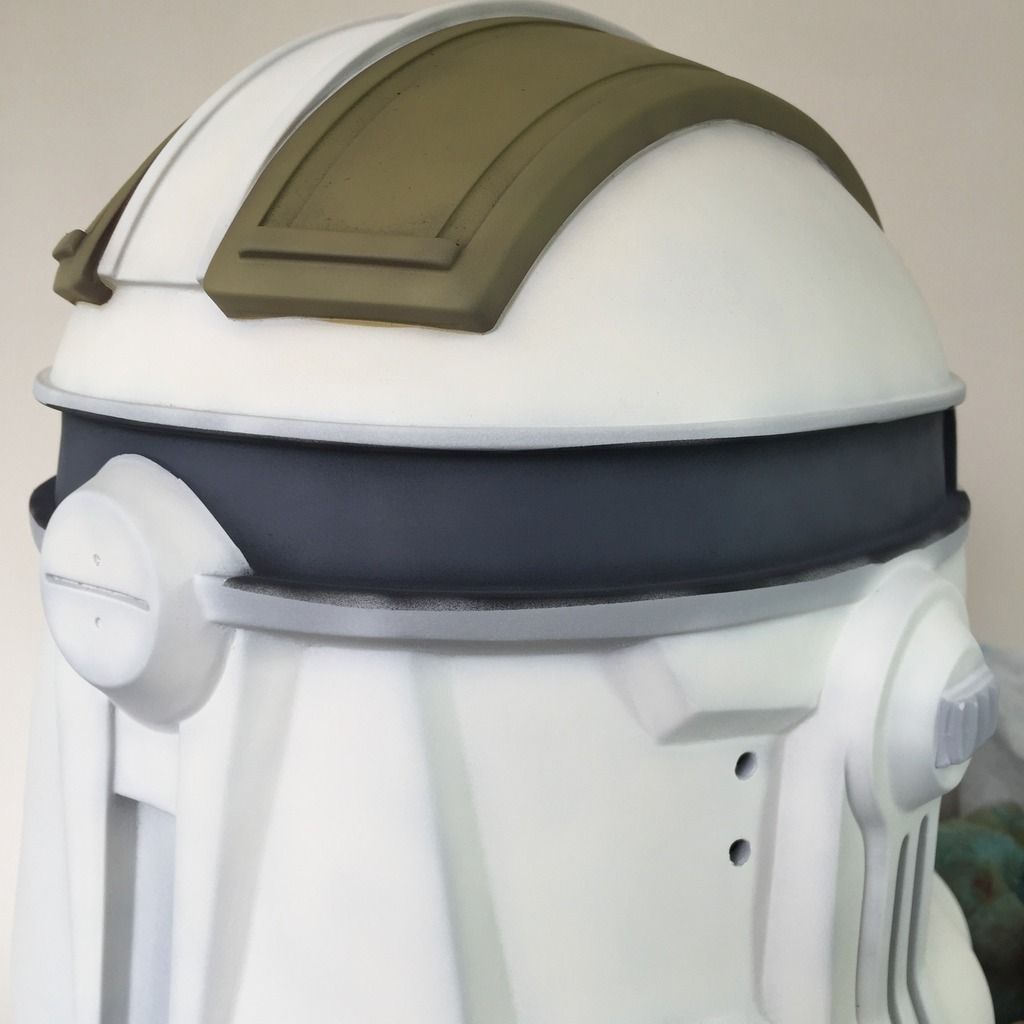
Next, I tackled the 2 brown pieces on the top of the helmet. This is a b$#@h to mask, as there are a lot of curves. One point to note for all fellow builders: when you are spraying over white stuff, MASK EVERYTHING! Overspray will get onto your white, especially when I am going to spray "downwards" towards the rest of the helmet. Also, in case you're wondering, after every coat, before the next masking, I will top-coat it with clear matt. This will seal the previous layer and not be pulled by the masking tape later.

Photo%208-7-15%201%2042%2037%20pm_zpsmfr3ydny.jpg


Ready for the browns!
Photo%208-7-15%202%2024%2035%20pm_zpsrwnclx8m.jpg


A base coat of Flat Brown was used (toning, remember?)
Photo%208-7-15%202%2034%2045%20pm_zpsrtj08tnl.jpg


And then toned with Flat Earth:
Photo%208-7-15%202%2052%2002%20pm_zpswi3nfl3v.jpg


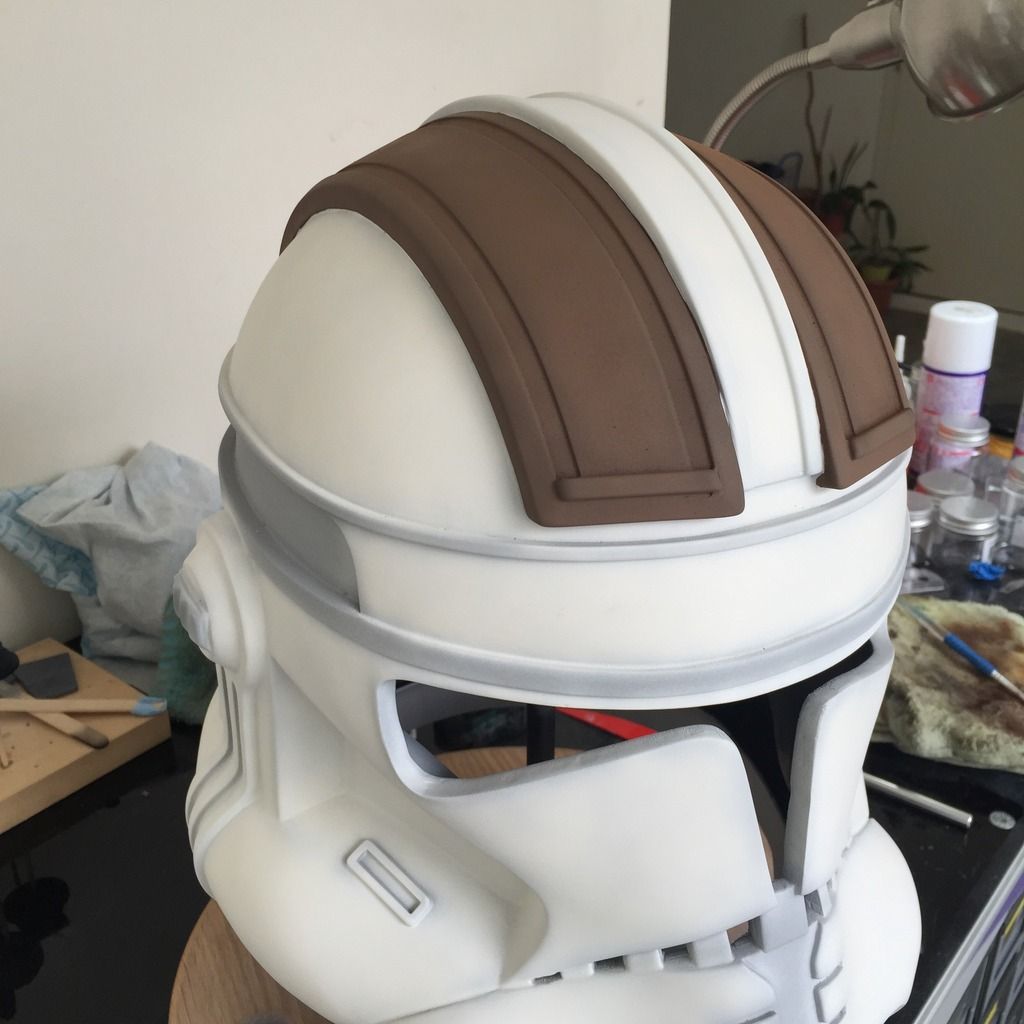
Masking removed to reveal a very nice result:
Photo%208-7-15%203%2007%2000%20pm_zpsabrgxaqq.jpg


THIS IS WHERE I REALISED MY MISTAKE!!!!

I USED THE WRONG COLOUR!!!

In my confusion, I dipped into my box of paints meant for my Boushh... FML!!! I didn't check the reference before spraying, and only felt something was wrong after I removed the masking and thought it looked kinda dark....

So there was 2 options:

1. RE-MASK the damn thing and start over.

2. Tone with the right colour by hand, and repair overspray later.

Yup, you guessed it. Mr. Not-going-to-go-through-that-masking-**** chose option 2.

Here you see it toned with the right colour this time: Dark yellow with a dash of black:
Photo%208-7-15%203%2047%2052%20pm_zpsdpsuqtw1.jpg


You can see where the overspray went. All around the brown pieces.

So now I'm going to have to mask the brown pieces this time, and spray white on the overspray areas. Masking done:
Photo%208-7-15%204%2017%2054%20pm_zpscn4ln1zw.jpg


White sprayed over the overspray browns:
Photo%208-7-15%204%2021%2059%20pm_zpsgffevicu.jpg


Note that I lost some toning in these areas. :(

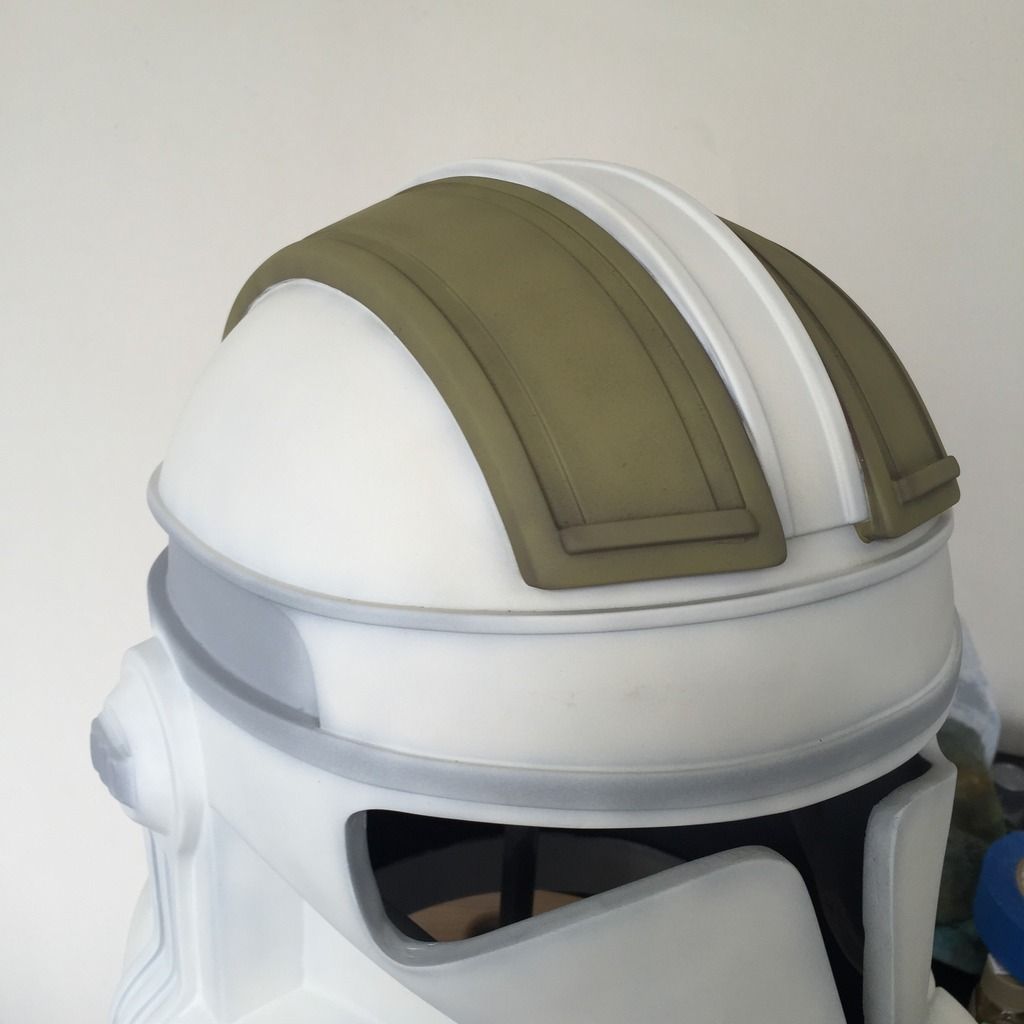
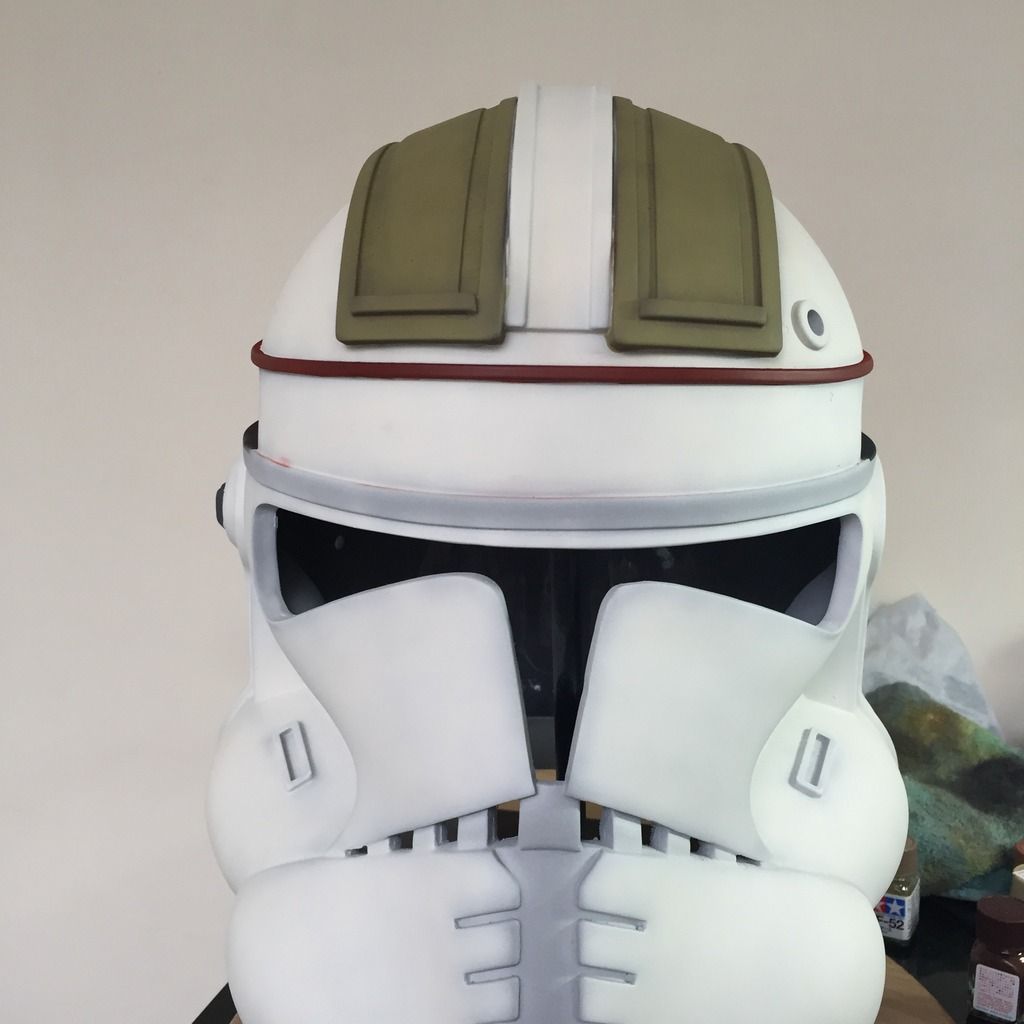
But the final results was much closer to the reference photos. Repair successful!
Photo%208-7-15%204%2023%2046%20pm_zps6cfuooyd.jpg


Photo%208-7-15%204%2027%2050%20pm_zpstdbeccue.jpg


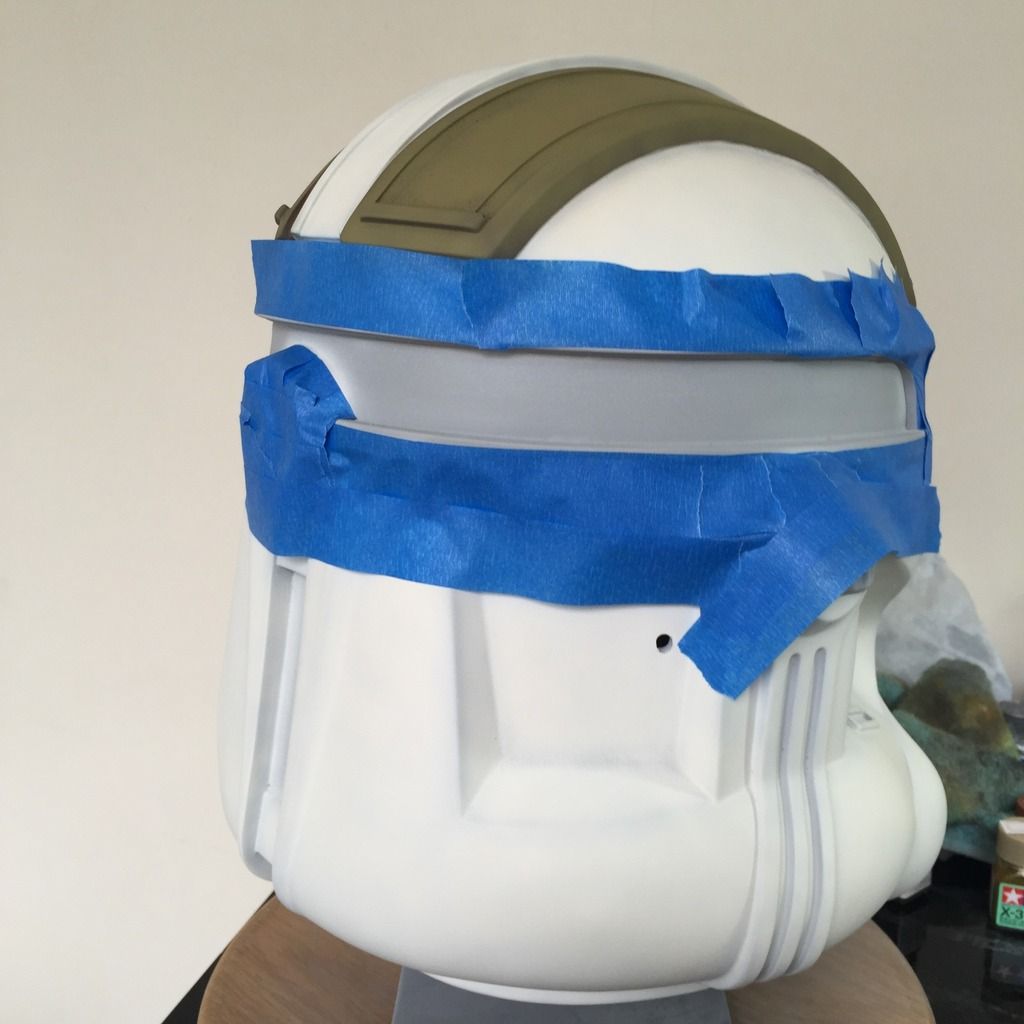
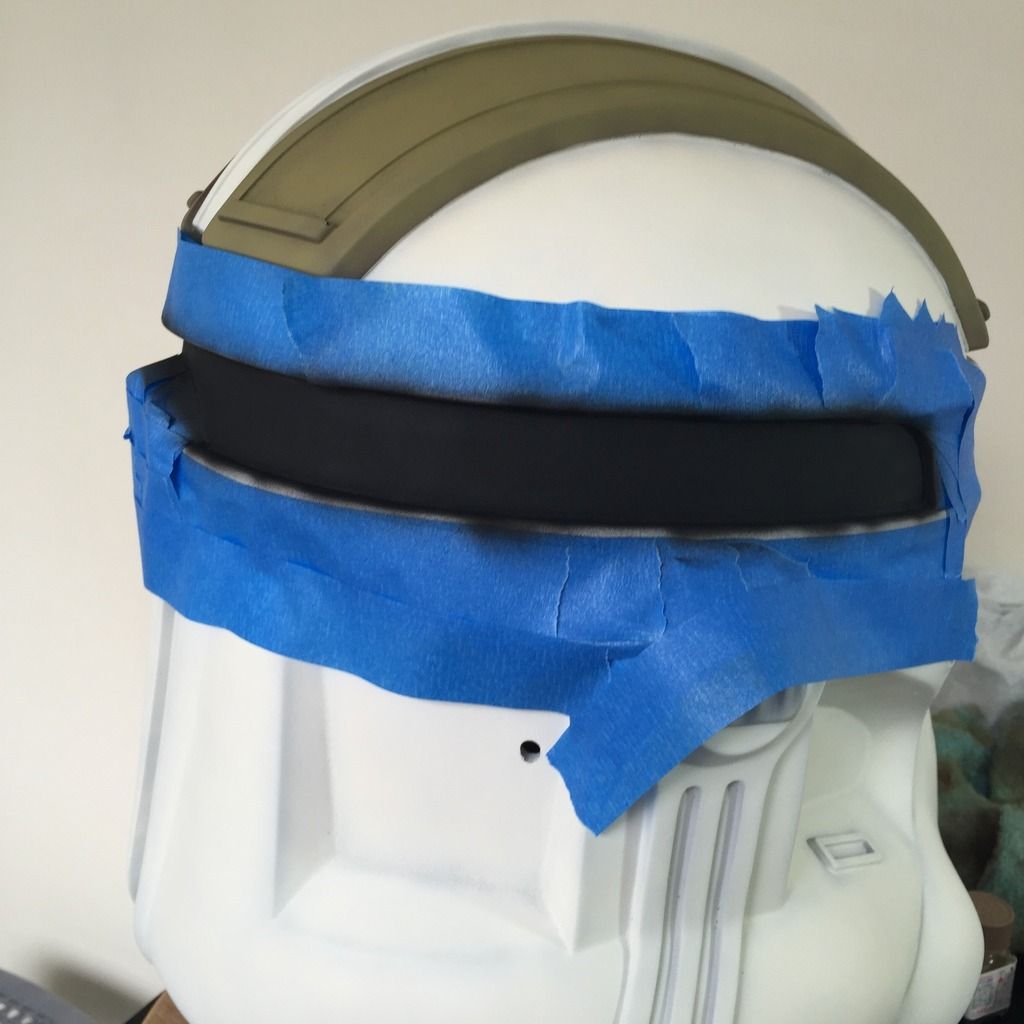
Next up, was masking for the dark grey band on the sides and back:
Photo%208-7-15%204%2037%2051%20pm_zpsxqc7znn7.jpg


Hit it with a base coat of Black:
Photo%208-7-15%204%2044%2047%20pm_zpseg2tpn6f.jpg


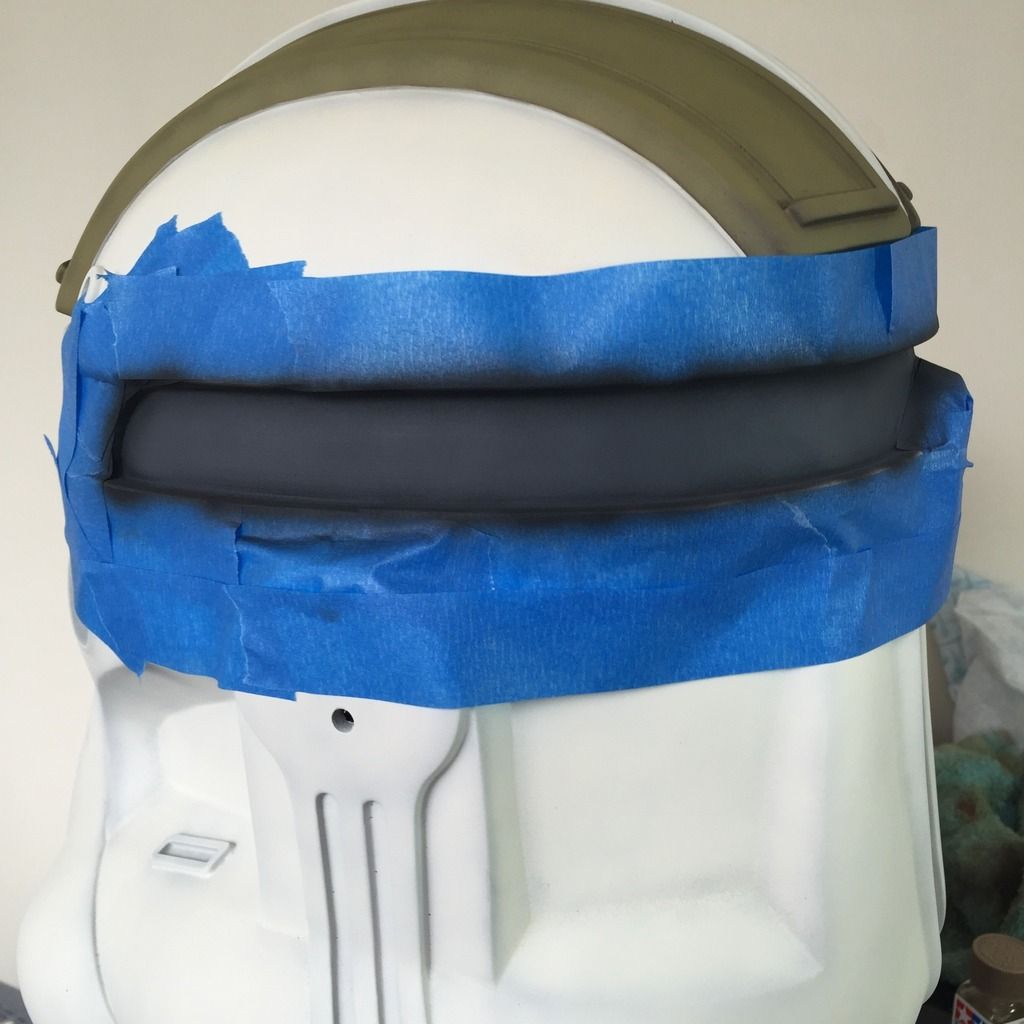
Next, toning with Dark Grey:
Photo%208-7-15%204%2047%2039%20pm_zpslgxmgssz.jpg


Masking removed. I like the look of that:
Photo%208-7-15%204%2049%2009%20pm_zpsn2jgm5dn.jpg


Did the right ear too, since it was the same Dark Grey:

Photo%208-7-15%205%2016%2046%20pm_zpszws6rwku.jpg


Photo%208-7-15%205%2017%2048%20pm_zpsalch0pmr.jpg


Photo%208-7-15%205%2018%2018%20pm_zpspcpk5dpn.jpg


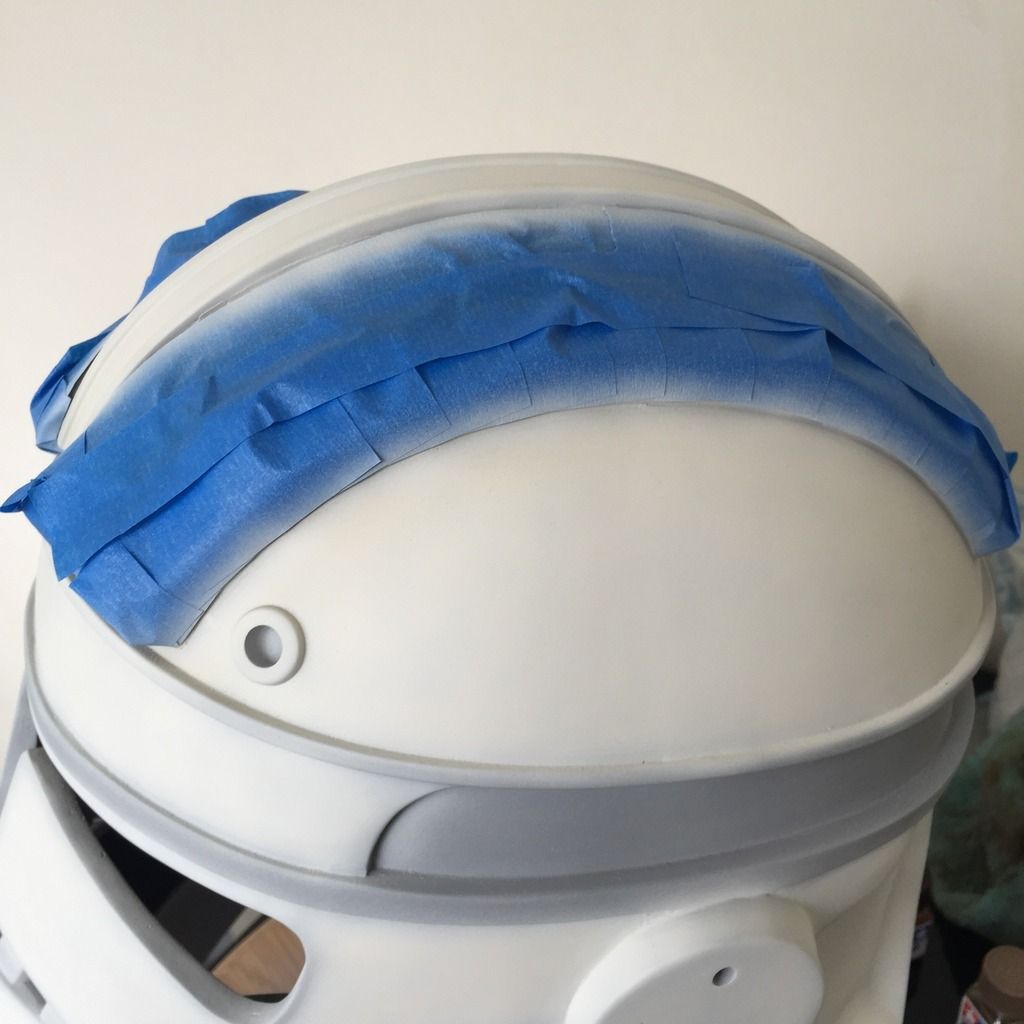
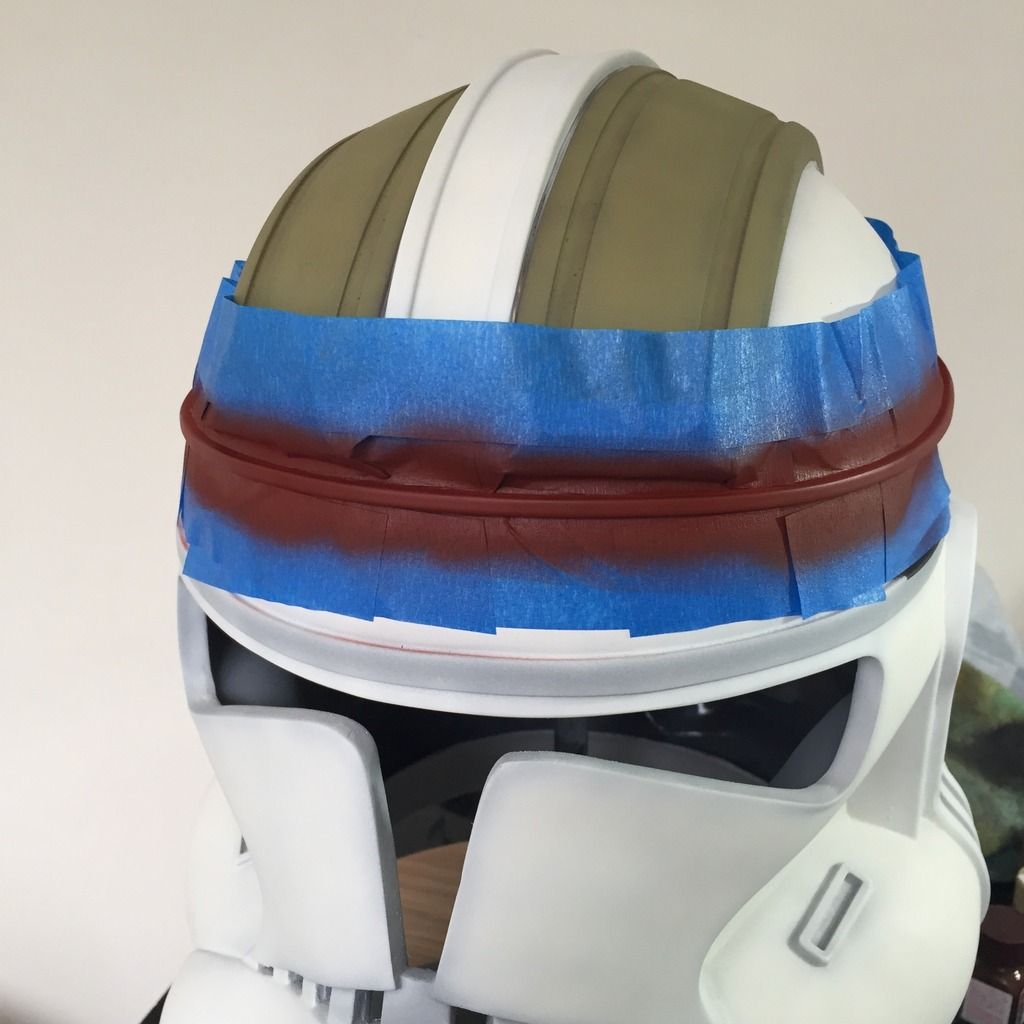
Masked the top band for the dark red, which was Flat red with a tiny dash of black:

Photo%208-7-15%205%2029%2013%20pm_zps9xs4lh1y.jpg


Photo%208-7-15%205%2032%2021%20pm_zpslkufetes.jpg


You can see a bit of overspray, but luckily, that is going to be sprayed Black later. Also, it will be very much hidden by the orange visor. Nevertheless, this is a clear sign that I am no longer focusing, and getting sloppy. Time to call it a day!

Quite a fruitful one at that!

Thanks for viewing!
 
Excellent paint job! Thanks for sharing...the results from your technique are very cool looking. This helmet is really coming together extremely well!
 
Didn't have much time today. In fact, I'm going to have at most 2 hours each day for the next 2 weeks. And it's going to be in the evenings. In case you are not aware, never spray in cool weather. Paint have a life of their own in cool weather. And it is not a good life.

So sanded down the inside of the visor, and I'm going to call this done:

Photo%209-7-15%206%2032%2003%20pm_zpszoec77vw.jpg


Did a test fit over the helmet, and I was very relieved that the visor did not warp due to the filler, and the space for the 2 attachments to the cheek are just nice without having to bend the visor any more. Phew!

Photo%209-7-15%206%2032%2045%20pm_zpsf5slcbwt.jpg


Well, that's all for today. Could only do so much in a short time (sanding takes up a lot of time, and sore fingers), and I am also starting on other builds! (Royal guard... see my other thread!)

Thanks for viewing!
 
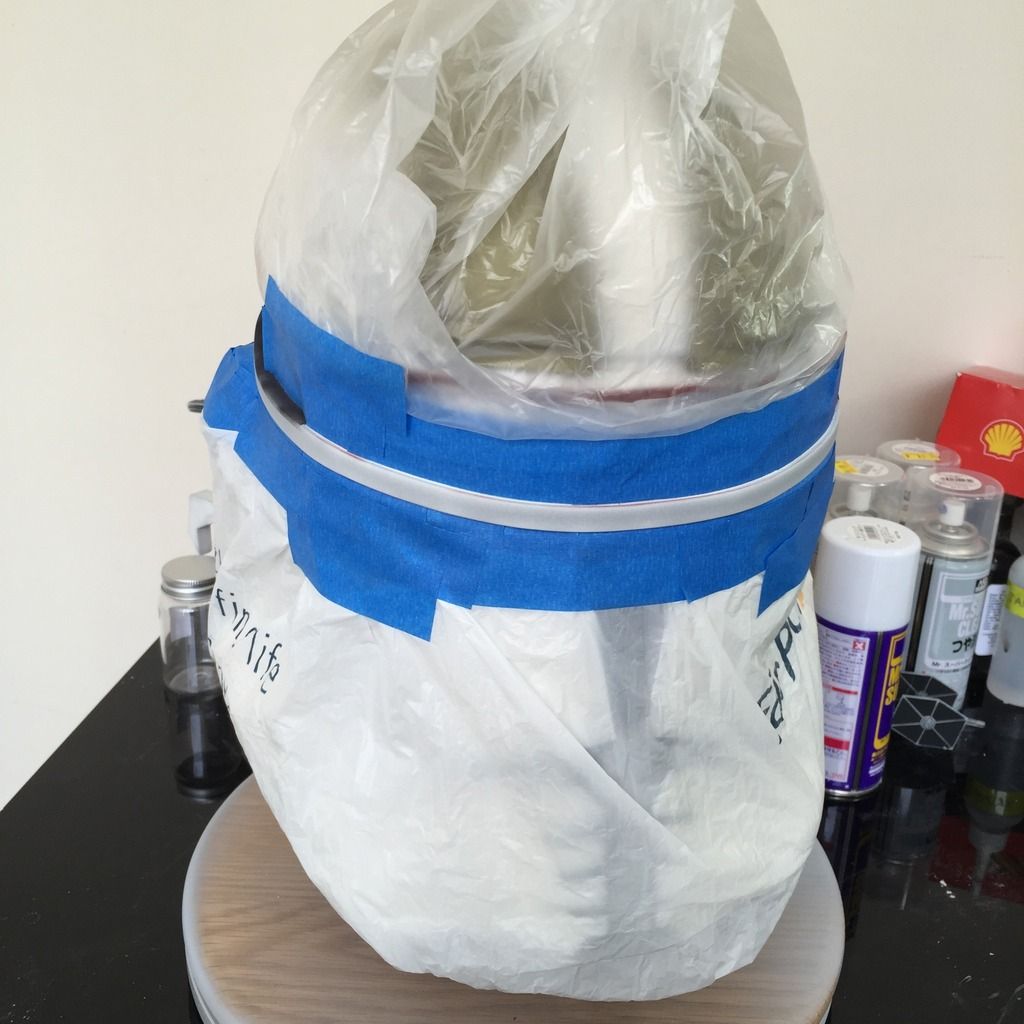
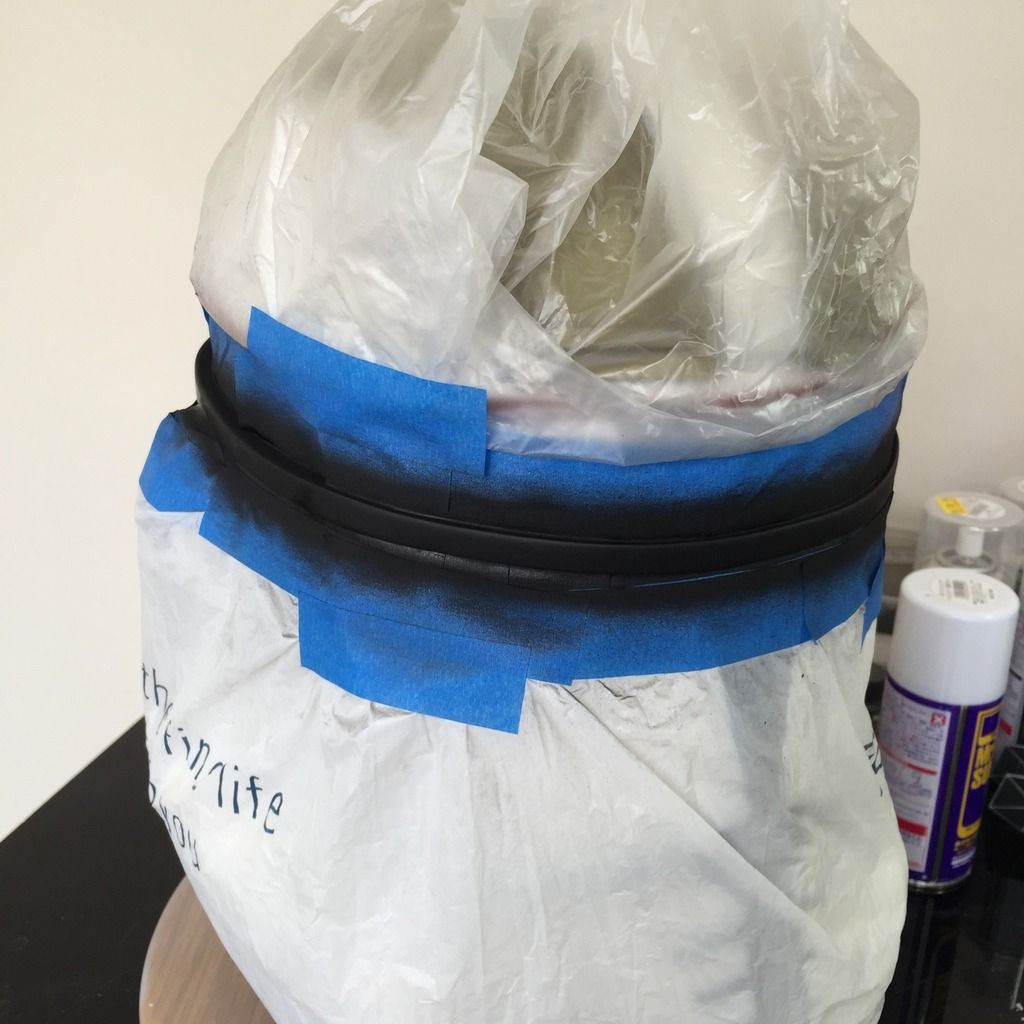
Update for today. Continued the paint job for the helmet. First, masked the brow which will be sprayed black. So much work for so little area....

Photo%2011-7-15%202%2027%2045%20pm_zpsmkpvpqcp.jpg


Photo%2011-7-15%202%2033%2041%20pm_zpsg39euaj5.jpg


Photo%2011-7-15%202%2040%2025%20pm_zpsmr6bfuh6.jpg


Next, masked the area at the back which will also be sprayed black:

Photo%2011-7-15%202%2057%2036%20pm_zpsdzjanorc.jpg


Photo%2011-7-15%202%2059%2046%20pm_zpsoxwdyjv6.jpg


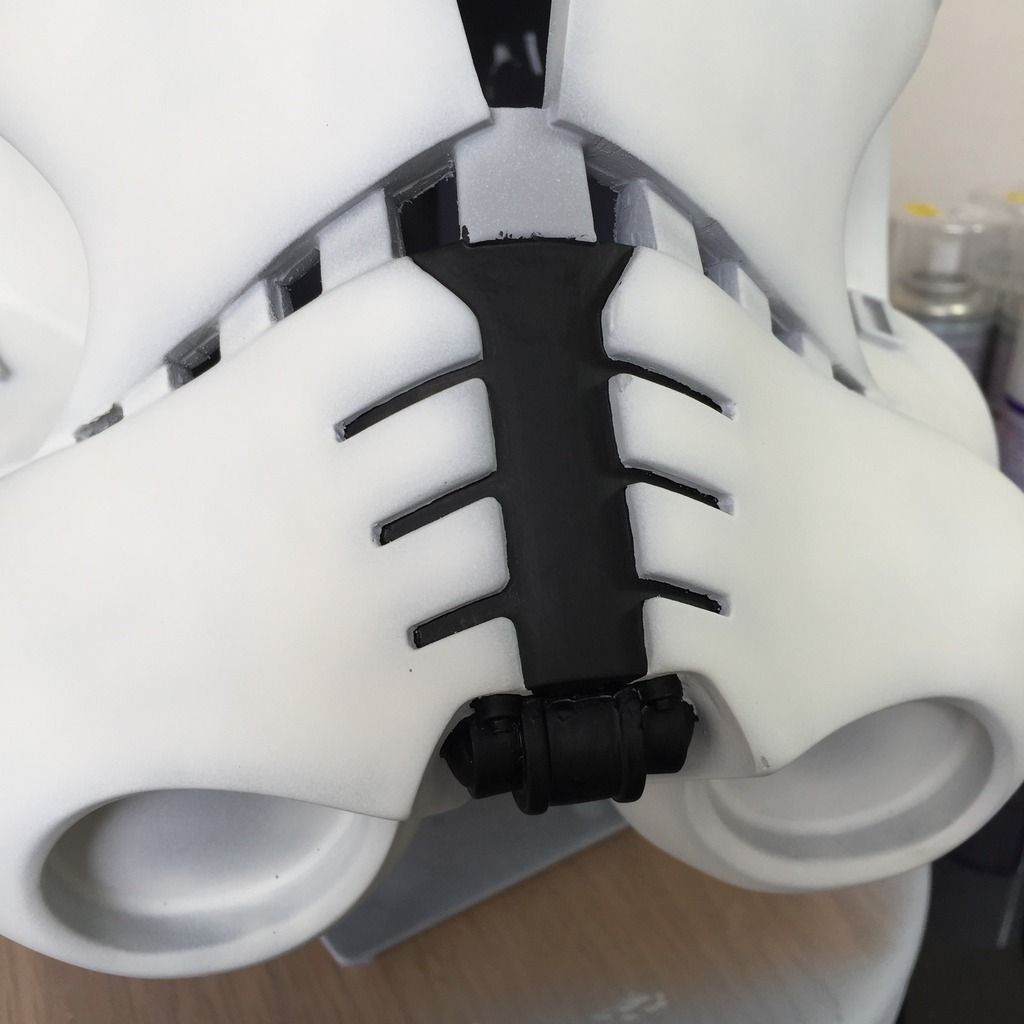
Hand painted the mouth area as it was too difficult to mask.

Photo%2011-7-15%203%2034%2021%20pm_zpssjiyw6op.jpg


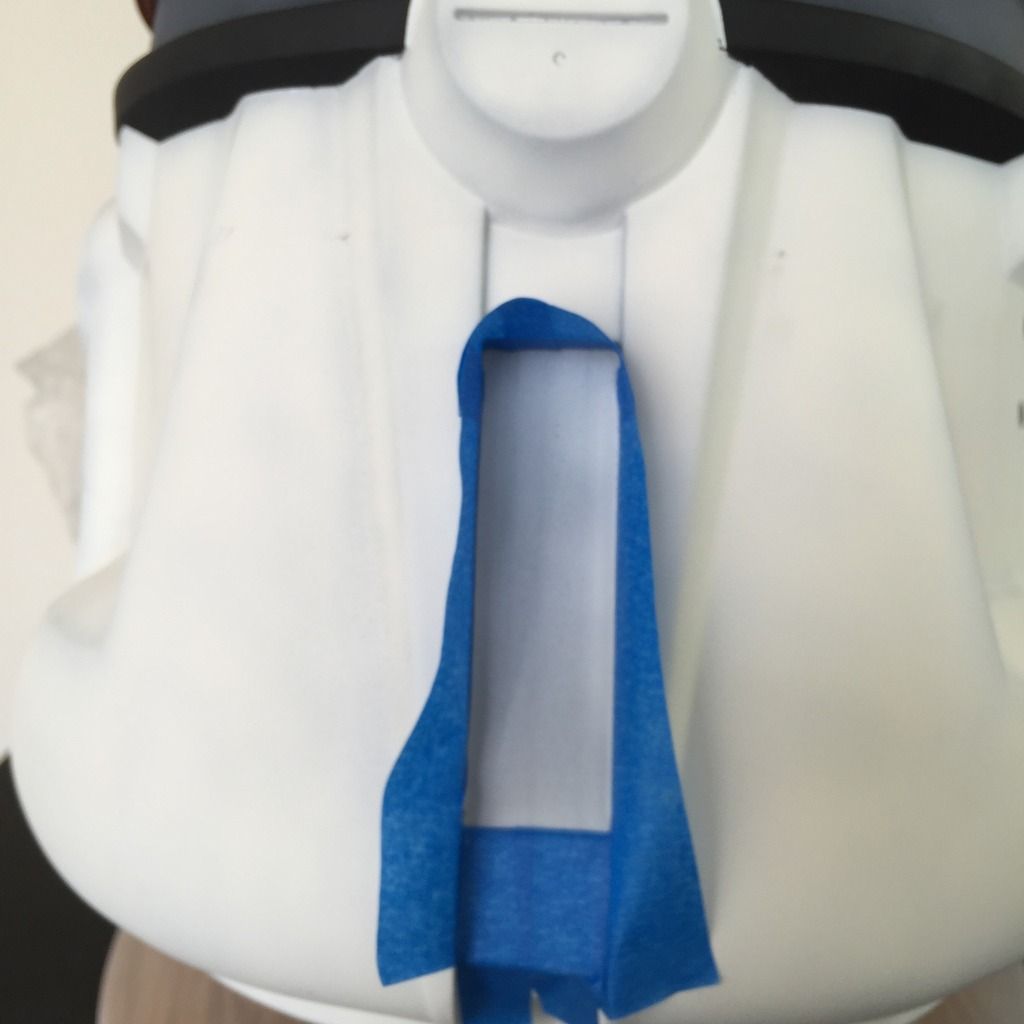
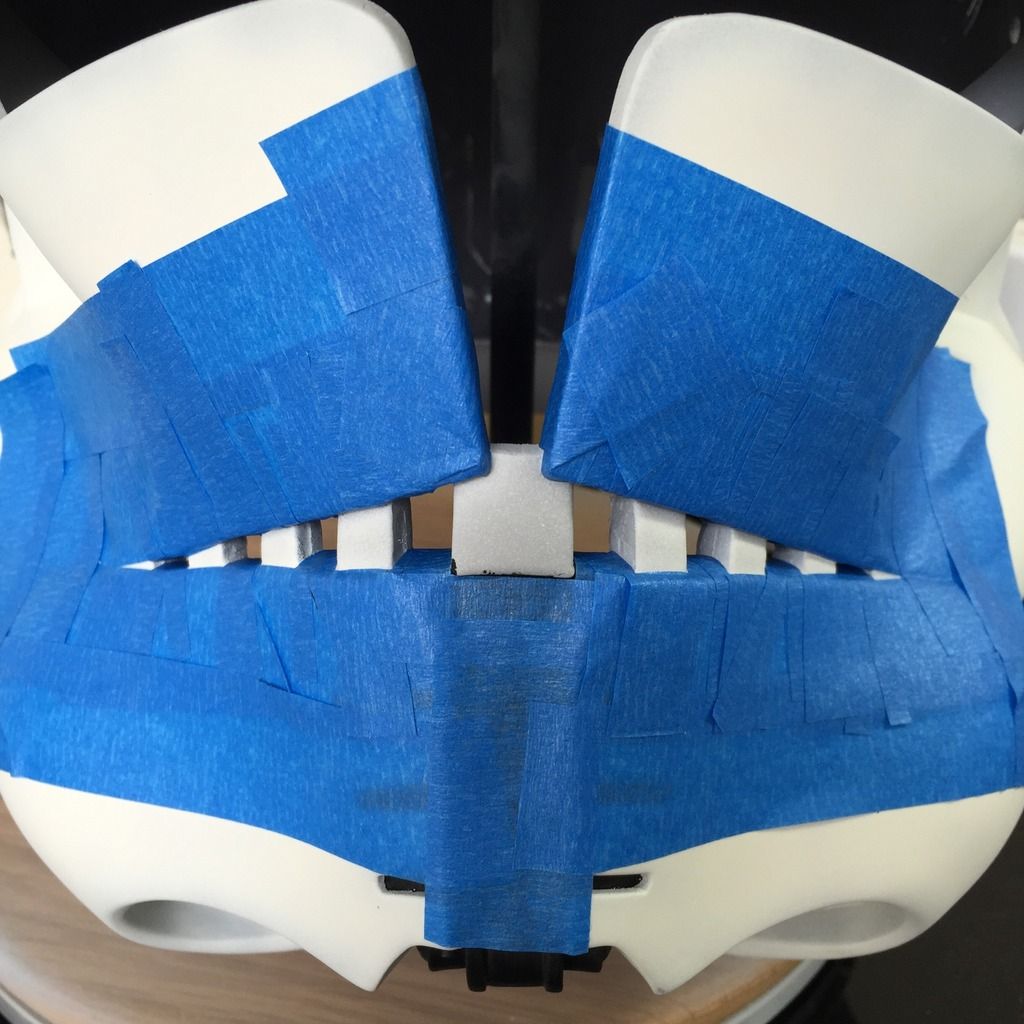
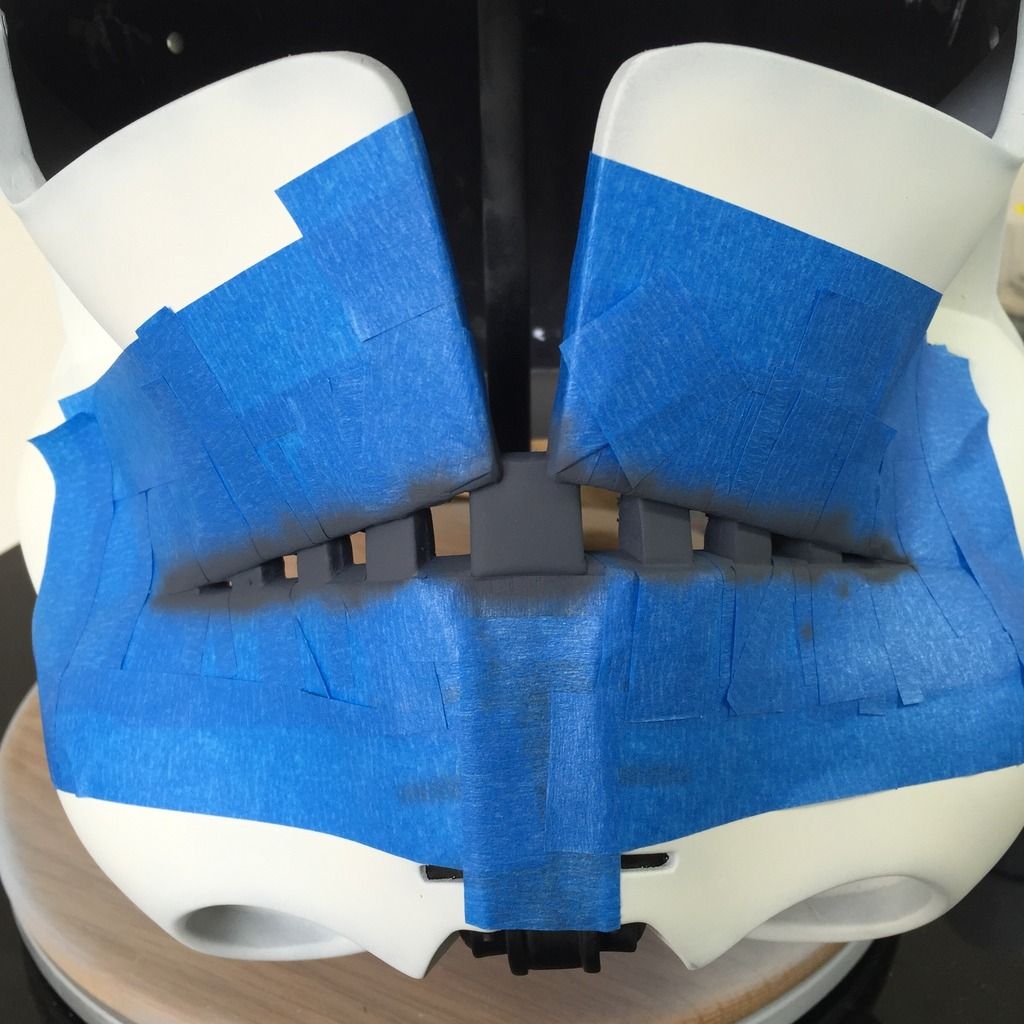
Then masked the nose vents for spraying Dark Grey:

Photo%2011-7-15%204%2014%2049%20pm_zps8vx4wutf.jpg


Photo%2011-7-15%204%2020%2017%20pm_zpsmbw25yud.jpg


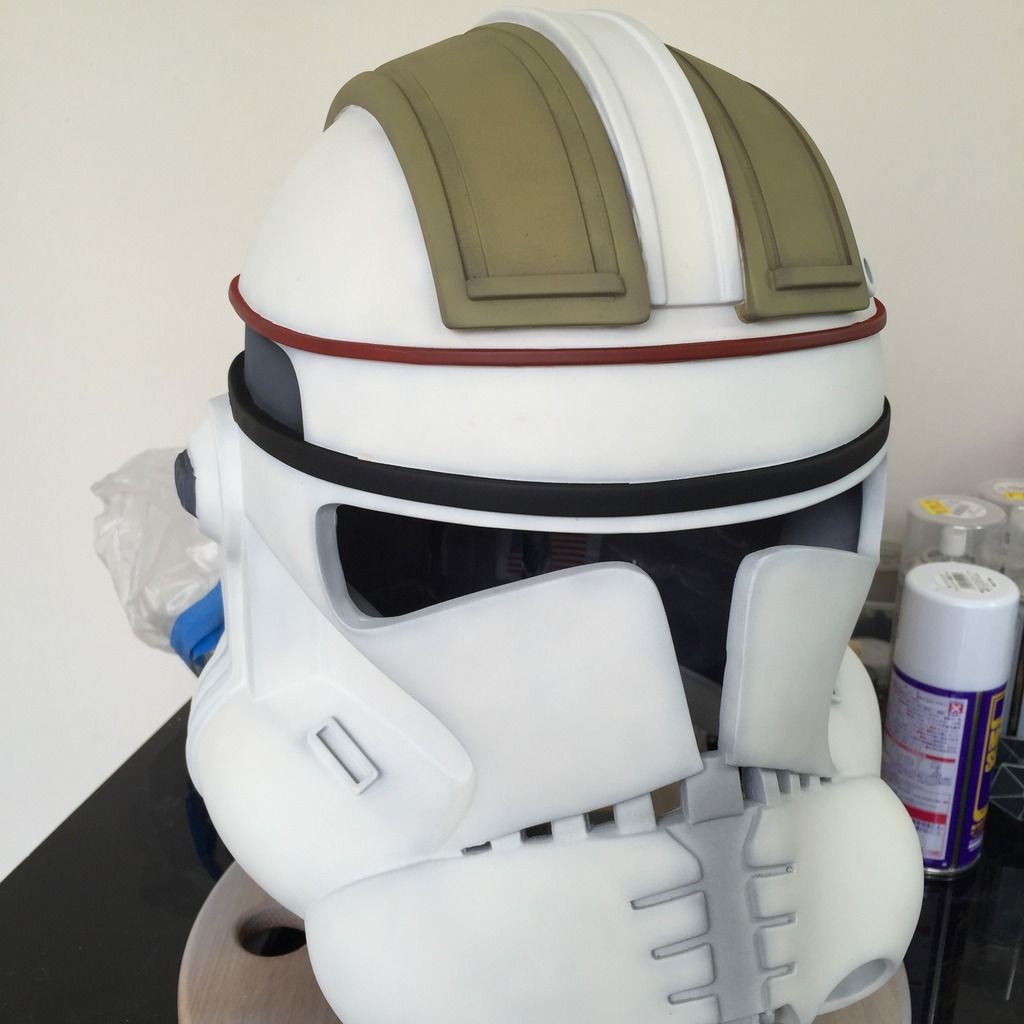
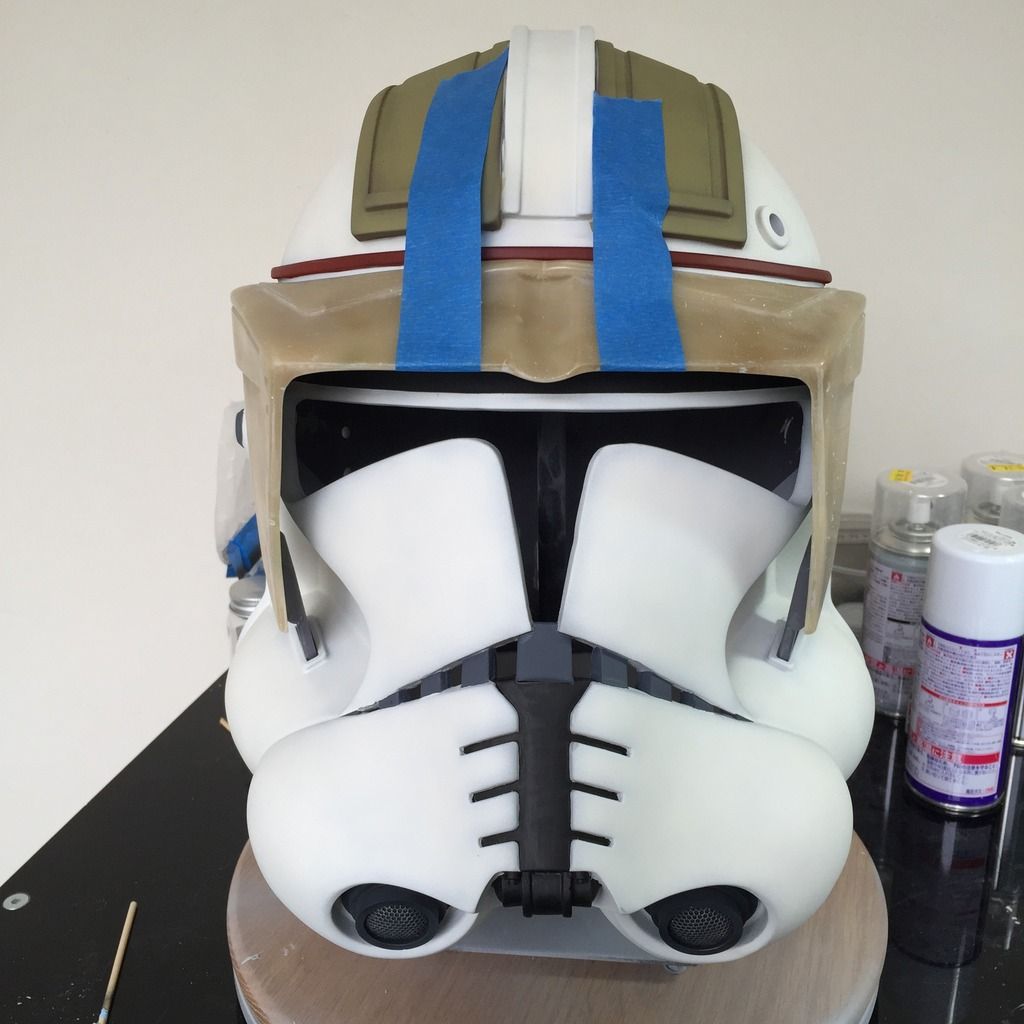
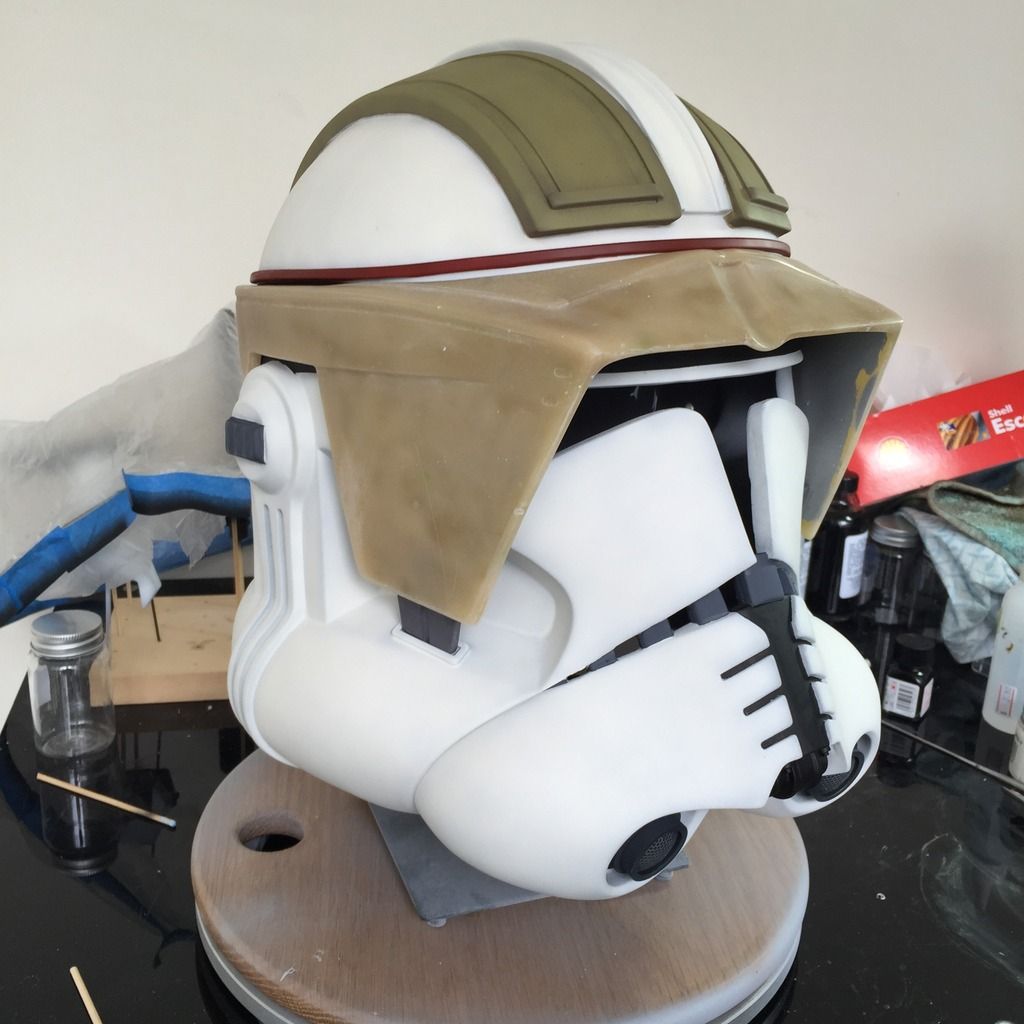
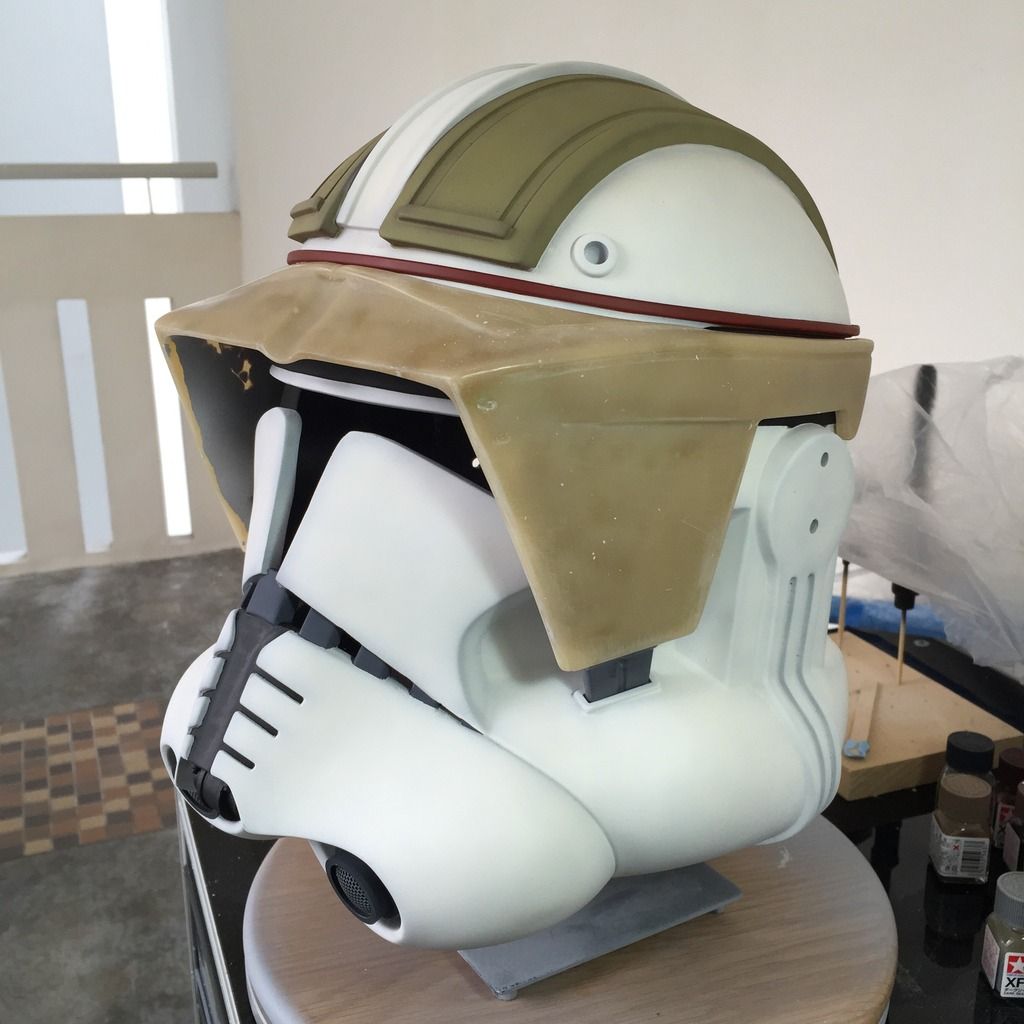
Progress so far. I'm not worried about the edges between colours being too contracting for now, as these will be blended down during weathering using washes:

Photo%2011-7-15%204%2038%2048%20pm_zpss9d13opp.jpg


Mic tips glued:

Photo%2011-7-15%204%2042%2029%20pm_zpsqv88ugyh.jpg


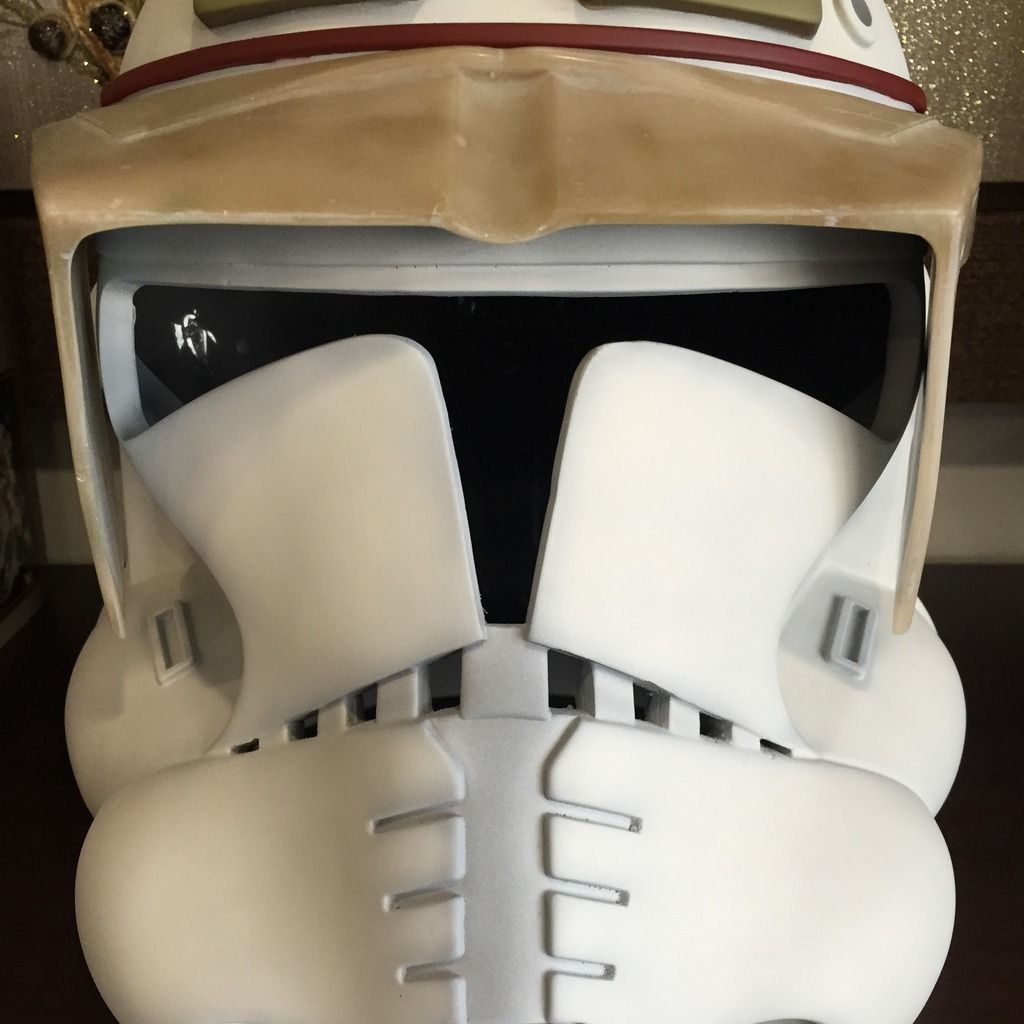
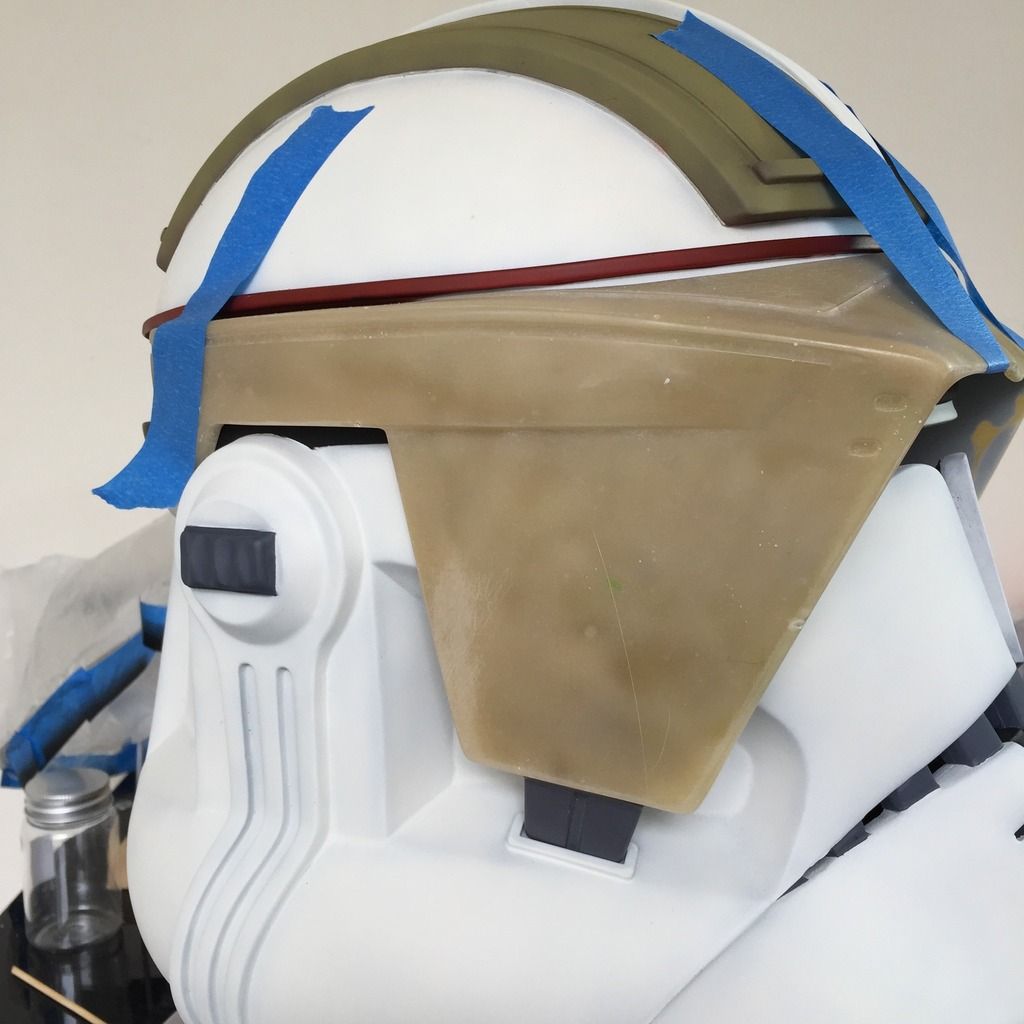
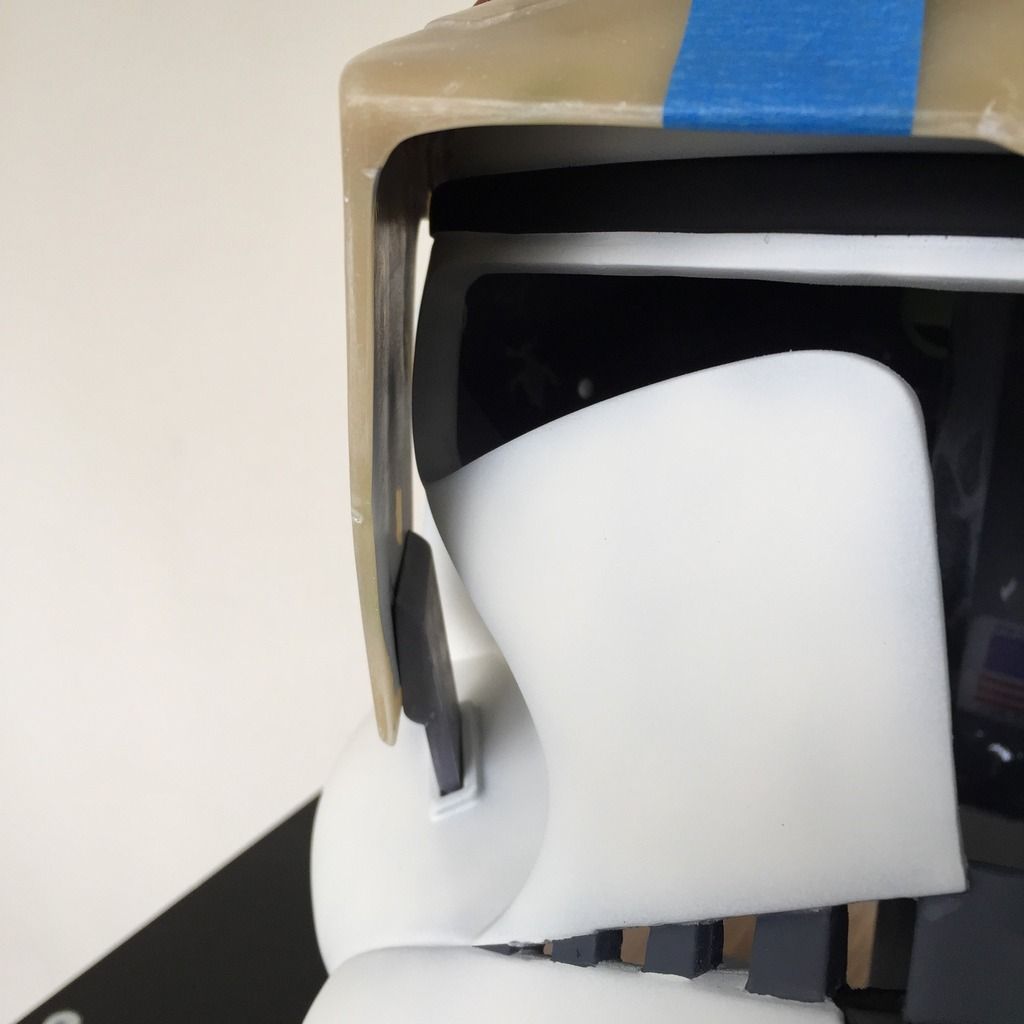
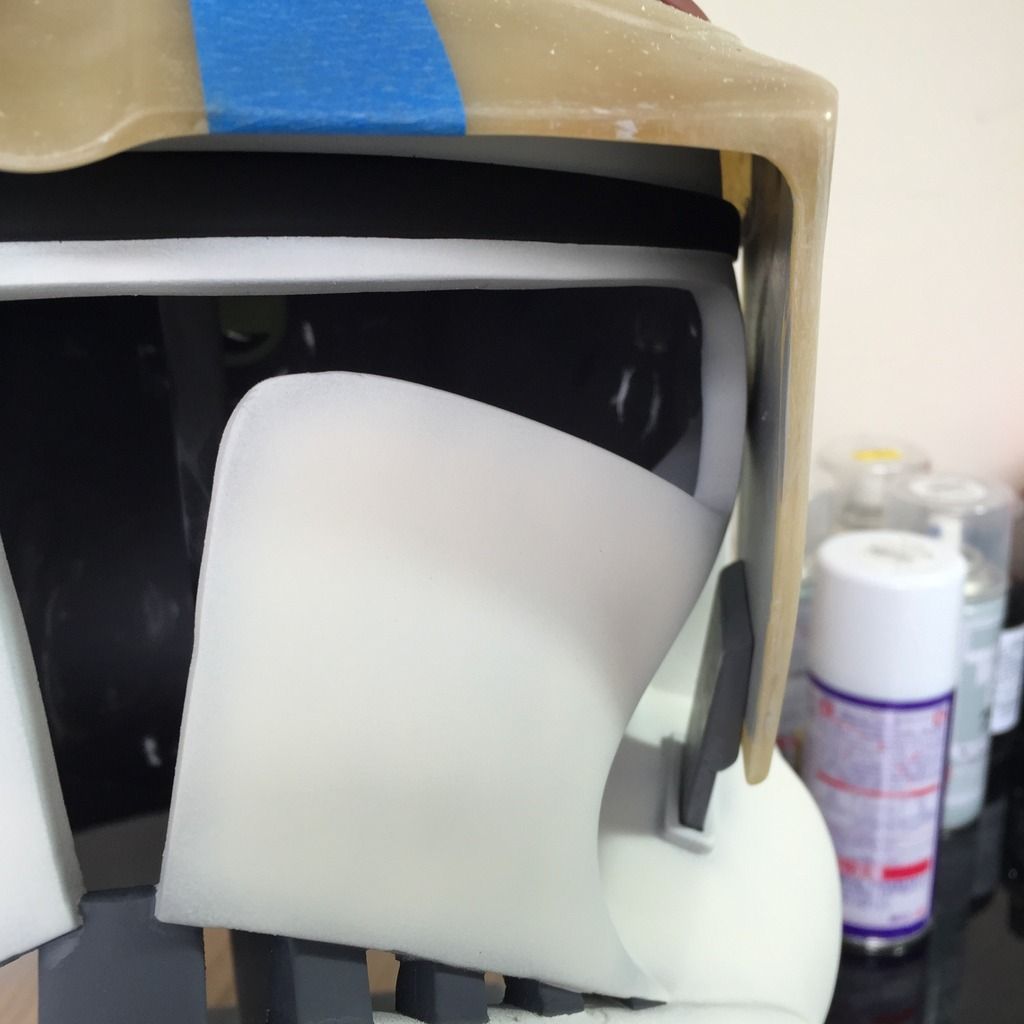
Next, I taped the visor in the position that I wanted and then glued the tabs that join the cheeks to the visor. As I mentioned earlier, I was glad the visor did not warp, and the tabs could be glued to the visor without any adjustments or bending of the visor.

Photo%2011-7-15%204%2048%2017%20pm_zps0lq4avhx.jpg


Here you can see how the tabs are joined to the visor from the inside. Perfect fitment!

Photo%2011-7-15%204%2050%2022%20pm_zpszumnkial.jpg


Photo%2011-7-15%204%2050%2027%20pm_zpshzo7vavl.jpg


Photo%2011-7-15%204%2050%2041%20pm_zpspqhharn3.jpg


And this is how the visor looks like with the tape removed after the glue has dried. It basically holds itself in this position without needing any glue or screws or magnets. Note that I will not be trooping in this helmet, and thus do not need to secure the visor in place, which is great.

Photo%2011-7-15%204%2054%2000%20pm_zpszomubi0h.jpg


Photo%2011-7-15%204%2054%2007%20pm_zpshvj9pgbg.jpg


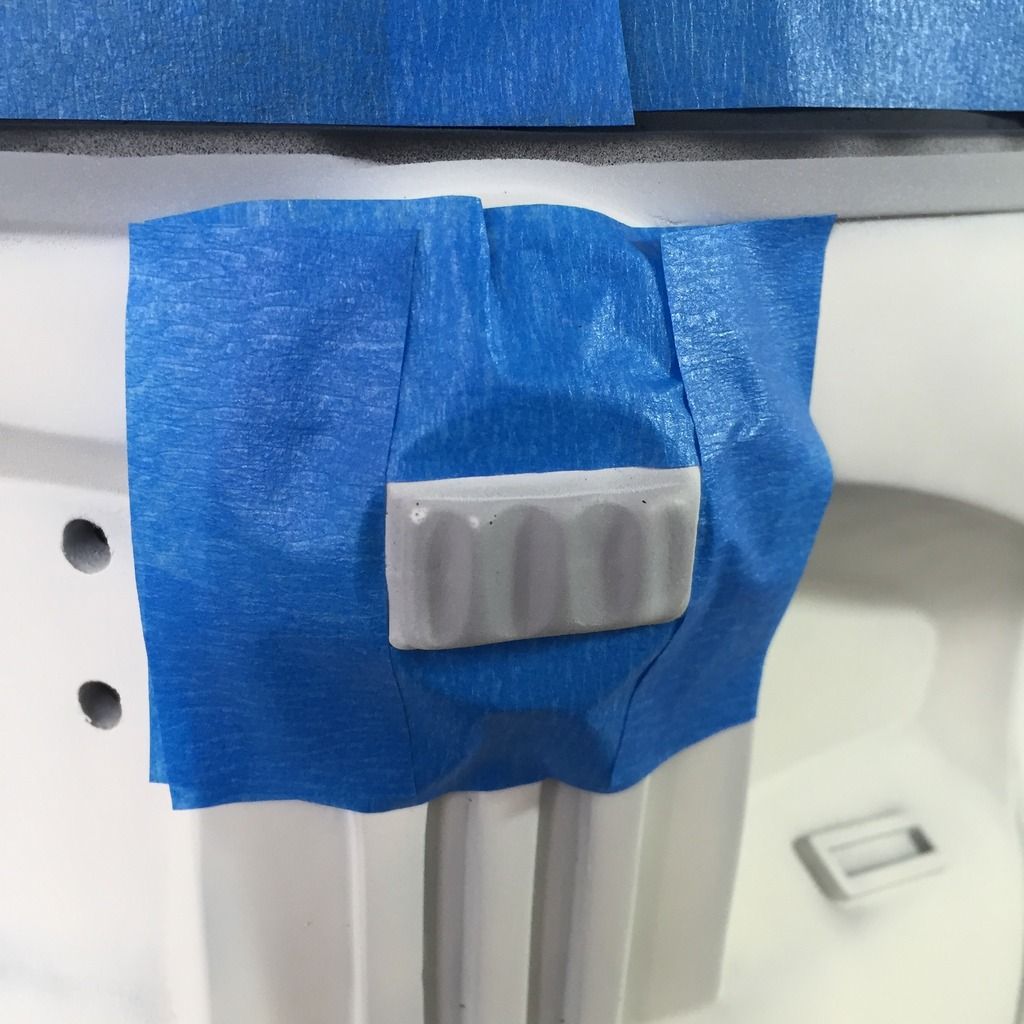
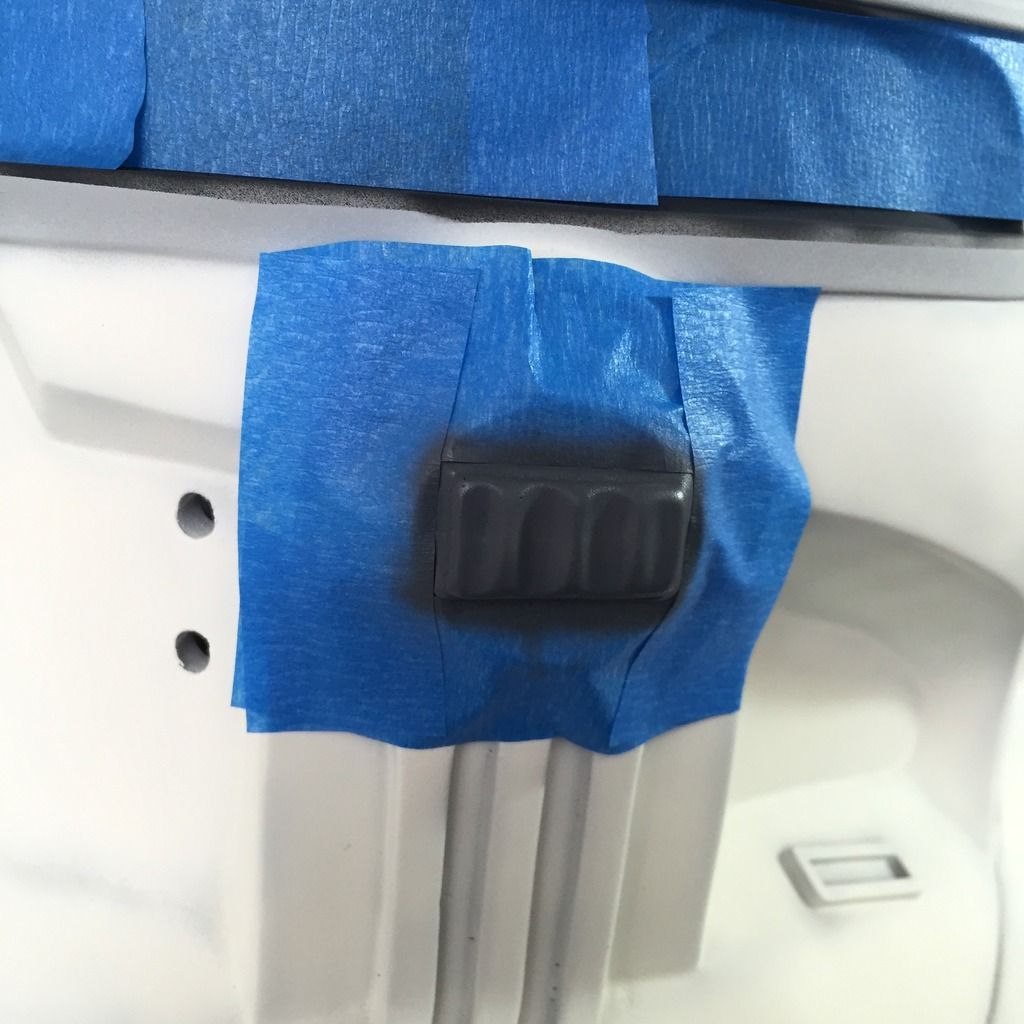
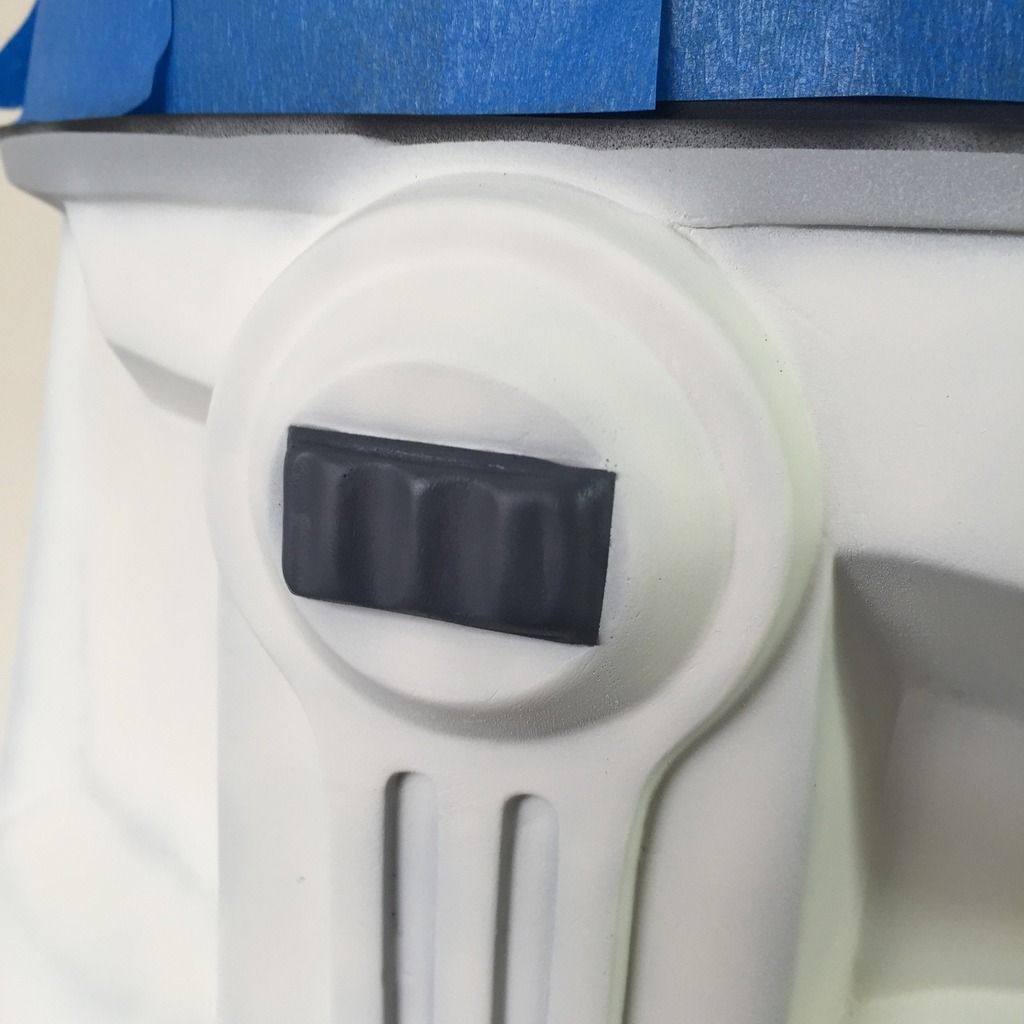
So that's the progress for today. What's next will be the painting of the visor of course, and the ear greeblies, head camera thingy, mouthpiece, blue cheek stripes, orange triangle markings around the mic tips, and that would be the end of stage 1 painting, before the weathering process begins.

Thanks for viewing!
 
This thread is more than 5 years old.

Your message may be considered spam for the following reasons:

  1. This thread hasn't been active in some time. A new post in this thread might not contribute constructively to this discussion after so long.
If you wish to reply despite these issues, check the box below before replying.
Be aware that malicious compliance may result in more severe penalties.
Back
Top