Today was a good day, except for a huge accident with my Cody which I will share in this post. Nevertheless, lots were done today, so here goes.
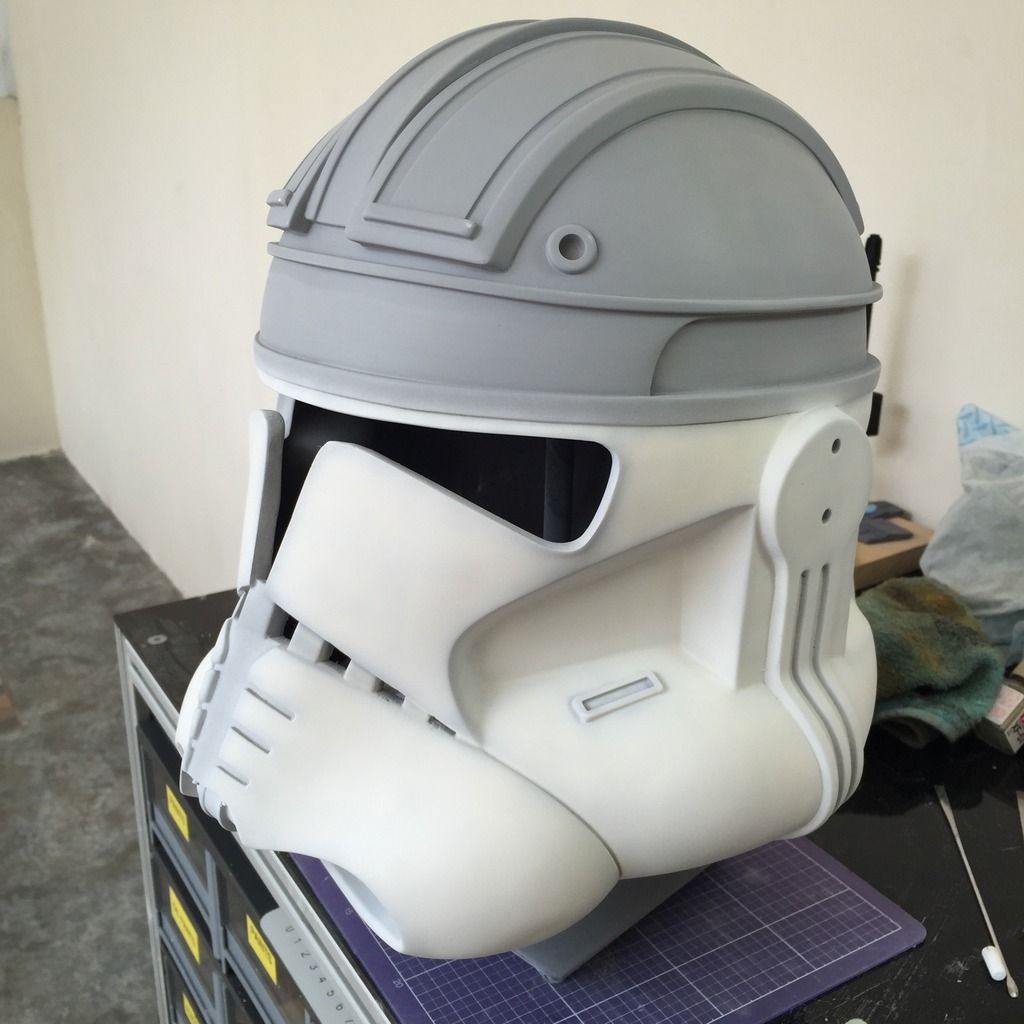
Woke up and found my visor filler hardened, so I went for a second layer, and this time also filled the front of the visor. Let dry again before sanding. I'm hoping I don't need a third layer. We'll see:
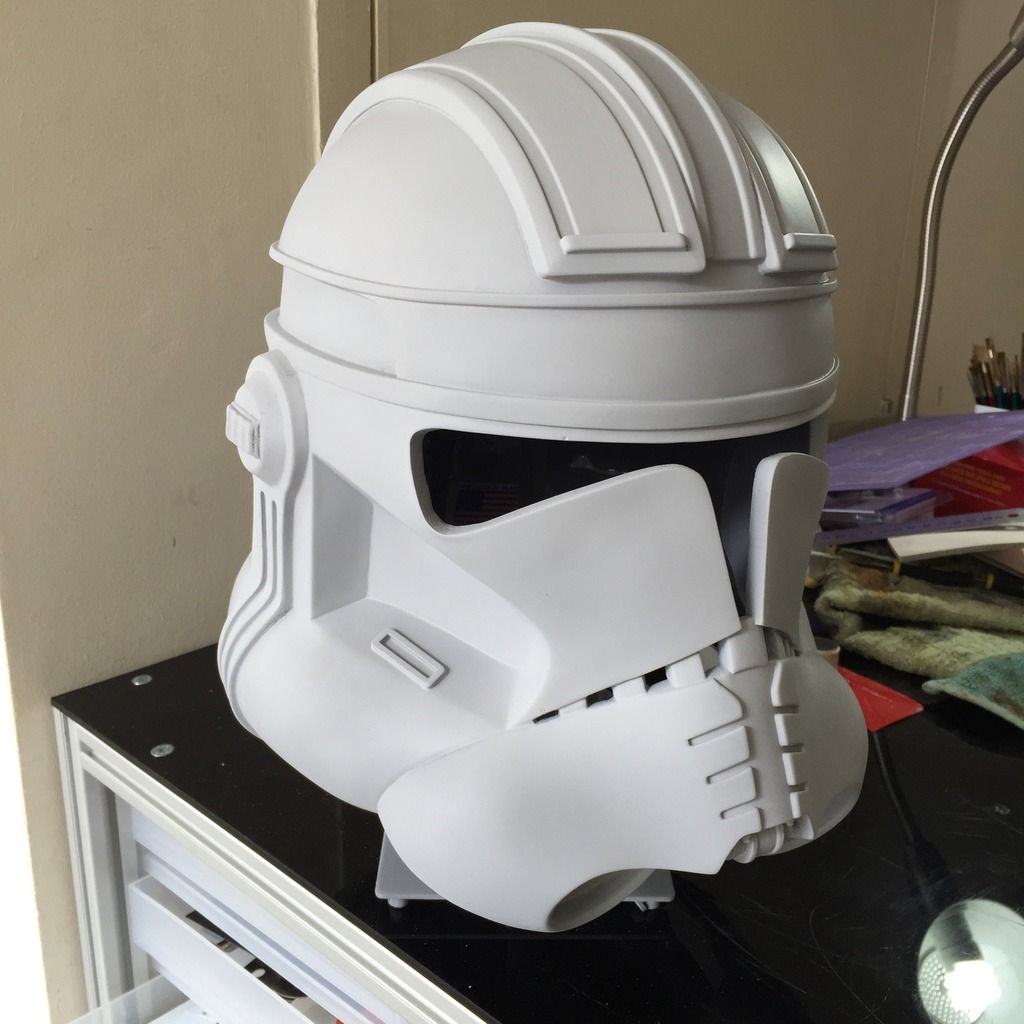
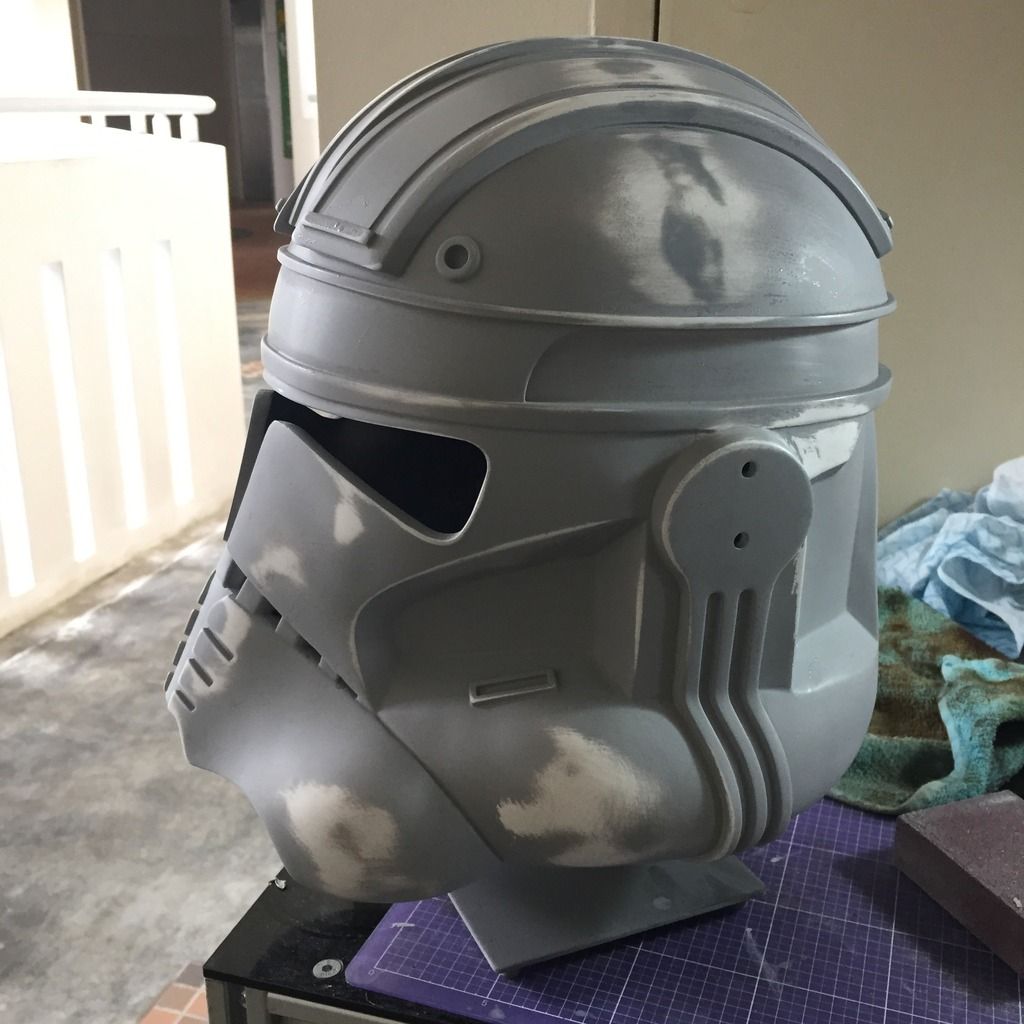
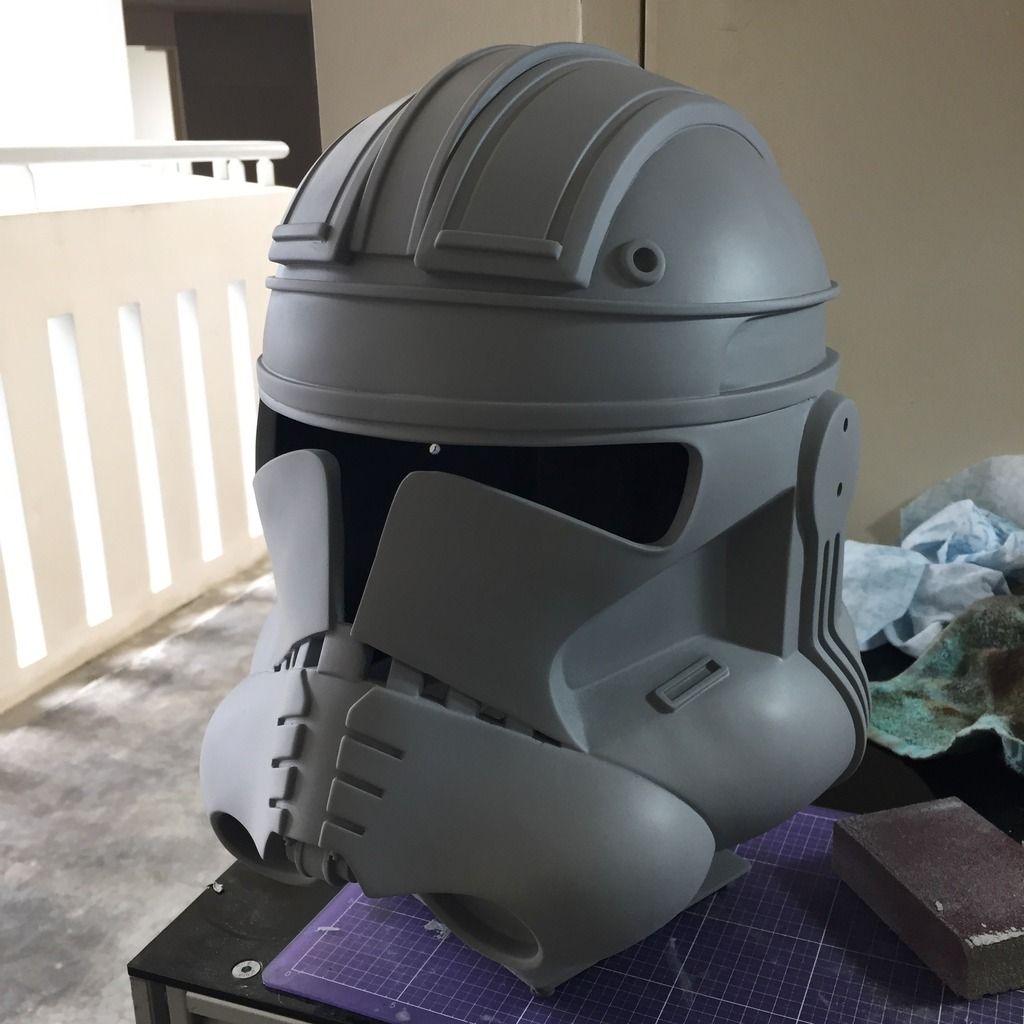
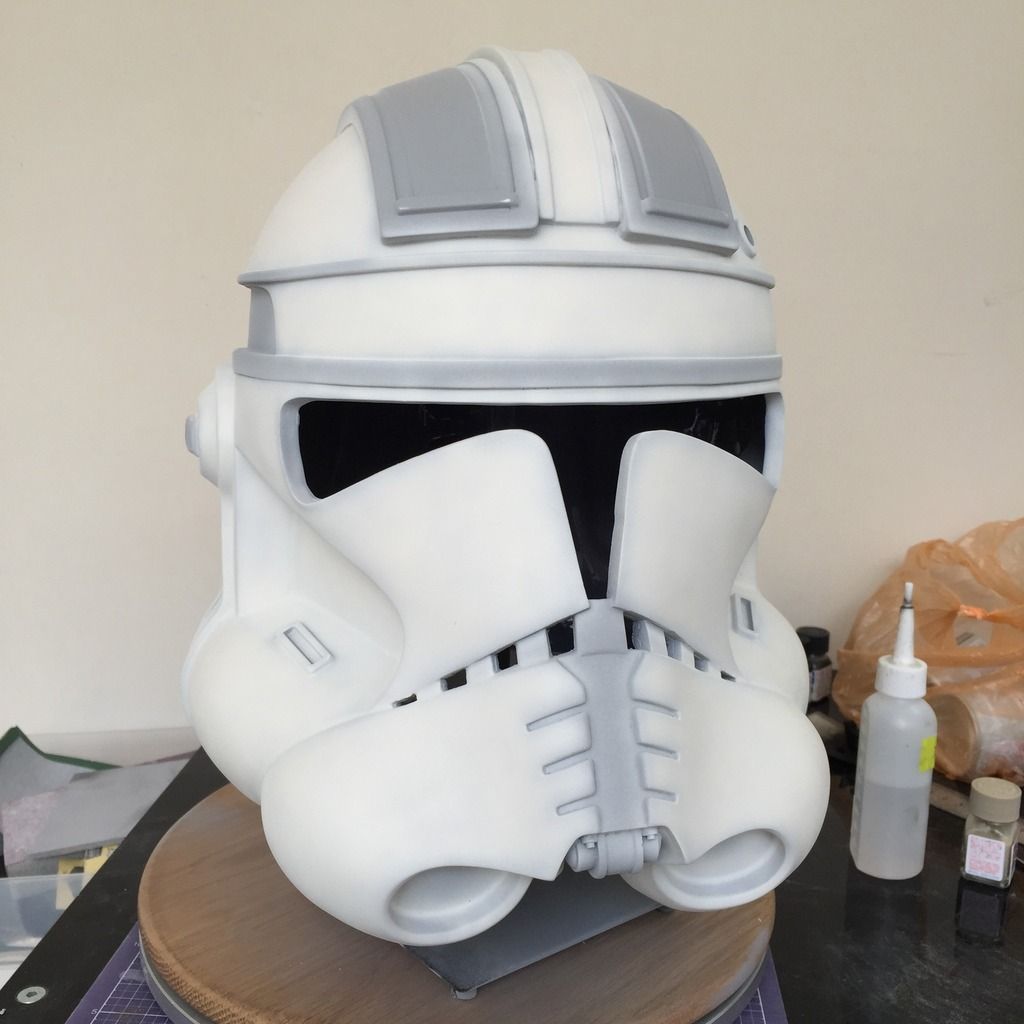
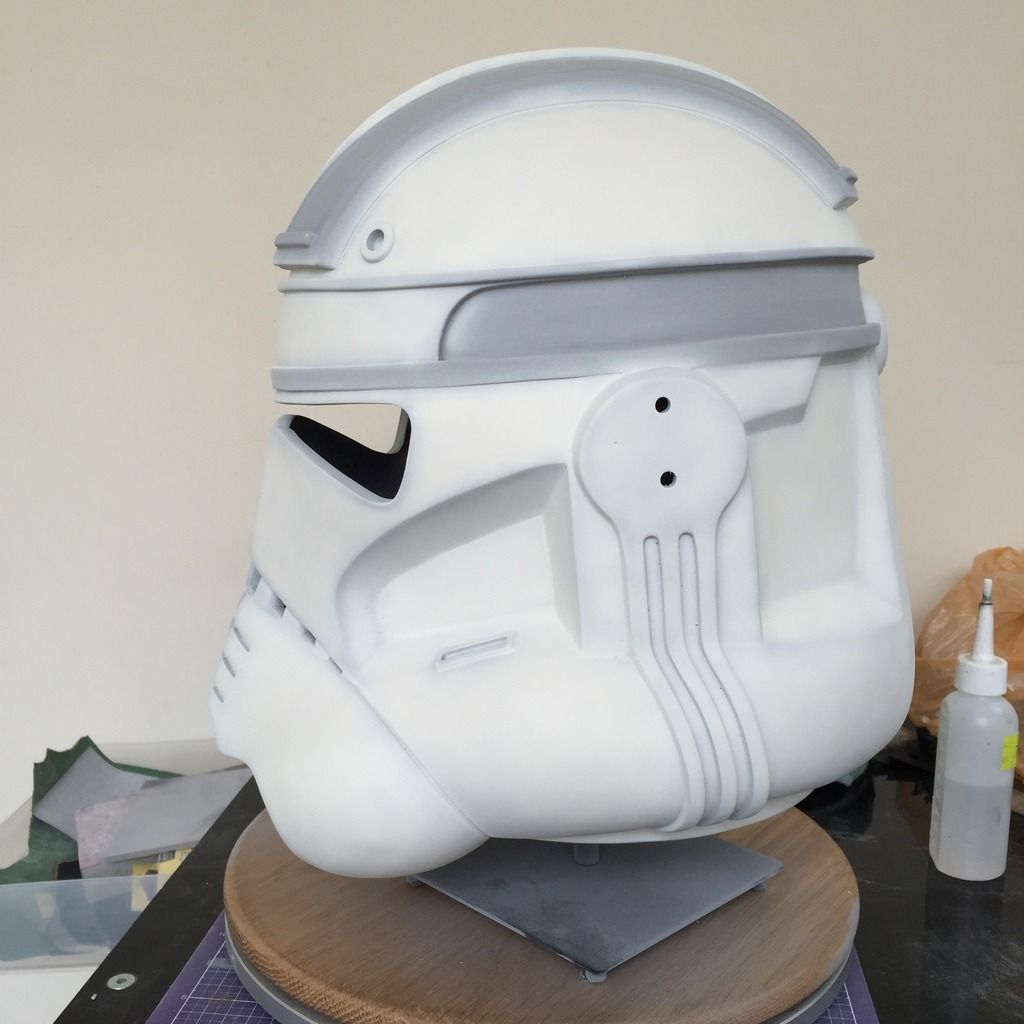
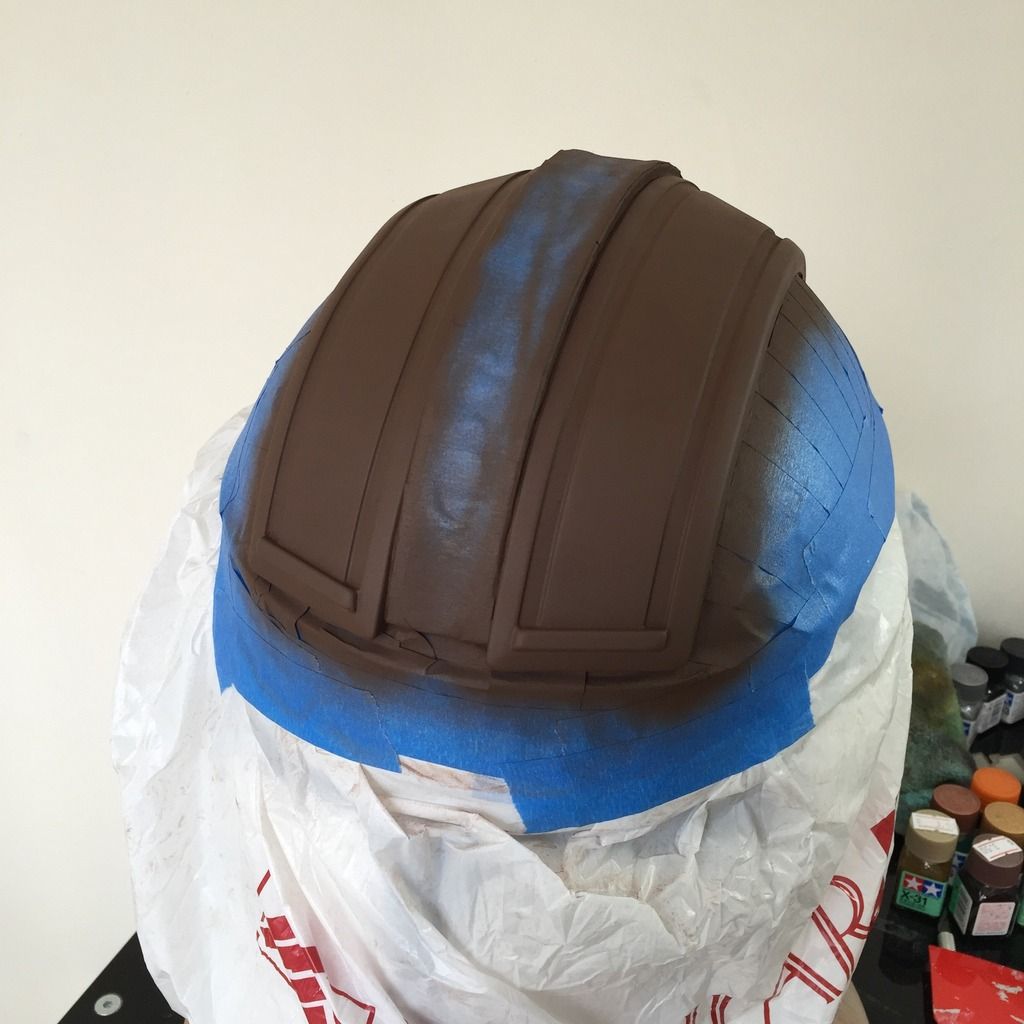
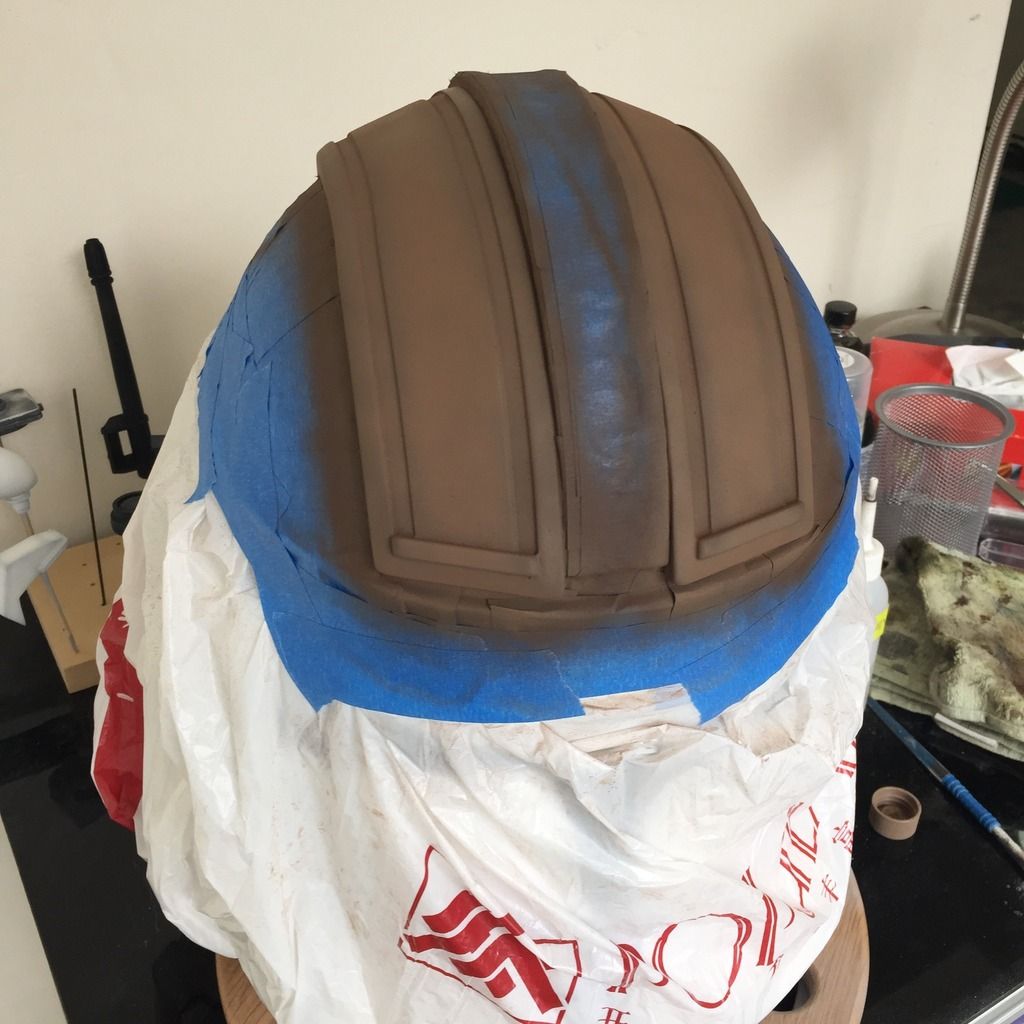
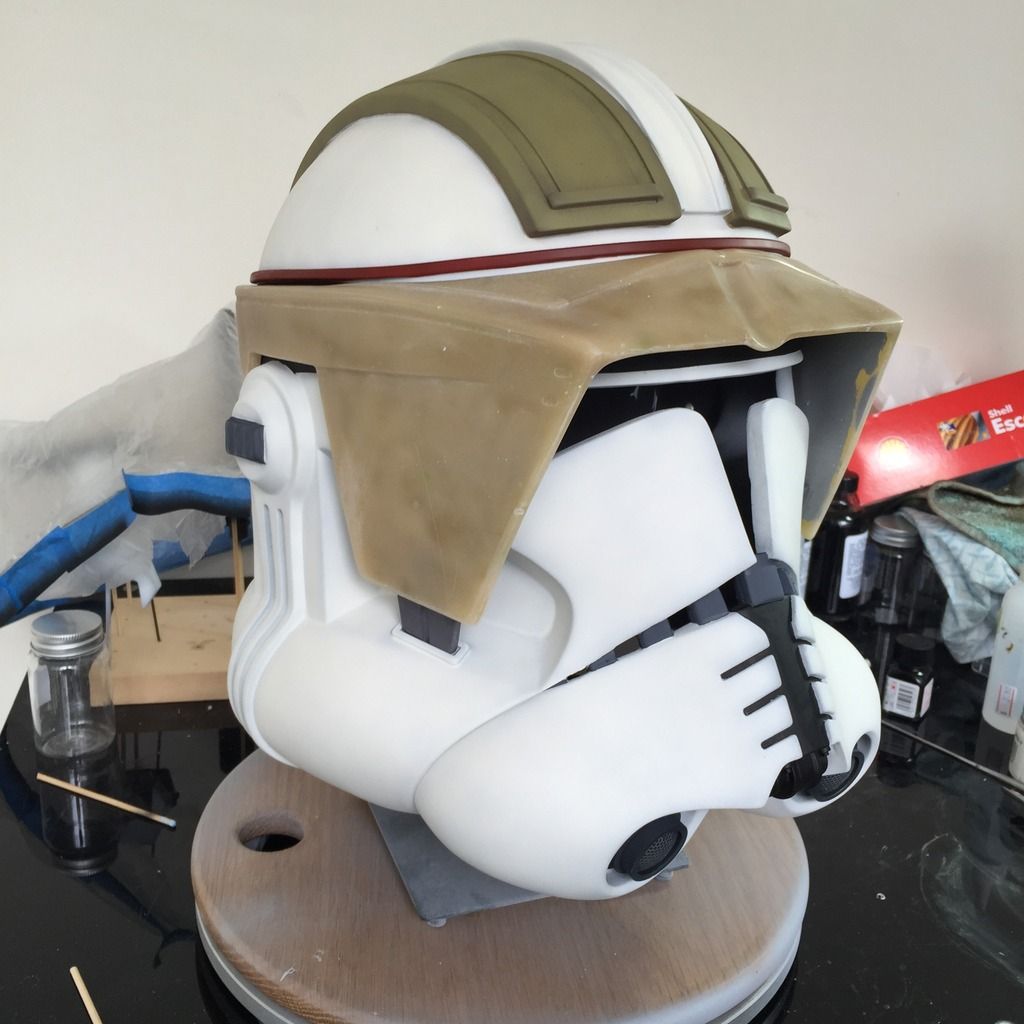
Next, sanded the helmet down again, and primed it again, ready for paint:
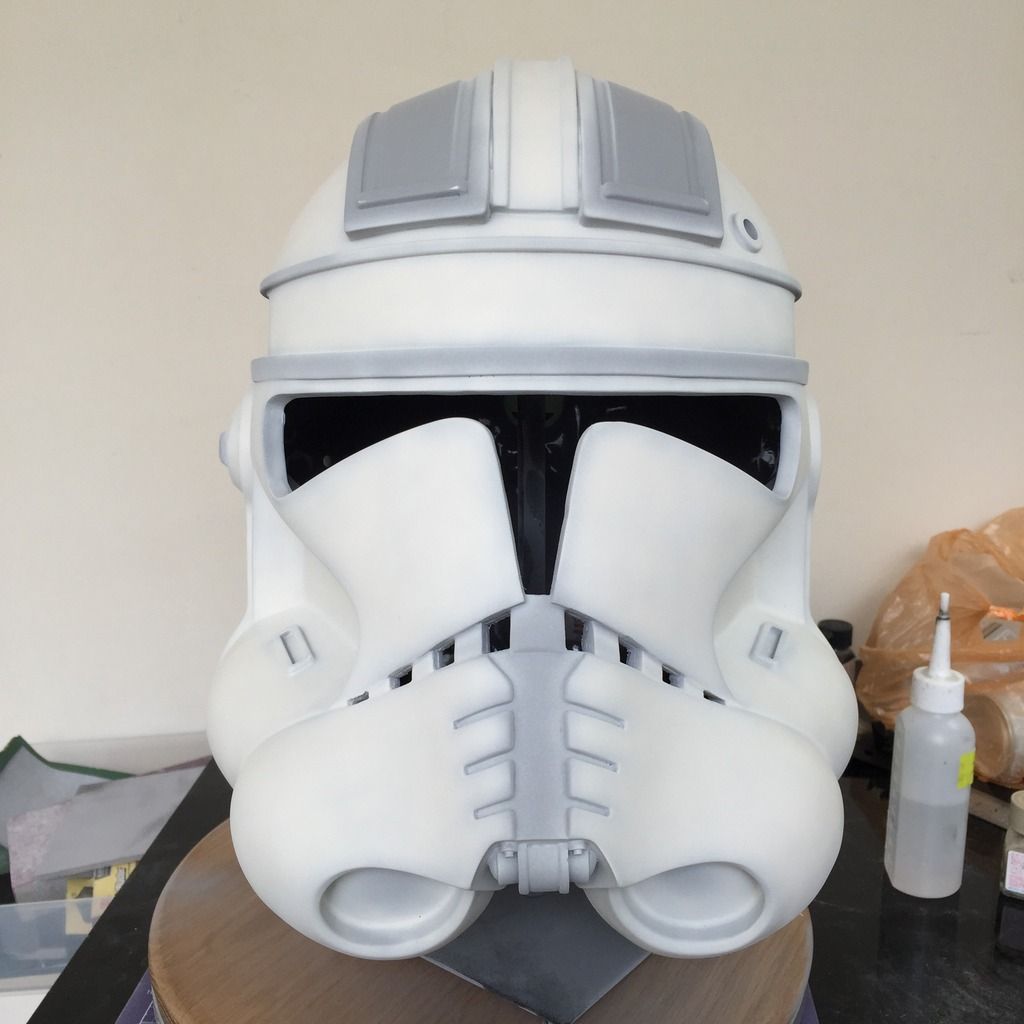
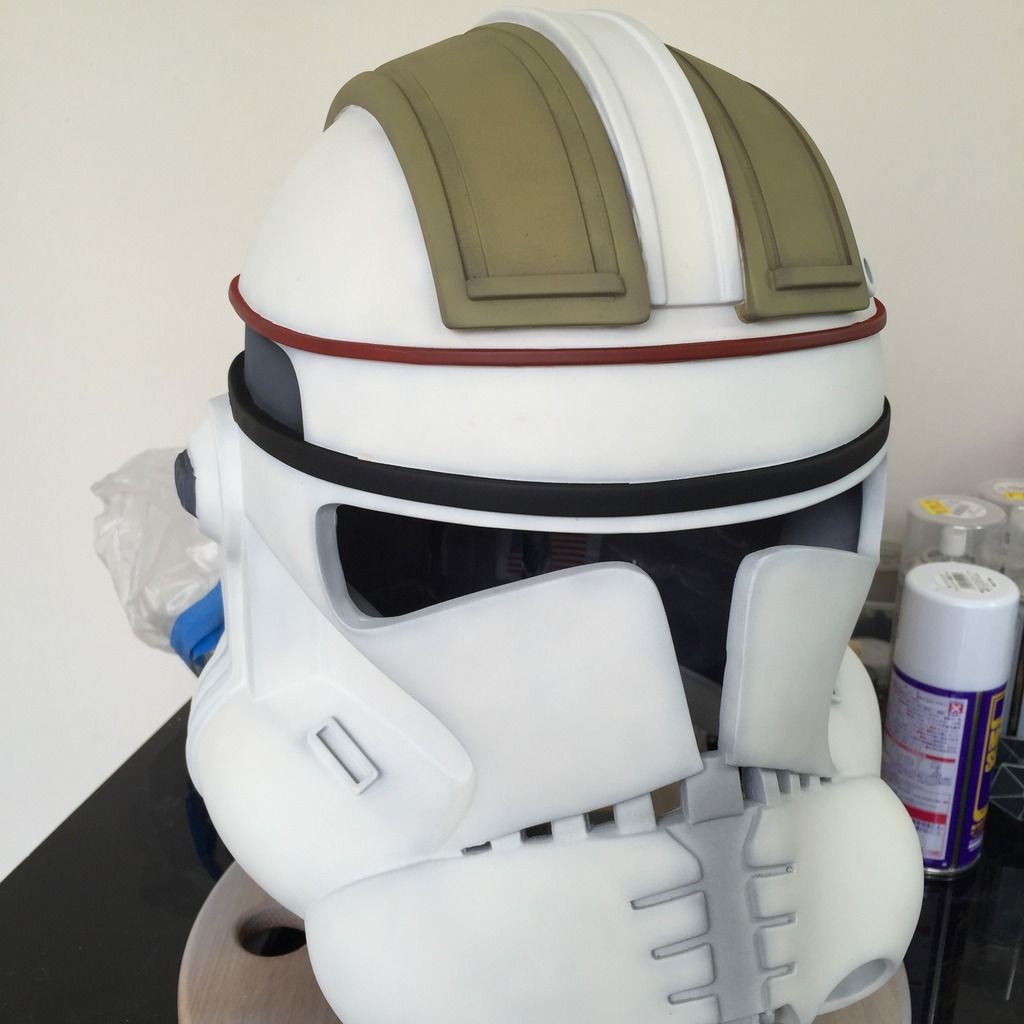
The primer colour is exactly what I wanted for the base coat, and so I went straight to toning it with my own mix of Off-white, which is essentially White with a dash of Buff (all Tamiya Enamels).
By toning, I mean not spraying the entire thing white and filling every corner and edge. Essentially, I spray liberally on all the flat surfaces, right up to near the edges or corners, where I mist the white, showing a little of the grey underneath. This allows more depth to the paint, and has a little wear and tear feel to it.
The white is paler than what you see from my iPhone.
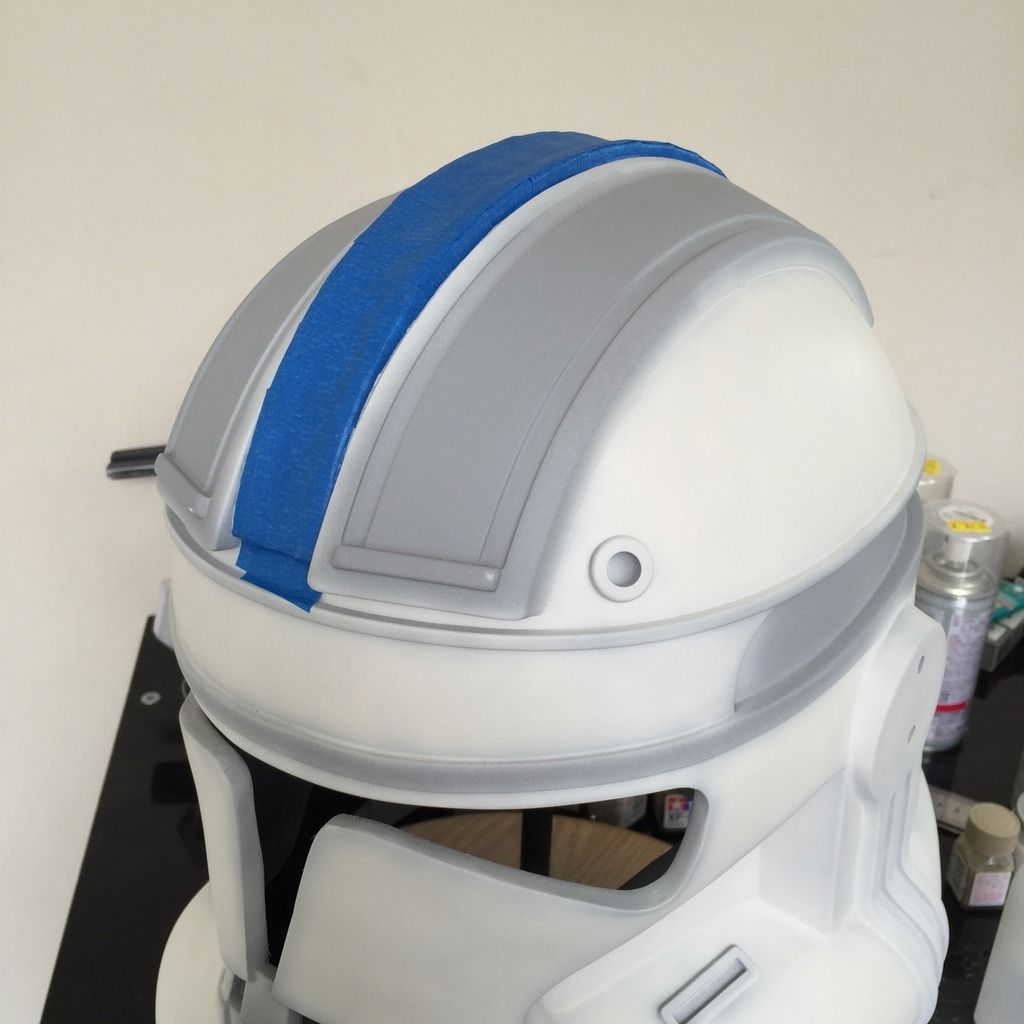
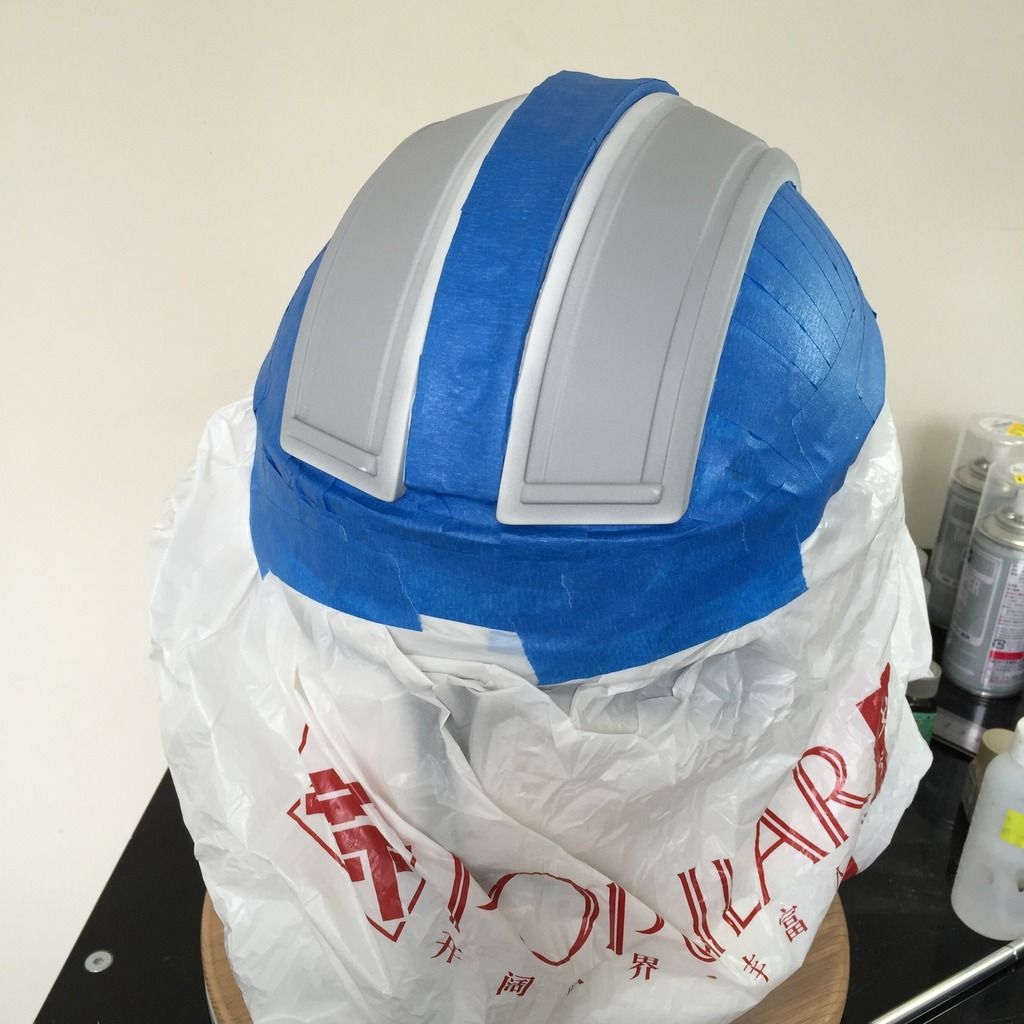
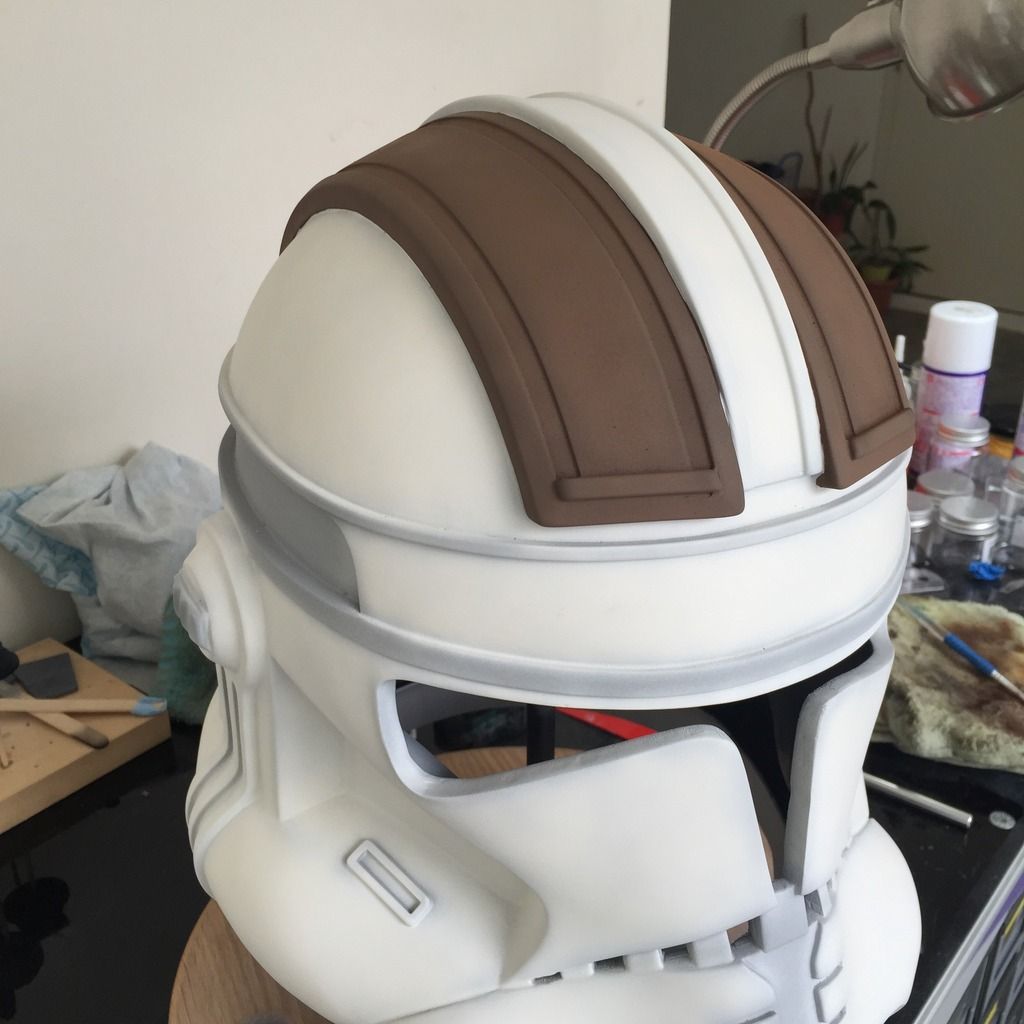
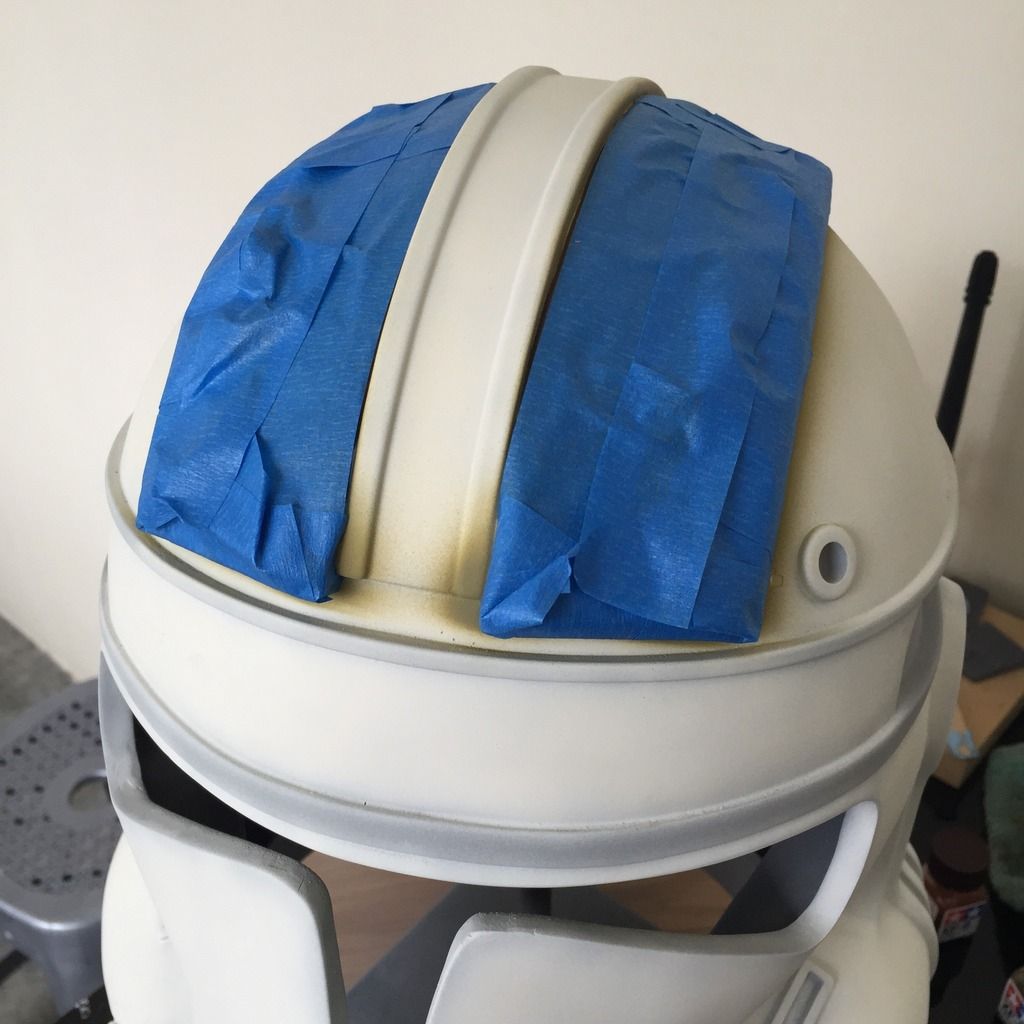
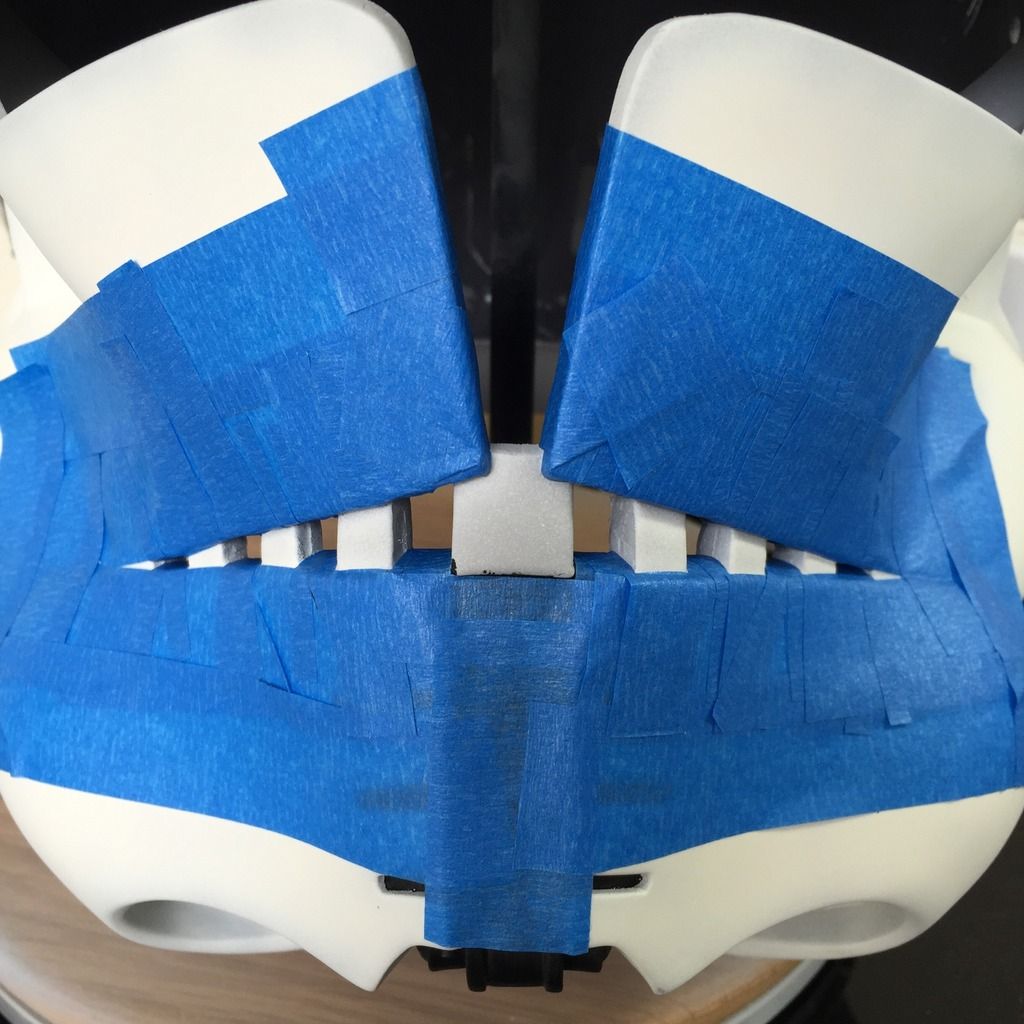
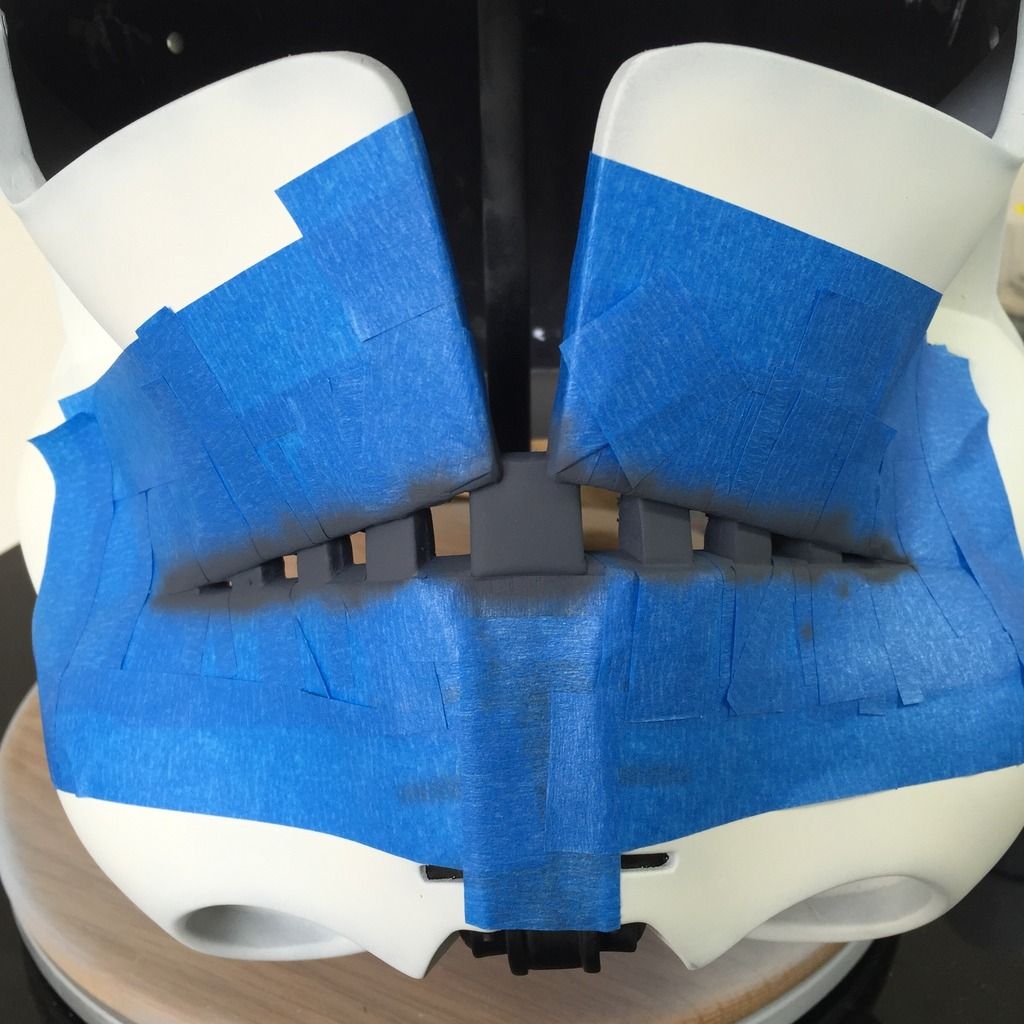
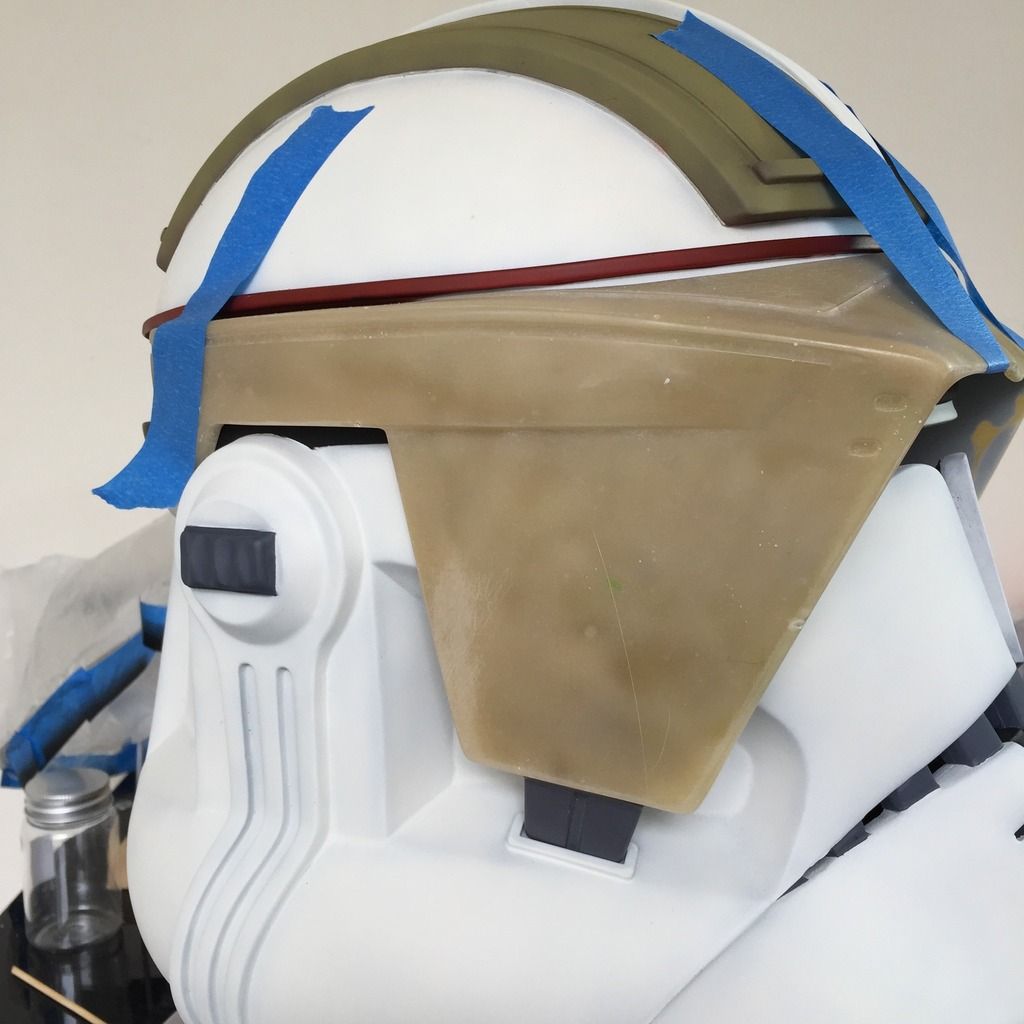
Next, I tackled the 2 brown pieces on the top of the helmet. This is a b$#@h to mask, as there are a lot of curves. One point to note for all fellow builders: when you are spraying over white stuff, MASK EVERYTHING! Overspray will get onto your white, especially when I am going to spray "downwards" towards the rest of the helmet. Also, in case you're wondering, after every coat, before the next masking, I will top-coat it with clear matt. This will seal the previous layer and not be pulled by the masking tape later.
Ready for the browns!
A base coat of Flat Brown was used (toning, remember?)
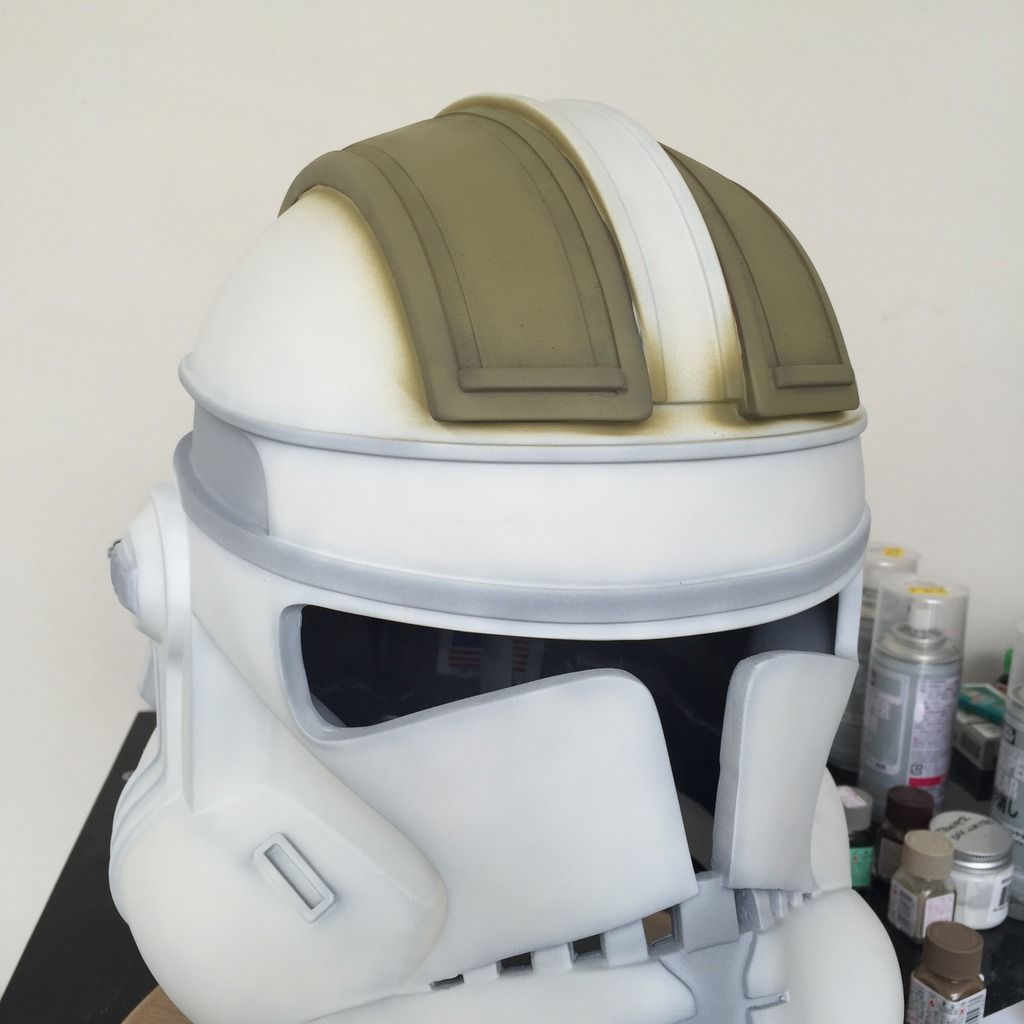
And then toned with Flat Earth:
Masking removed to reveal a very nice result:
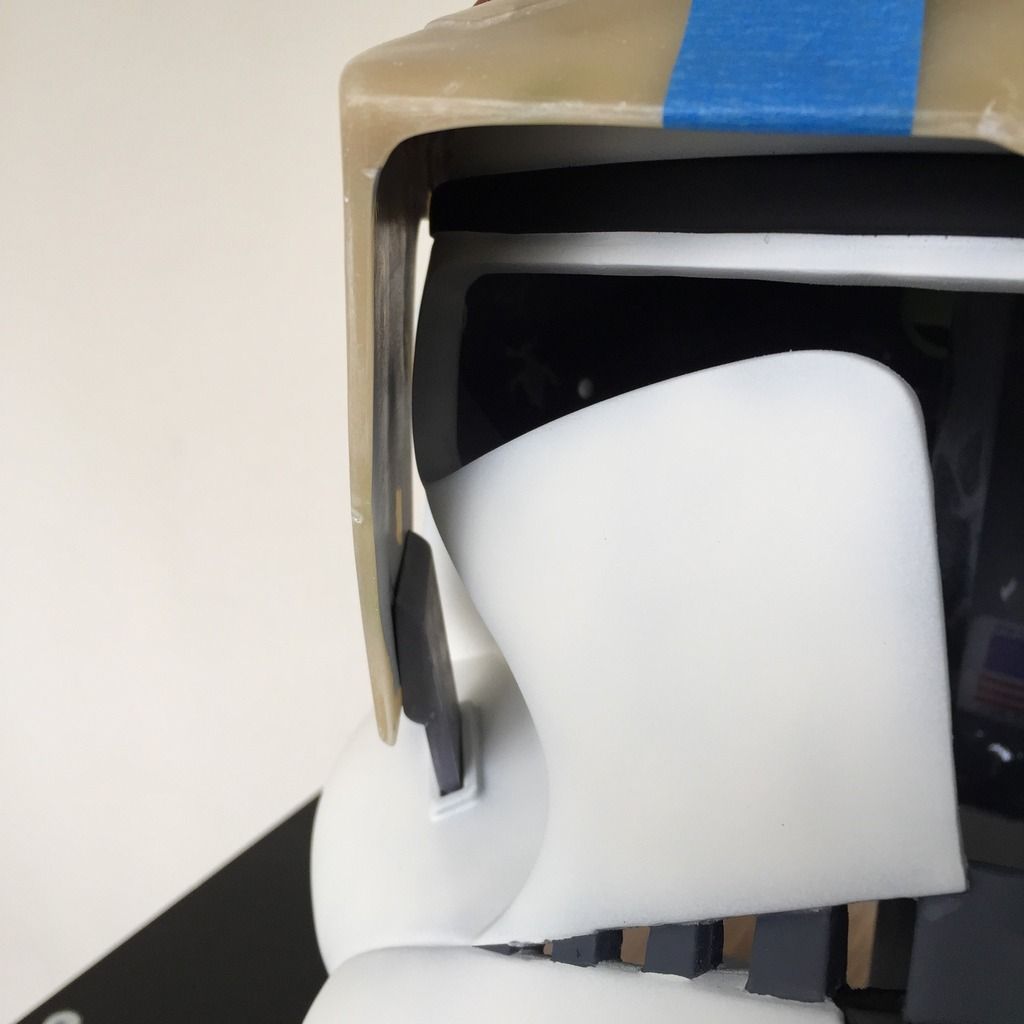
THIS IS WHERE I REALISED MY MISTAKE!!!!
I USED THE WRONG COLOUR!!!
In my confusion, I dipped into my box of paints meant for my Boushh... FML!!! I didn't check the reference before spraying, and only felt something was wrong after I removed the masking and thought it looked kinda dark....
So there was 2 options:
1. RE-MASK the damn thing and start over.
2. Tone with the right colour by hand, and repair overspray later.
Yup, you guessed it. Mr. Not-going-to-go-through-that-masking-**** chose option 2.
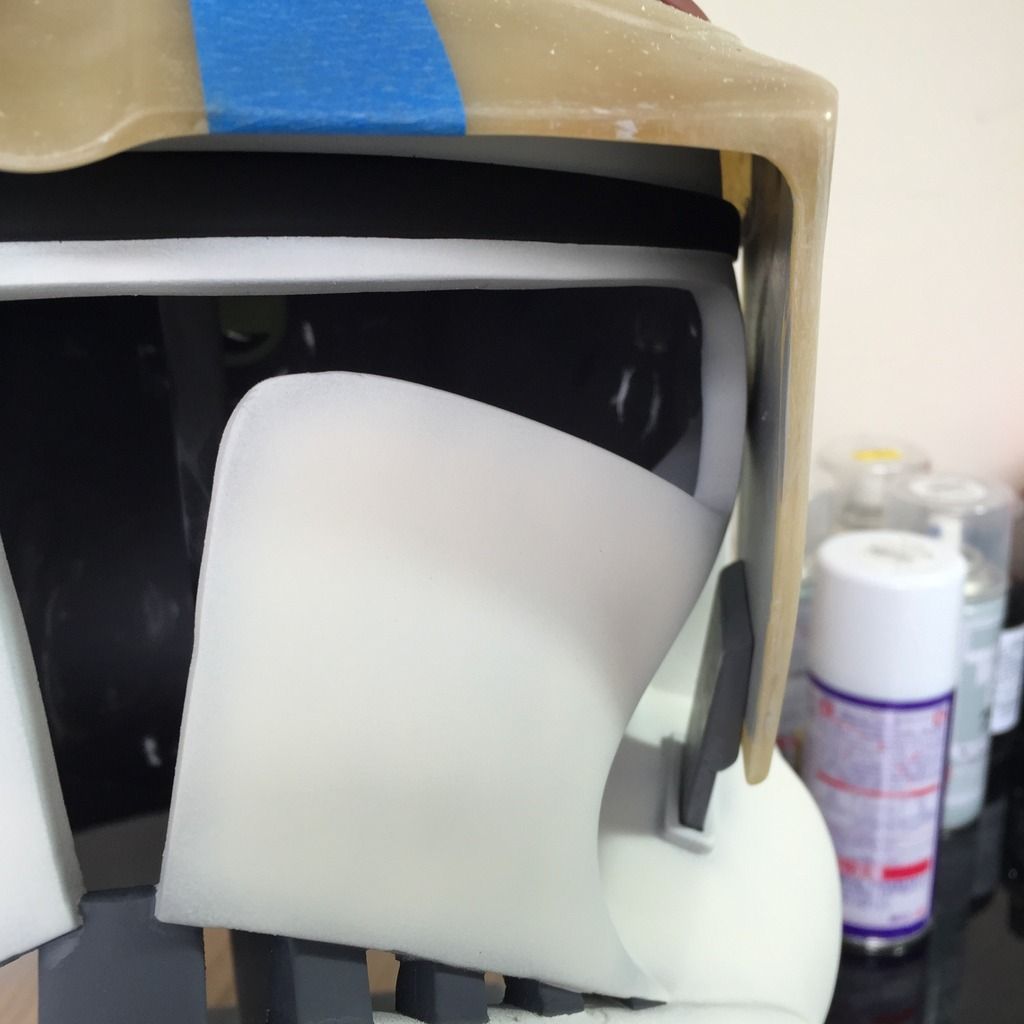
Here you see it toned with the right colour this time: Dark yellow with a dash of black:
You can see where the overspray went. All around the brown pieces.
So now I'm going to have to mask the brown pieces this time, and spray white on the overspray areas. Masking done:
White sprayed over the overspray browns:
Note that I lost some toning in these areas.

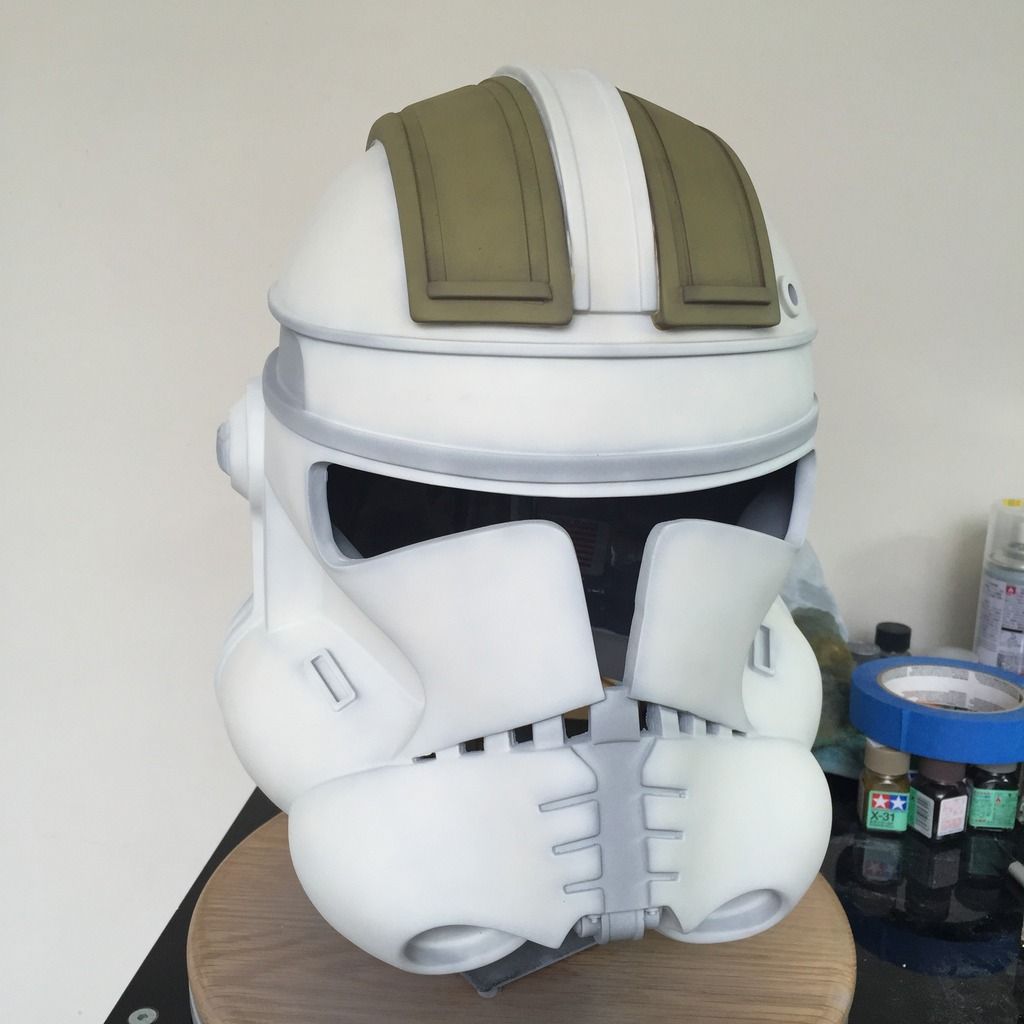
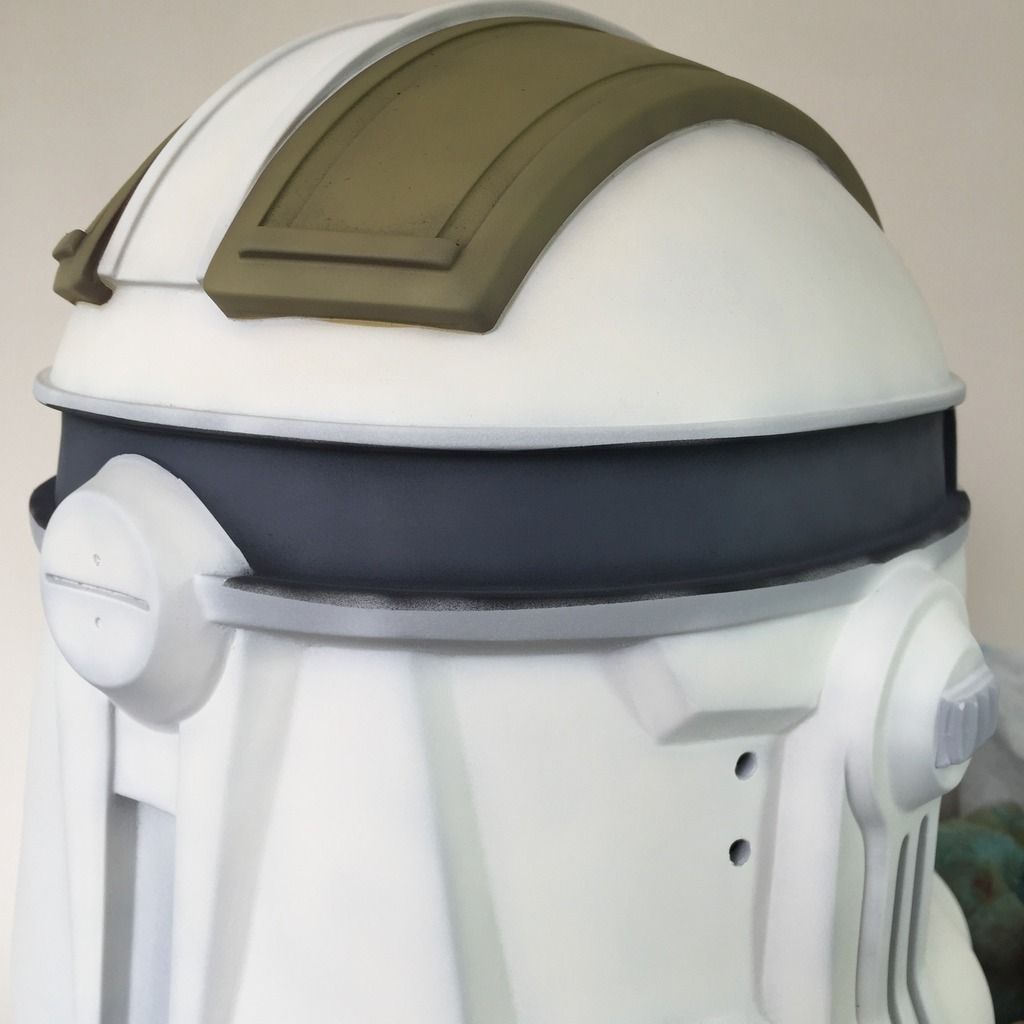
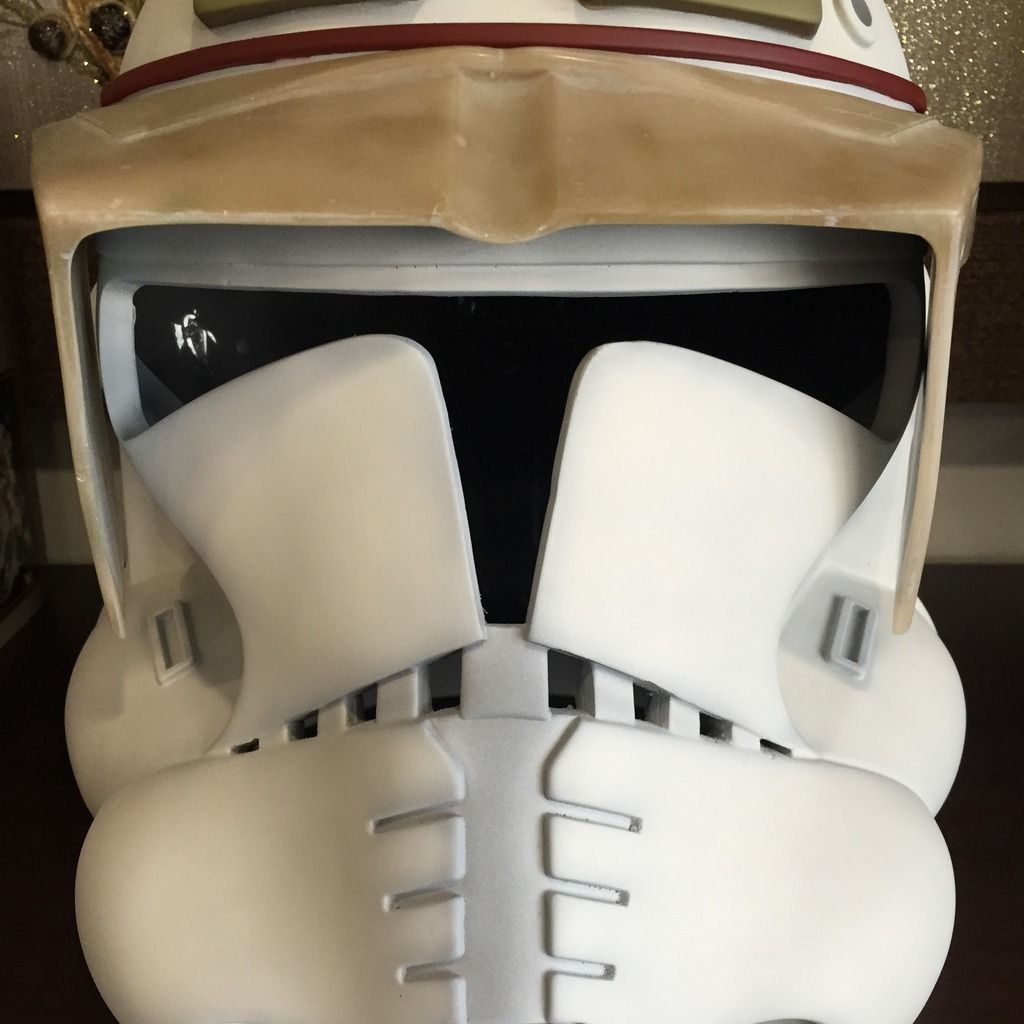
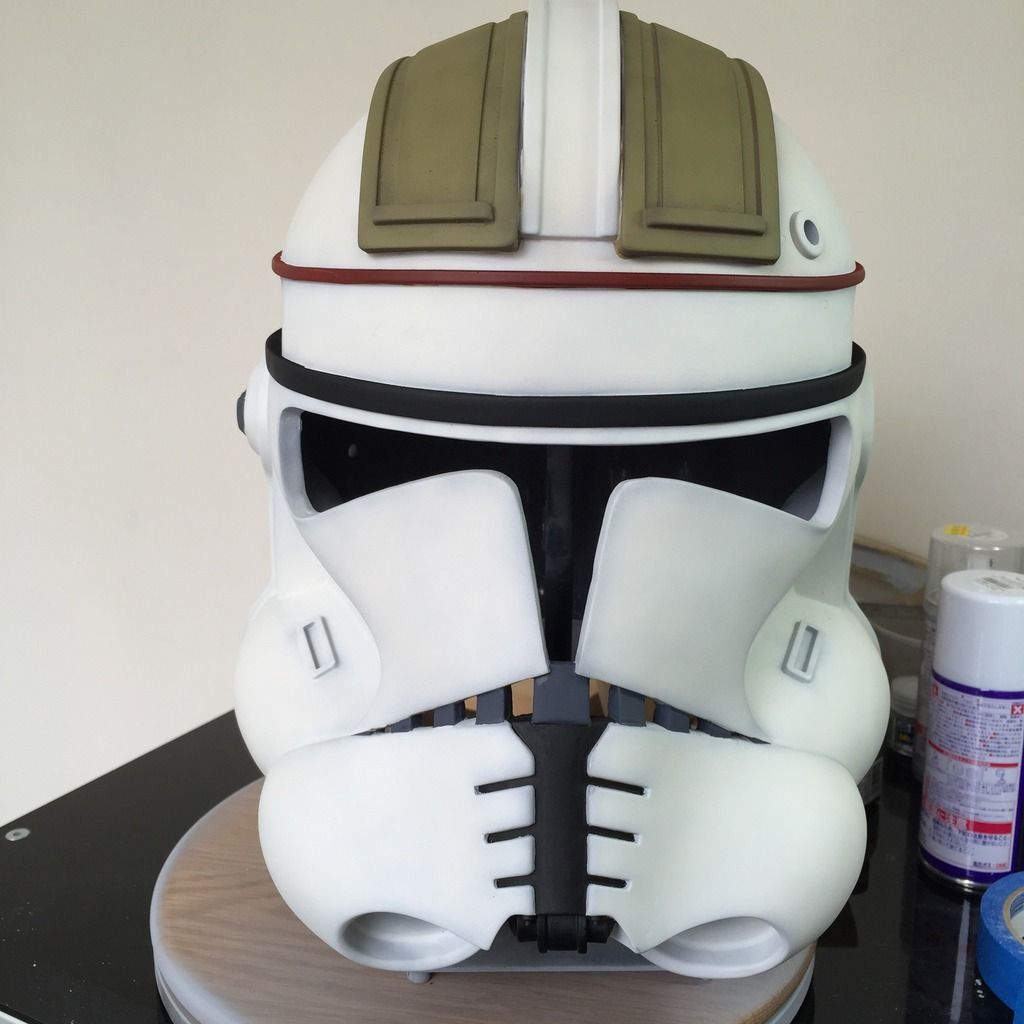
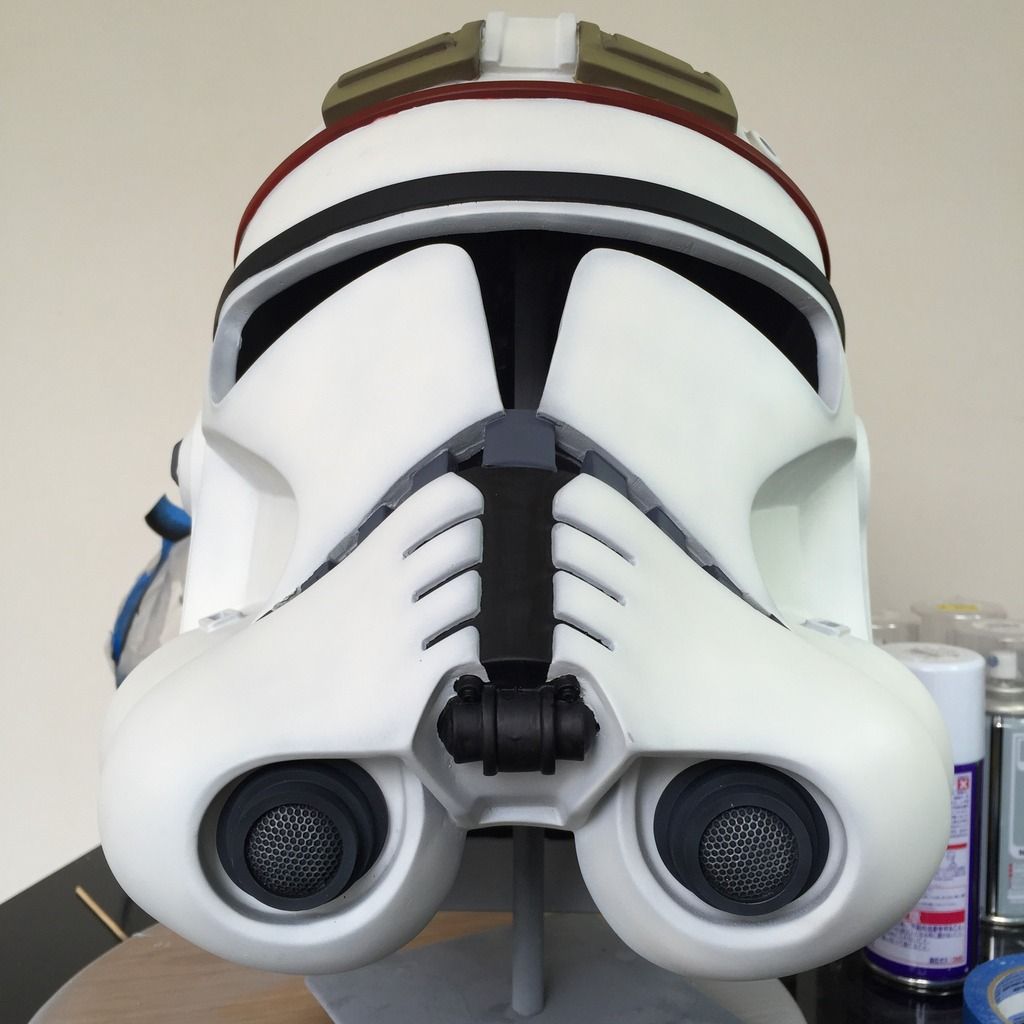
But the final results was much closer to the reference photos. Repair successful!
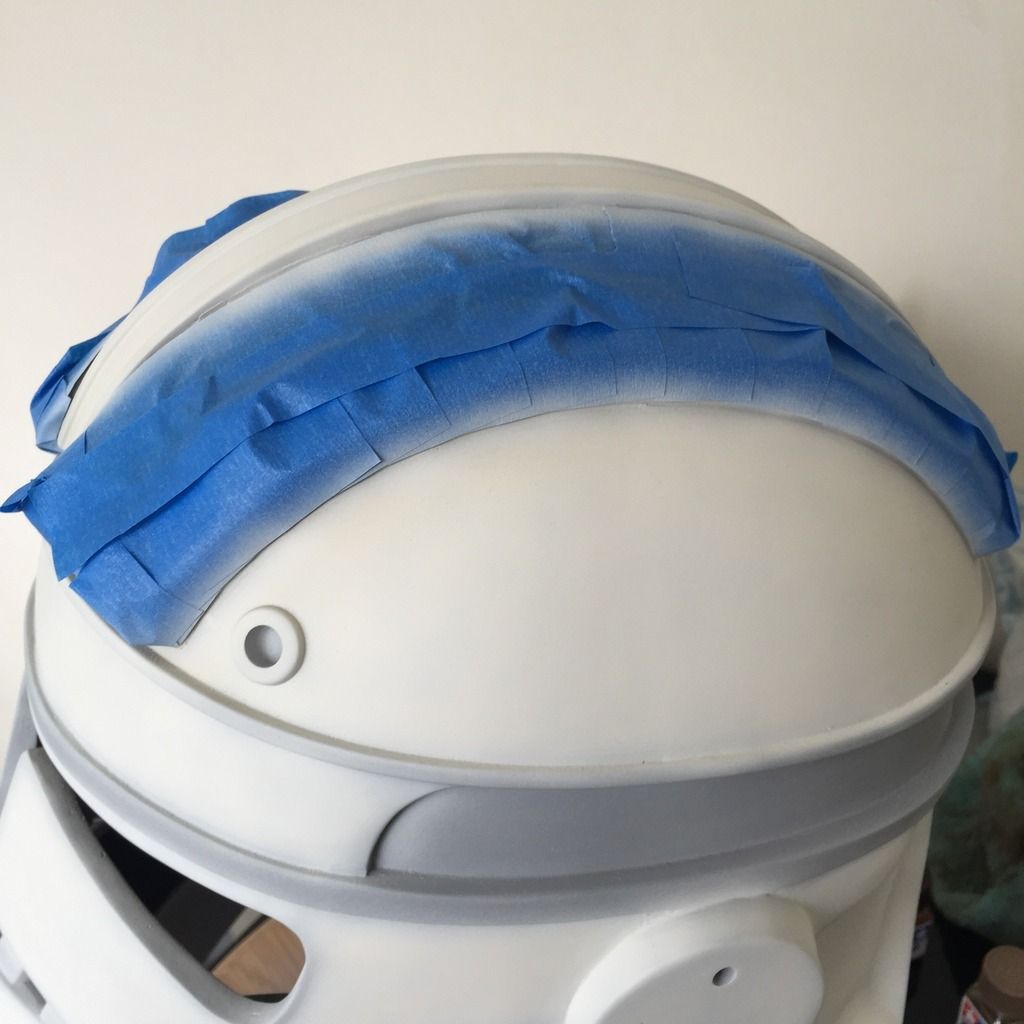
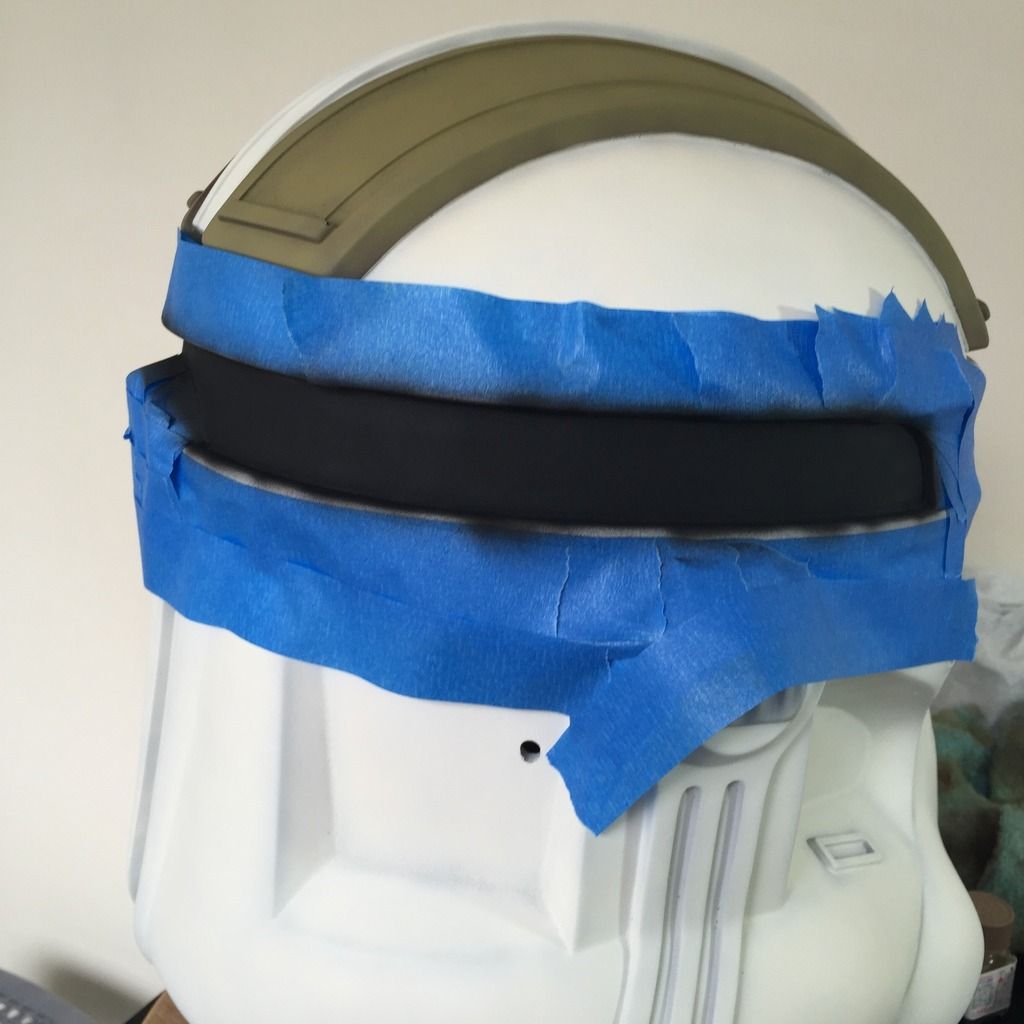
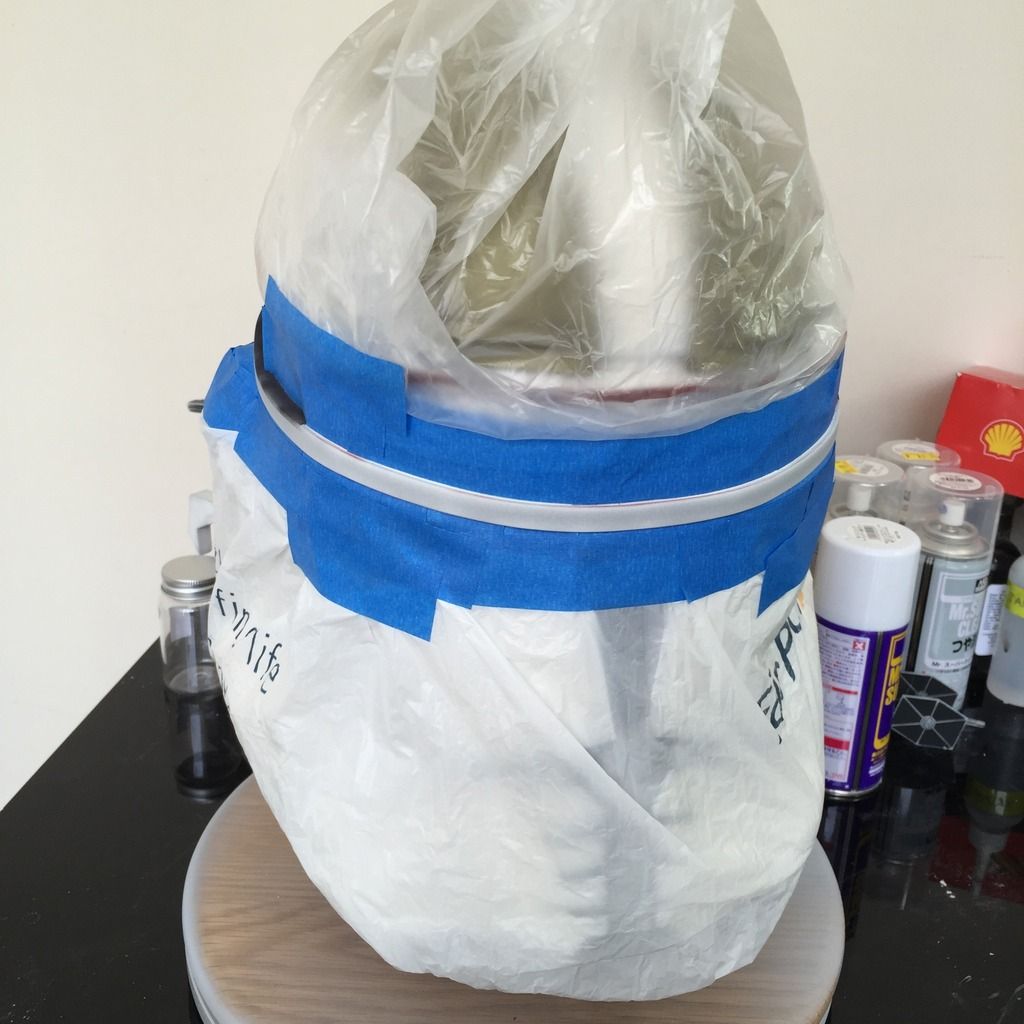
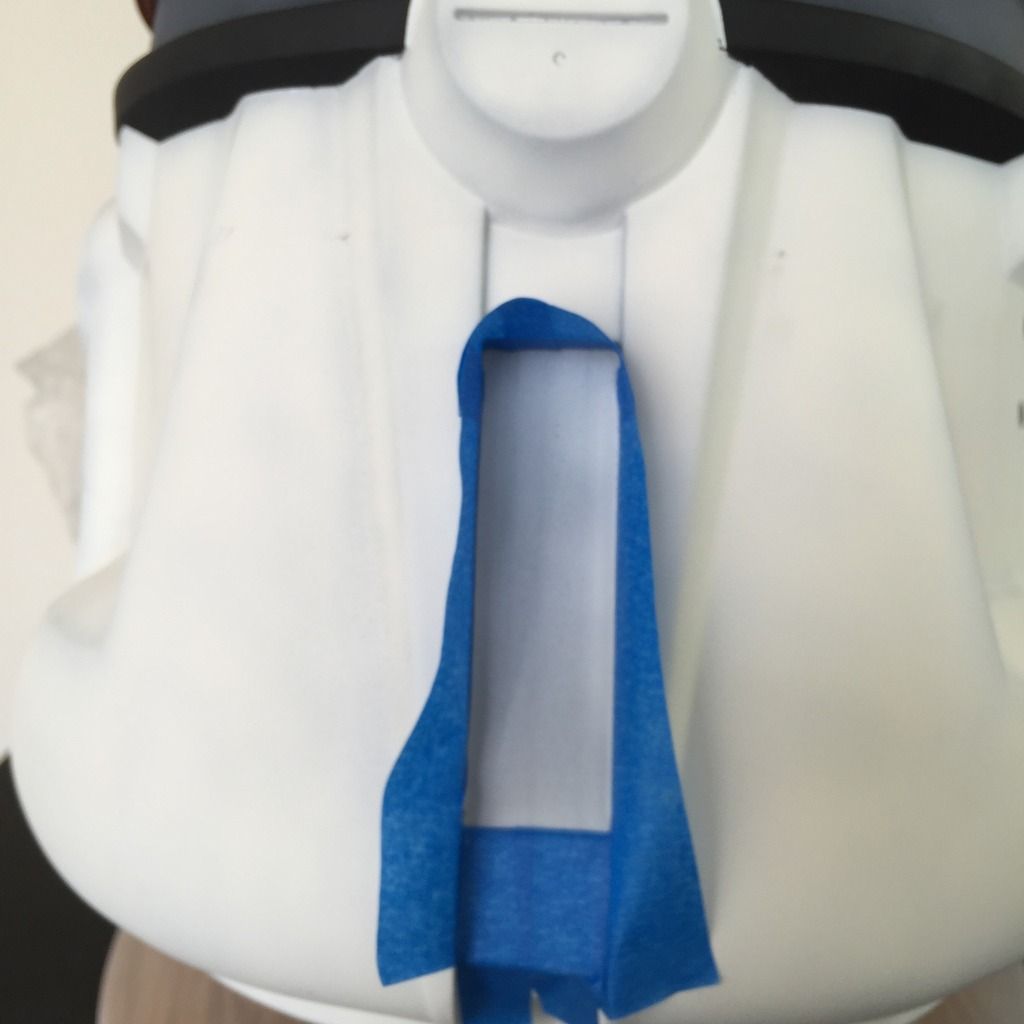
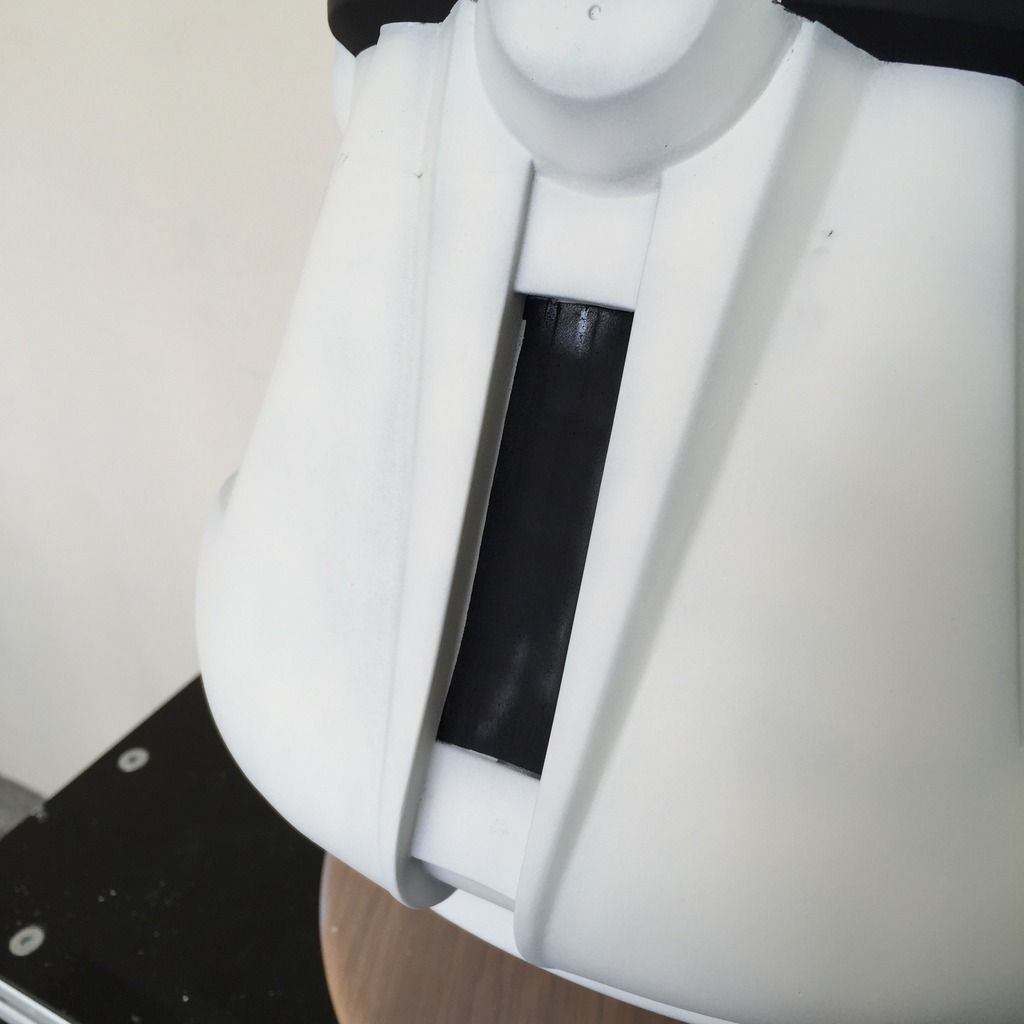
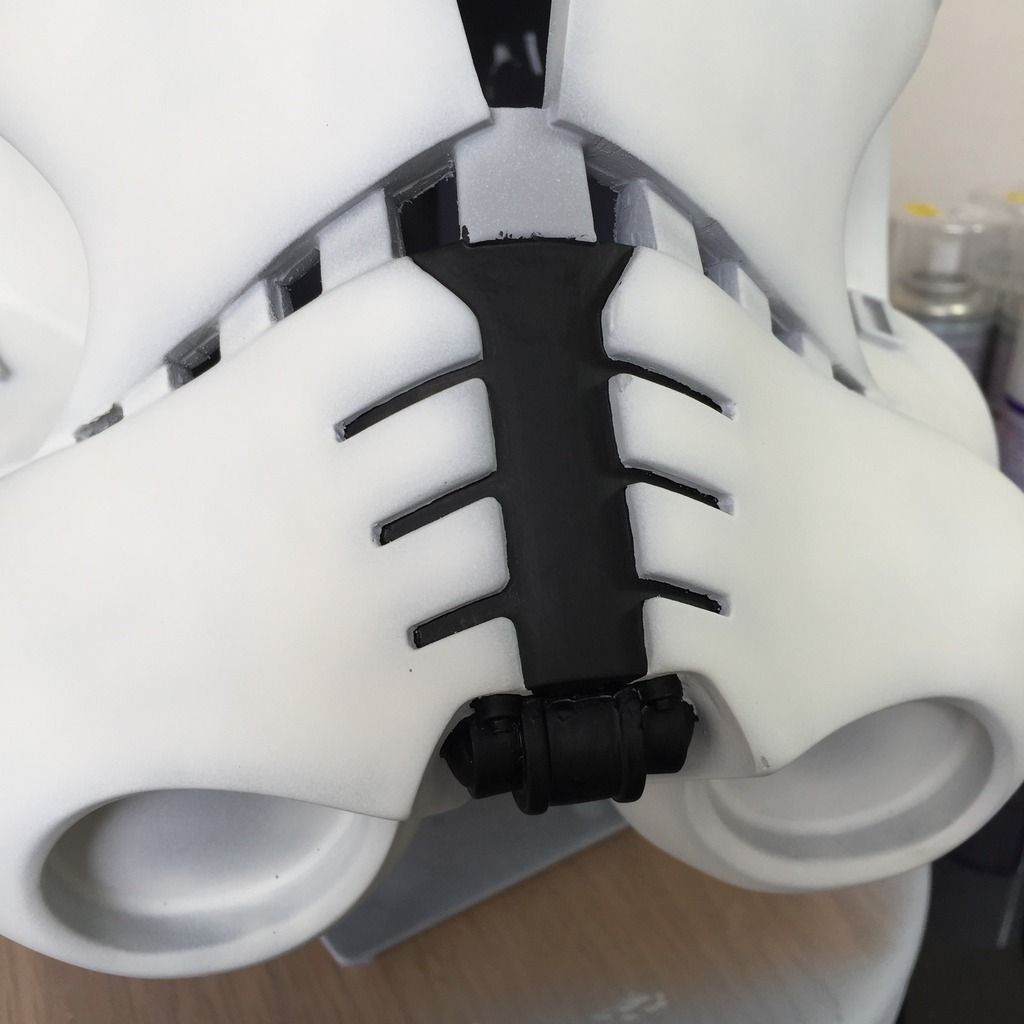
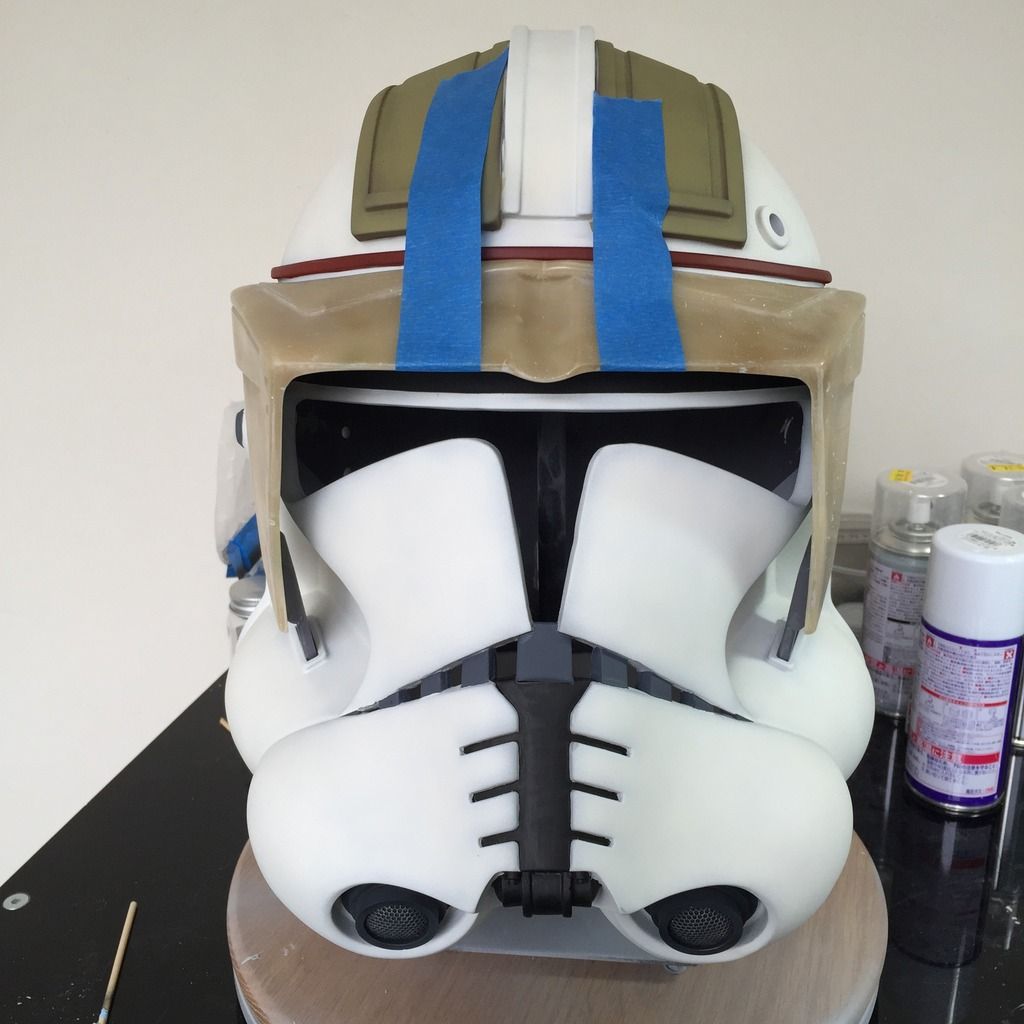
Next up, was masking for the dark grey band on the sides and back:
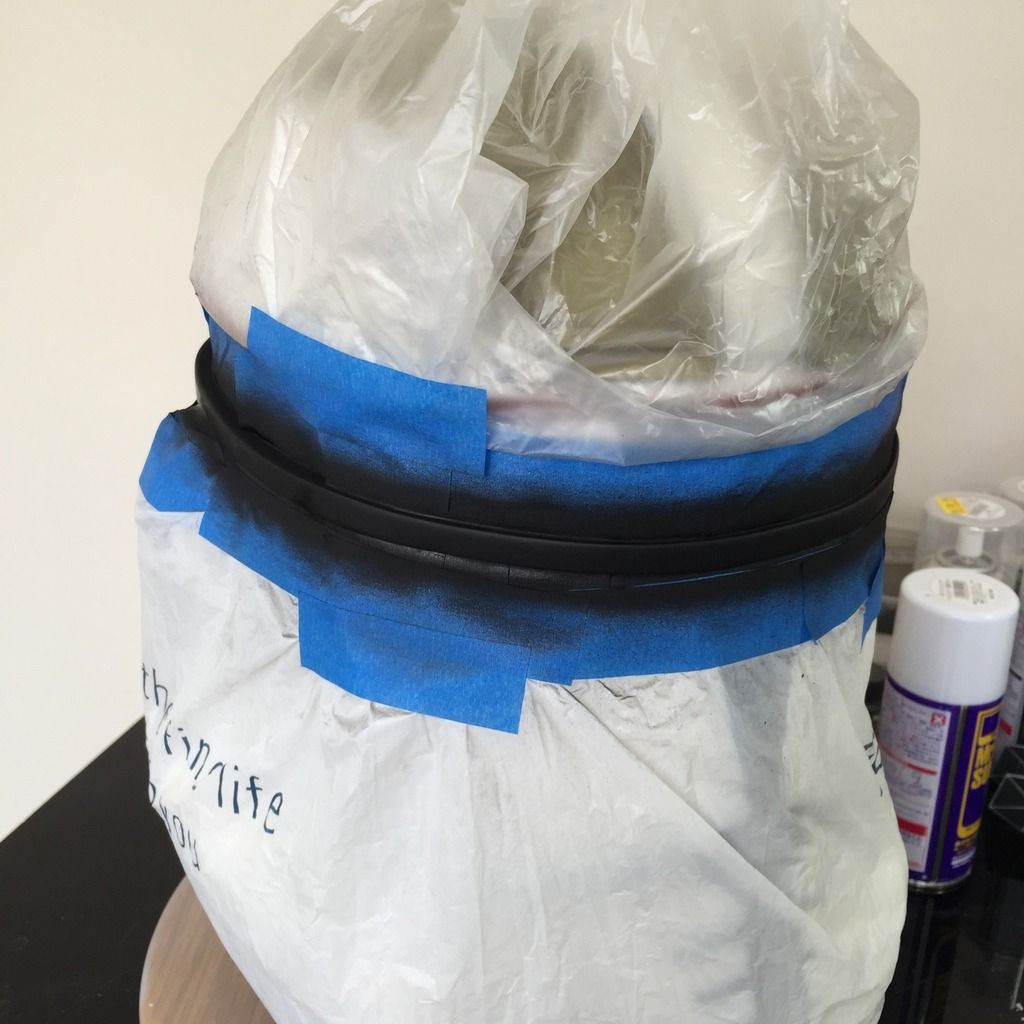
Hit it with a base coat of Black:
Next, toning with Dark Grey:
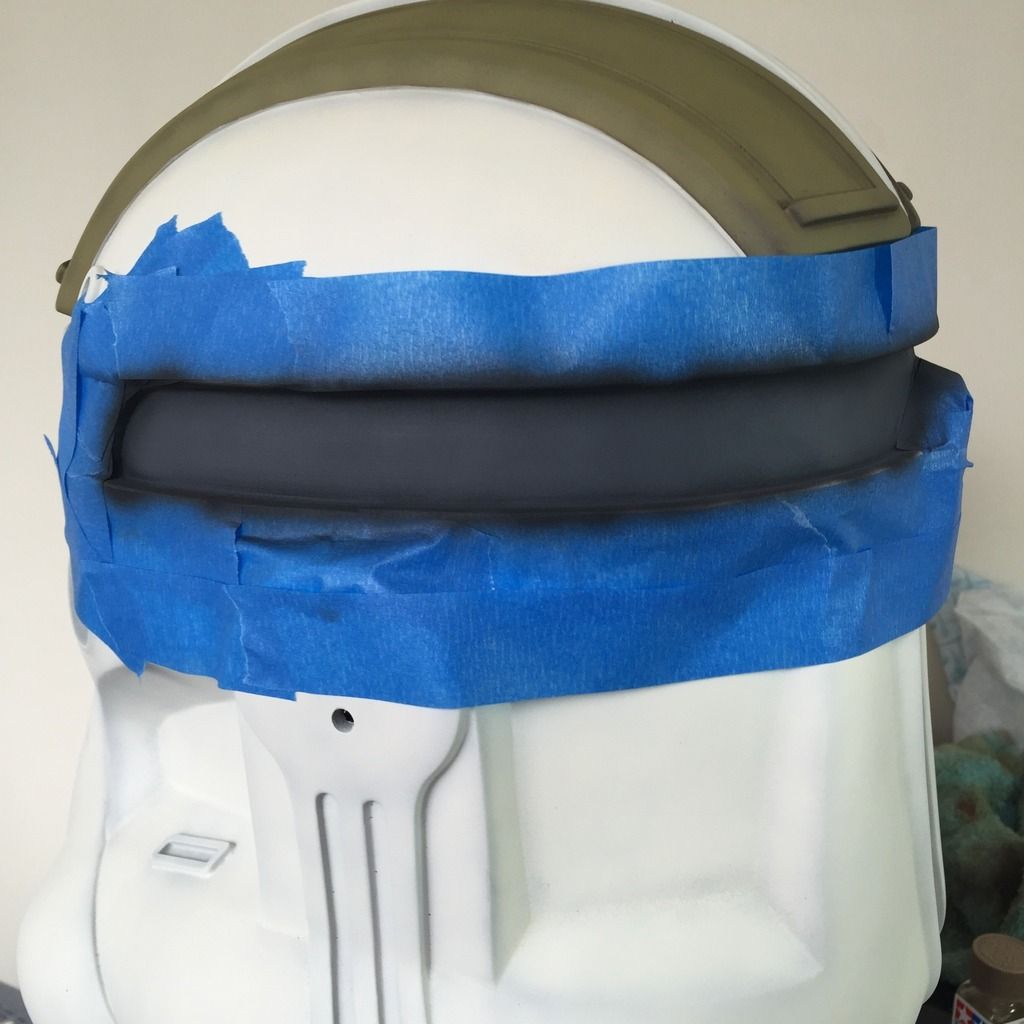
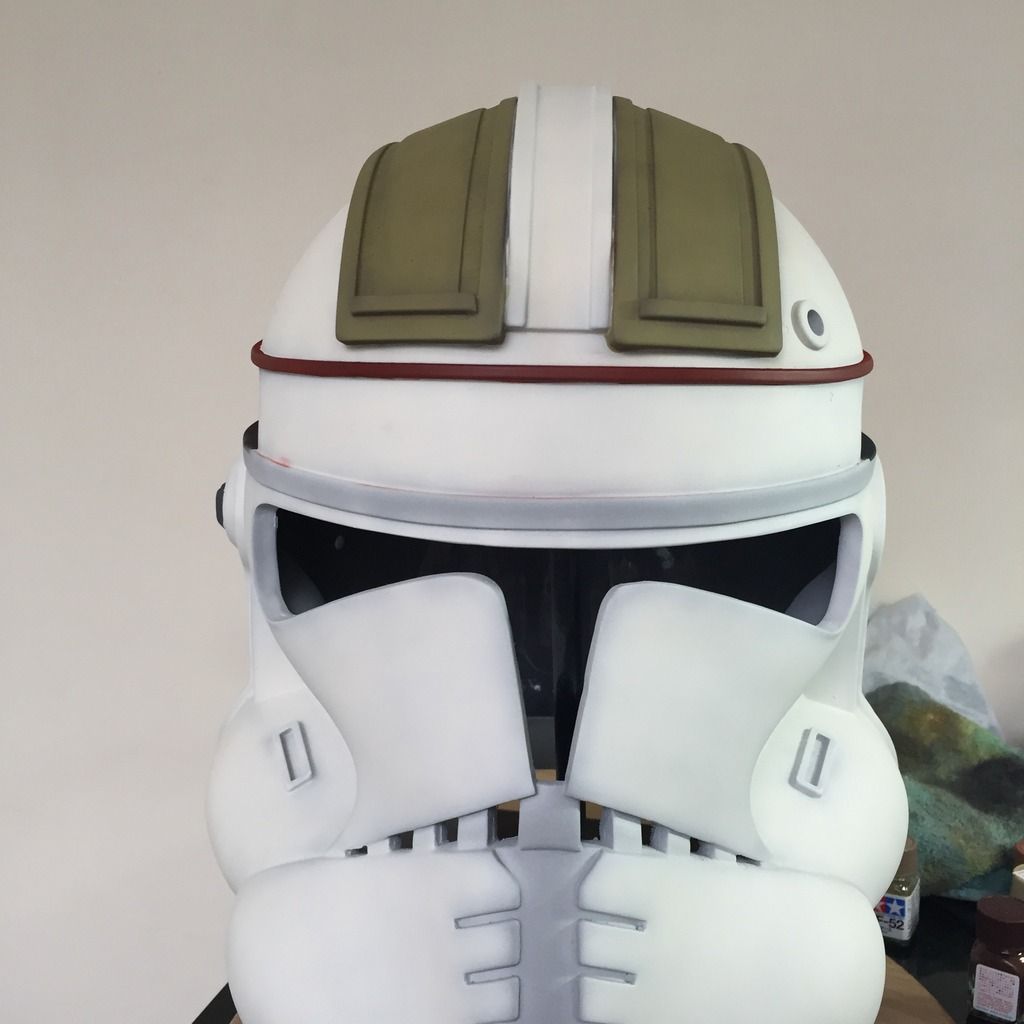
Masking removed. I like the look of that:
Did the right ear too, since it was the same Dark Grey:
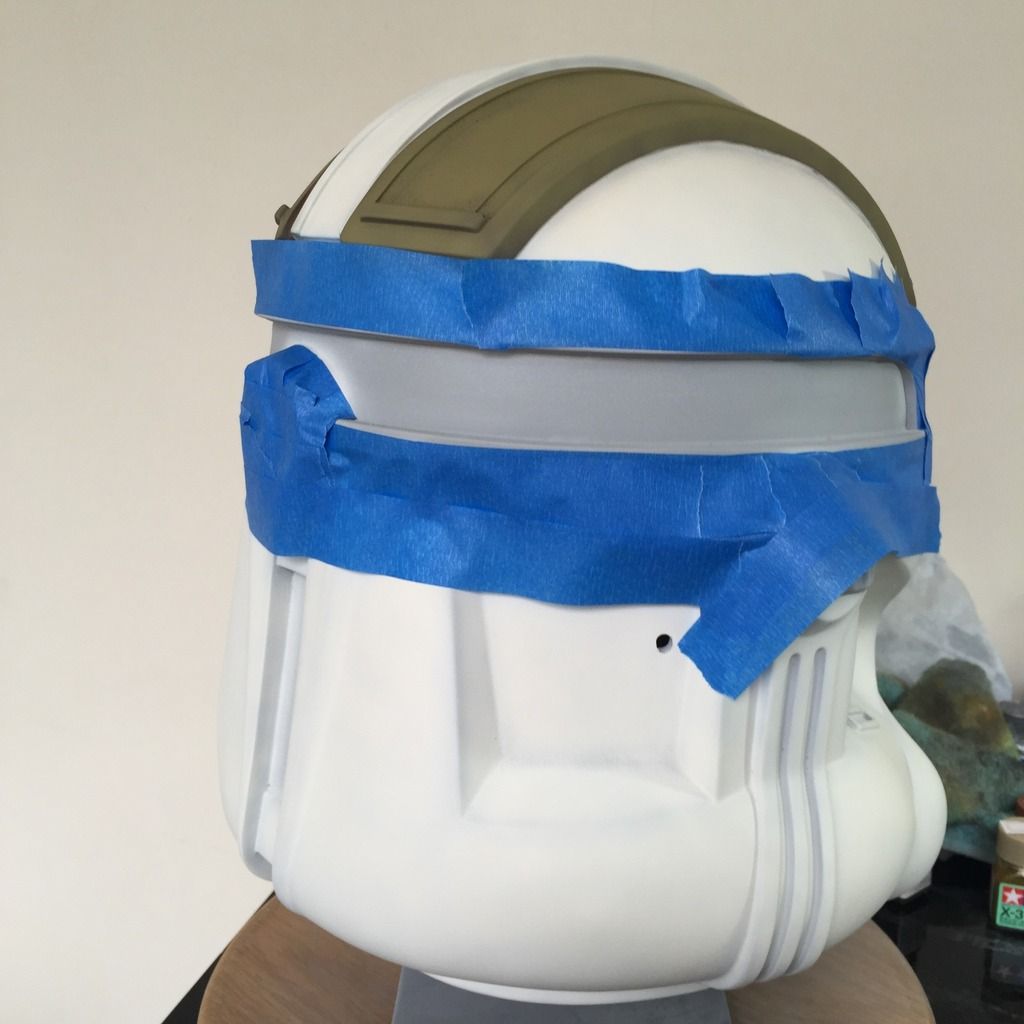
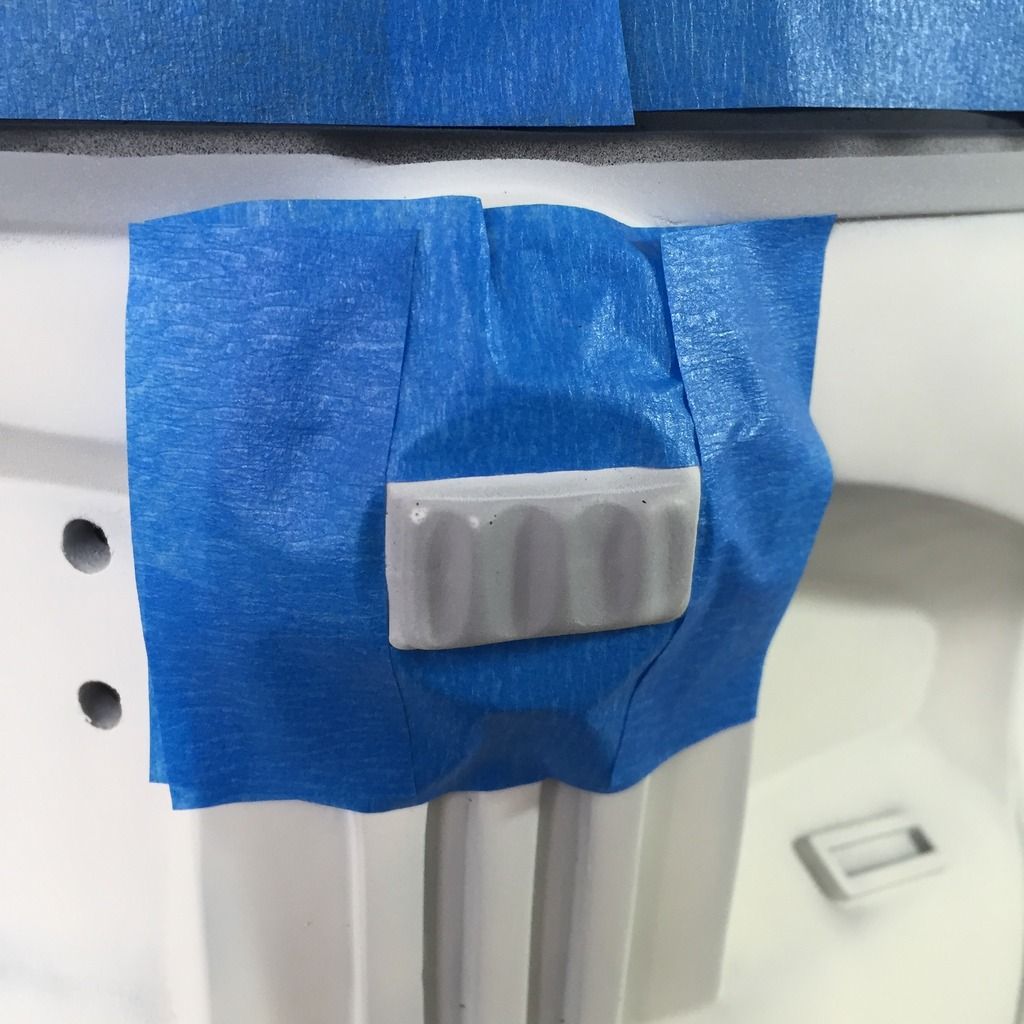
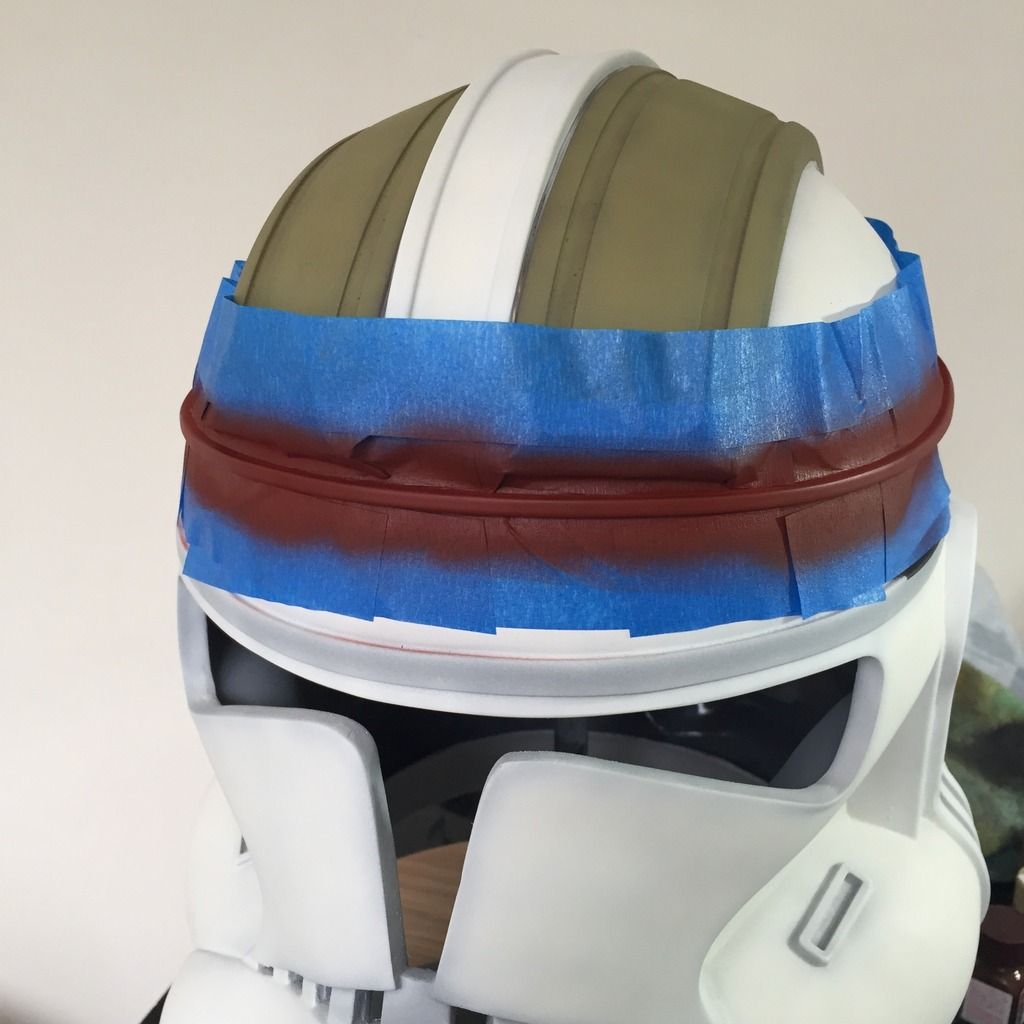
Masked the top band for the dark red, which was Flat red with a tiny dash of black:
You can see a bit of overspray, but luckily, that is going to be sprayed Black later. Also, it will be very much hidden by the orange visor. Nevertheless, this is a clear sign that I am no longer focusing, and getting sloppy. Time to call it a day!
Quite a fruitful one at that!
Thanks for viewing!