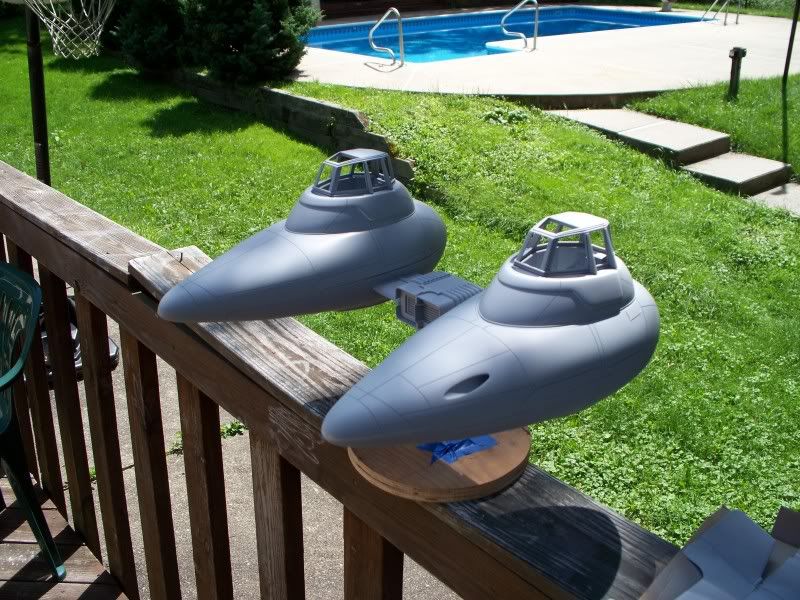
Awesome Michael, it will be a pleasure to see this get painted & displayed.
What glue do you use for the styrene, I keep hearing various opinions on whats best?
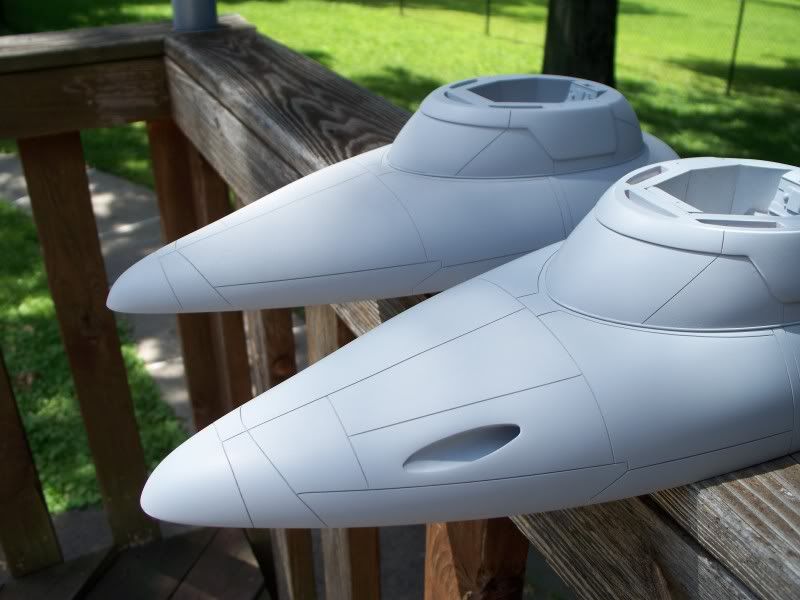
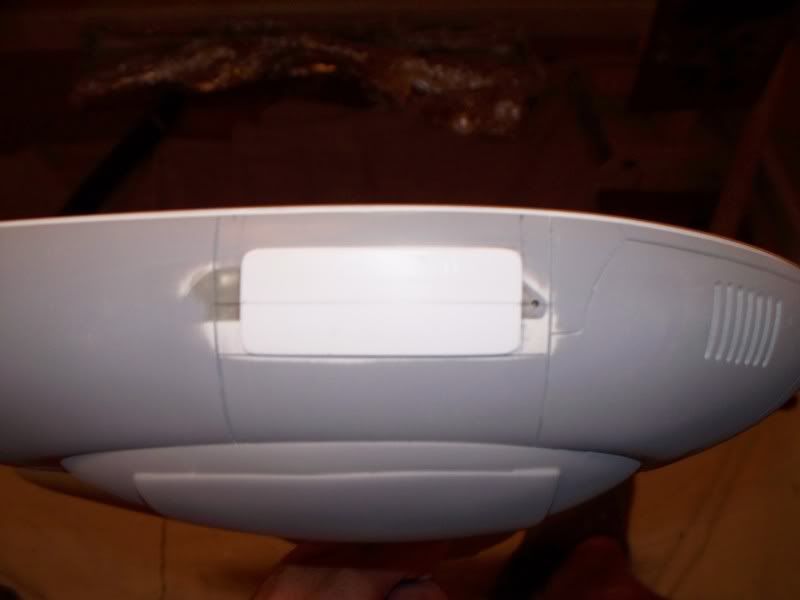
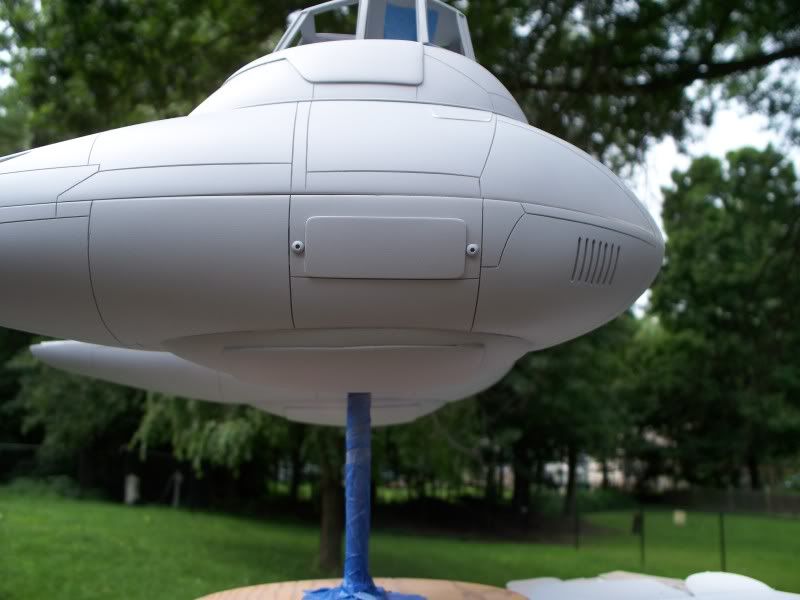
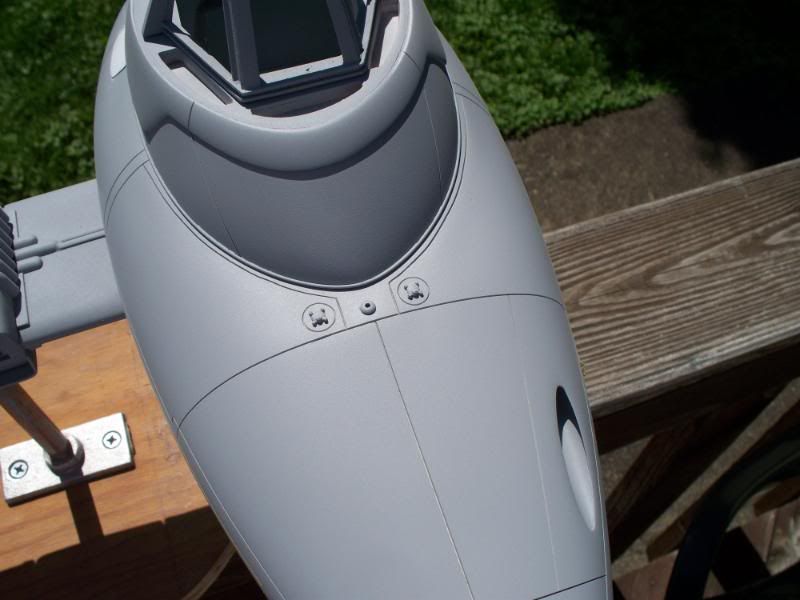
How on earth did you cut those rear vents?
Guy
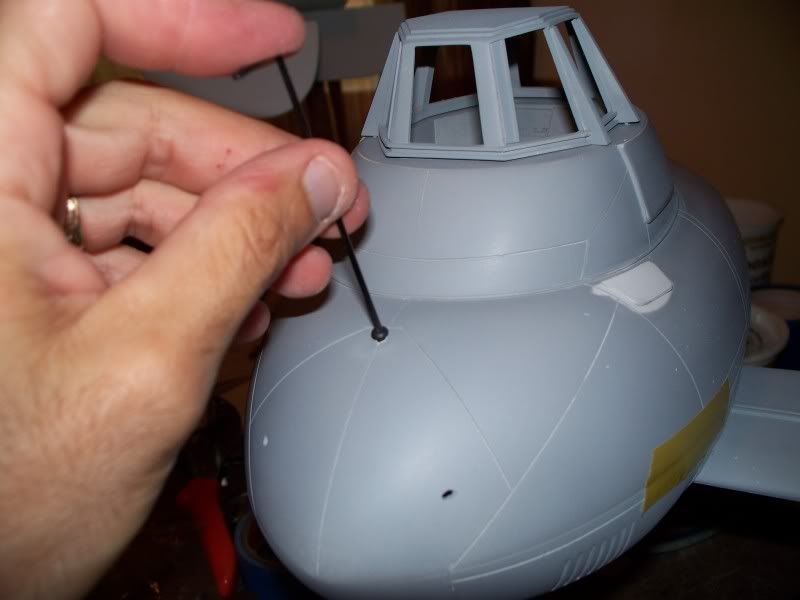
Hey Guy you can see how I cut them on (page 16)Normally I would use a dremel tool but I didn't have a bit small enough worth risking it.:lol
Ah .....as far as glue well the quicker drying stuff like CA glues so fast
especially with the accelerator, that it dries brittle!!! If you have something that has a large gluing surface that is not going to support weight I think CA is fine.For seams that could pop or open the welding solvents are better, thing is though you have to have a "PERFECT" joining with that stuff.If you have gaps in the seam you are not going to get joining or welding in the area.If your kit is resin obviously your limited to using epoxy or the CA type glues.
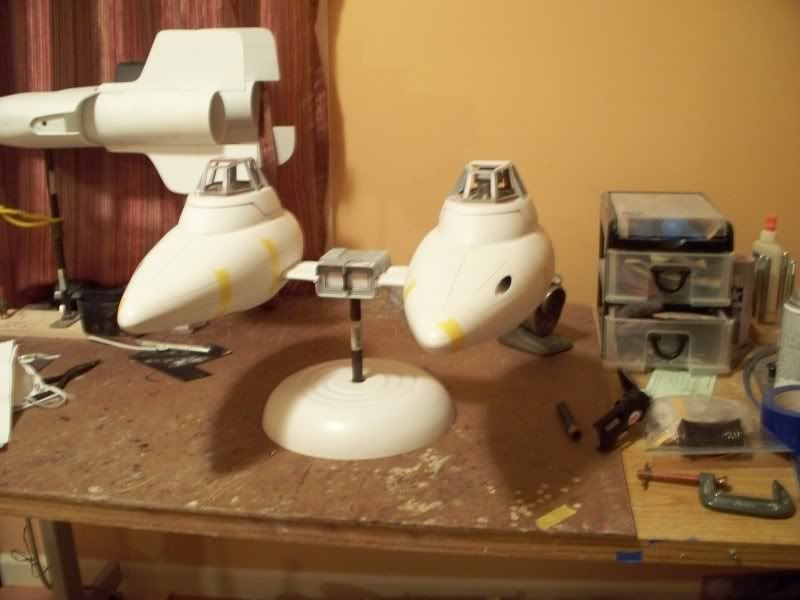
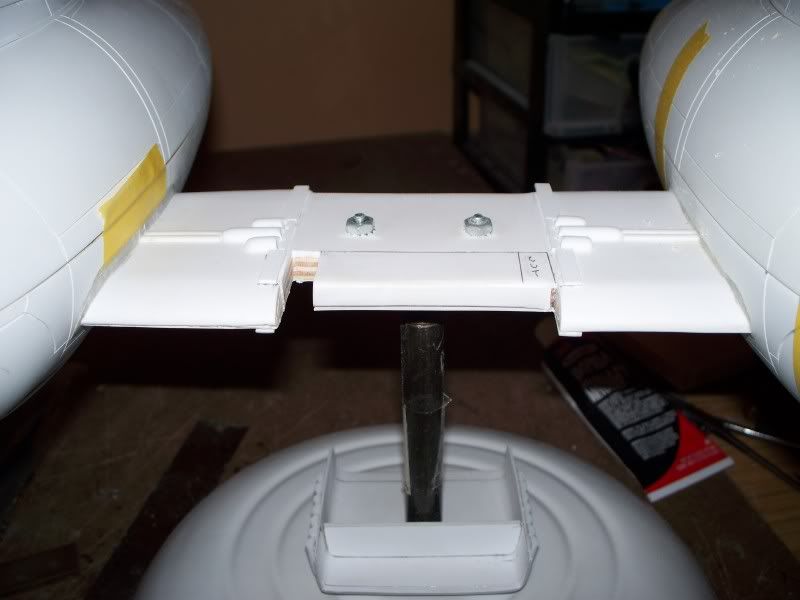
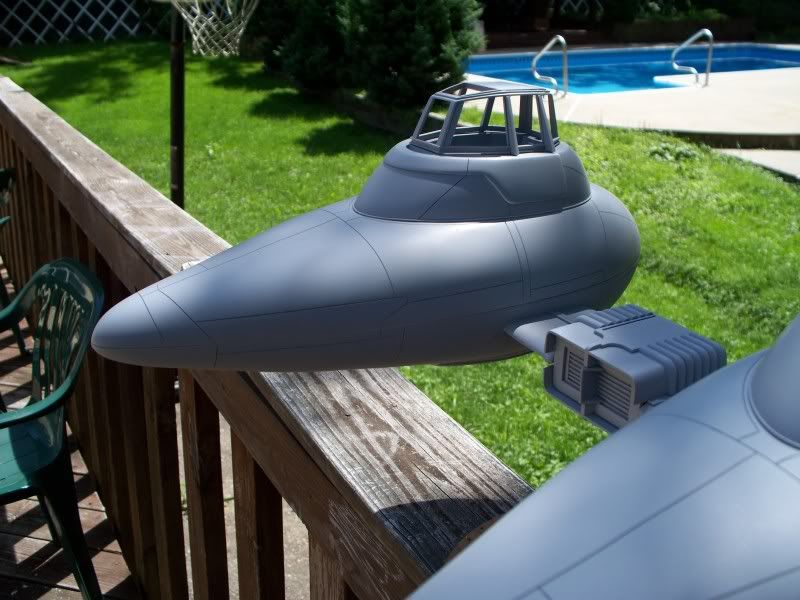
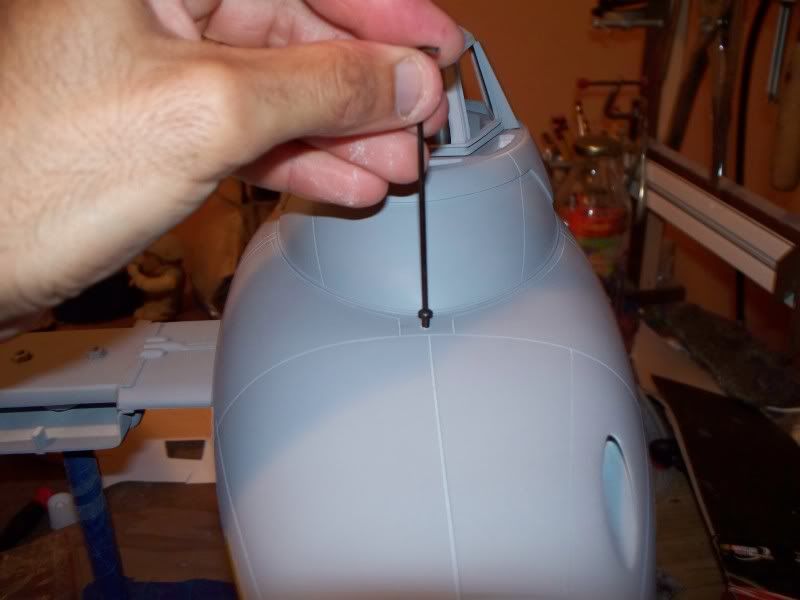
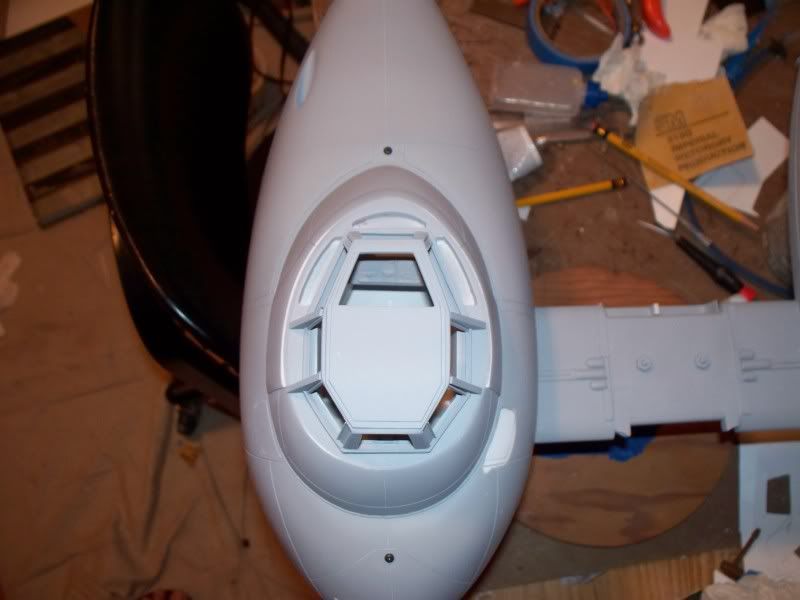
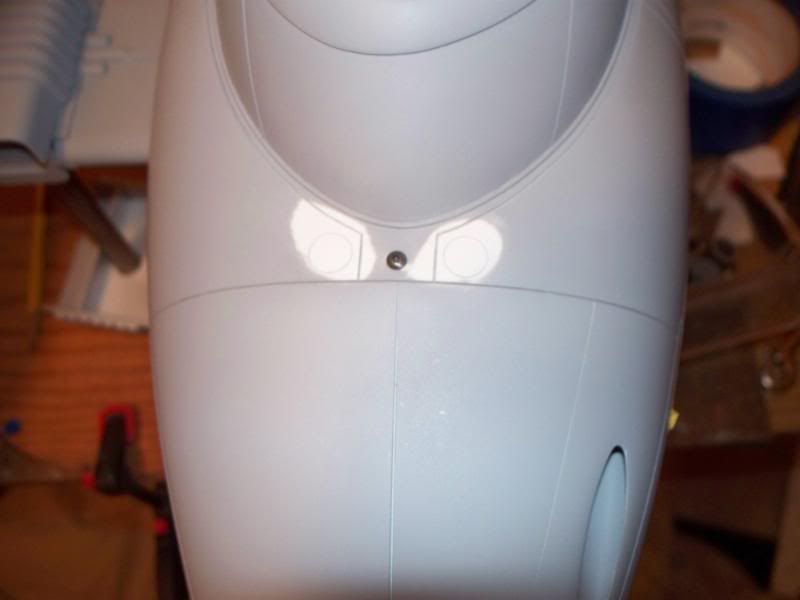
I worked hard to have a nice clean seam around the pod car, so I am leaning towards the welding solvent.I could use the thick CA on the seam
and then use the welding solvent on the band band that goes around the
pod-car, this gives it a double as far as securing the two hulls!

thumbsup
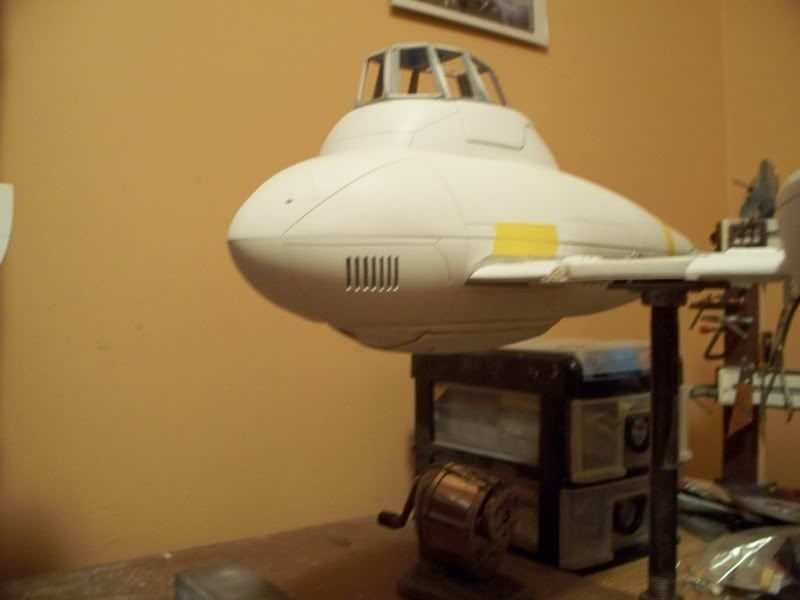
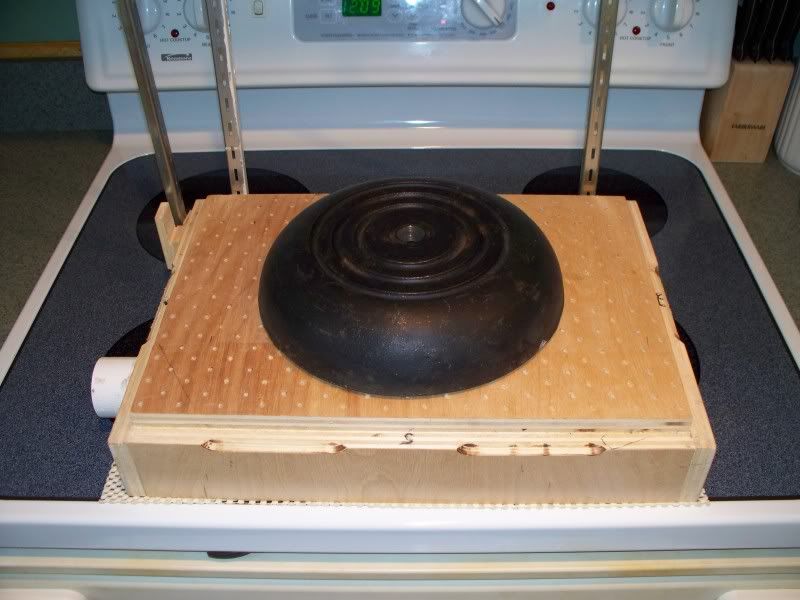
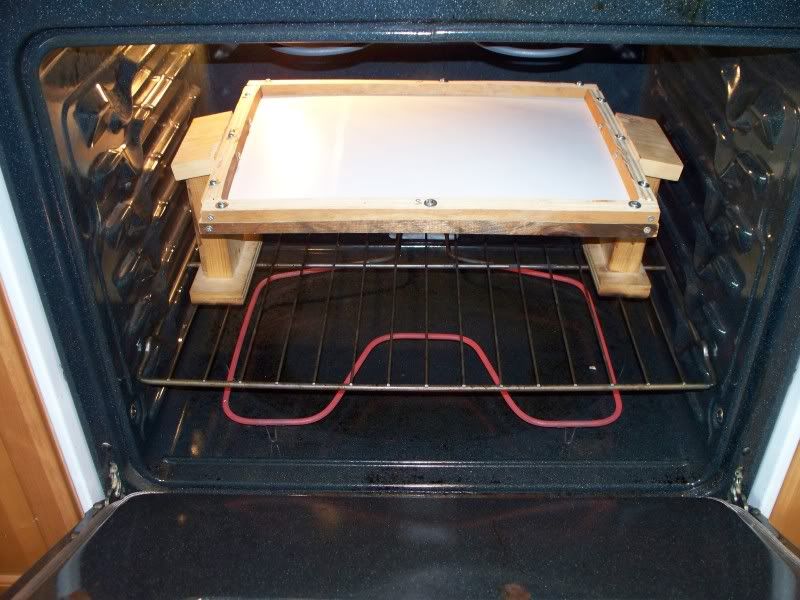
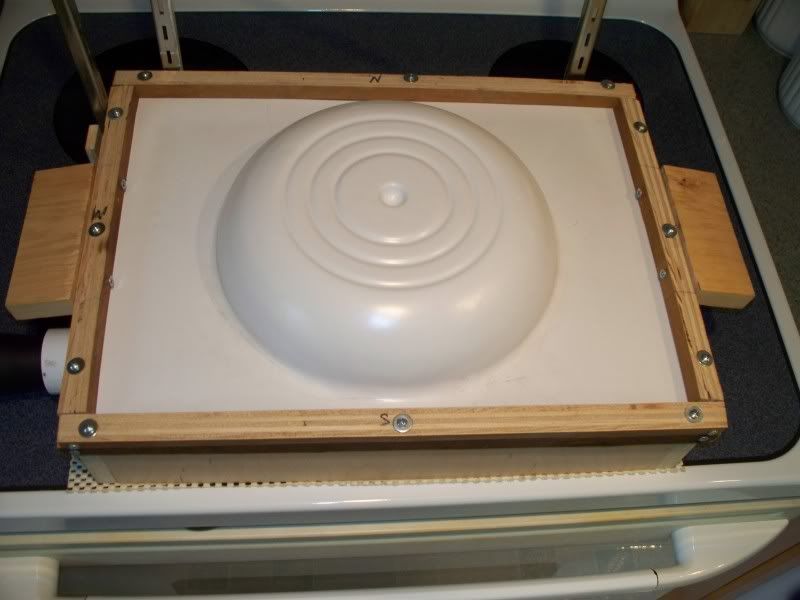
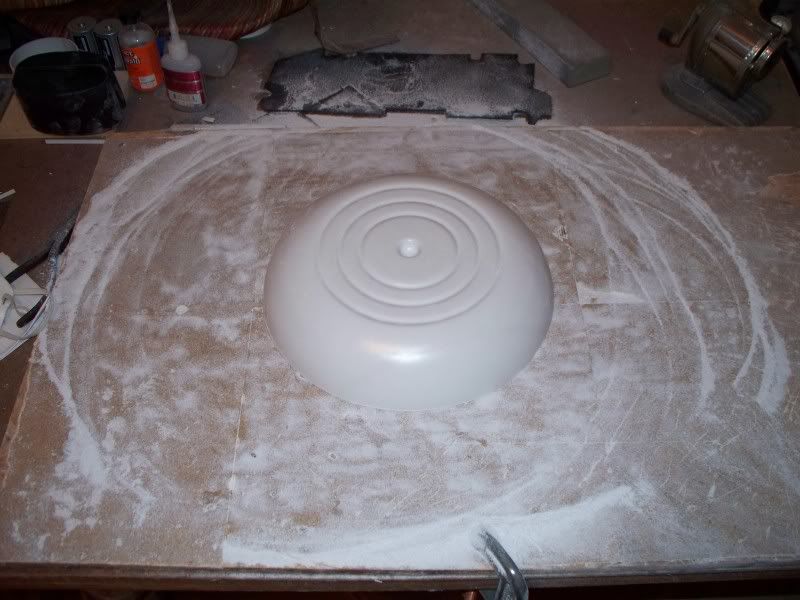
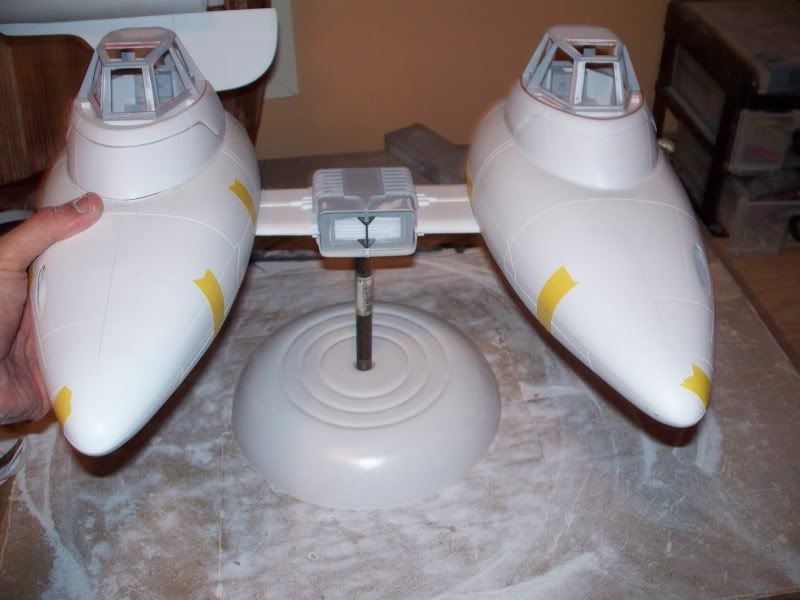
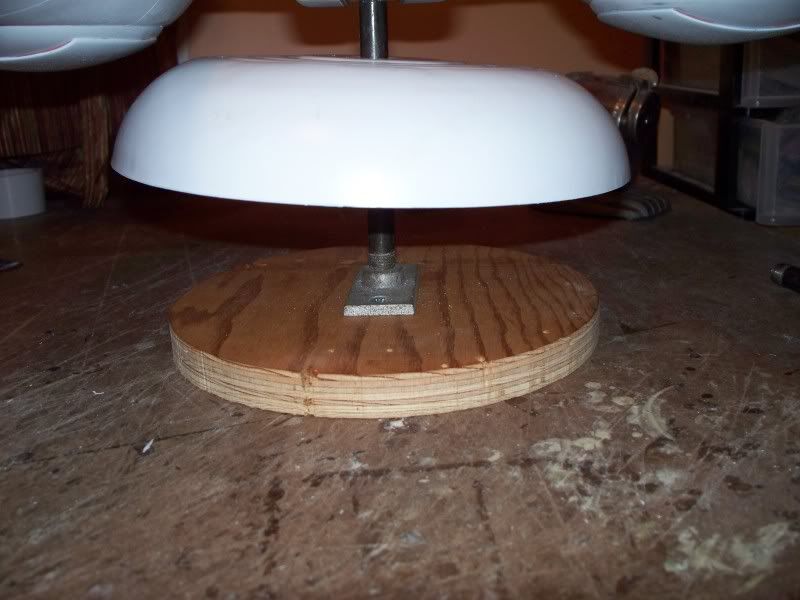
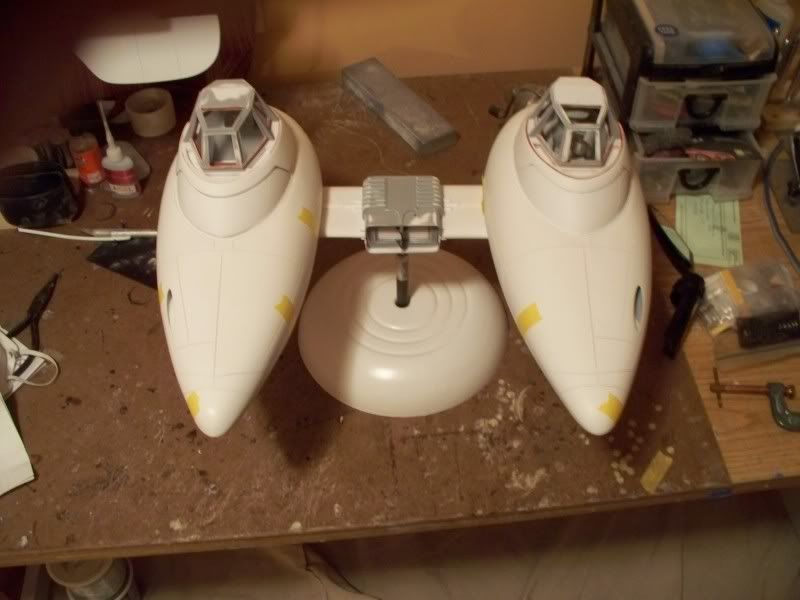
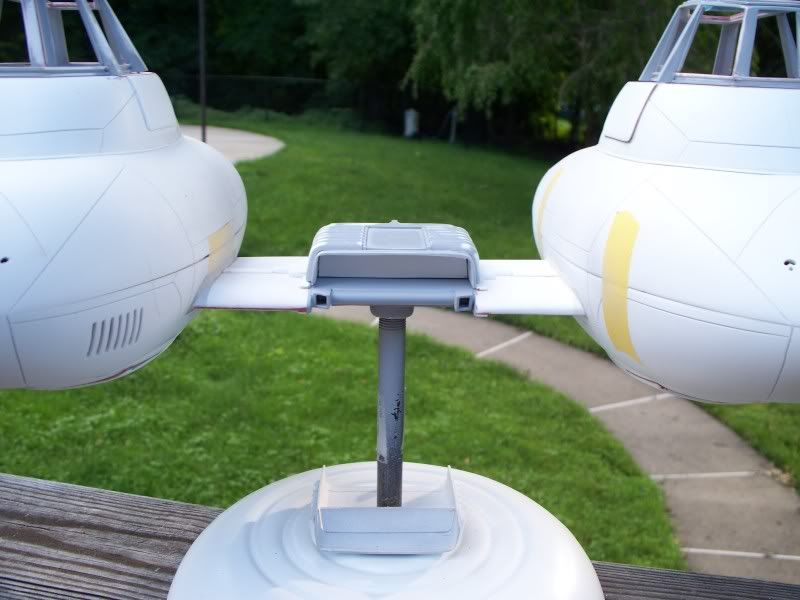
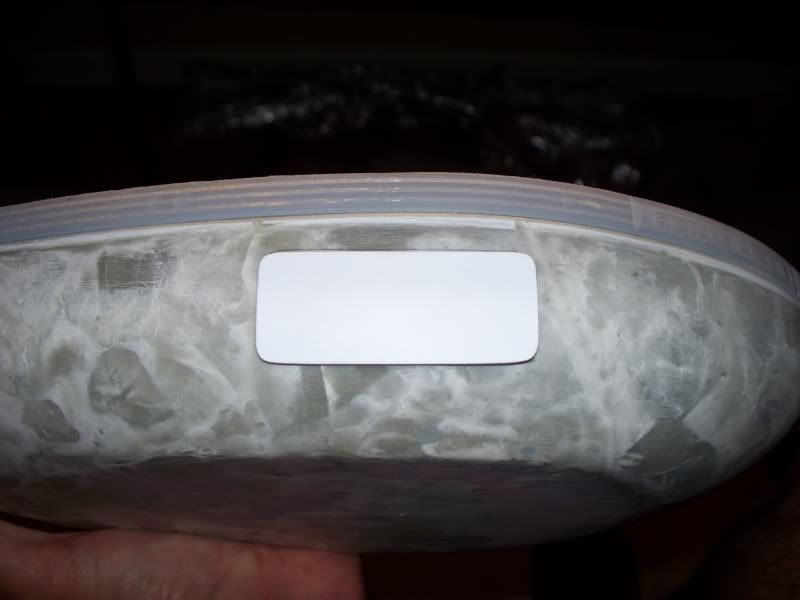
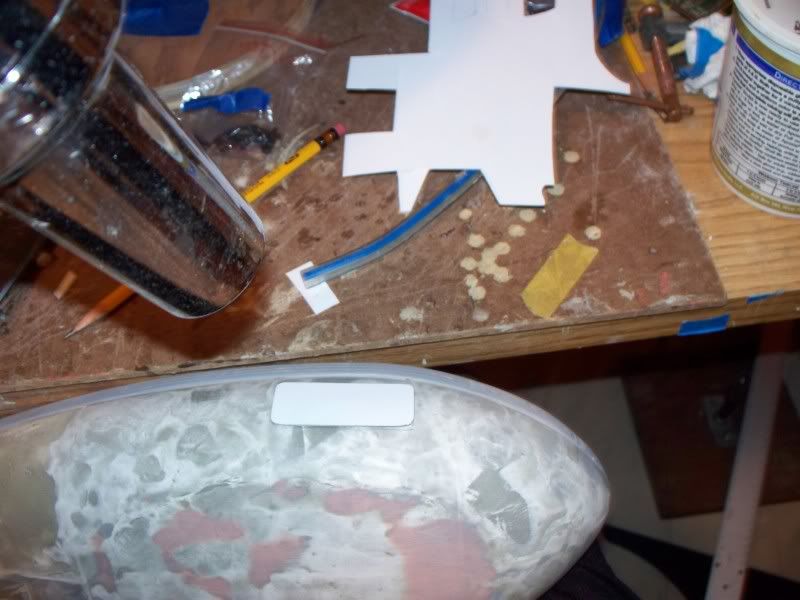
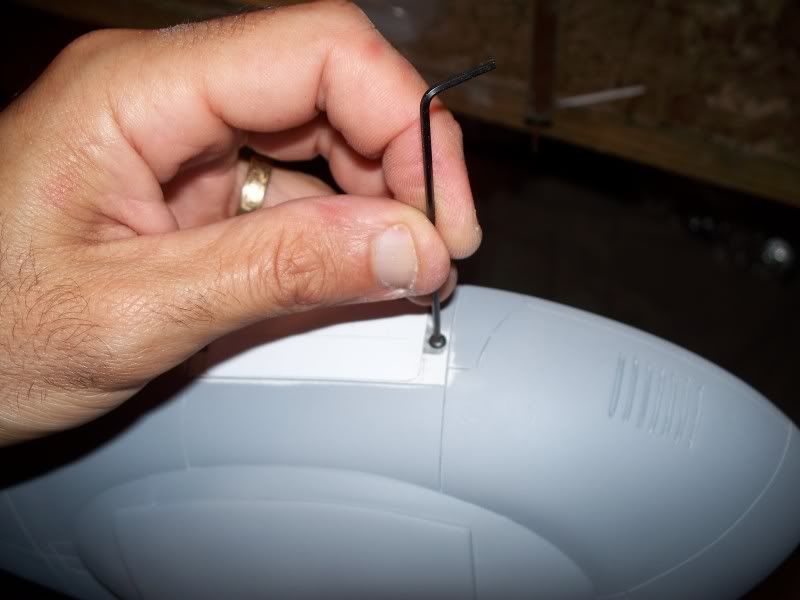
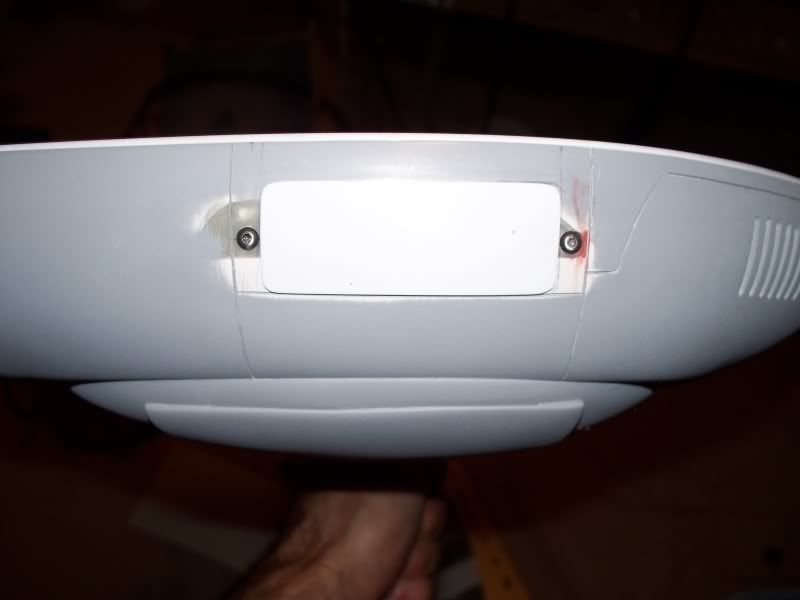
Today I decided to make a quick easy base for the pod car. For this I needed one pre-made mic base, plastic, heat, vacuum!! This is just for the show in Oct, I will have a acrylic case made for it for home display.I wanted to form this out of 2mm styrene, but ended up doing it in 3mm...out of the 2mm!:angry:thumbsdown I will cut a circle out of wood smaller than the formed base, to this I will screw the mount so the formed piece is really just a cover. I will be able to lift it up to get to the power source for the lights.