You are using an out of date browser. It may not display this or other websites correctly.
You should upgrade or use an alternative browser.
You should upgrade or use an alternative browser.
AMT Slave One WIP
- Thread starter Randy13
- Start date
Randy13
Sr Member
I didn’t think about metal tubing for the hydraulics, thanks for mentioning that Metallboy.:thumbsup I’ve been cutting, filing, sanding and test fitting pieces to see how I can get these wings to look closer to the studio model. I should have some photos ready to upload tonight.
darthsideous
Well-Known Member
Randy, i always enjoy seeing your work. Great Job!
rodimus147
New Member
I wish I had the skill for models like this.
Randy13
Sr Member
Thanks for the kind words guys. I really don't consider myself as having any model building skills. This is all trial and error for me with some experimenting thrown in. For something like this, I think skill comes with experience and learning so it would be important to just start building something while challenging yourself at the same time. There are things with this build that came out better than I was expecting and there are things that didn't come out as good as I imagined and it all has to do with my experience (or lack of). I feel I've learned quite a bit with this build and also learned some great techniques with help from you guys. Thanks again.
Randy13
Sr Member
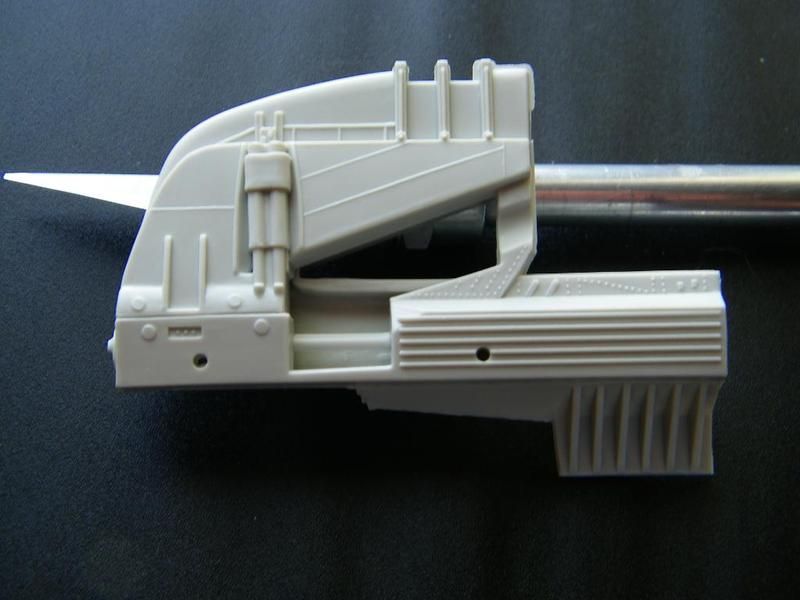
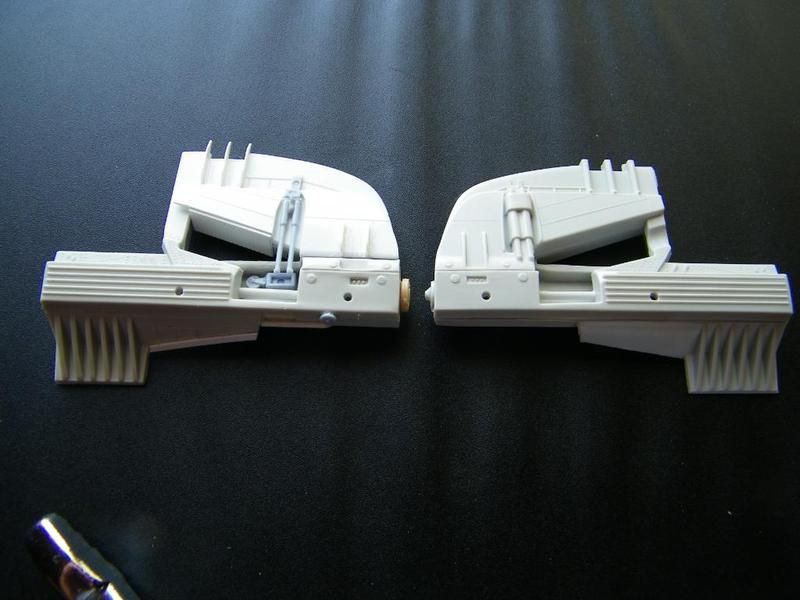
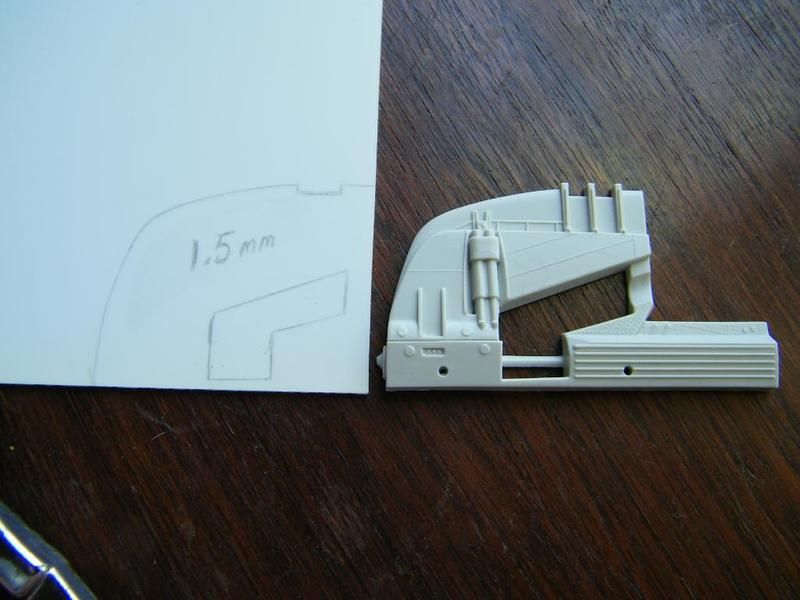
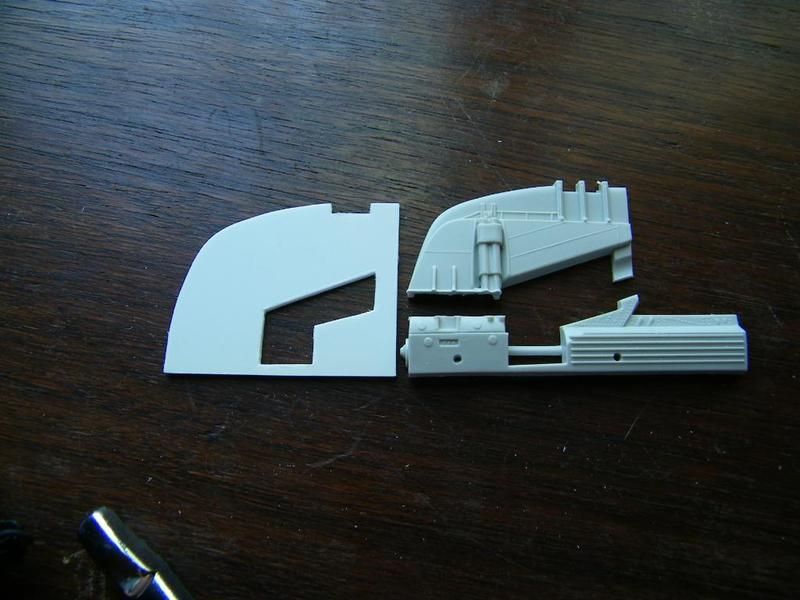
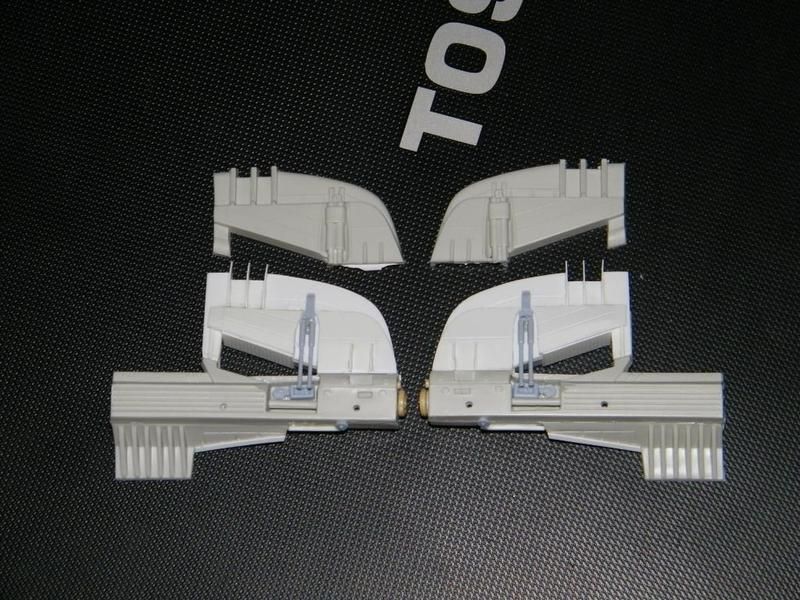
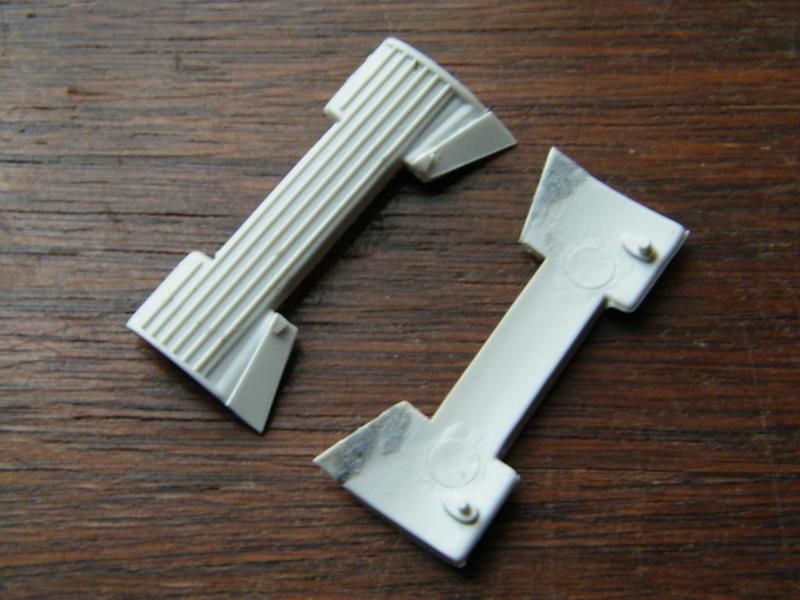
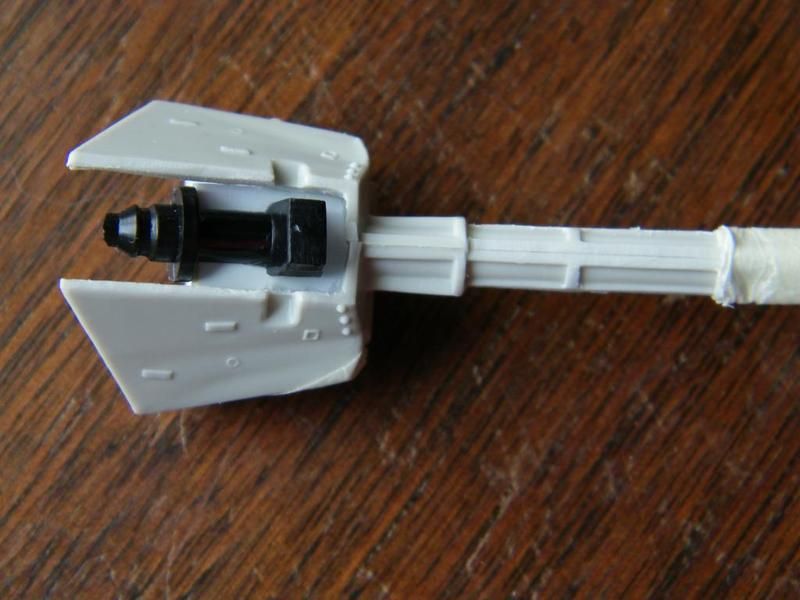
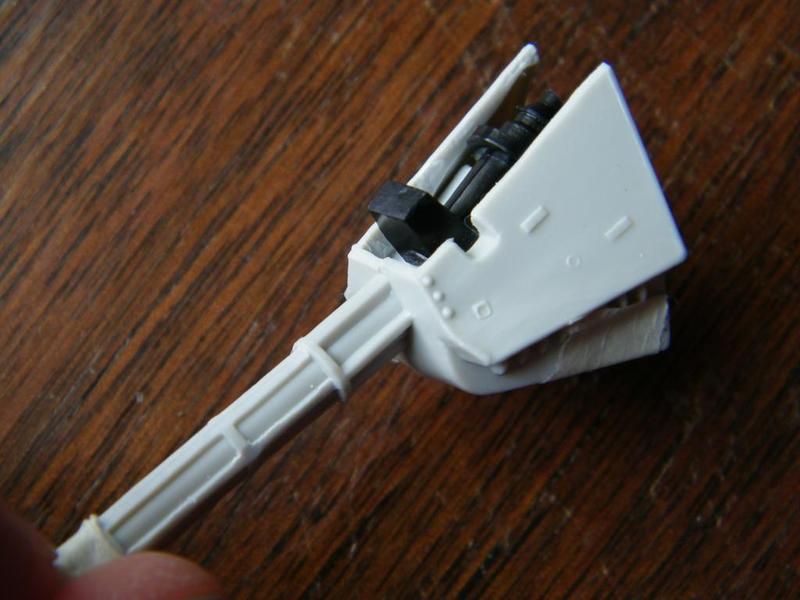
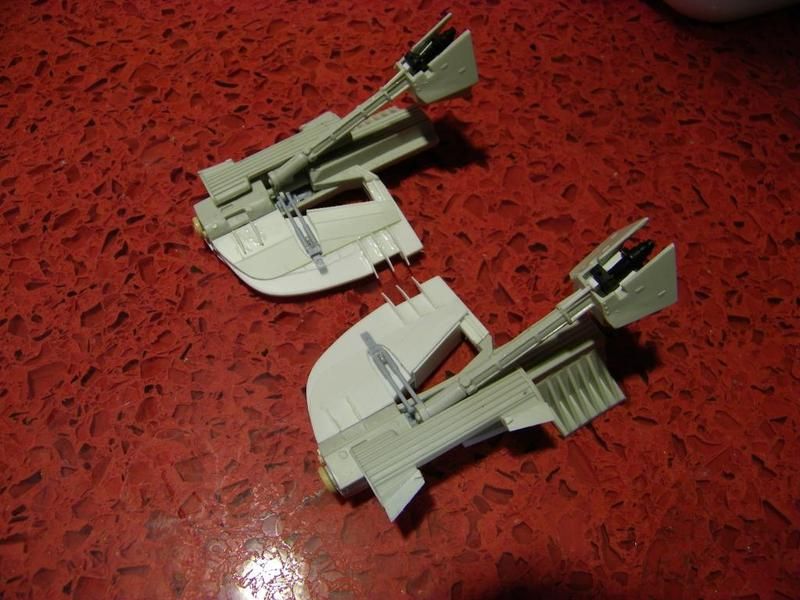
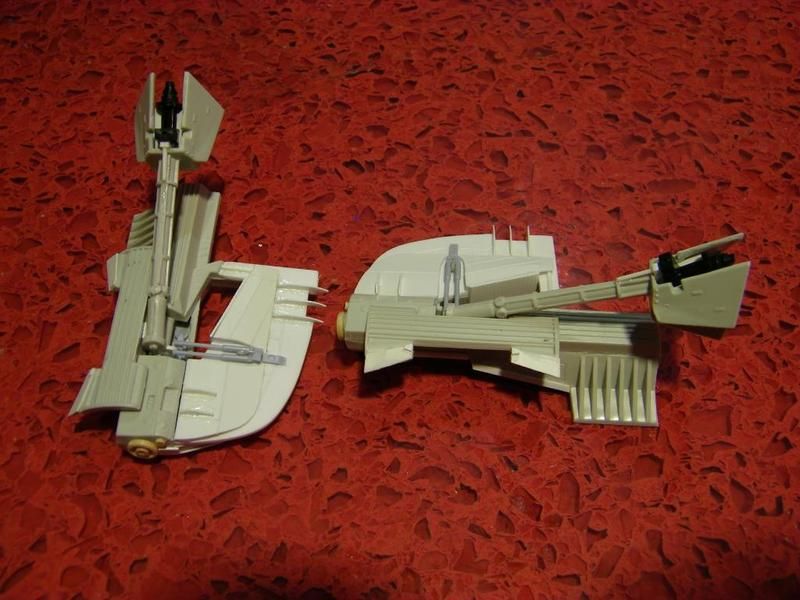
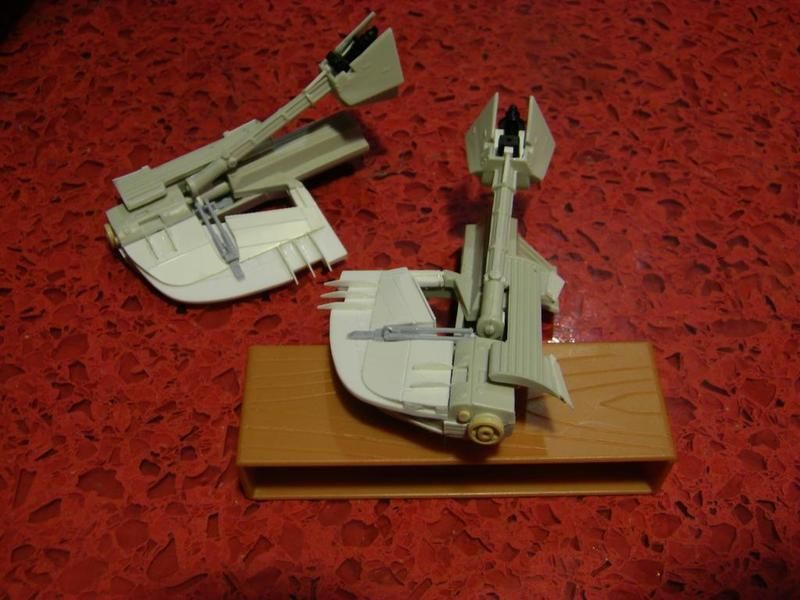
Update time. I worked on one of the wings to see how it would comesout. I was pretty nervous about cutting it up because I didn't know if I would be happy with the end result. What you see here is the original part on the left and my version on the right. I couldn't find any tubing small enough for the hydraulics so for now I'm using battleship cannons.
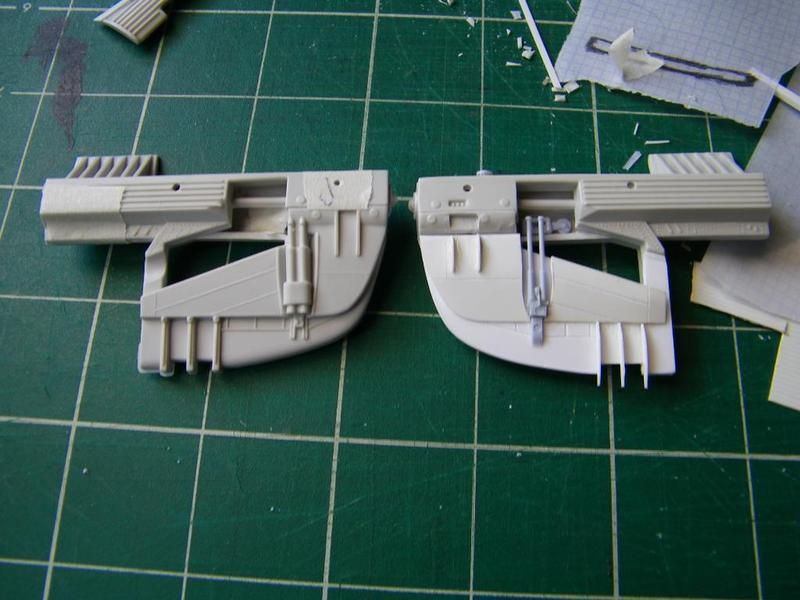

Before:
After:
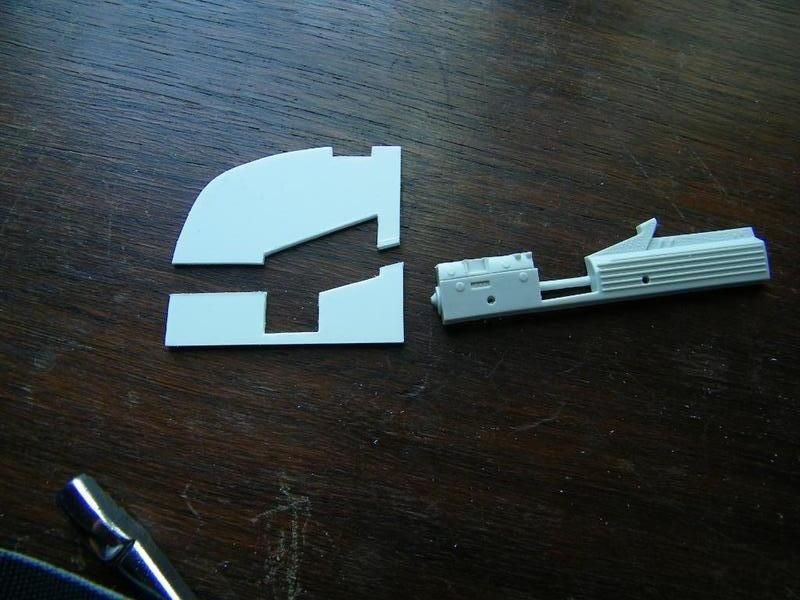
Before:
After:
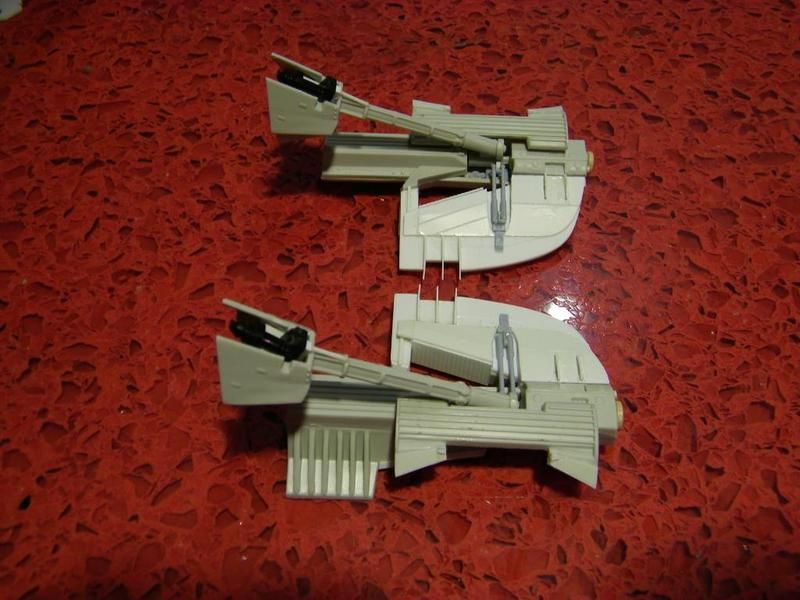
Another side by side comparison.
On the next wing, I'll take photos while I'm working on it in case anyone is interested in seeing that.
Before:
After:
Before:
After:
Another side by side comparison.
On the next wing, I'll take photos while I'm working on it in case anyone is interested in seeing that.
Zombie_61
Master Member
Allow me to let you in on a little secret: Unless you're doing a straight, out-of-the-box build (and even then sometimes) it's all trial and error and experimenting. There are a few "tried and true" techniques for scratchbuilding, but almost every modeler I know has his/her own way of doing things, none of which are either right or wrong.Thanks for the kind words guys. I really don't consider myself as having any model building skills. This is all trial and error for me with some experimenting thrown in.
Absolutely; practice and experience are the best teachers. I've been building models more than 40 years now, and I still don't feel I've gotten it completely right on any one of my builds. But at the same time, the moment I stop learning from it or it stops being challenging in some way is the moment I'll stop doing it because it'll then become routine and boring.For something like this, I think skill comes with experience and learning so it would be important to just start building something while challenging yourself at the same time.

Randy13
Sr Member
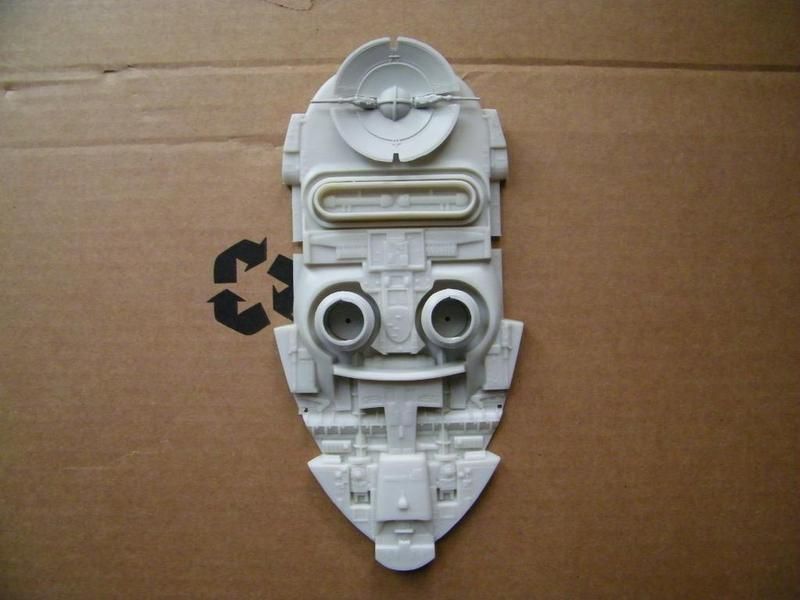
Thanks for the feedback Zombie and Nazgul. I too love the look of the back of the ship but the AMT version is so far off that I wouldn't know where to begin. That's why I'm kind of cheating on this build and it will be displayed in the landing position so I don't have to mess with the engines. Sorry. But hopefully I can make up for it by building a nice interior.
NAZGÛL
Sr Member
The Revell version is a replica of the FM. It has the same inaccuracies. The openable canopy makes it look like a toy, so even if it has good shape and details, its hard to make nice. The FM on the other hand has a seriously warped canopy that doesnt sit right.
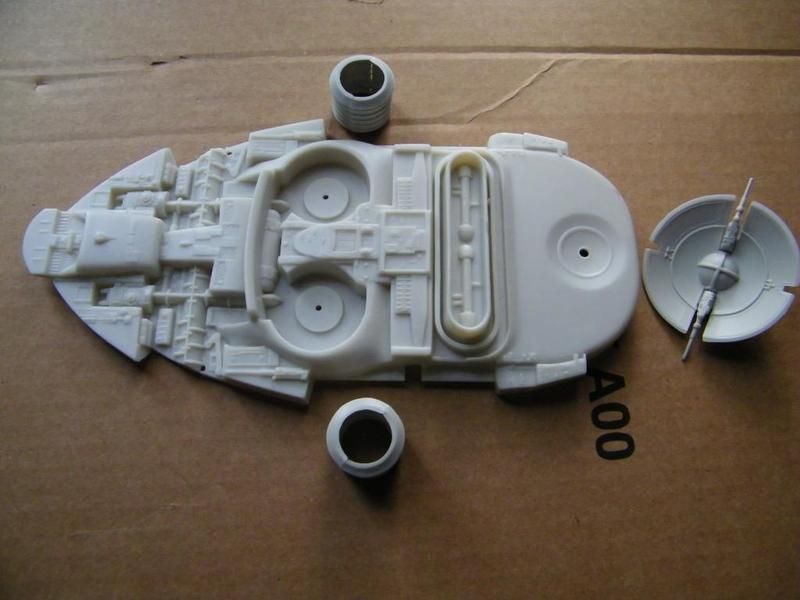
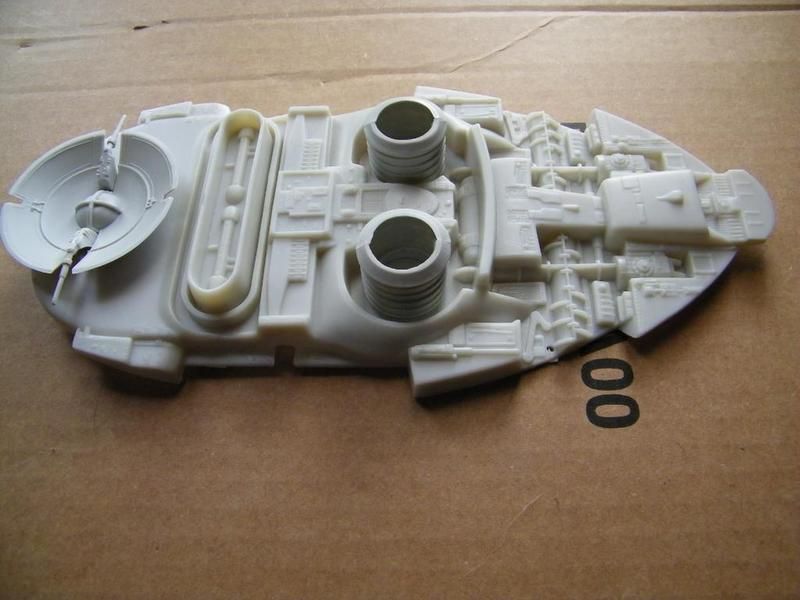
Could you post a pic off the back of your kit?
Could you post a pic off the back of your kit?
Contec
Master Member
I couldn't find any tubing small enough for the hydraulics so for now I'm using battleship cannons.
Go out and buy metal knitting needles, They come in many different sizes and some are even Hollow.
Second hand stores might have a bundle for cheap penny.

Nice again , the wings are looking really good with the details,scribing and all I understand you cannot go beyond certain measures to achieve the ultimate accurate look however in my opinion if you do get around the metal tubing it will make them look even way better? :cool Great work .... keep it coming...
NAZGÛL
Sr Member
Not to bad, shape is ok, sexy porsche fenders and all. ") If you scratch some stuff and alter the area around the dish it could do nicely.
If you scratch some stuff and alter the area around the dish it could do nicely.
From what Ive seen, The FM is based on the Ep 2 version, basically a repainted Jango, and that area is off, so you can focus on that and make a better version. :thumbsup
If you scratch some stuff and alter the area around the dish it could do nicely.From what Ive seen, The FM is based on the Ep 2 version, basically a repainted Jango, and that area is off, so you can focus on that and make a better version. :thumbsup
Randy13
Sr Member
I have taken quite a few pictures that documents my steps on how I have upgraded the wings.
First I use a piece of 1.5mm styrene.

Then I add some little bits.

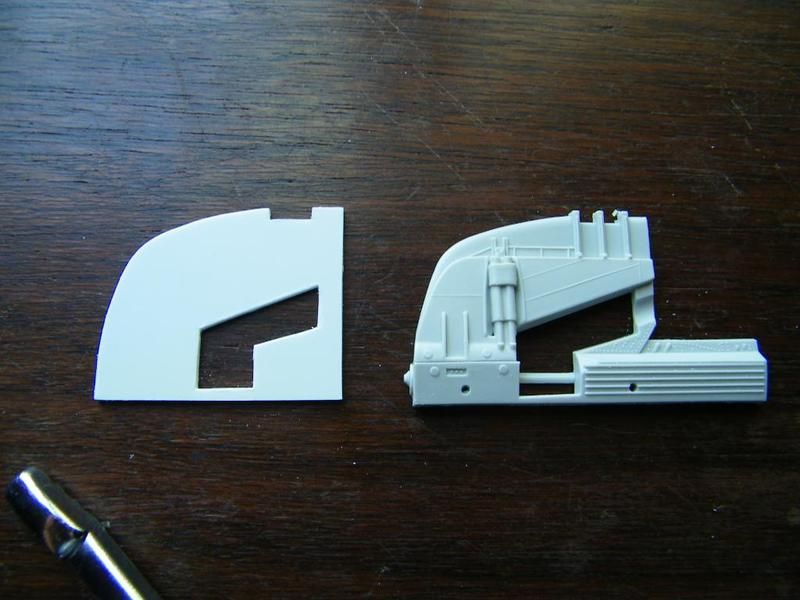
Then cut some 1mm styrene.

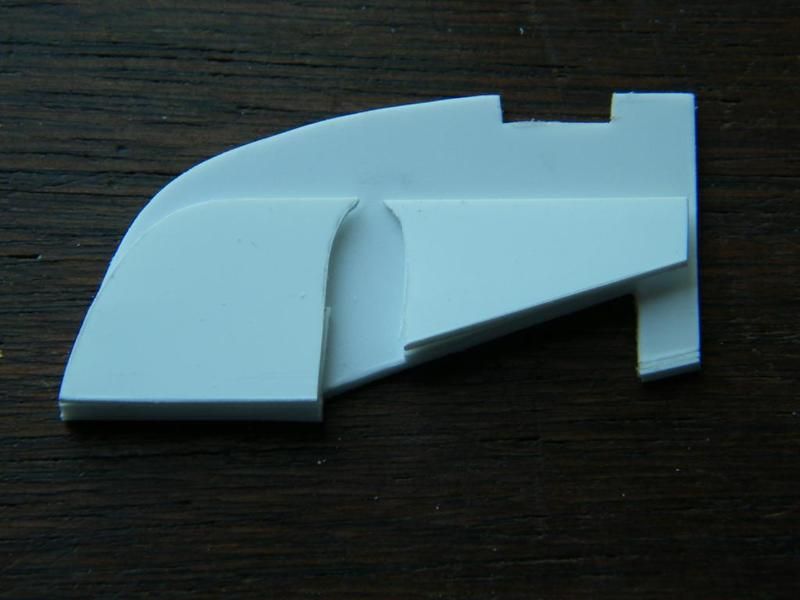
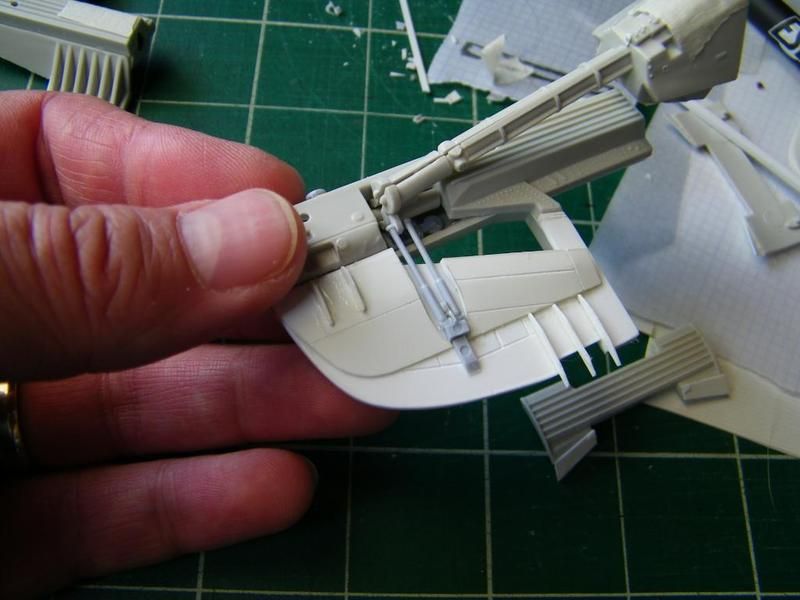
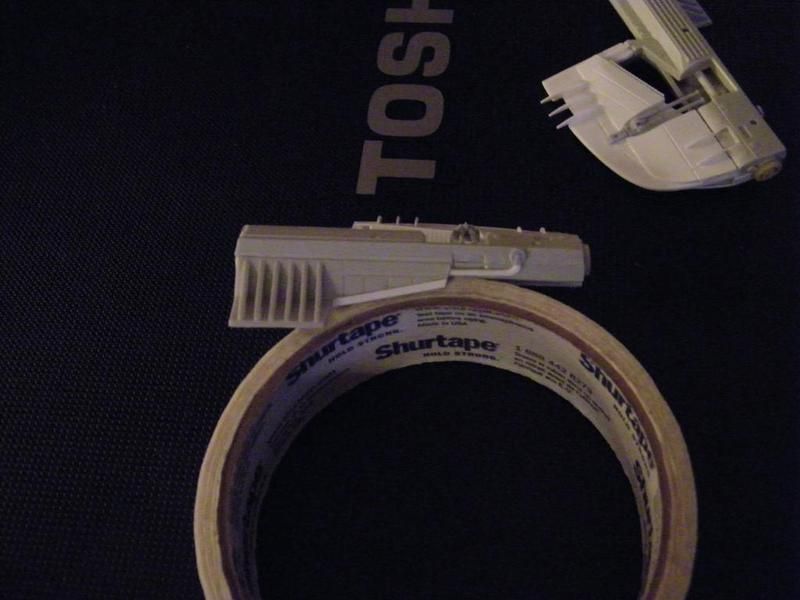
I'm just going to use these bits for now just to match the other wing. I also glue down the 1mm pieces so they curve down. The tape is holding the curved part in place until the glue dries.
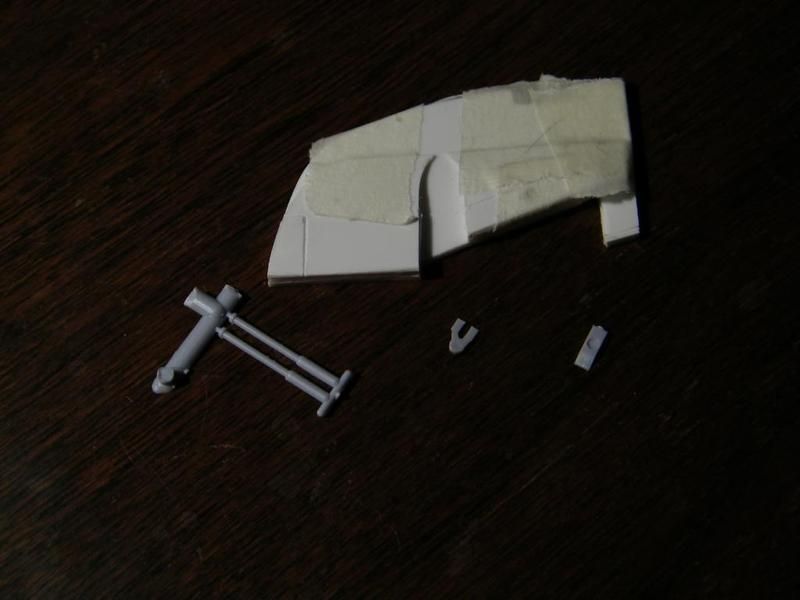
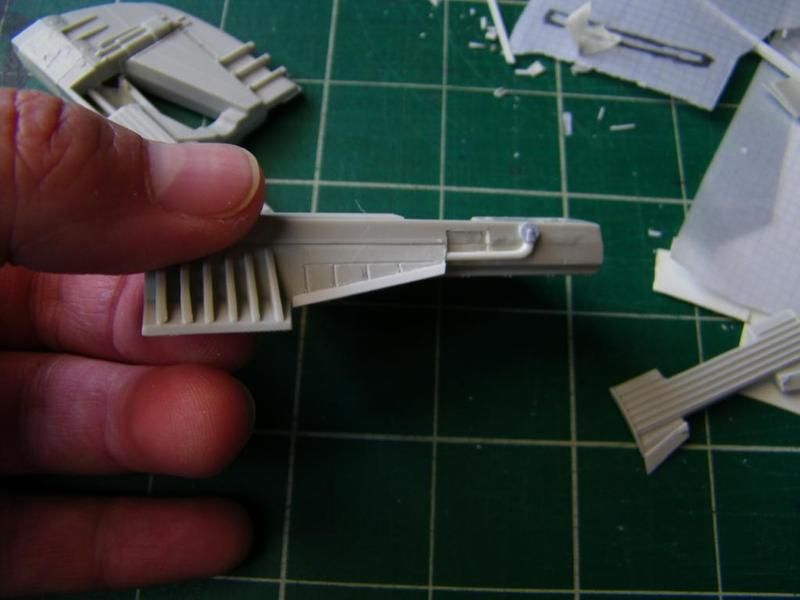
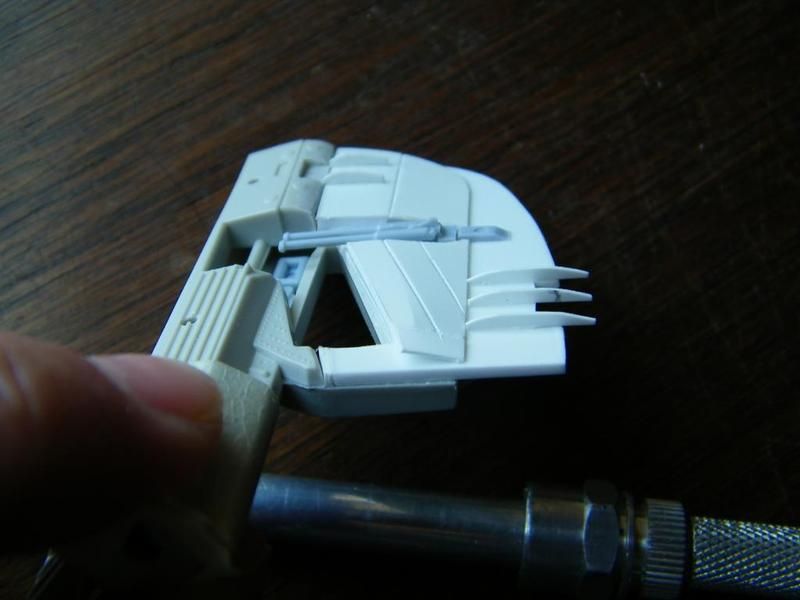
Next are these little rib type things.
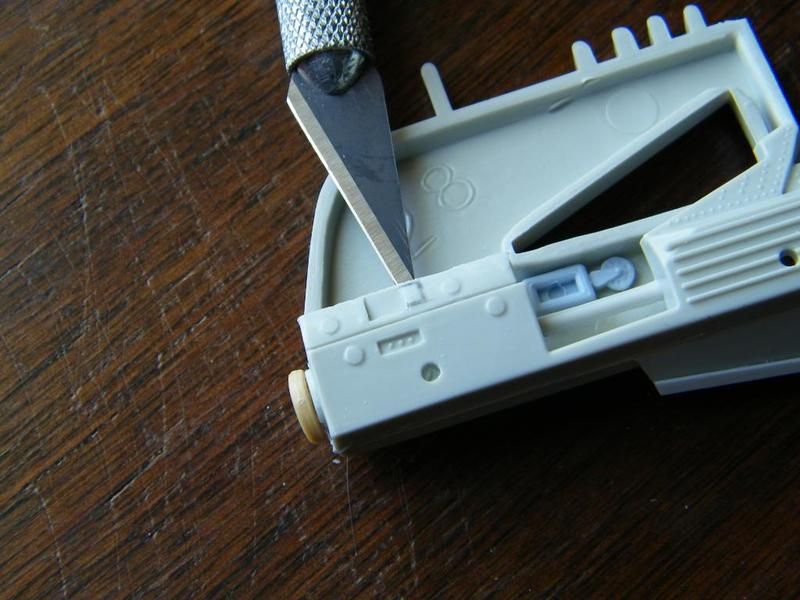
Next I need to open up this gap so the rib things can line up properly.

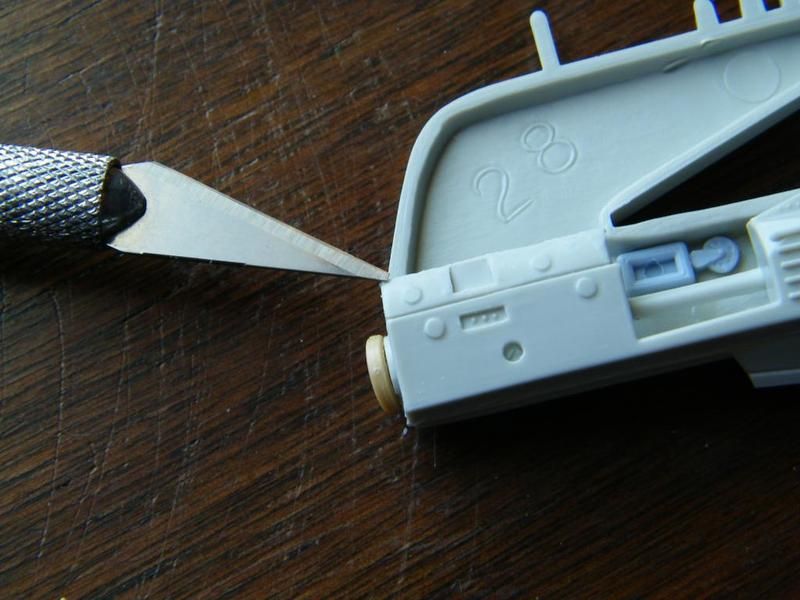
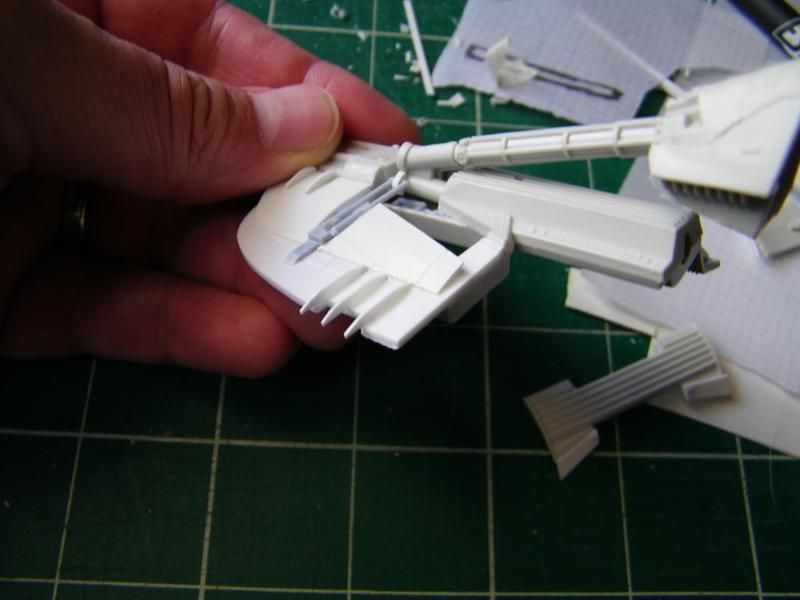
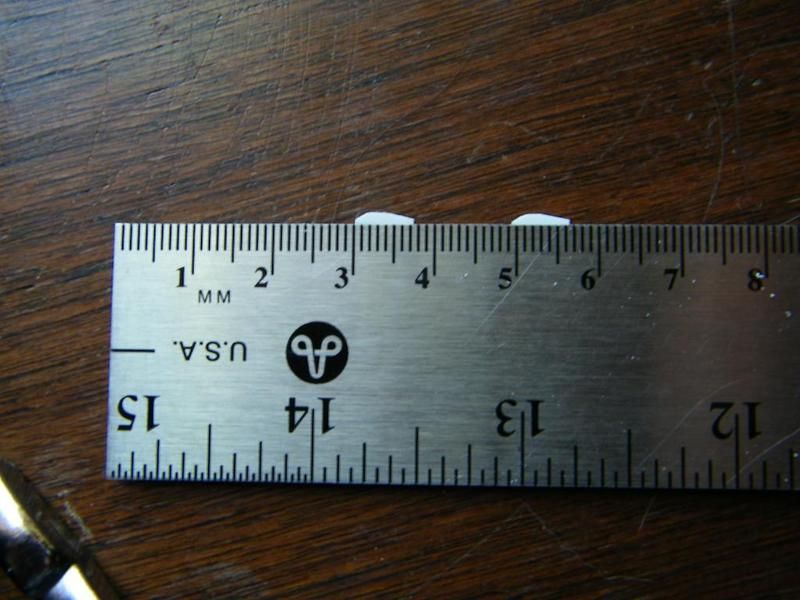
This is how much I'll cut out.
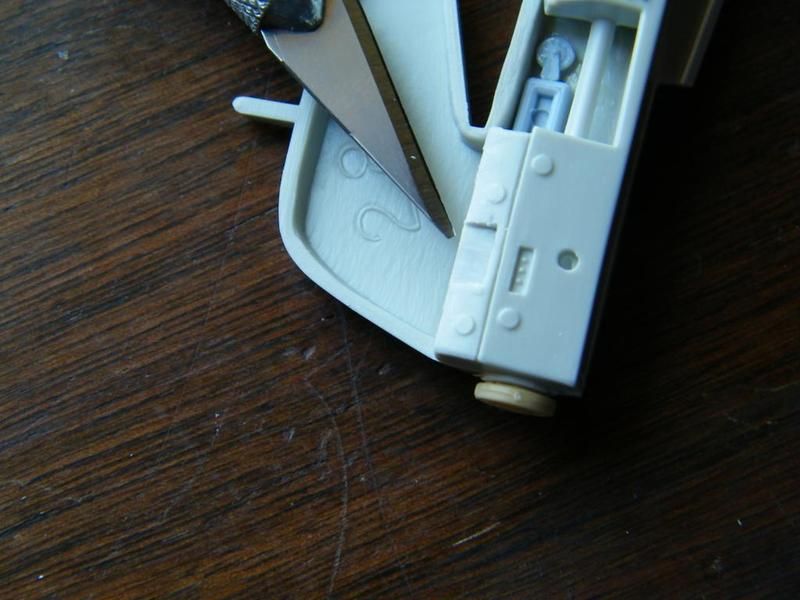
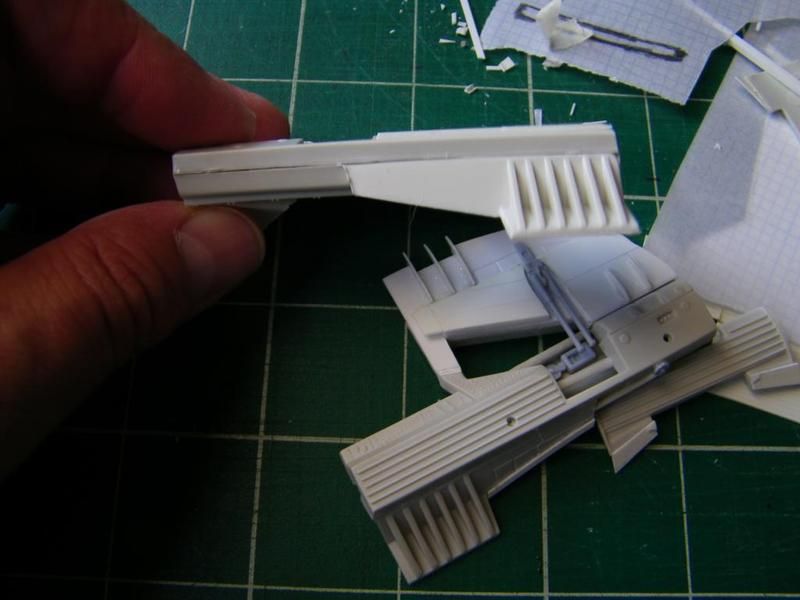
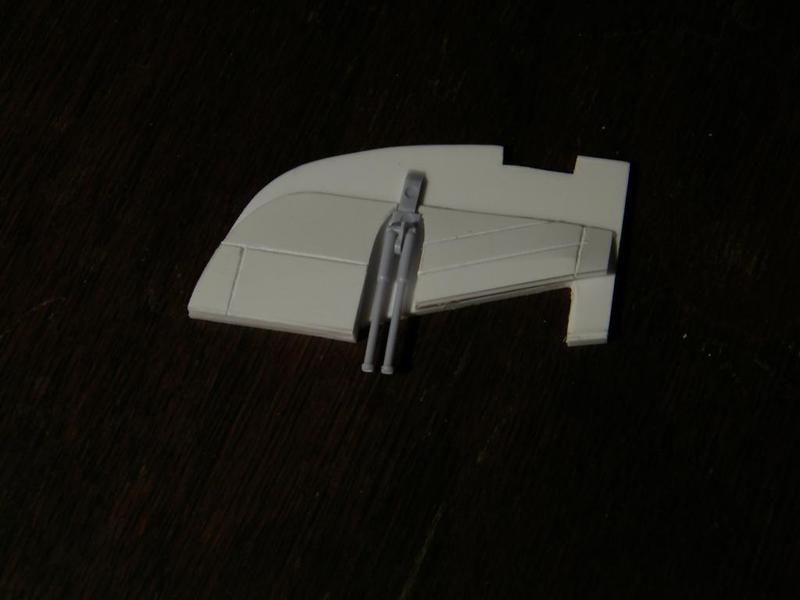
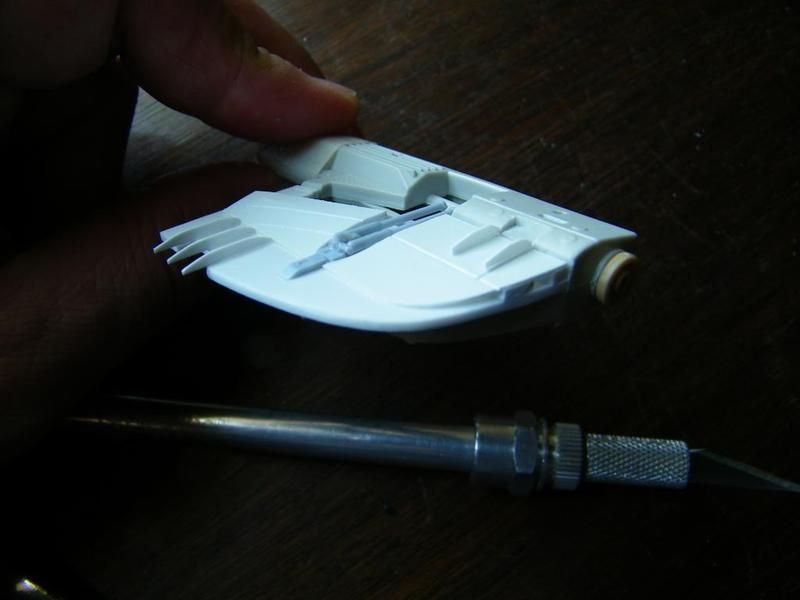
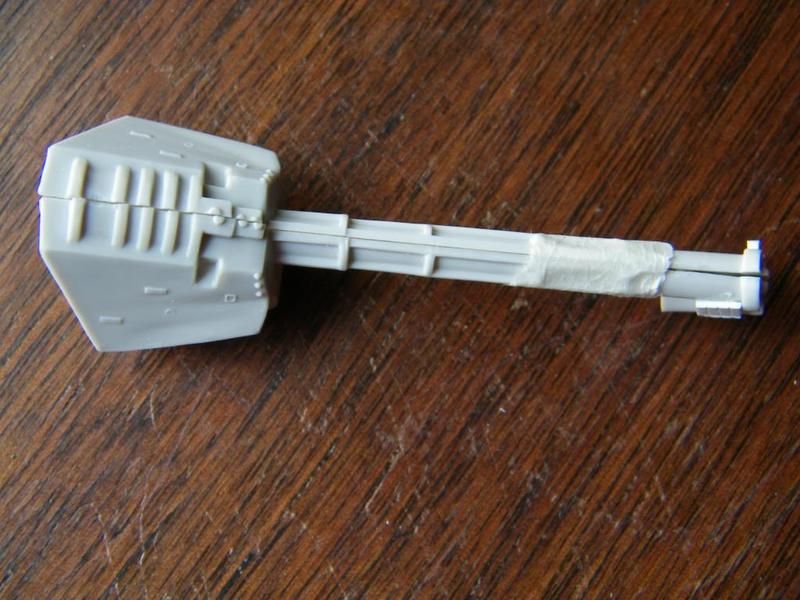
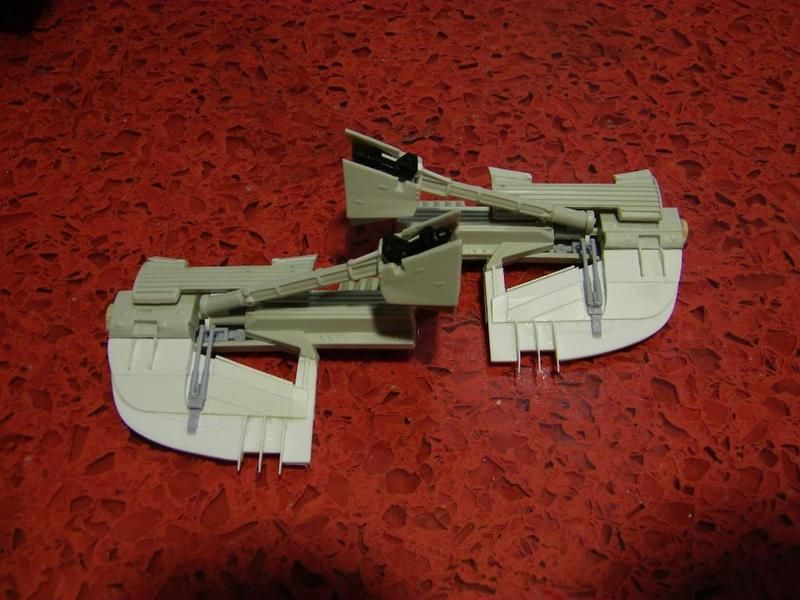
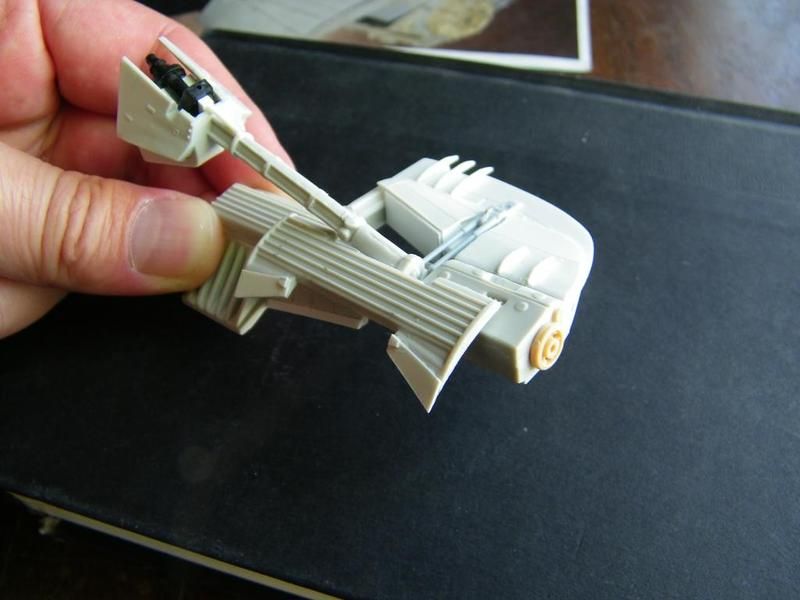
Now here's all the parts put together.
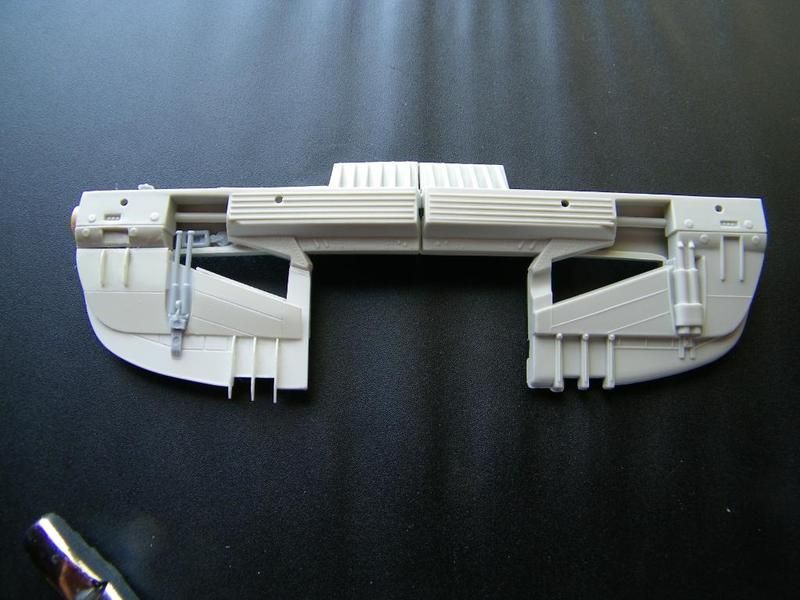
The two together.
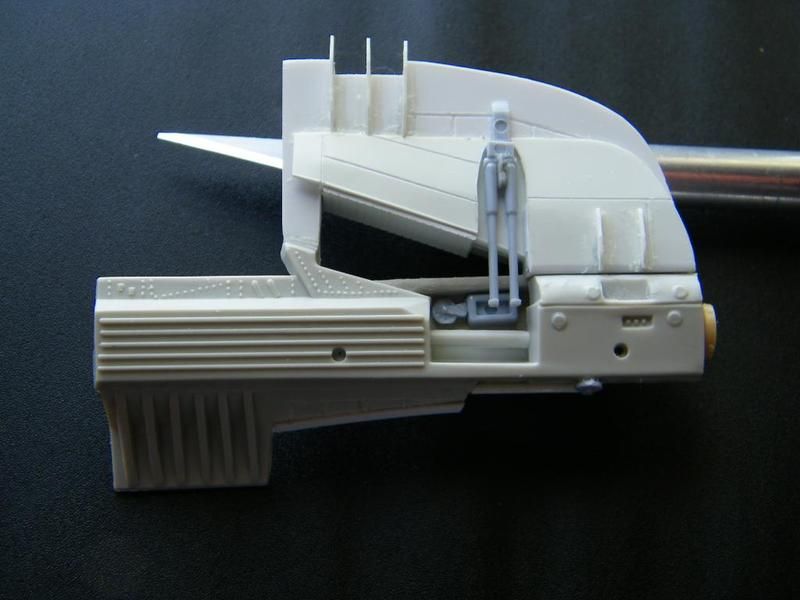
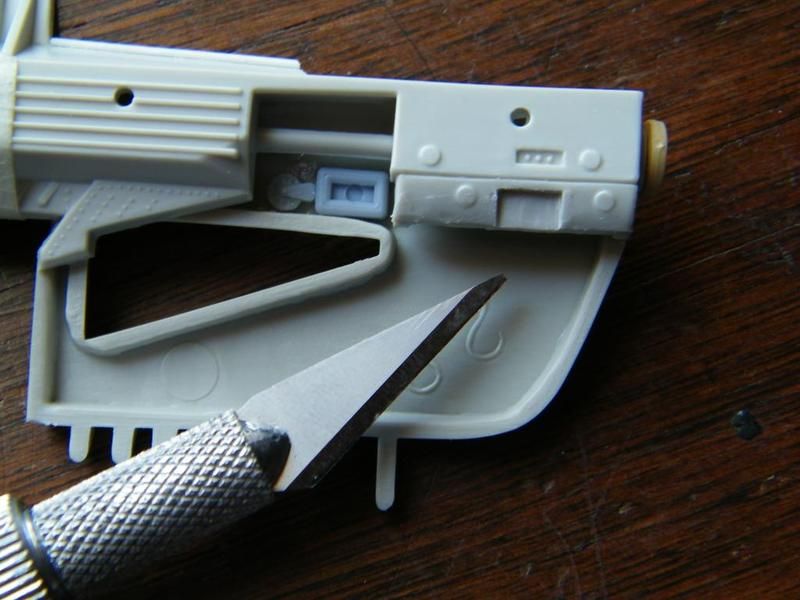
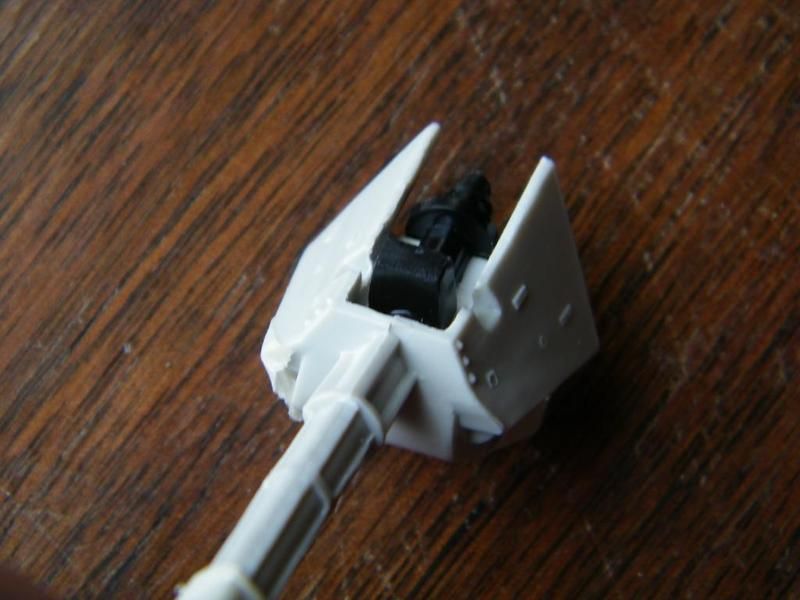
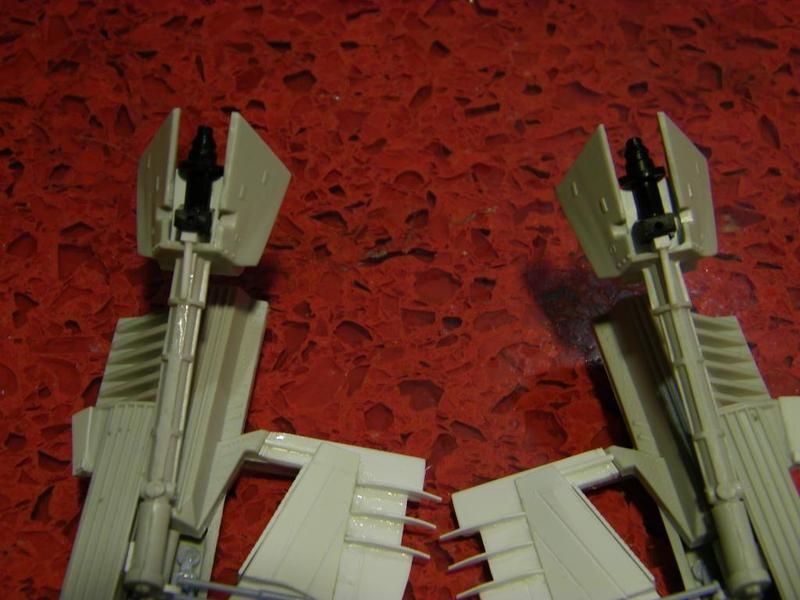
One last shot of some details.
I hope the pictures were pretty self explanatory. Thanks for looking.
First I use a piece of 1.5mm styrene.
Then I add some little bits.
Then cut some 1mm styrene.
I'm just going to use these bits for now just to match the other wing. I also glue down the 1mm pieces so they curve down. The tape is holding the curved part in place until the glue dries.
Next are these little rib type things.
Next I need to open up this gap so the rib things can line up properly.
This is how much I'll cut out.
Now here's all the parts put together.
The two together.
One last shot of some details.
I hope the pictures were pretty self explanatory. Thanks for looking.
Randy13
Sr Member
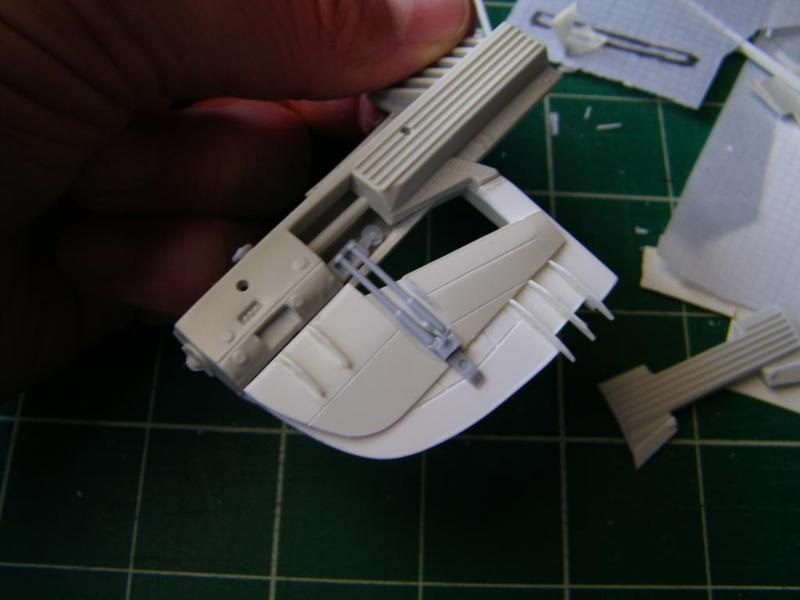
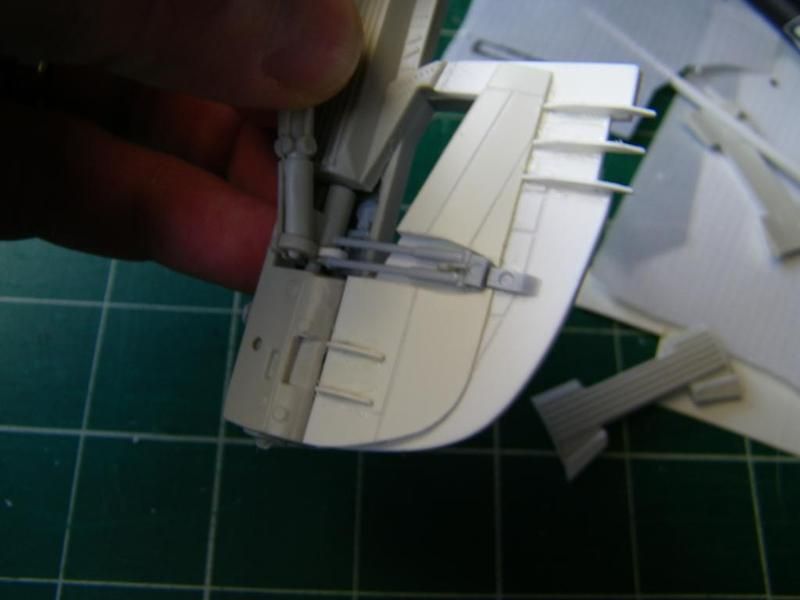
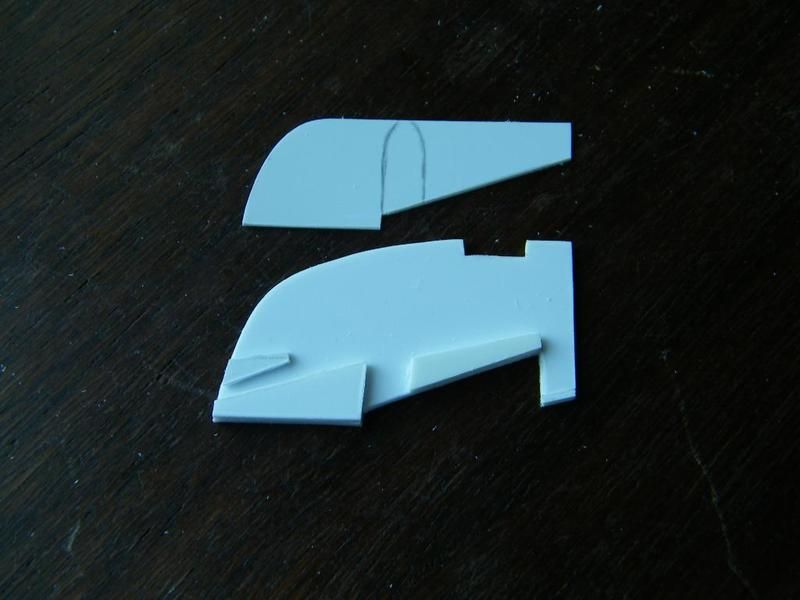
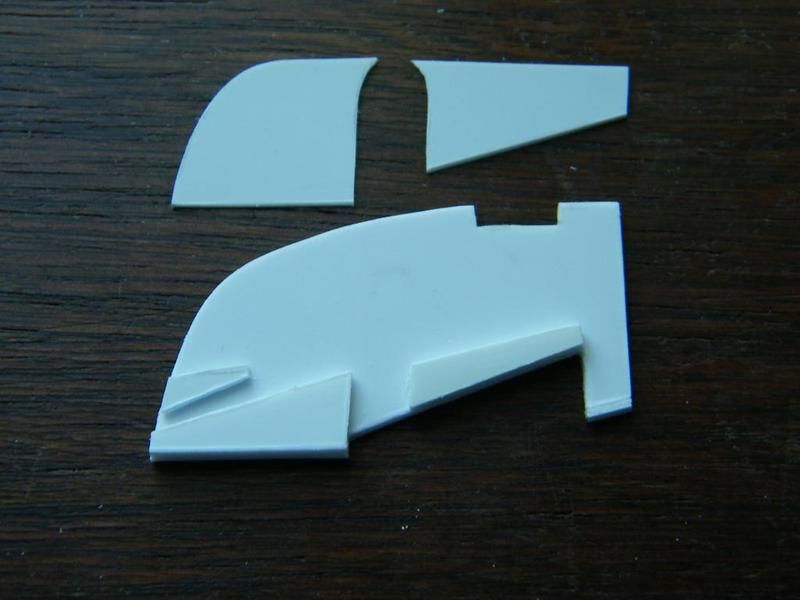
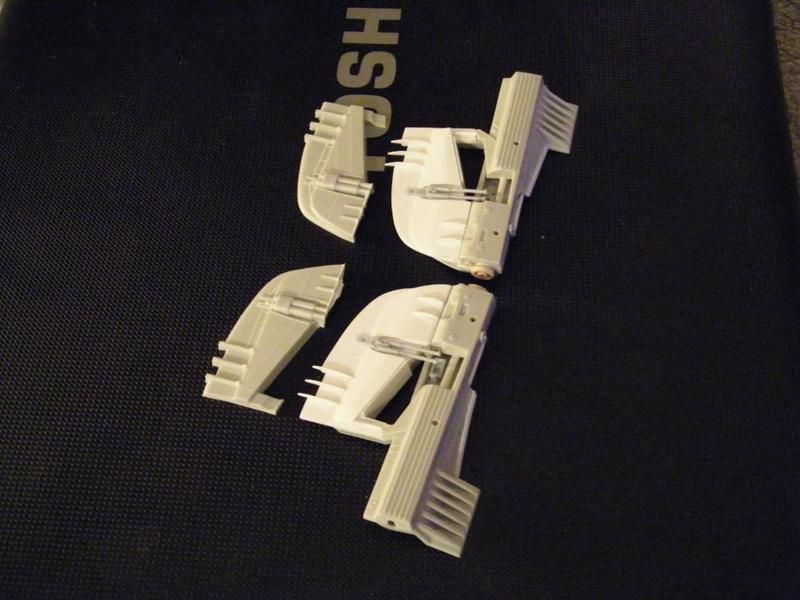
I'm not sure what these parts of the wings are called. Support struts maybe? I have filed down some of the raised parts in the middle sectionf of these struts to make it look more like the original model.
Then I cut out this section and added some axle bit from a Nascar model.
And here they are on the wings.
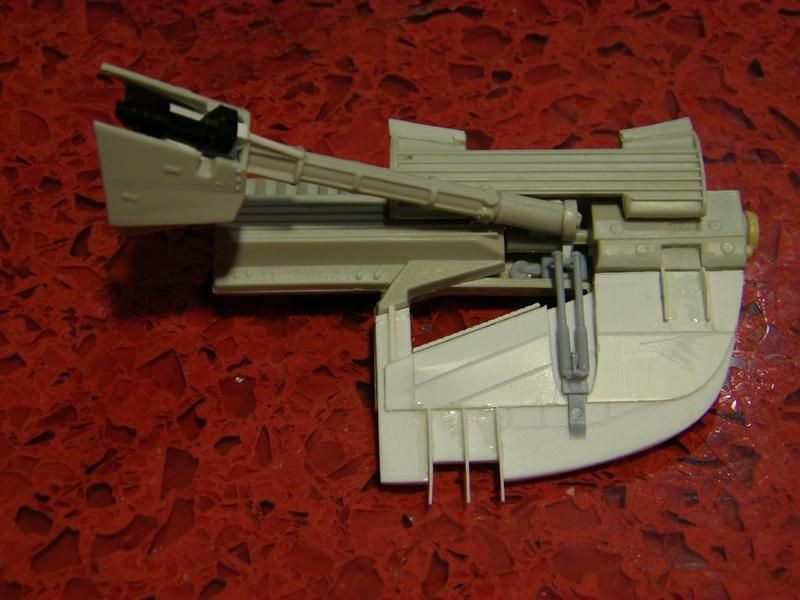
Then I cut out this section and added some axle bit from a Nascar model.
And here they are on the wings.
Nice work detailing the wings! :thumbsup
Sean
Sean
Similar threads
- Replies
- 22
- Views
- 799
- Replies
- 53
- Views
- 5,703