Thanks, I'm always on the hunt for new and decent metallizing techniques/products. I'm not familiar with this brand, is I'll need to read up on it. I'm actively learning electroplating, but good and fast painting techniques are always valuable.
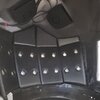
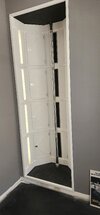
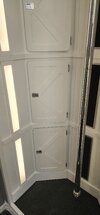
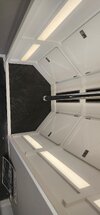
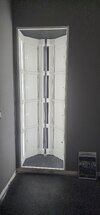
I'm a little dense at times, so please forgive the dumb questions, but are you saying that the display opens "as a door" into the adjacent room, or that the doorway no longer functions and you have to use another entrance to go into it?
I'm looking forward to seeing your suit come together. You're motivating me to restart mine, it keeps getting bumped by other projects that never get finished. Regardless, thanks...I think?