gt350pony66
Master Member
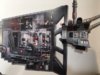
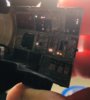
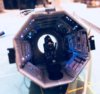
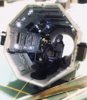
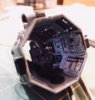
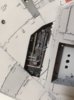
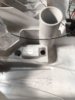
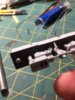
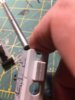
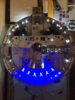
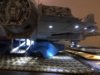
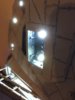
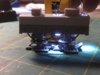
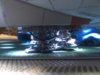
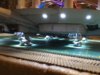
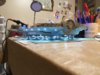
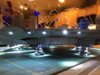
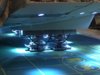
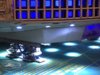
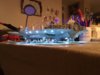
ok, well...I did do more than just this all weekend. I finalized my landing lights, installed Age of Plastic pits (forgot that pic) post later...re-joined the front and rear lower hull, several times, had to do a bit more trimming for the pits and lighting...and I di the ventral quad turret. I have the Haynes Manual book of the MF, got as close as I could with the left side panel, and borrowed an image from Korban for the right as I couldn't find a complete pic on-line. Anyway, this is what I finished up with and I added some painted brass rod for the ladder. and one rung. Drilled for .25 FO and used sharpie colors to do the mushroomed ends of the FO. Laser bond again, is VERY useful in setting you FO in place ") I kinda guessed maybe the seats are similar to the rears in the cockpit so I did that, but in a darker brown for the cushions. I'm really thinking I want to try to scratch the ladder tube with some evergreen stuff (if there isn't a part in the kit I don't know about yet) and add a chip LED or two to get that ambient light into the turret wells...we shall see.
I kinda guessed maybe the seats are similar to the rears in the cockpit so I did that, but in a darker brown for the cushions. I'm really thinking I want to try to scratch the ladder tube with some evergreen stuff (if there isn't a part in the kit I don't know about yet) and add a chip LED or two to get that ambient light into the turret wells...we shall see.
I kinda guessed maybe the seats are similar to the rears in the cockpit so I did that, but in a darker brown for the cushions. I'm really thinking I want to try to scratch the ladder tube with some evergreen stuff (if there isn't a part in the kit I don't know about yet) and add a chip LED or two to get that ambient light into the turret wells...we shall see.