Re: 1:1 R2D2 homemade scratch build
Thanks!

Haven't been done much for the last couple of days, isn't very fun to stand outside and work when the wind is screaming and it's constantly raining. Not even under a roof. Had a test at school today, so didn't even touch the R2 yesterday.
Although the parts arrived today, and I picked them up as soon as i could!
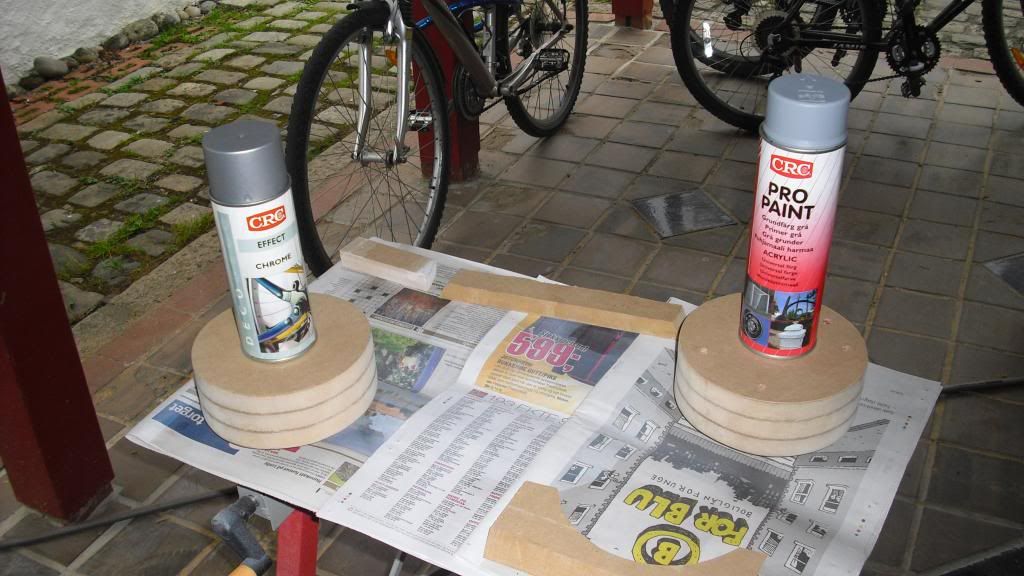
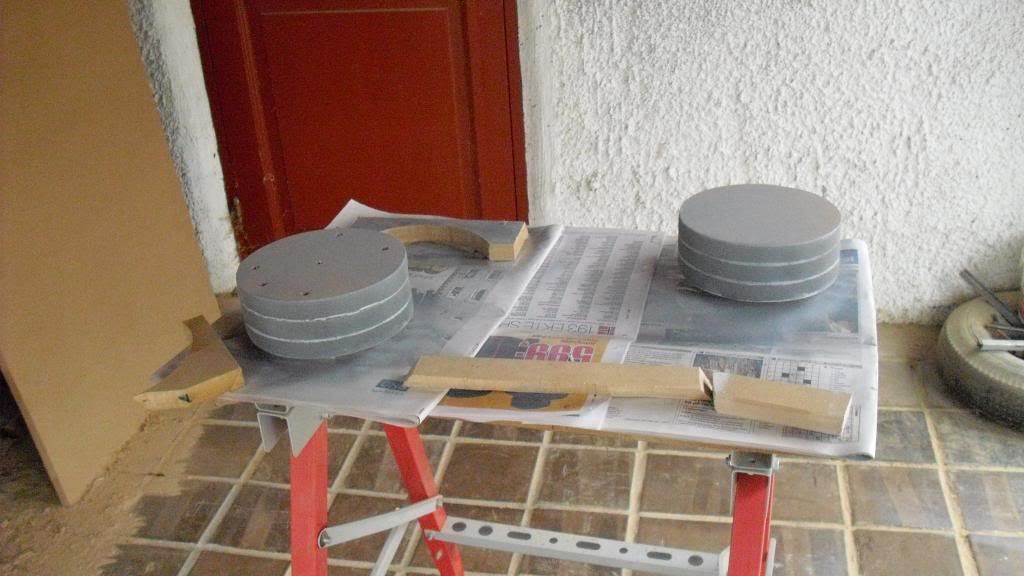
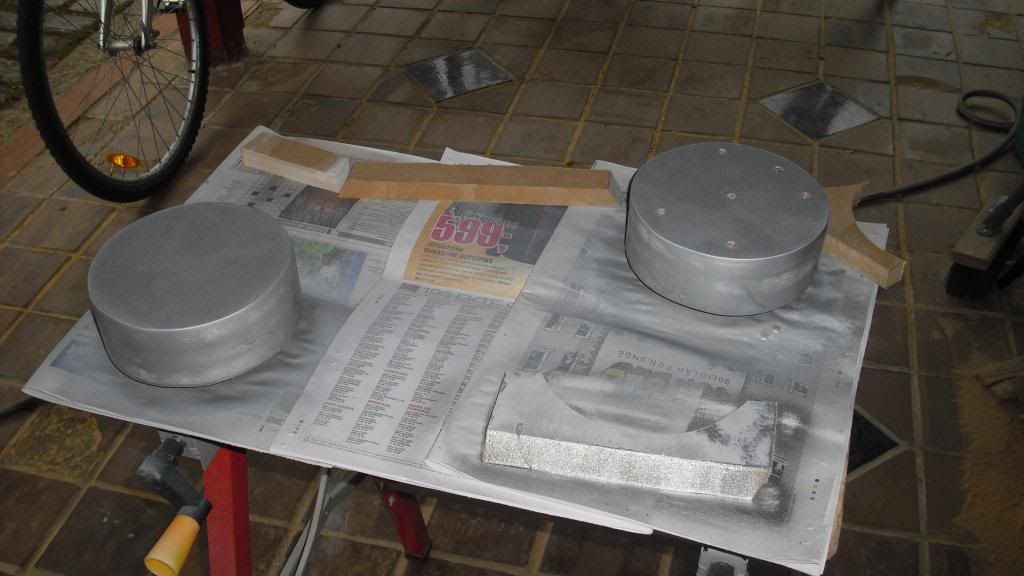
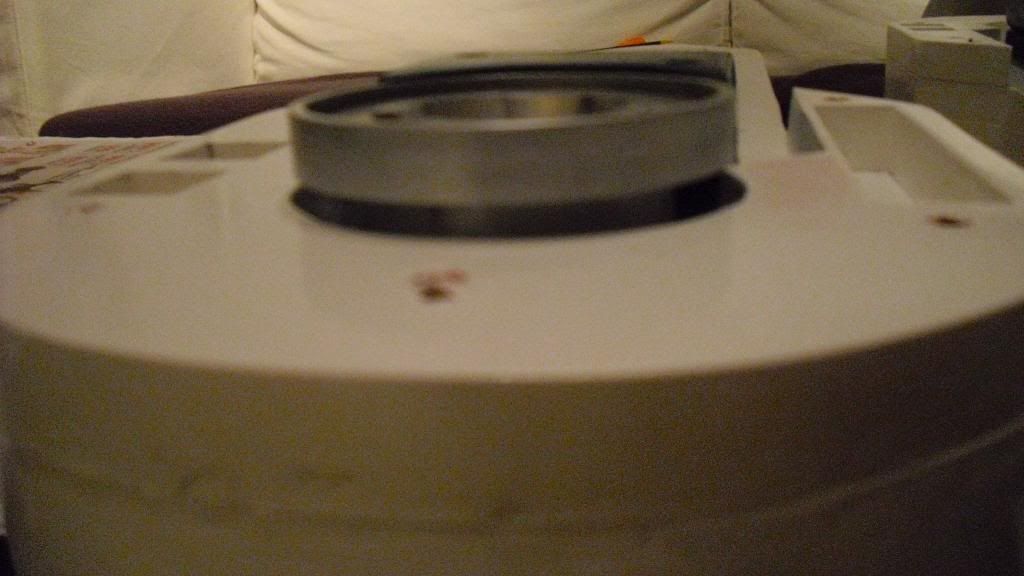
Due to the cold weather, the paint I put on today haven't dried completely yet either. But the chrome paint has finally "settled"!
If a day of nice weather come by I will try to get some clear paint on the remaining parts, the feet, center leg and dome rings could use some more.
Wonder why the painting is taking so long? Keep on reading, if not, save yourself the time
"Why don't you let the paint (or clear paint) dry inside? It would be a lot faster."
Good question! First of all, I can't having the parts drying inside without half of the house ending up smelling like paint. The parts themselves are hard to move once they are painted, because I have small piece of MDF under to get the job properly done the first time.
All the parts I paint with anything I have on top of a piece of MDF that don't stick out from the item I put on it.
Why? To elevate it from the working table. That way the paint wont drain to the bottom and team up with the newspaper, if that happens the newspaper get stuck to the part and I end up paint it again (and it doesn't look good as at it could). + This way it's also a lot easier to clean up any drops that end up at the bottom of the piece being painted.
If I didn't had a small piece of MDF under the part I could easily store the part in the shack and get right on the next one, but then again the newspaper would be nearly glued to it and impossible to get off without anything being left. Because of this, I prefer to take some time and get it right the first time
The parts look great, I used a while to get the extra material left from the casting away though, now I see why the seller Wayne don't do that. If he did he would use hours at it. The parts look like metal in real life, probably thanks to the aluminum coating!
Of course that shoulder hub also was packed in.
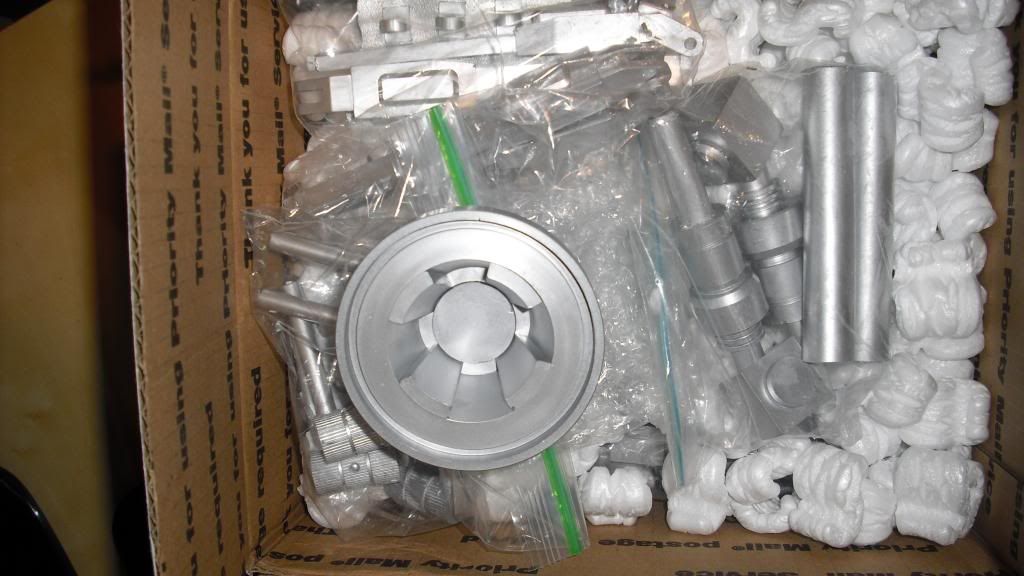
Top left: leg struts
Top right: shoulder details
Down left: shoulder buttons and shoulder hydraulics
Down right: battery harnesses
Right: shoulder hubs
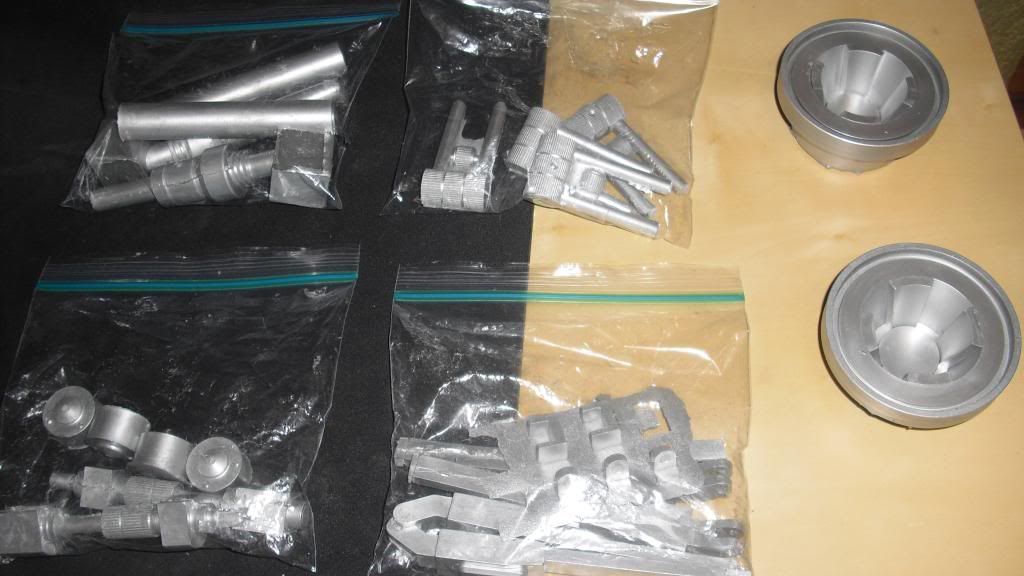
Needs some adjustment! Will cut the leg to make the shoulder hubs will go perfectly down as they should.
The shoulder buttons were just too big for the squares, my bad to make them a couple of millimeters too small. They are now in the freezer to see if that shrink them enough, not much is needed luckily. The shoulder hydraulics are glued in place and the leg struts are glued together (each leg strut were 3 individual parts).
More pictures tomorrow! More progress too!