1:1 R2D2 building from scratch - Just about done!

Re: 1:1 R2D2 homemade scratch build

I keep on underestimating the time required for one part.

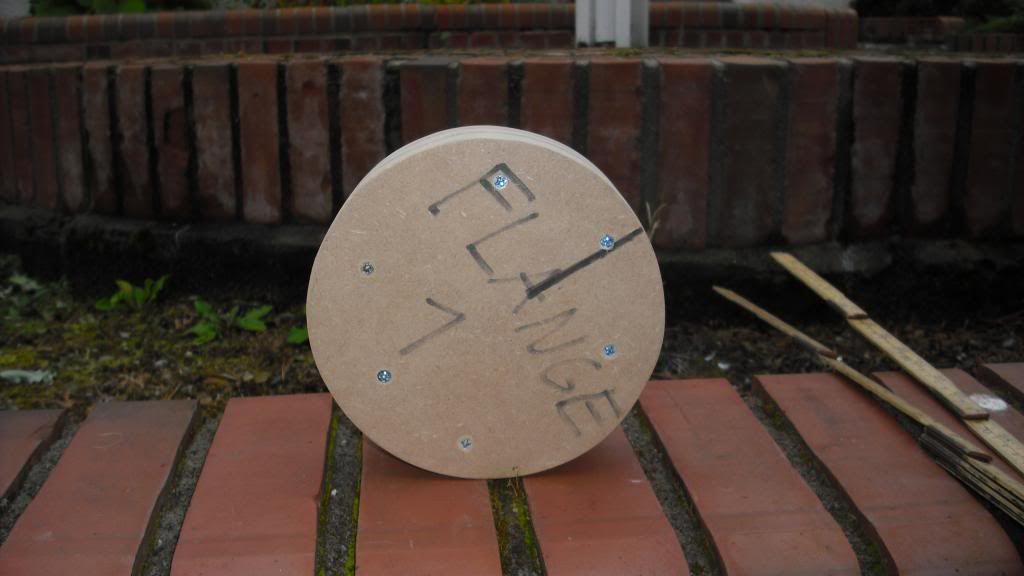
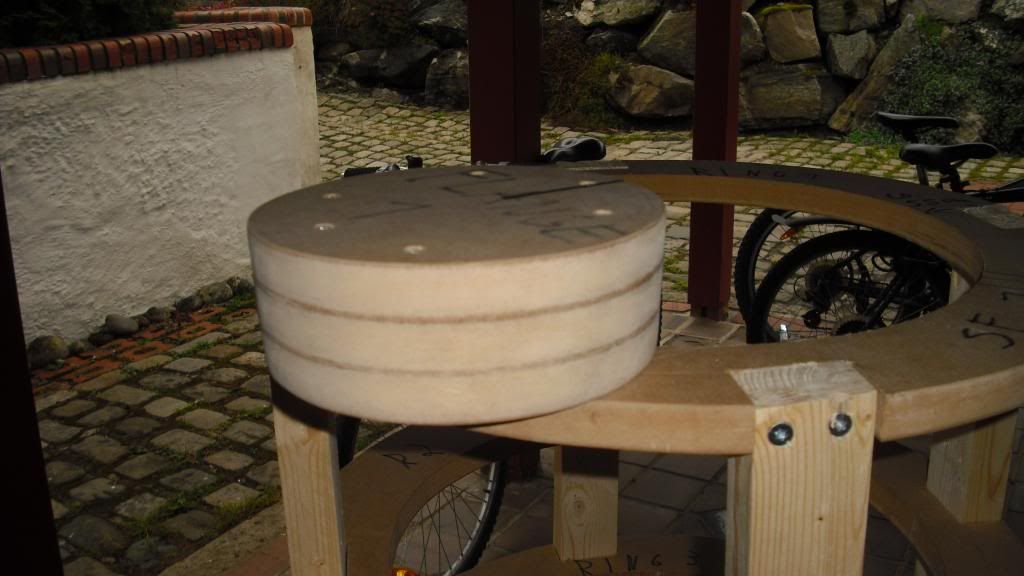
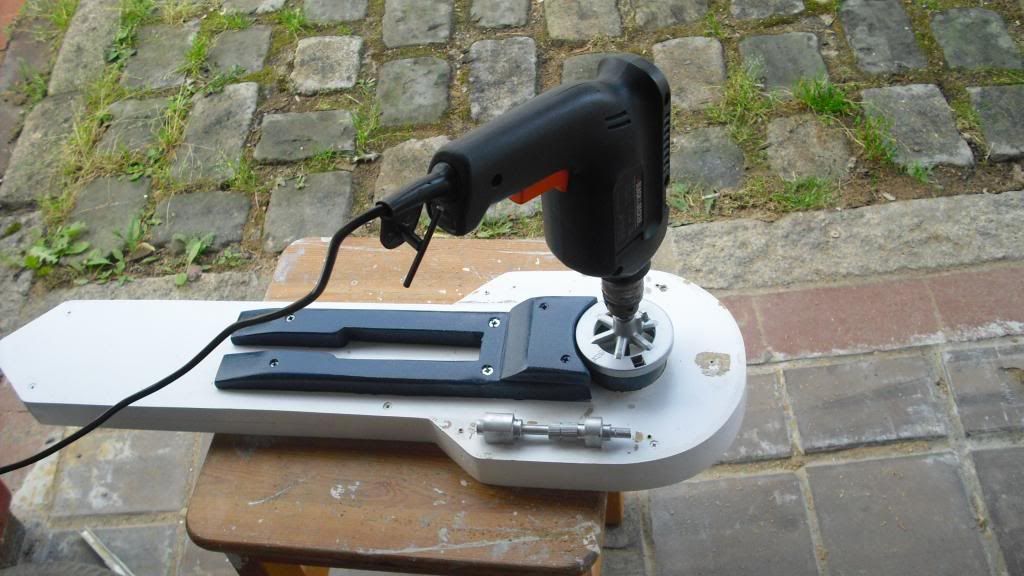
Today I have sanded down the second shoulder flange, or actually first used a rasp and then sanded it. Both with machines of course.


Belive it or not, but it's a lot rounder/like a circle in real life. :p


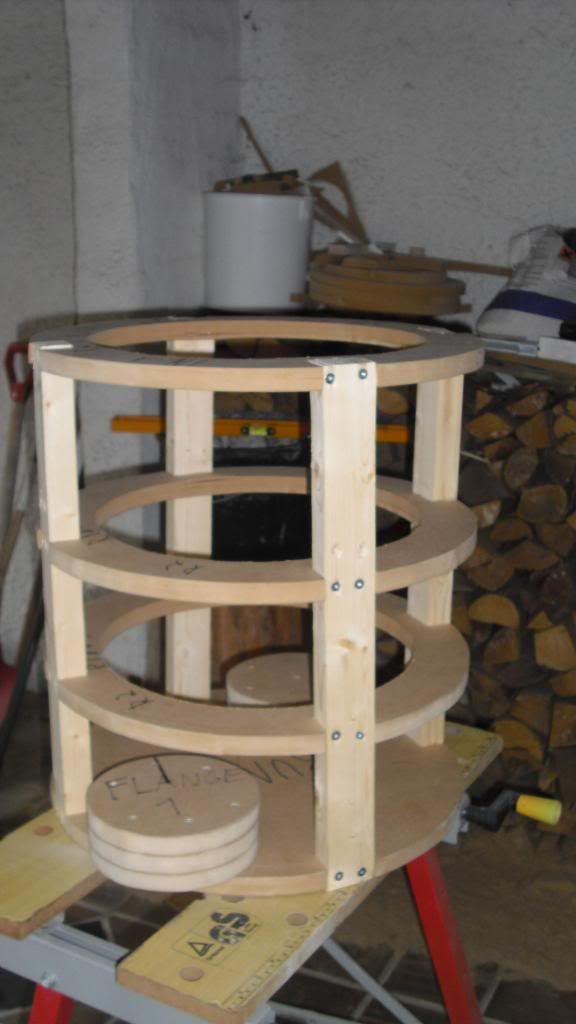
Adjusted the second highest circle in the body frame today to fit the shoulder flanges at both sides.


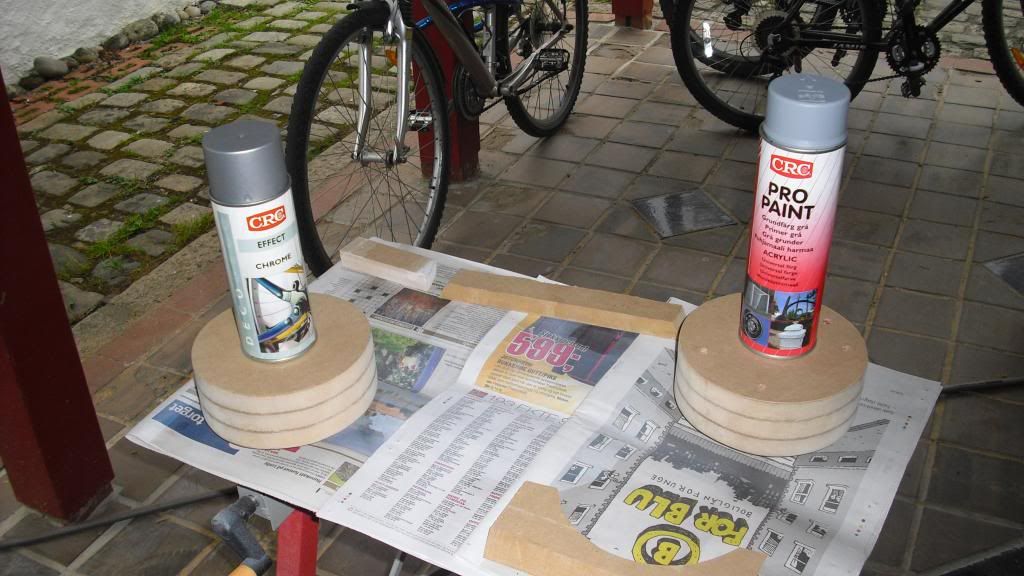
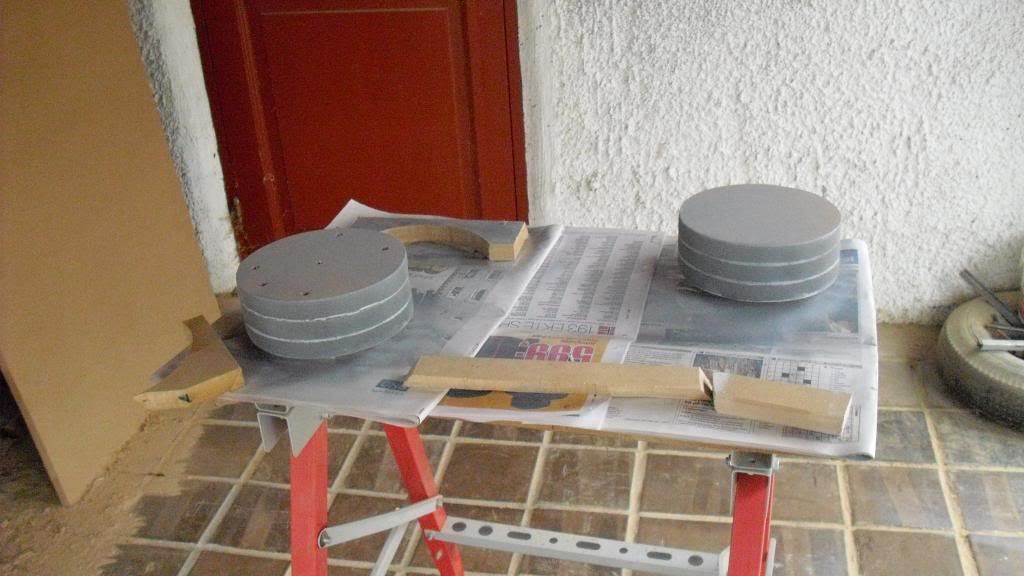
Two layers with the primer


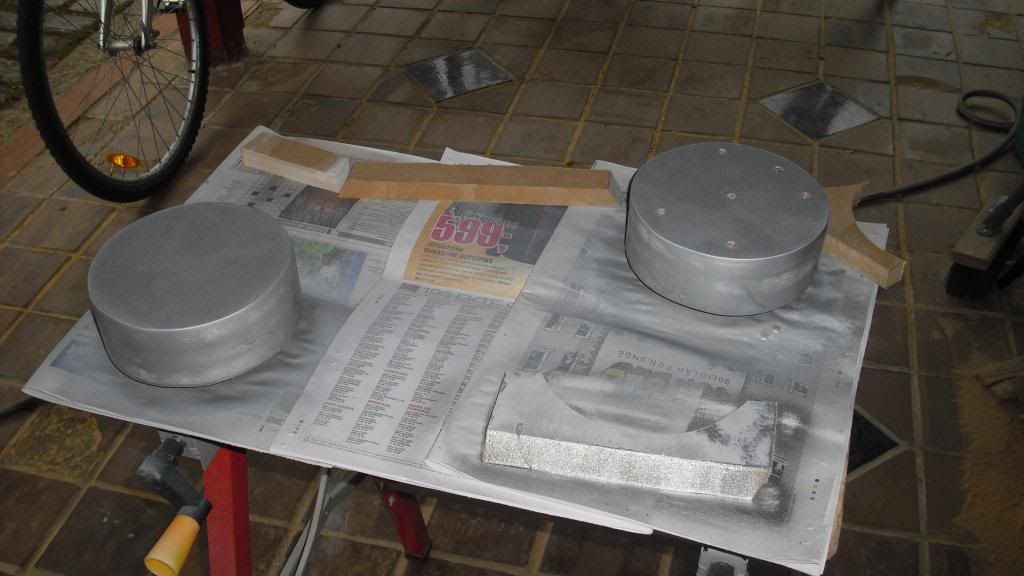
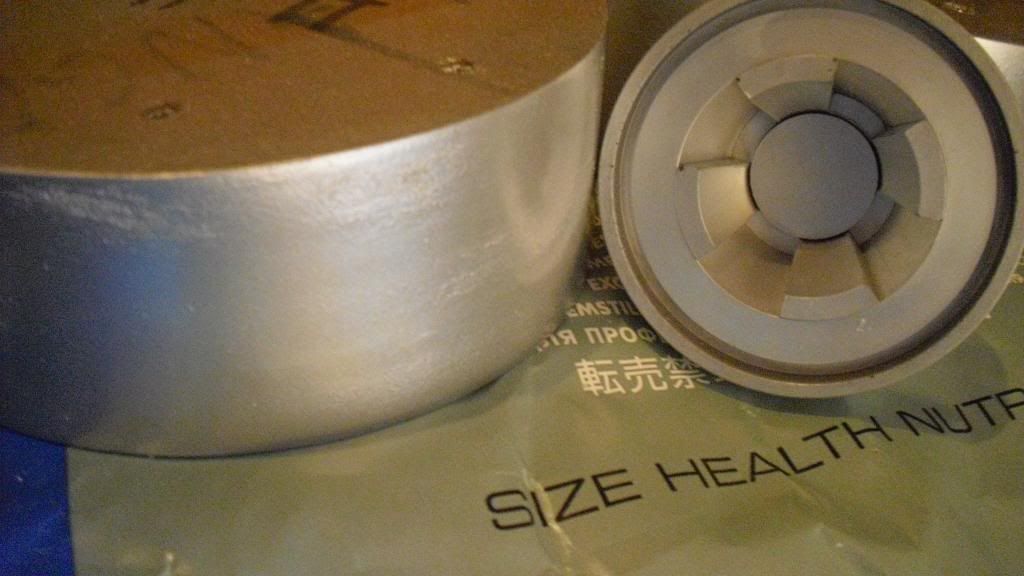
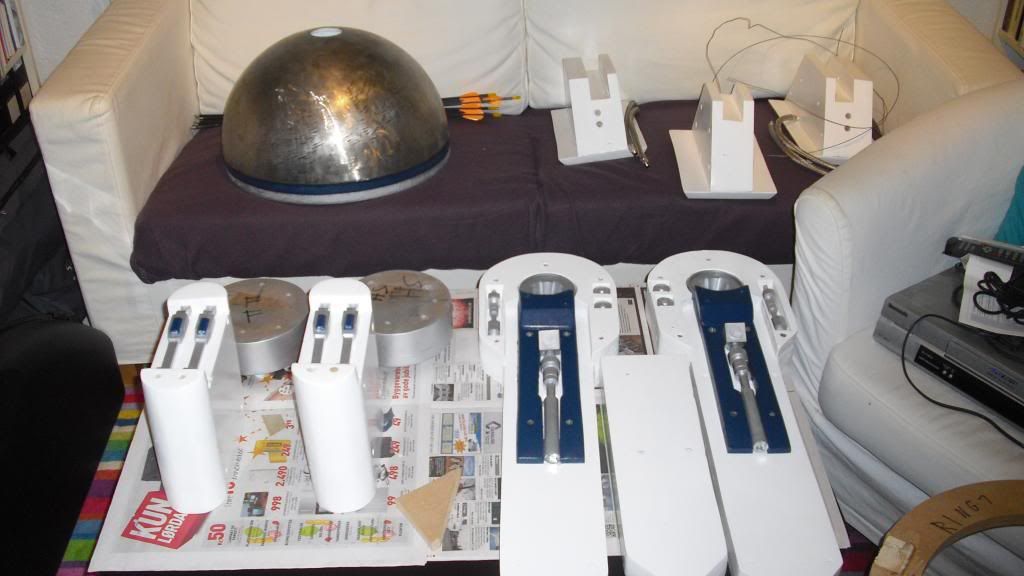
Painted the flanges with chrome 4 times and it still doesn't cover everything, maybe half. Doesn't show on the picture because this paint was just put on, will continue until the chrome is the only visible color instead of the priming :)
 
Re: 1:1 R2D2 homemade scratch build

Subscribed. If I ever made one of these droids, I would use wood too. Then if I made a 2nd one, I might use aluminum. Then if I made a 3rd one, I would use titanium. Then if I made a 4th one of these, the first three robots would build it while I watch. :D
 
Re: 1:1 R2D2 homemade scratch build

Subscribed. If I ever made one of these droids, I would use wood too. Then if I made a 2nd one, I might use aluminum. Then if I made a 3rd one, I would use titanium. Then if I made a 4th one of these, the first three robots would build it while I watch. :D

LOL! Sounds like you have it all planned out...
 
Re: 1:1 R2D2 homemade scratch build

Thanks everyone! :D

My dream is to somewhere in my 20s or 30s to build one out of aluminum too! :)
Then maybe I got enough cash to to it, with all the details in metal and stuff.

Amazing DJ, well worked out plan, I like it!
 
Re: 1:1 R2D2 homemade scratch build

your dome appears to be a ikea 18 inch hanging light correct?
 
Re: 1:1 R2D2 homemade scratch build

This is an amazing build. That is a lot of MDF to shape. But you're doing a great job.
 
Re: 1:1 R2D2 homemade scratch build

Thanks! :D

Haven't been done much for the last couple of days, isn't very fun to stand outside and work when the wind is screaming and it's constantly raining. Not even under a roof. Had a test at school today, so didn't even touch the R2 yesterday.

Although the parts arrived today, and I picked them up as soon as i could! :)

Due to the cold weather, the paint I put on today haven't dried completely yet either. But the chrome paint has finally "settled"!
If a day of nice weather come by I will try to get some clear paint on the remaining parts, the feet, center leg and dome rings could use some more.


Wonder why the painting is taking so long? Keep on reading, if not, save yourself the time :)

"Why don't you let the paint (or clear paint) dry inside? It would be a lot faster."
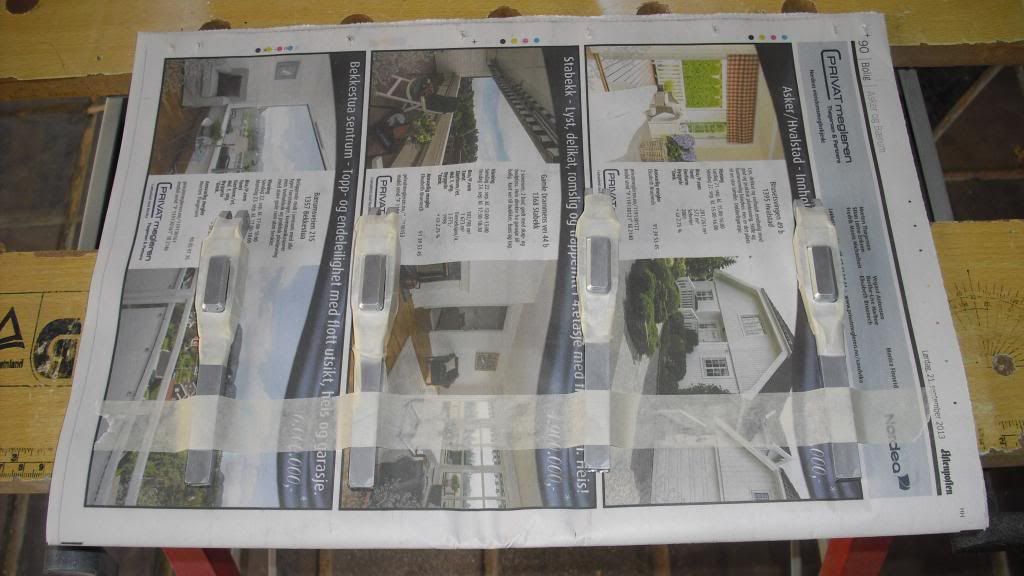
Good question! First of all, I can't having the parts drying inside without half of the house ending up smelling like paint. The parts themselves are hard to move once they are painted, because I have small piece of MDF under to get the job properly done the first time.

All the parts I paint with anything I have on top of a piece of MDF that don't stick out from the item I put on it.
Why? To elevate it from the working table. That way the paint wont drain to the bottom and team up with the newspaper, if that happens the newspaper get stuck to the part and I end up paint it again (and it doesn't look good as at it could). + This way it's also a lot easier to clean up any drops that end up at the bottom of the piece being painted.
If I didn't had a small piece of MDF under the part I could easily store the part in the shack and get right on the next one, but then again the newspaper would be nearly glued to it and impossible to get off without anything being left. Because of this, I prefer to take some time and get it right the first time :)


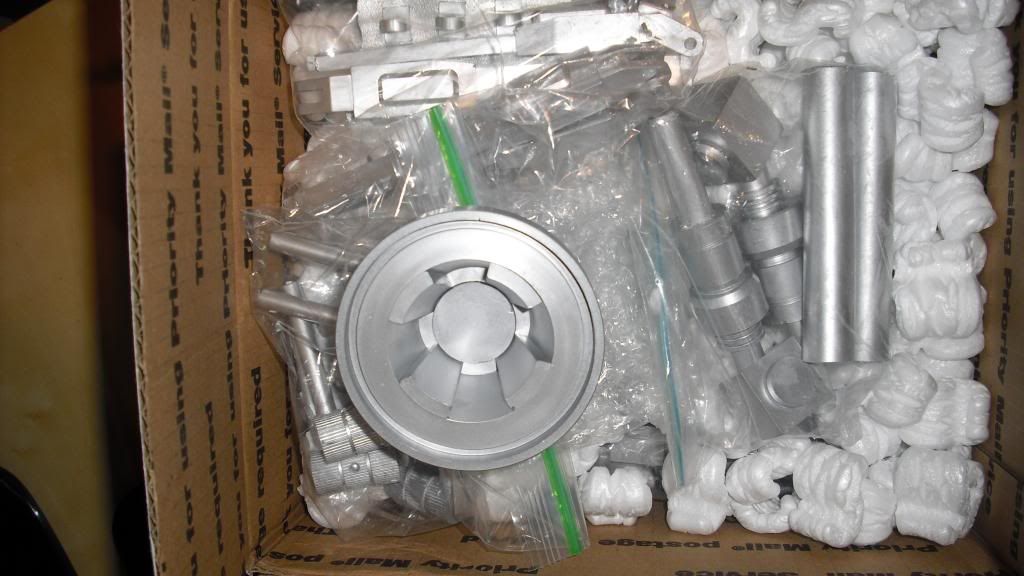
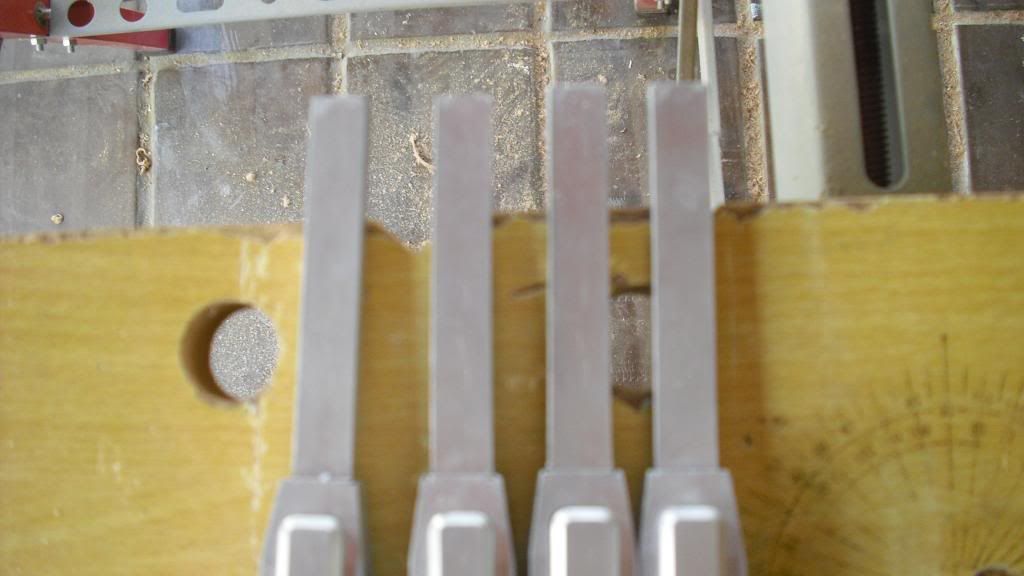
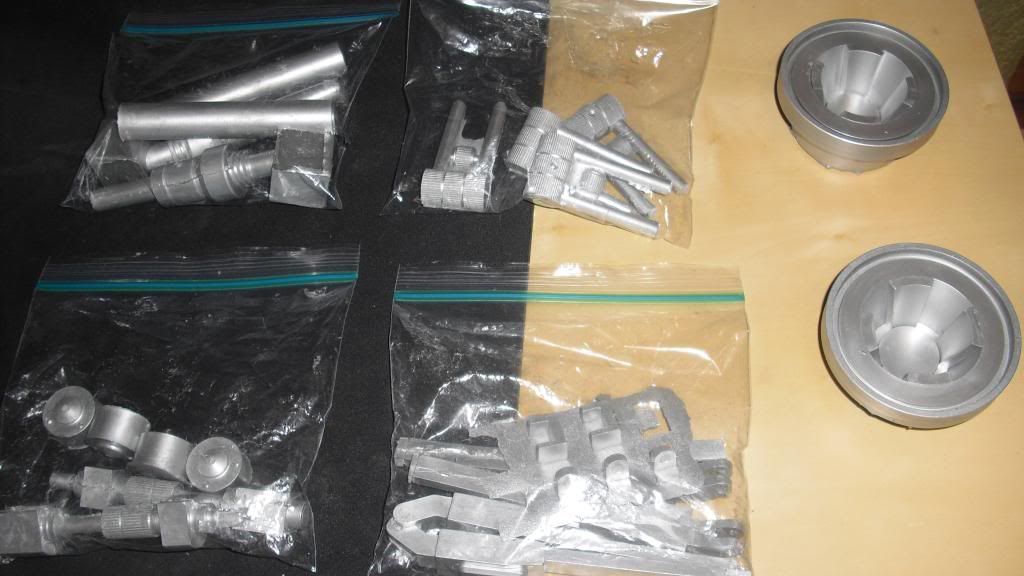
The parts look great, I used a while to get the extra material left from the casting away though, now I see why the seller Wayne don't do that. If he did he would use hours at it. The parts look like metal in real life, probably thanks to the aluminum coating!

Of course that shoulder hub also was packed in. ;)


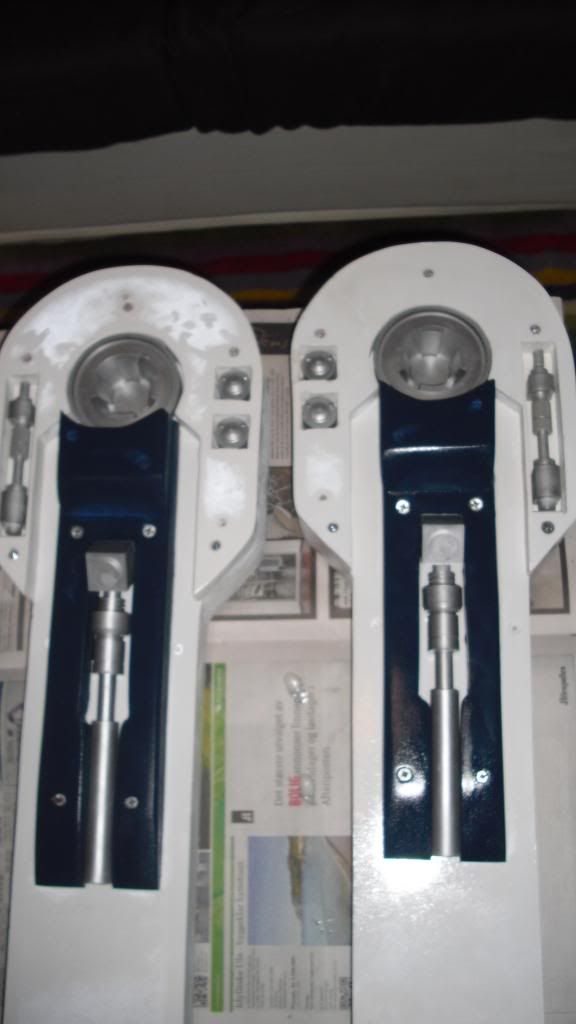
Top left: leg struts
Top right: shoulder details
Down left: shoulder buttons and shoulder hydraulics
Down right: battery harnesses
Right: shoulder hubs

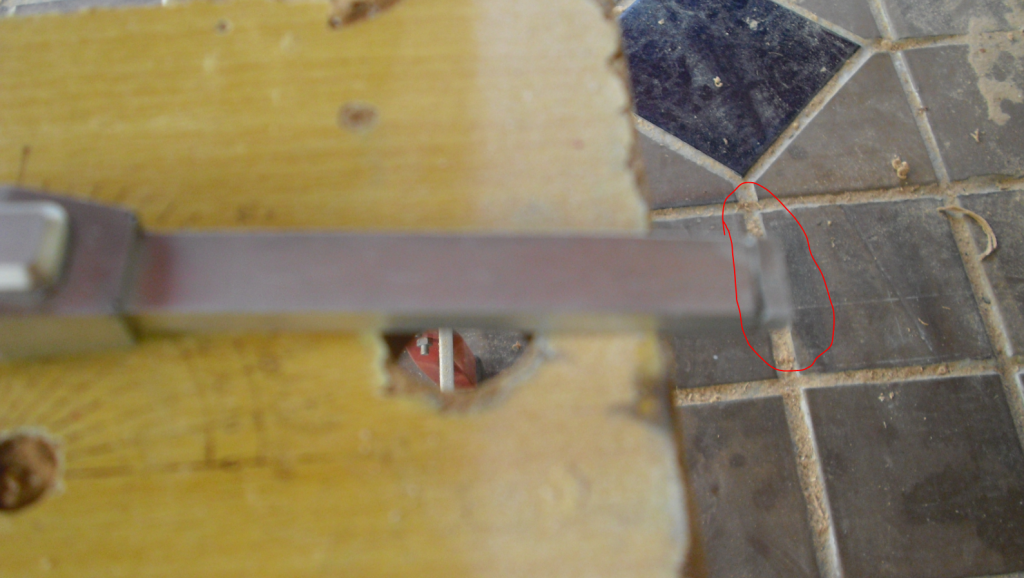
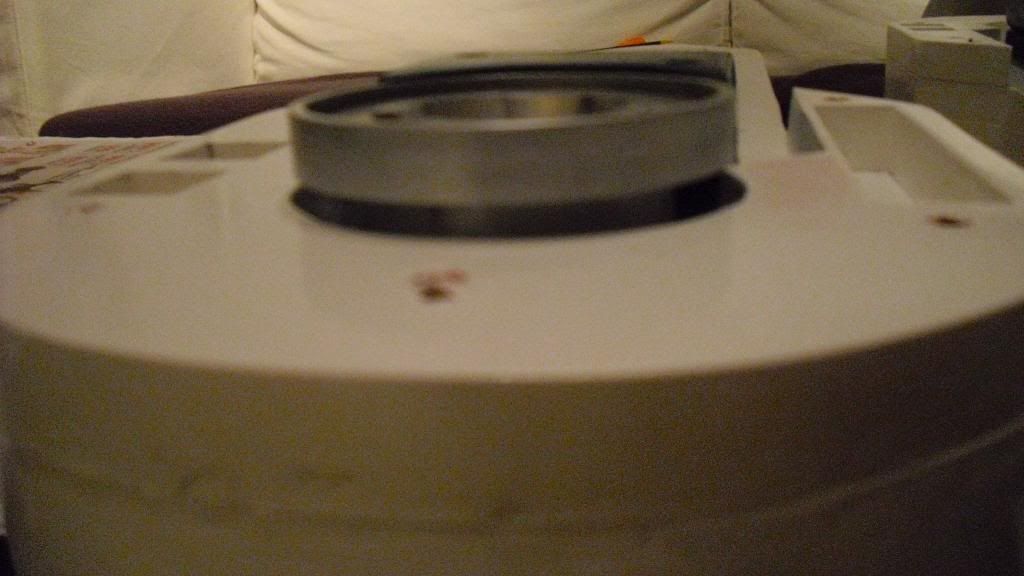
Needs some adjustment! Will cut the leg to make the shoulder hubs will go perfectly down as they should.


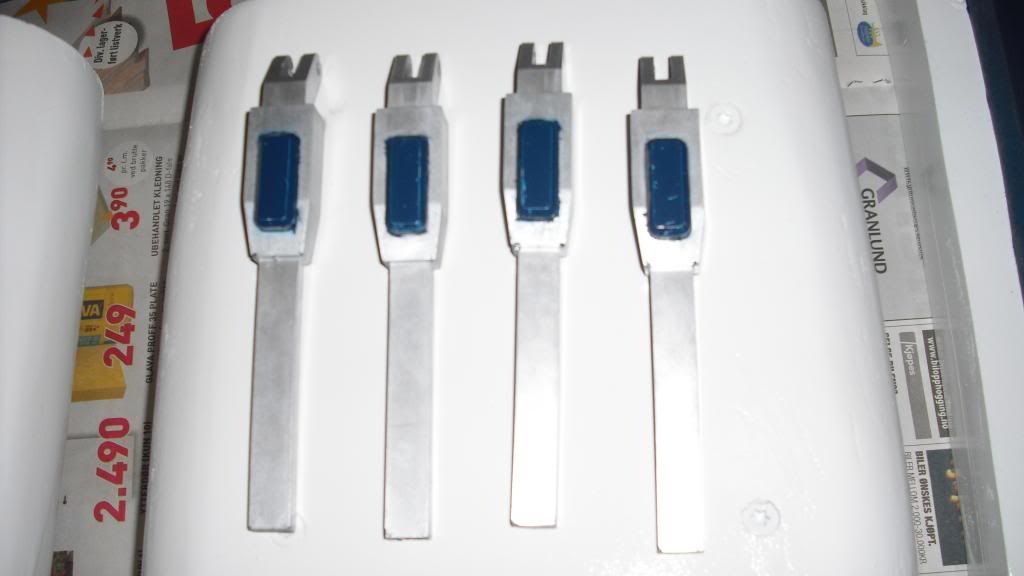
The shoulder buttons were just too big for the squares, my bad to make them a couple of millimeters too small. They are now in the freezer to see if that shrink them enough, not much is needed luckily. The shoulder hydraulics are glued in place and the leg struts are glued together (each leg strut were 3 individual parts).


More pictures tomorrow! More progress too!
 
Re: 1:1 R2D2 homemade scratch build

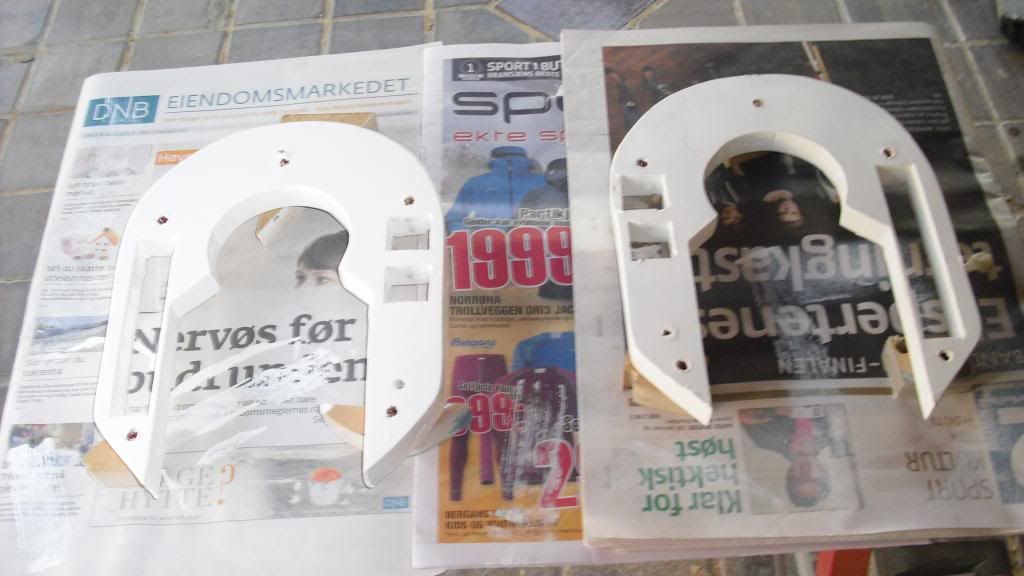
One of the horse shoes were HARD to get off, hurt it during the progress - that will just make it look more weathered! :D
Left a couple of marks, but it covered it ut again.


Squared holes has been extended and painted again.


Made the holes for the shoulder hubs today too, but the battery drill quickly wen't dry and didn't do the job that well. Switched to a drill of higher caliber, and worked great if you see past all the smoke it was producing (from the friction).


The color is identical enough to me.


The weird stuff on the top on the left is condensation. The condensation got there because I forgot about the horse shoes laying outside to dry and it was already dark and cold before I remembered it, lol. Screwed them together in a hurry and glued on the remaining pieces (the leg strut isn't glued yet on this picture).


It has been a slow week, I know. But it will get finished! :)


Great news:
Not the next week, but the week after that I can work a few days or a full week (don't know how many days yet) and make some more money to get closer to finish the R2. The next buy-priority is high impact polyester sheets as they will be used to make the body and parts of the feet.
 
Last edited:
Re: 1:1 R2D2 homemade scratch build

Thanks to all of you! :D

Yodamann, not for sale, sorry! R2D2s aren't made as replicas and sold like some typical props, you have to make one ;)


Added two small beams to mount the shoulder flanges and the legs to the body. Screwed at top, glued at bottom.


Of course the ankle had to crack on two different places when I cut it.


Start of the two center ankles.


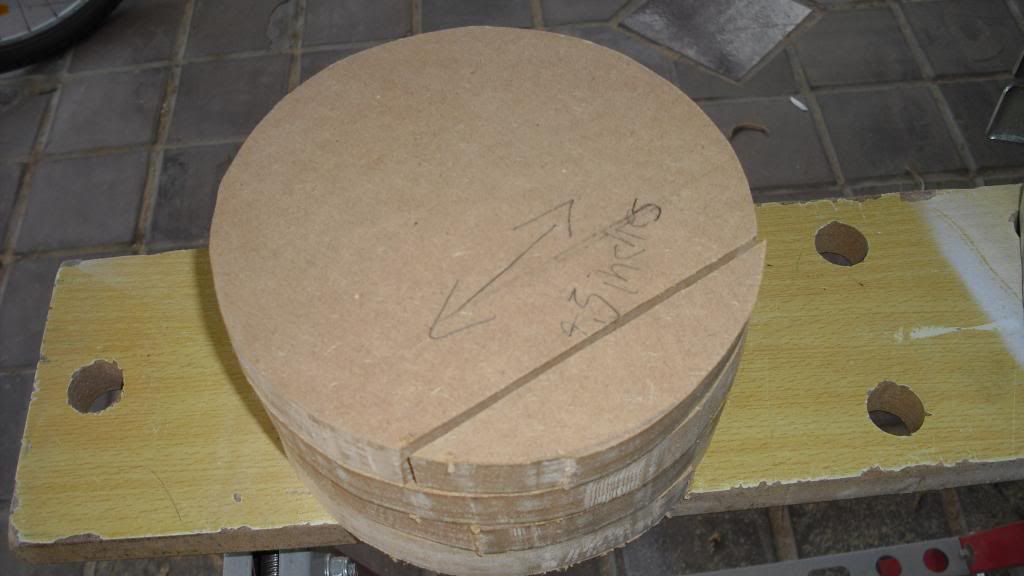
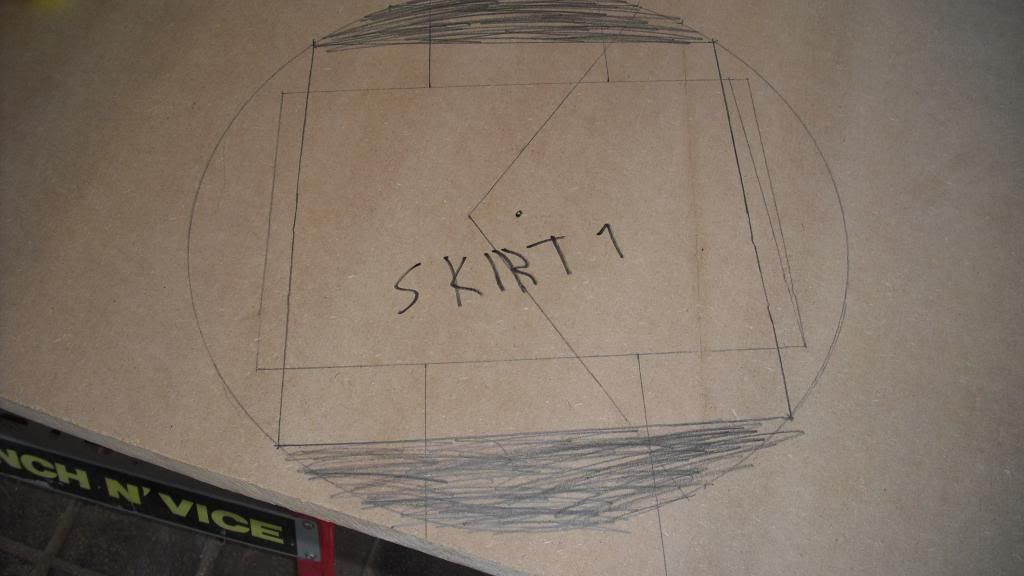
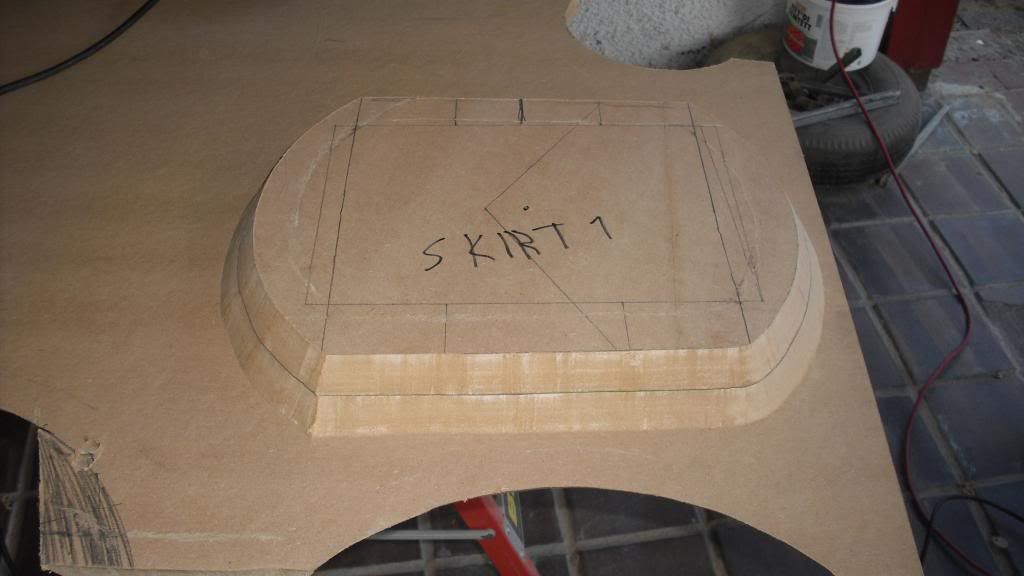
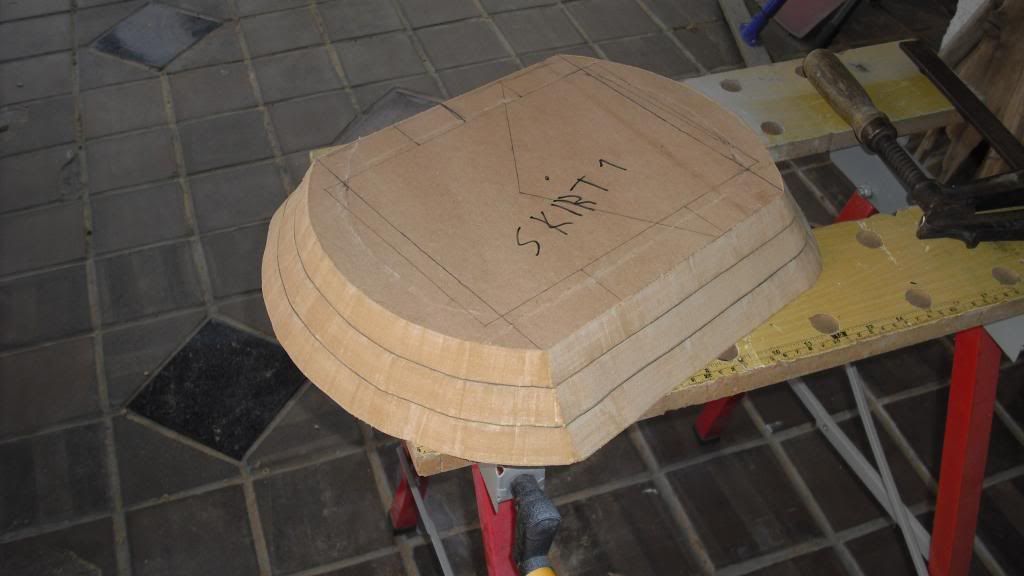
The start of the skirt.


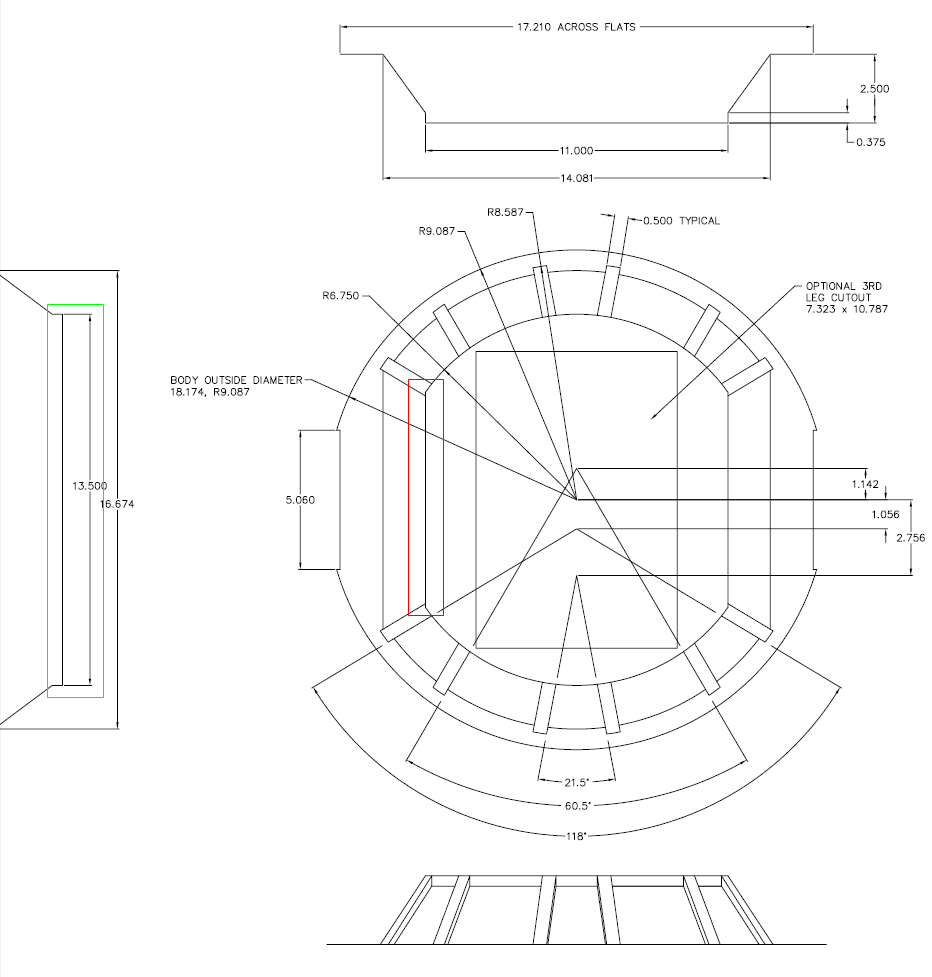
The scrambled areas will be out, not certain if correct, wasn't on the drawing.


Is the area marked in green the length of the area marked in red?

I am uncertain how to look at it, but want to get it as accurate as possible.


Cut all the battery harnesses


And painted


Re: 1:1 R2D2 homemade scratch build

Tomorrow I will smooth out the skirt and sand it, and look for a small plank to have at the sides of the skirts when I get the opportunity.


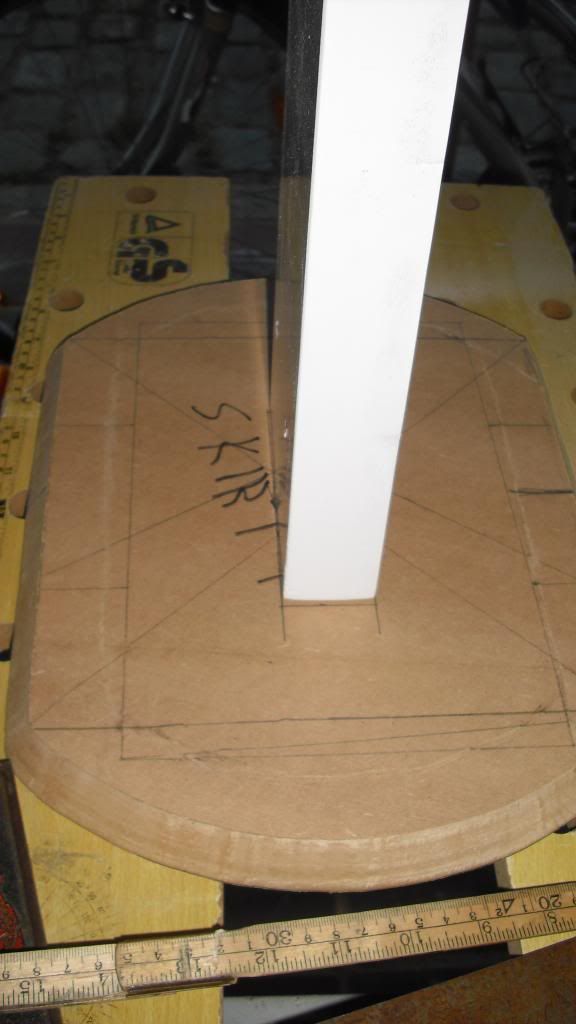
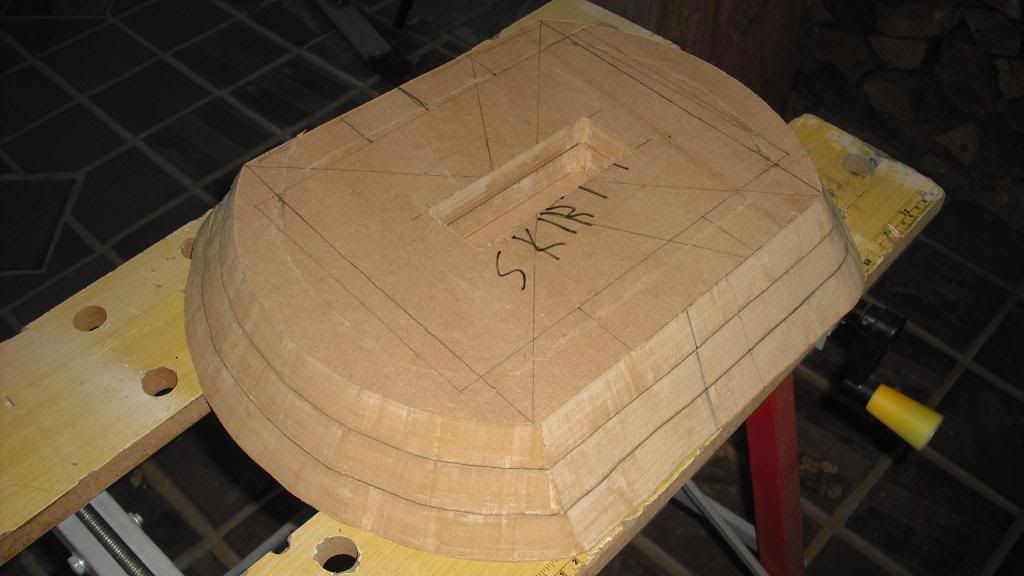
Two of the MDF-pieces have a hole cut out for the center leg. The leg will be cut to the correct length soon and glued in place.


A shot of the parts except from the skirt and both of the ankles. The second outer ankle is finished, just forgot to take picture. Will do it tomorrow, even though it's about identical to the first one.. :D
The steel wire is for the hoses, to keep them in place.


Next week I will be away to work, so won't be any updates as I won't have internet connection either. After that I can at least buy the high impact polyester sheets = the feet can be finished!
 
Last edited:
Back
Top