Re: Full Sized T-Rex Dinosaur Skull - advice on coating/finishing/painting rigid foam
Happy Jurassic June!
Sorry for the delay in posting...it took a few weeks (off and on) but I'm happy to say the fiberglassing is finally DONE!
I waited out the winter and moved the project outside into a car shelter to avoid any possible VOC problems from the epoxy and dust particles from the fiberglass.
I decided not to mess with any polyester resin (yet) due to the risk of melting the foam. I used almost 3 gallons of epoxy to cover the entire surface area of the skull.
I ran out of the original 2 gallons of counter top resin I had so I decided to buy smaller batches as I needed it to finish the fiberglassing.
The second type of epoxy I tried was West System (way more expensive but clearly superior than the counter top stuff...cures extremely hard and more sandable).
When I ran out of West System, I tried some cheaper "Envirotex" brand that I found at Michael's (the 50% off coupons didn't hurt!). To compare, 1L of West System was around $80 (with hardener) and the Michael's stuff was around $30 for the same volume. The cheaper brand cures slightly more "rubbery"/flexible but it was perfectly adequate for finishing off this stage of the project.
I used a combination of fiberglass mat and woven cloth. Lost track of how many sheets I bought but it was quite a few (maybe around 10 sheets of 8 sq feet - so around 80 sq feet was needed to coat the whole skull.
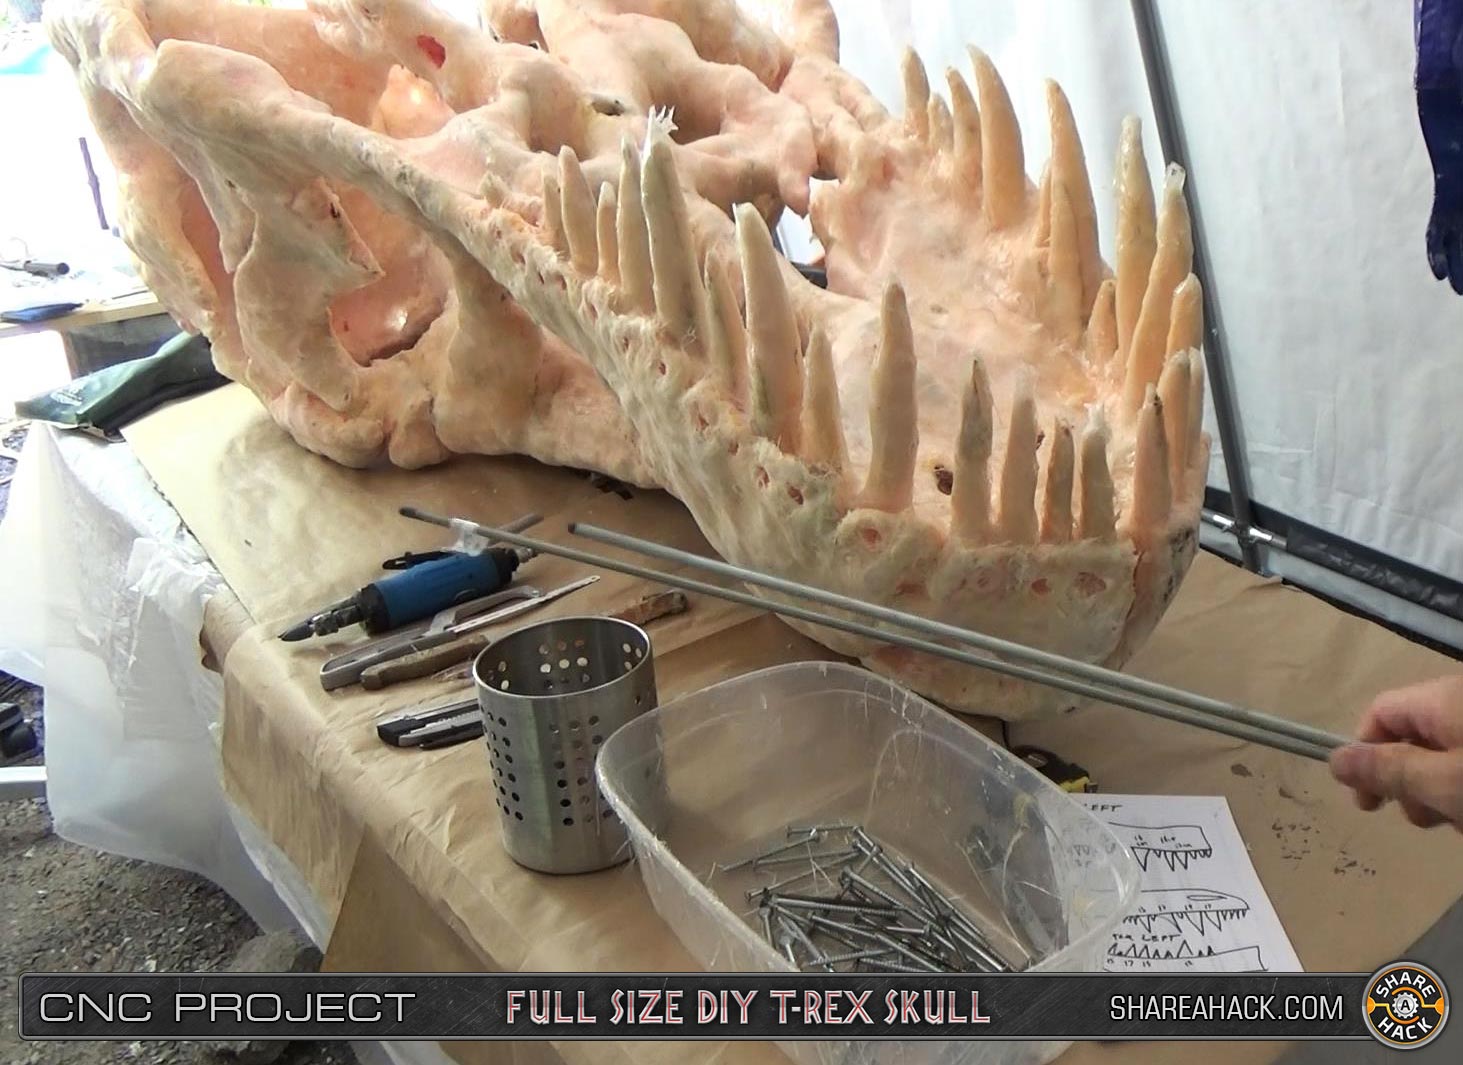
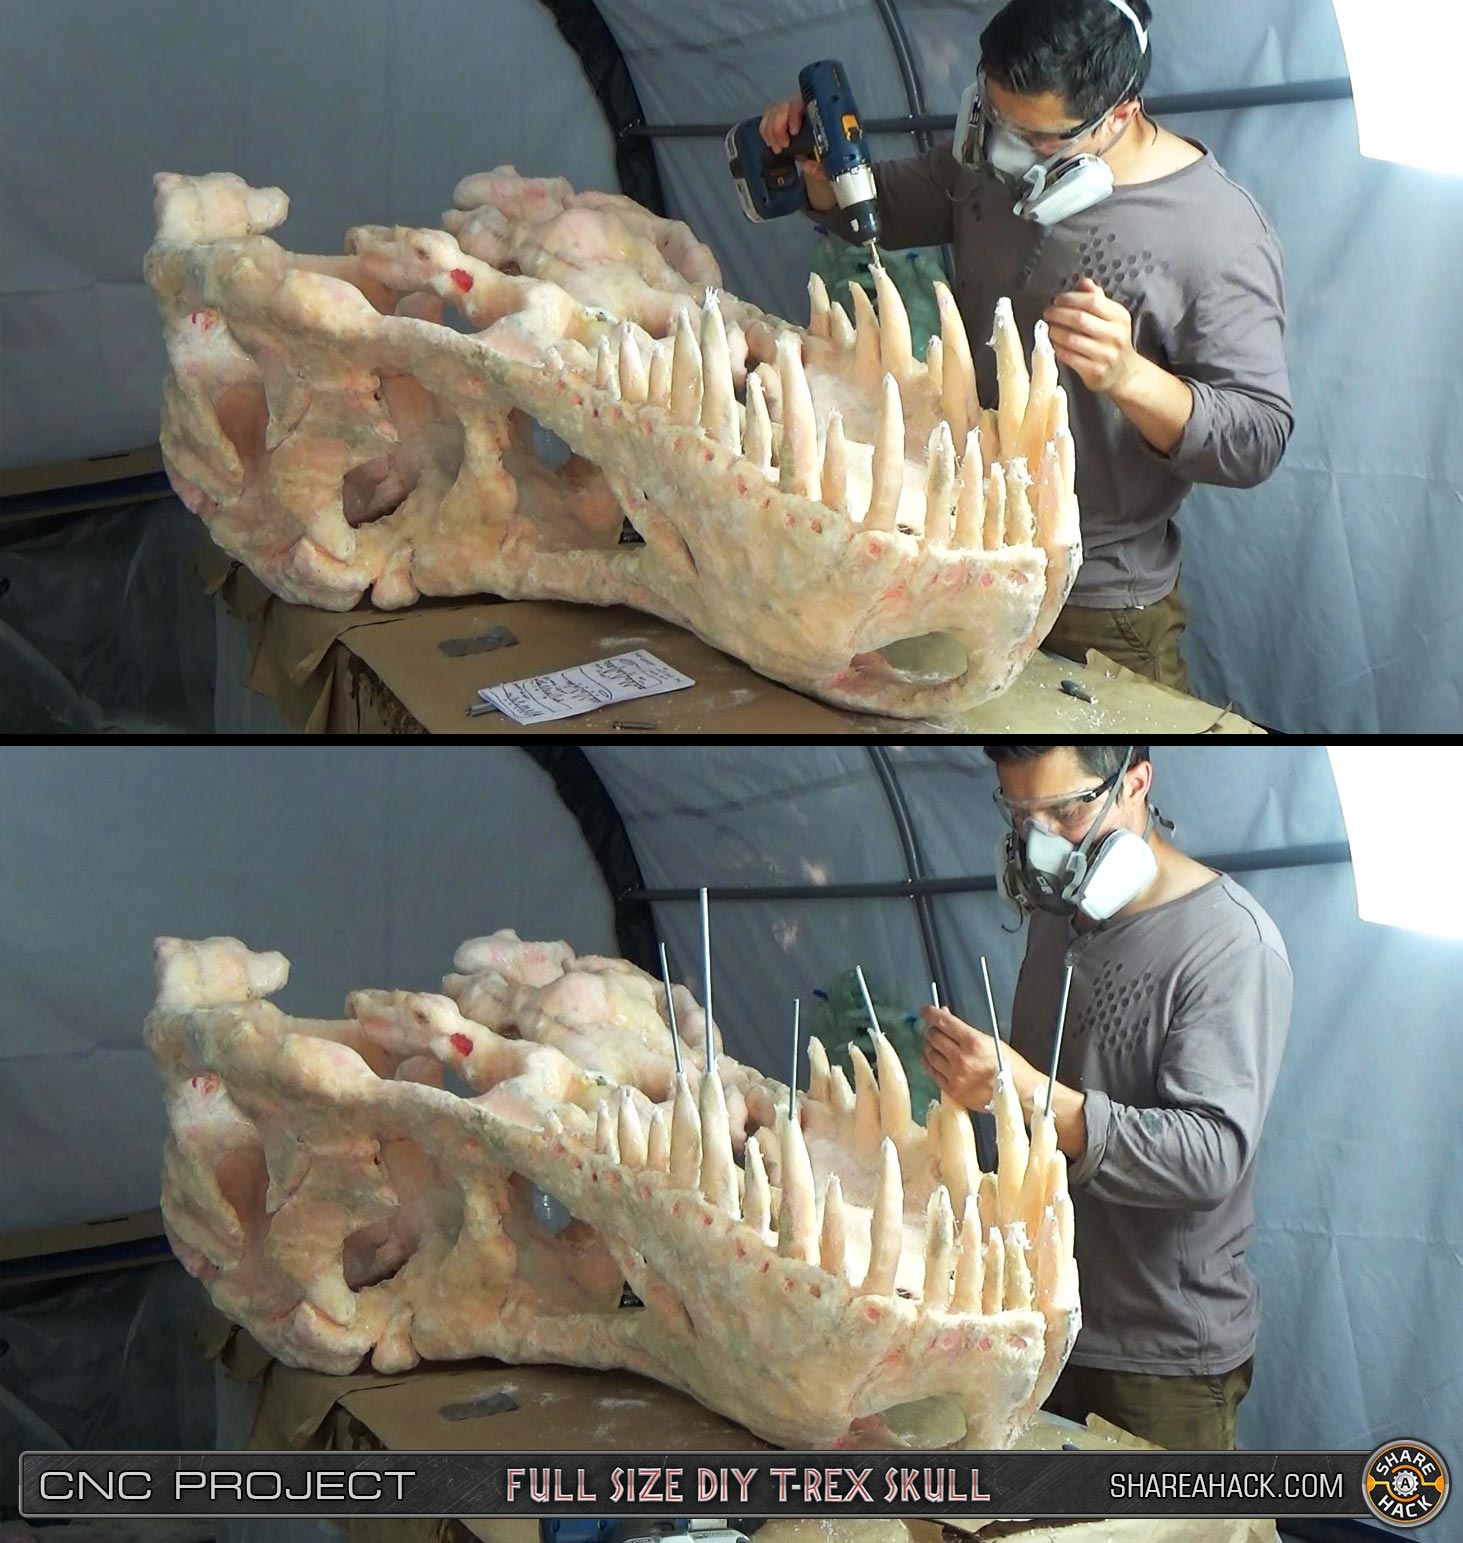
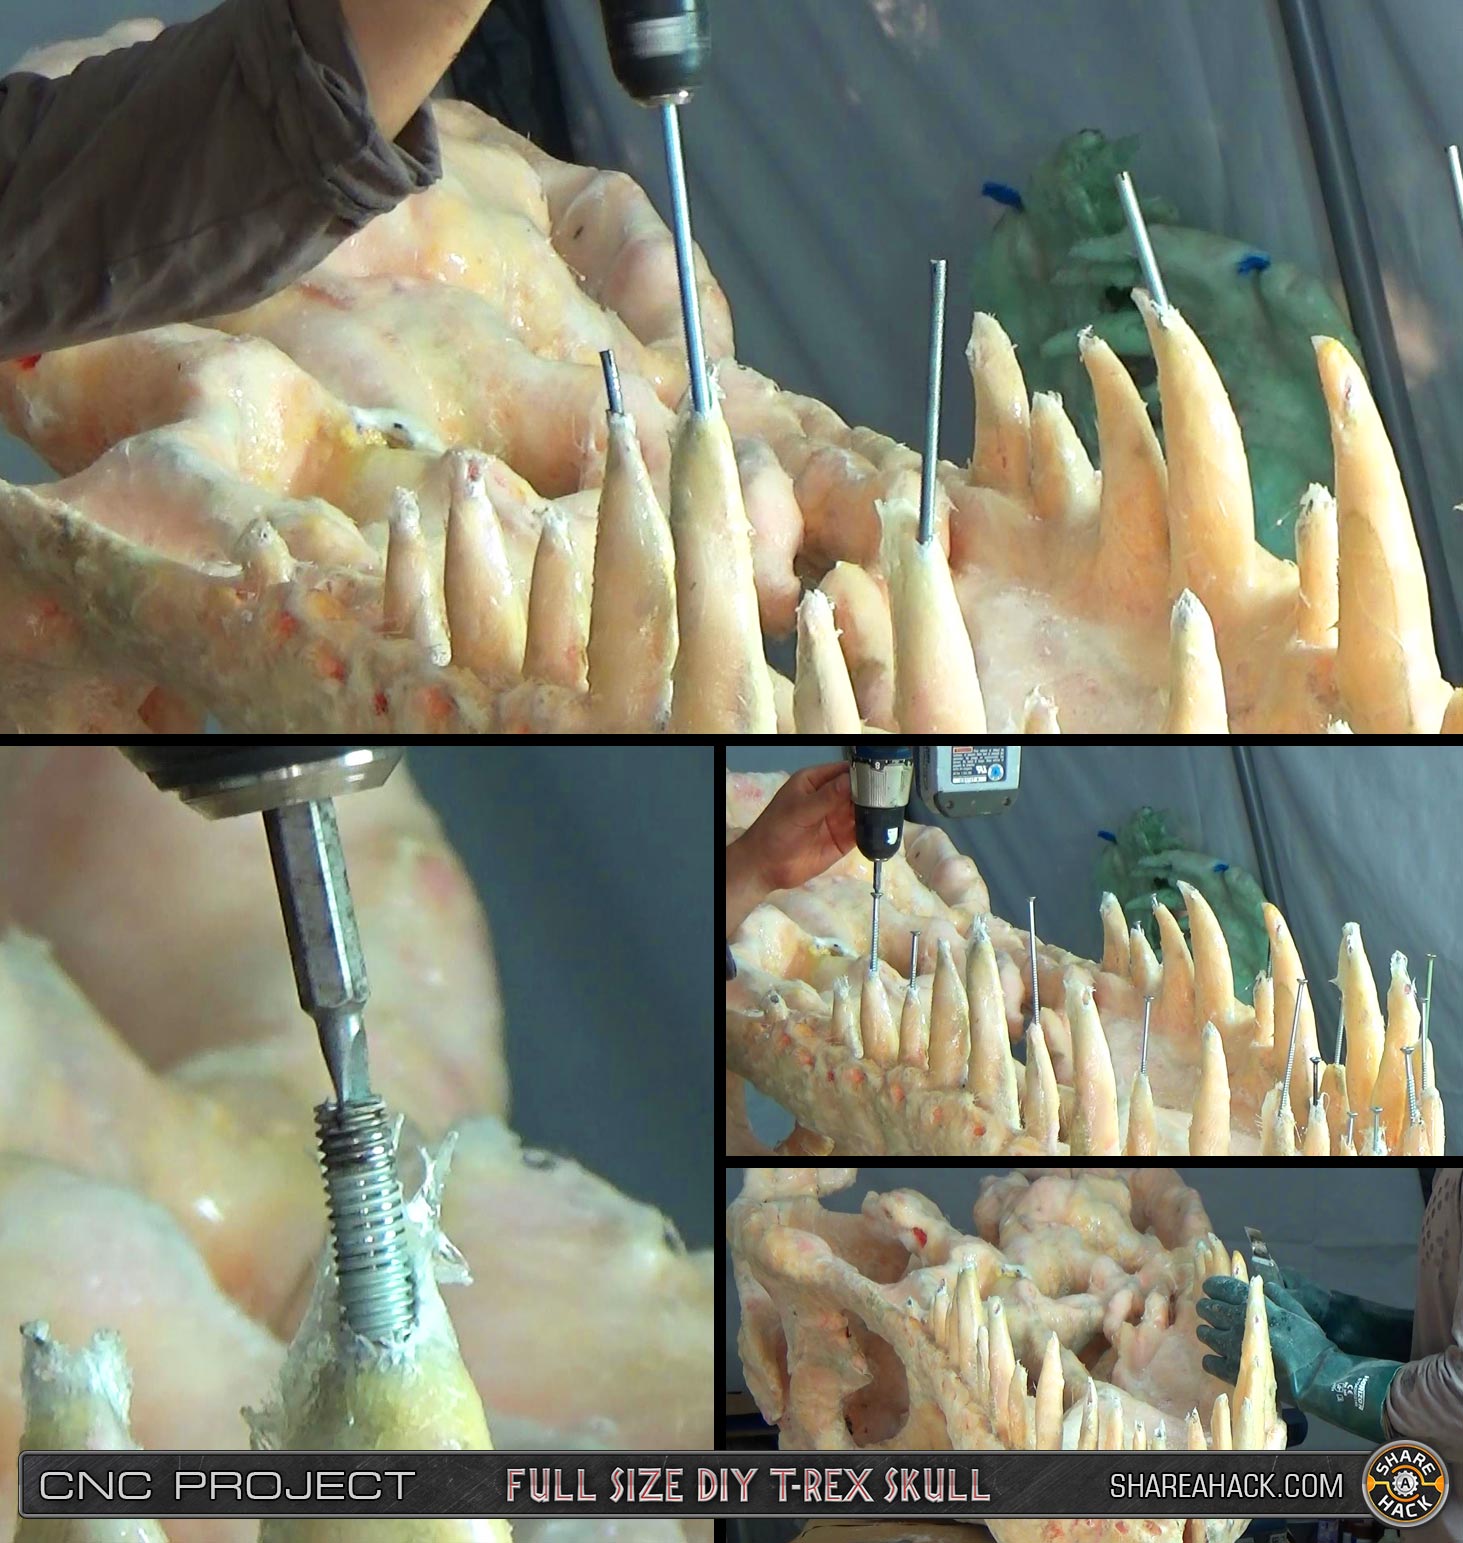
I started with the hardest part (the teeth) and laid down the glass strips in a combination of ways (lengthwise, spiraled around the tooth, etc).
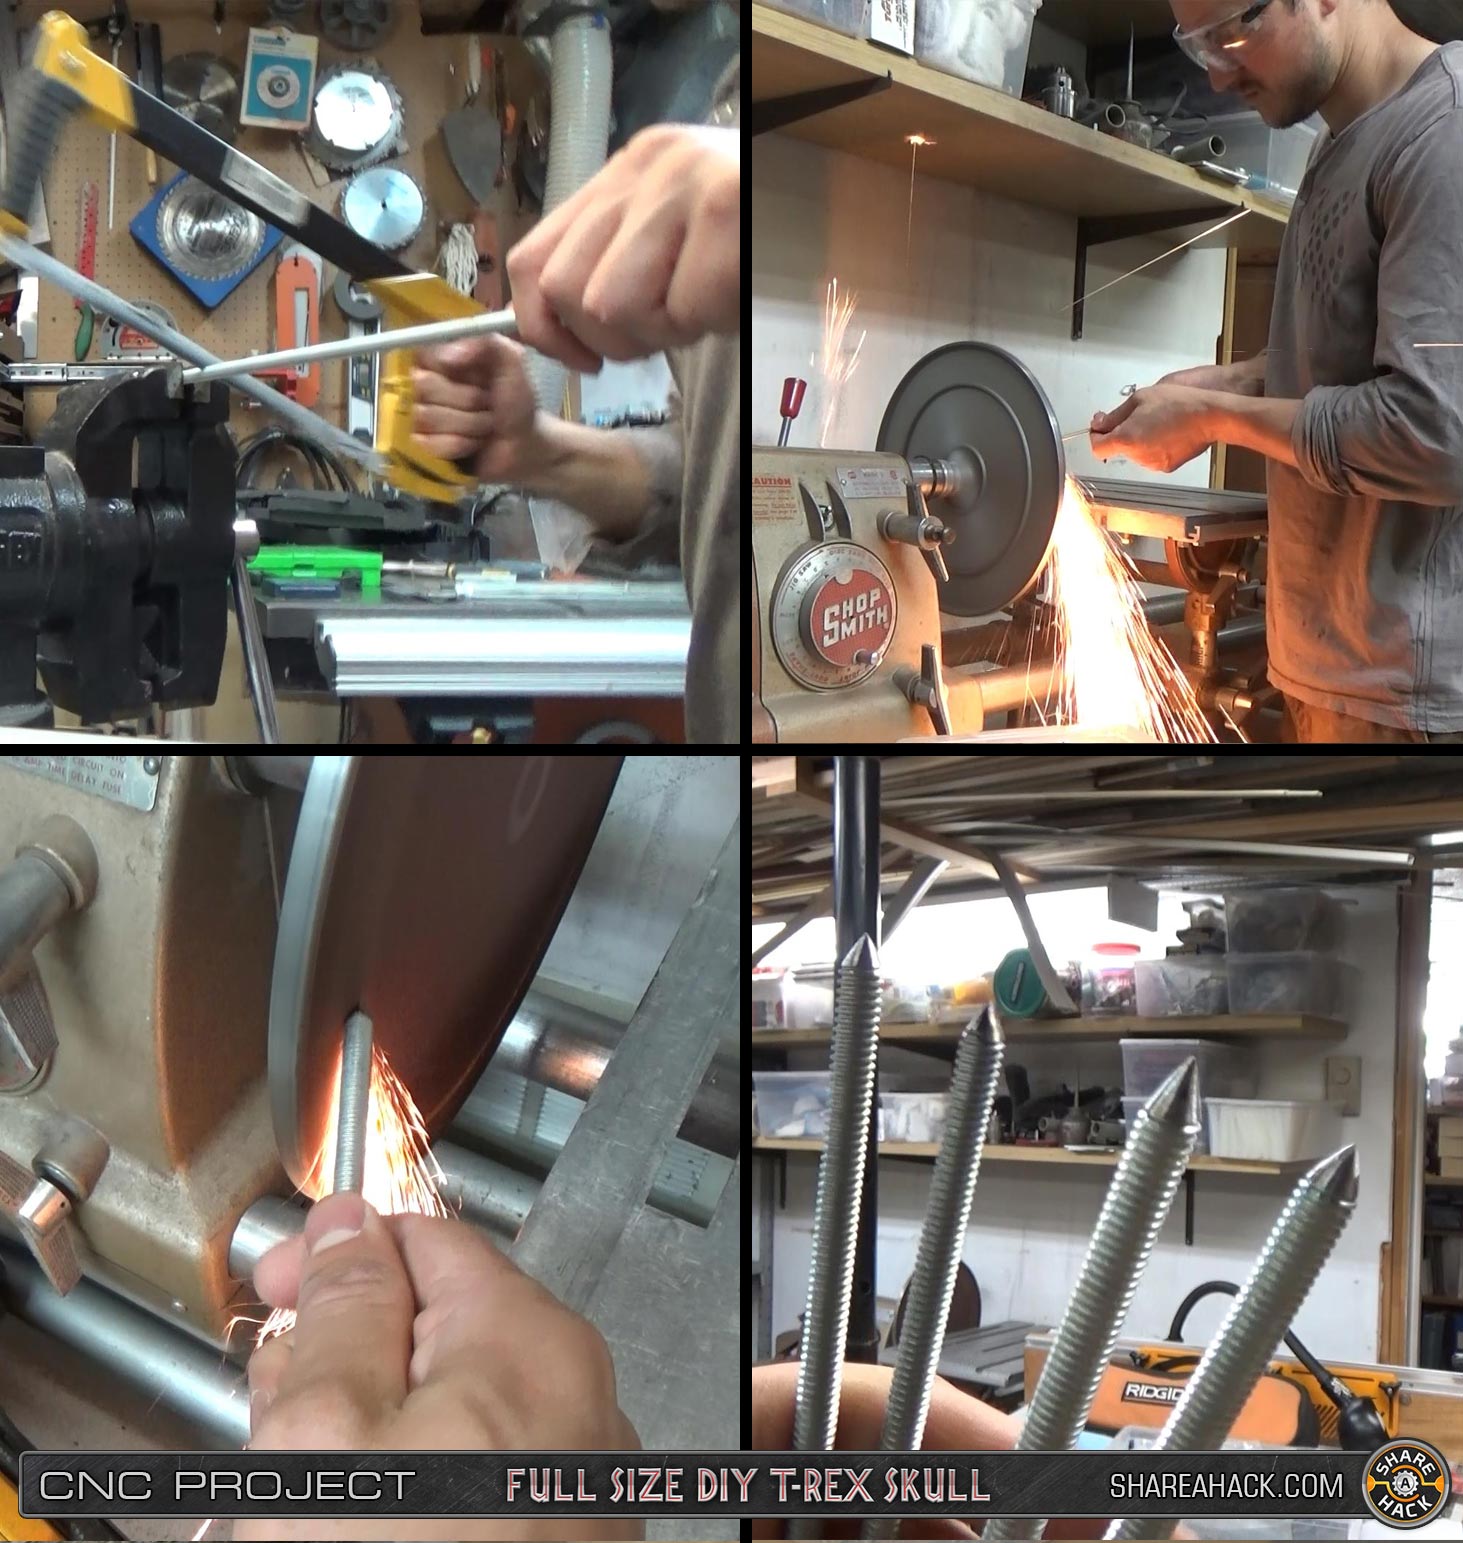
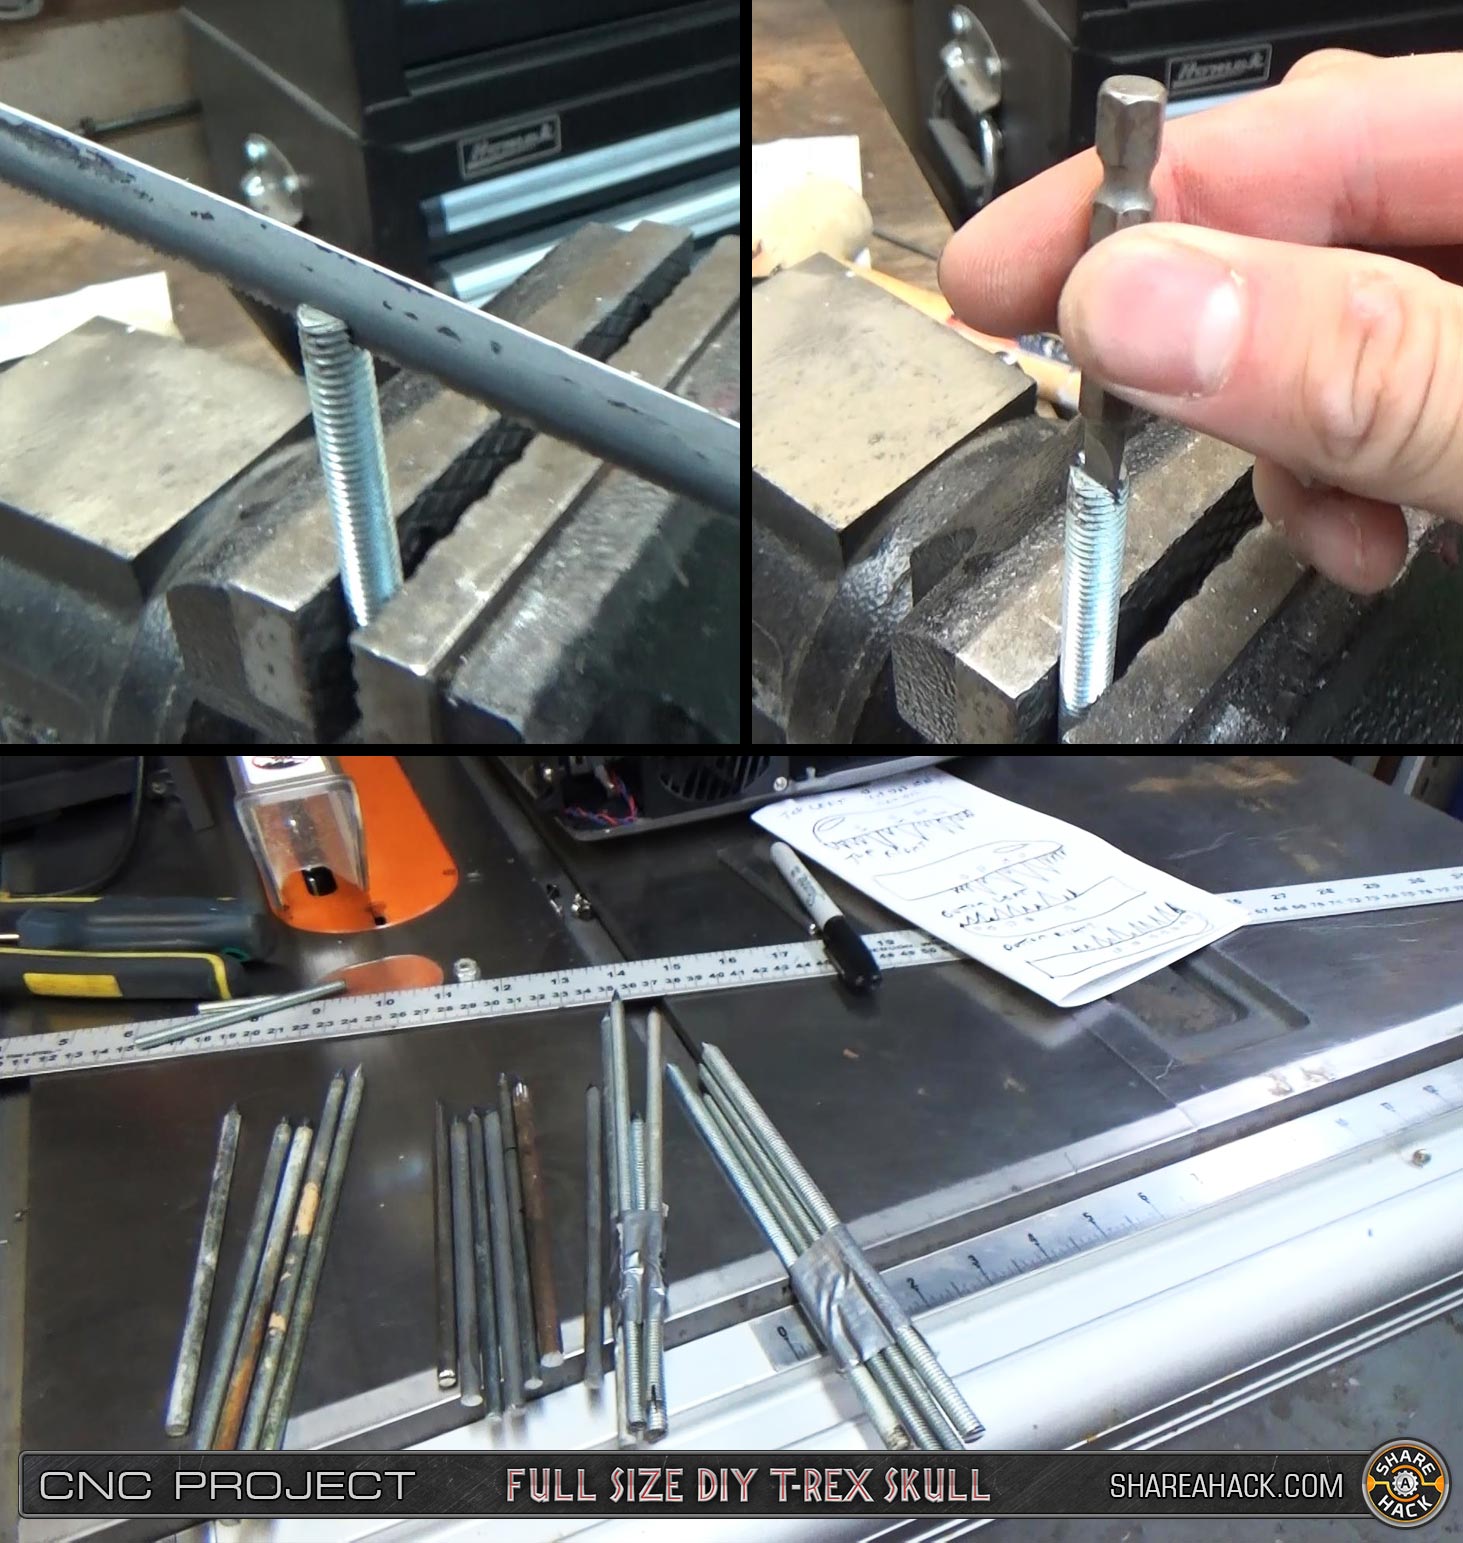
I removed the wooden supports from the lower jaw and drilled/tapped a couple of metal corner brackets to act as a linkage to connect the left and right lower jaw pieces with a single screw.
Before fiberglassing the rest of the skull I started with reinforcing all the metal mounting points and linkages.
The mat was more epoxy-hungry than the cloth and it took a lot to saturate it but it was perfect for molding around awkward shapes and crevasses. The woven cloth helped to bridge the mat and add good structural reinforcement.
Sometimes the fiberglass wouldn't 'stay down' very well especially when it was hotter outside. My solution was to lay down the glass in position as best I could, wait a couple hours for a bit of curing to take place and then push down the parts that were springing up into the foam - this worked out well because after a few hours the resin has more of a putty consistency.
A cool little tip I found out: After laying down a strip of glass, the little left-over strands/resin on your gloves - you can work them into a little ball and use it like a putty/filler to cover up an exposed area or hard to reach place.
Finally everything is coated and extremely durable...I'm hoping it will last forever! Next I need to clean up all the sharp fiberglass spillovers and knife-like edges.
A full timelapse of the fiberglassing (condensed to 1 minute) can be watched here:
https://www.instagram.com/p/BkcQ5EwhpR4/?taken-by=shareahack
Thanks for reading!
")