Xtremenoob
Active Member
hello,
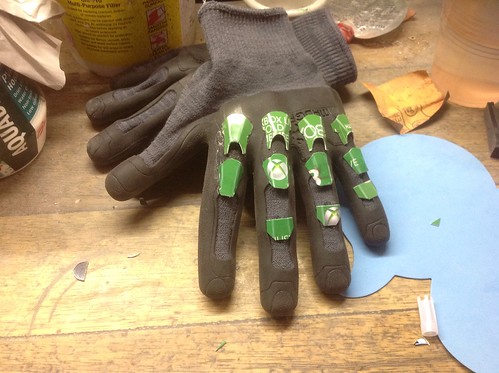
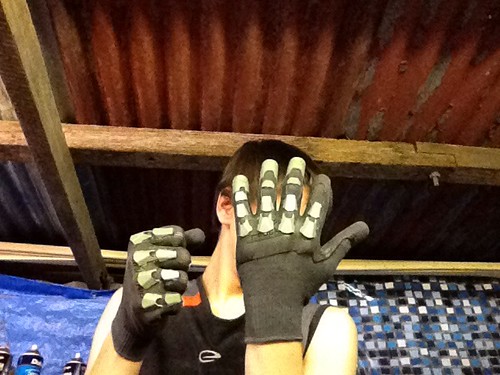
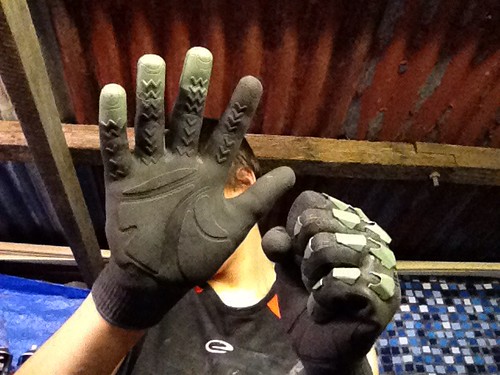
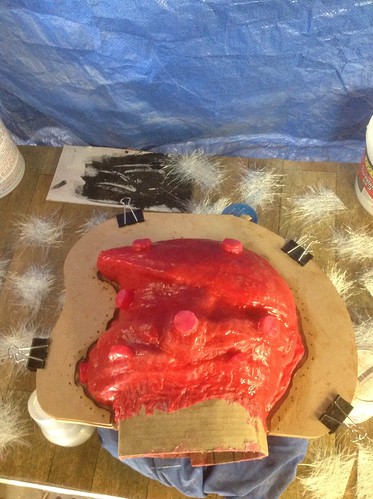
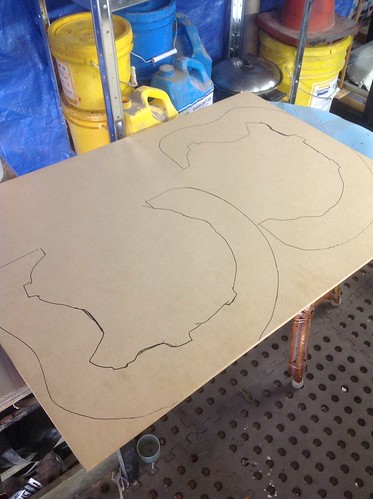
My name is daniel and i fell in love with master chief's armour, so when i had the chance to finally build and make him i decided to make it out of foam because you can were it for really long time and it gives more flexibility. so i started like most builds in my room free hand and custom made templates were used. So everyone had a problem with the abdominal armour, it puzzled me. I got and idea from ARTEM after looking at there halo 4 build video. they used latex foam with fixed bits of armour attched and i decided i dont have enought money for that i decided to use foam and some material.so i cust out a singlet shirt pattern and made a shirt out of foam and attached my abdomanal armour to it. cheap but effective. that was a load of my mind when i figured out that and then after 1 month of thinking i decided to make my own visors for my helmet which was another challenge.
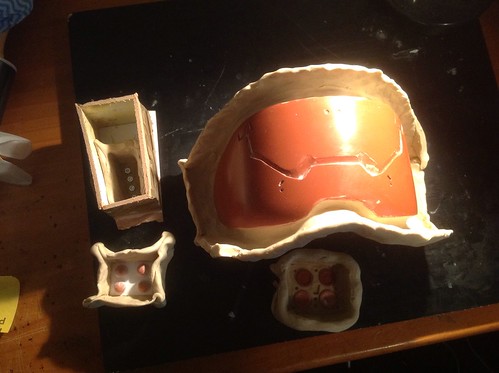
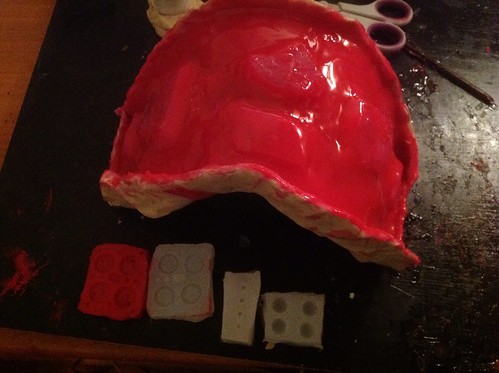
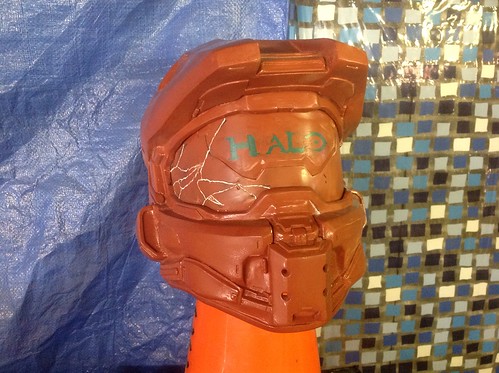
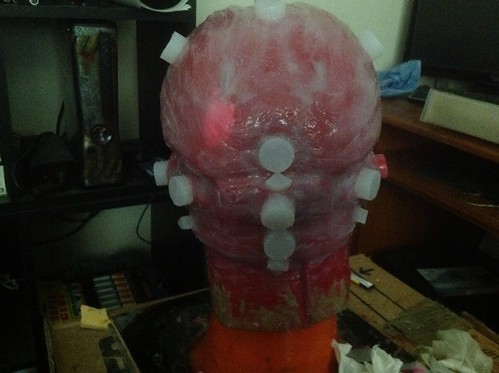
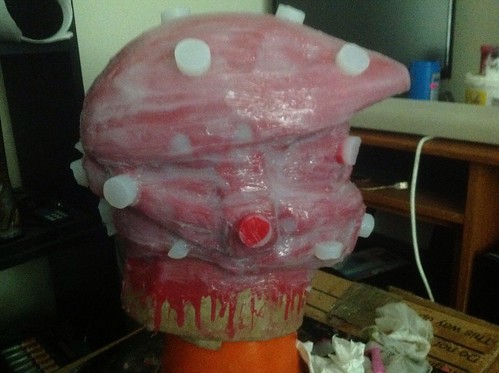
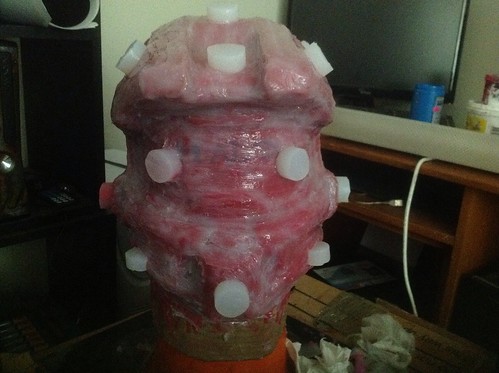
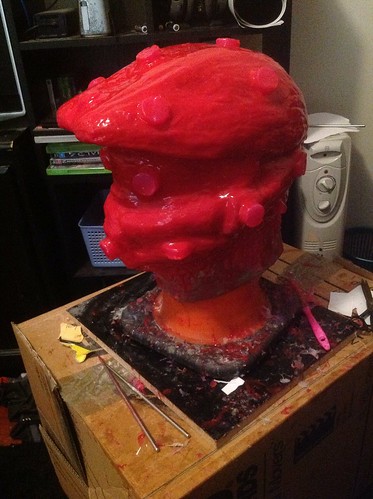
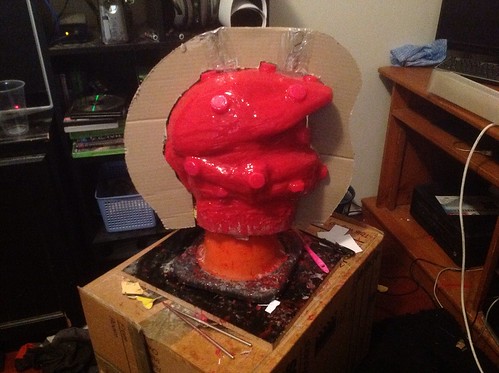
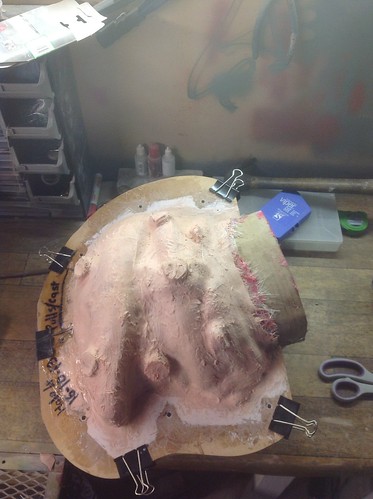
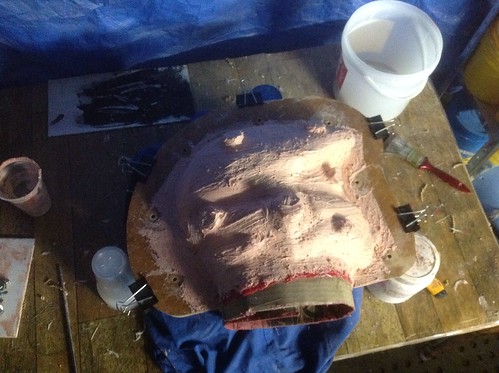
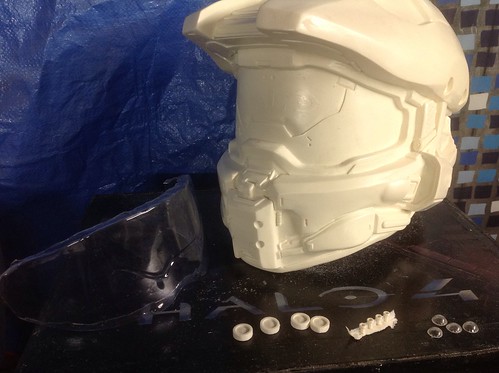
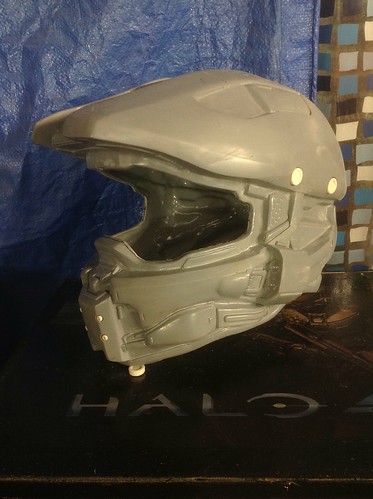
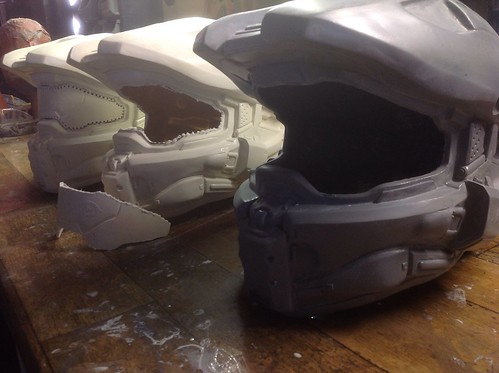
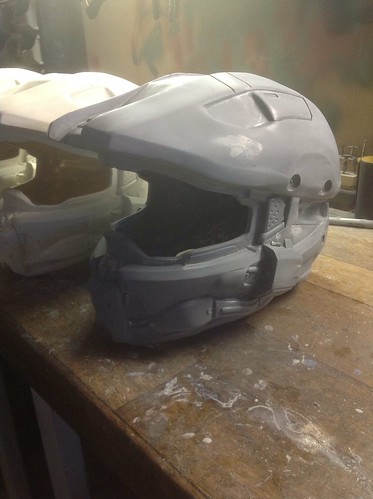
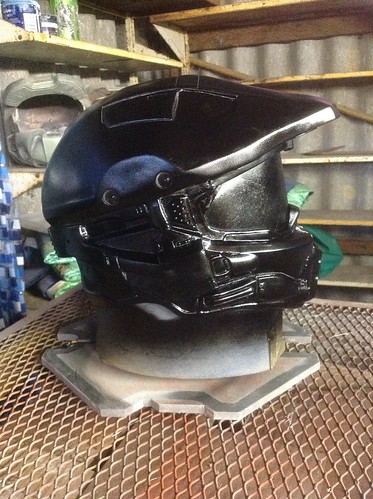
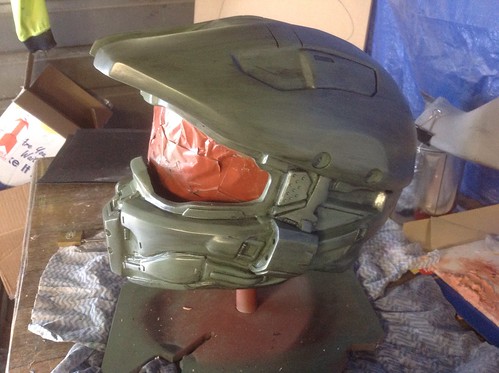
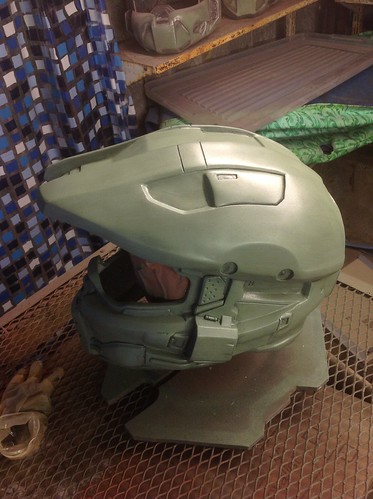
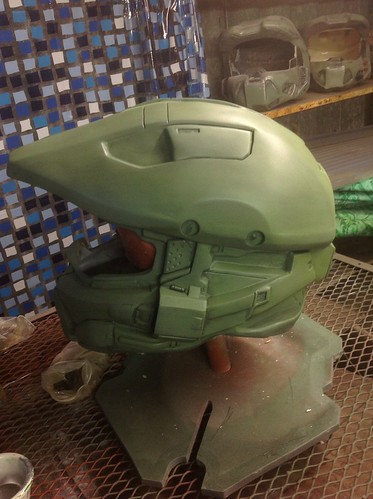
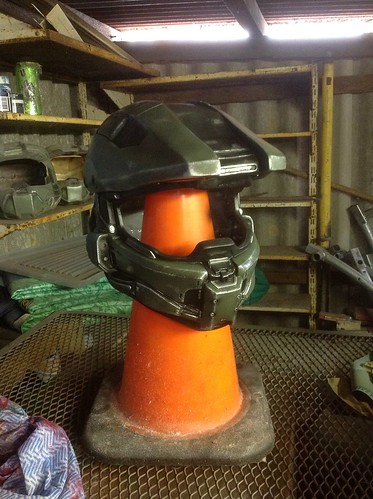
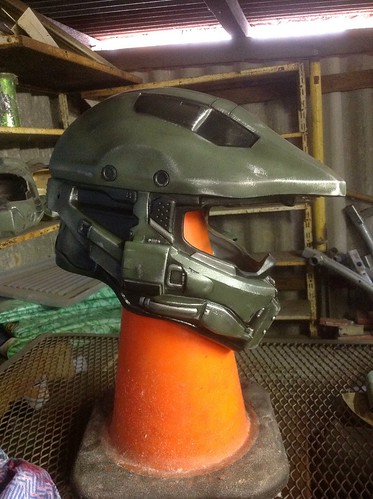
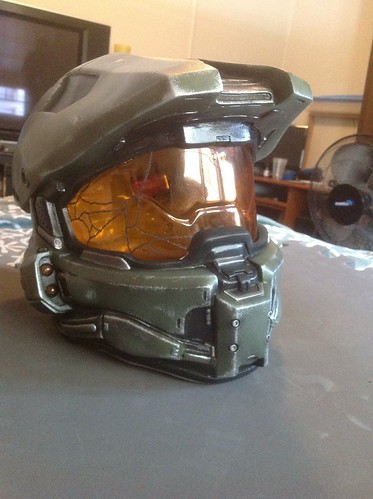
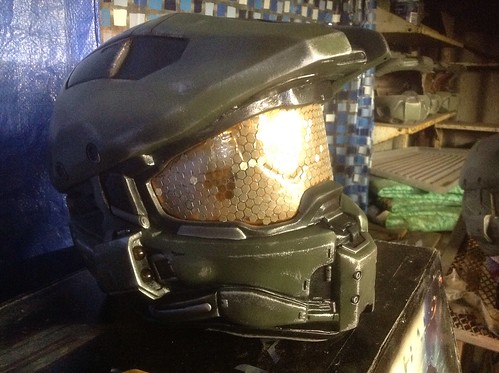
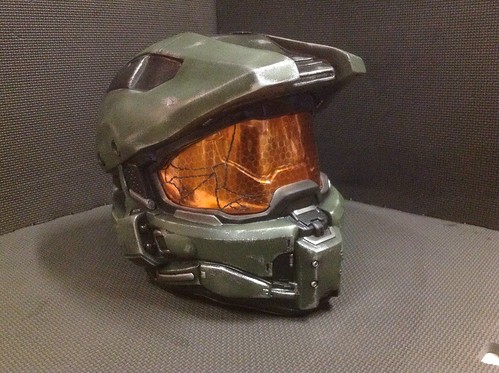
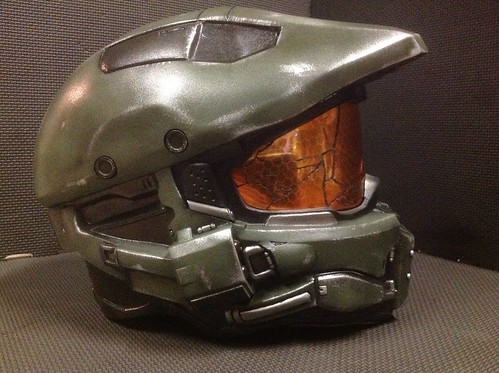
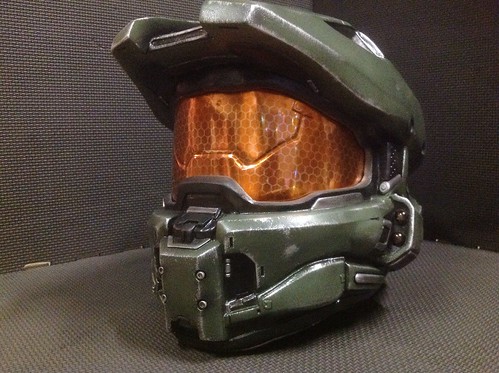
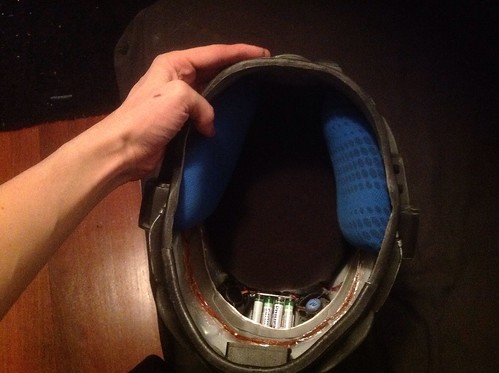
the helmet started out as pepakura and hardened with bad smoothcast 320. the smoothcast 320 was left open for a day when i was down to my last litre and due to the air getting into it it turned the part A into sludge. so i continued to use it as i was desperate. My bad. when i started the sanding and filling process and sanded the helmet so much in some areas the smoothcast was showing from the inside layer. keep in mind when i used the bad sludge smoothcast when it came time to do a base layer of paint the paint would not cure on the smoothcast due to a chemical reaction so the paint stayed sticky for 2 weeks. when i finally realised that the paint will never cure i decided to do the rest of the helmet in clay and have to mold it to make a copy paint can stick to, so i started fixing all the little gaps and edges with clay and molding was a breeze.
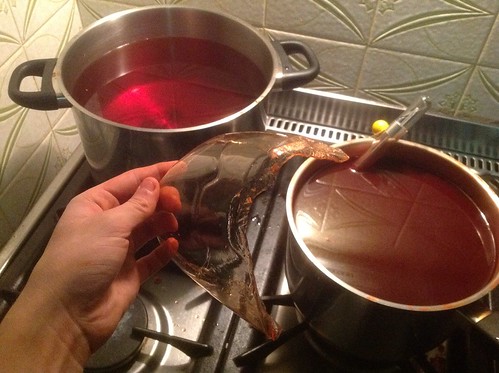
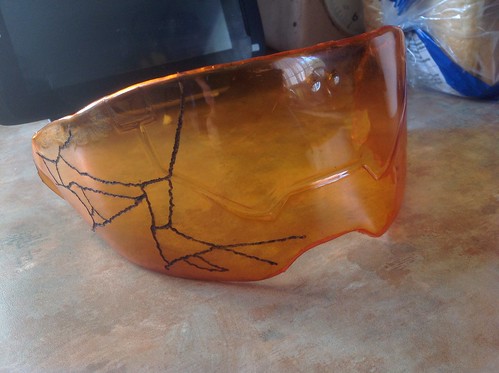
The visor i am extremely proud of because i made it. I even made a vacuum forming table just for this visor and it was a great success after 6 sheets of plastic. The buck i made by bondoing the inside of a cooking pot to get a really smooth surface and etched out the detail with multiple files and dremel. After i made a mold of the visor i made several so i can pull 3 copies from 1 piece of plastic (witch failed for 6 sheets) but with my last 2 sheets i finally know exactly how to and i will not make the same mistakes again. In dye the visors i spend $100 in IDye golden yellow dye only to realize it didnt work so after multiple messages to thorssoli i read his thread and realized i needed IDye Poly orange (i needed the POLY version). So i now know how to dye things witch is another learning curve.
once everything came together with painting the suit to installing the padding it was estatic with the results.
As i am still young (17) i have learnt alot from this hobby and comparing my props to last year i have made a significant improvement and hope in the years to follow i can some how swing a job out of this passion i have for building things.
Thank you for reading
My build started here so swing on bye have a look :Halo 4 Build by Xtremenoob
I decided to expand because people love to see something new
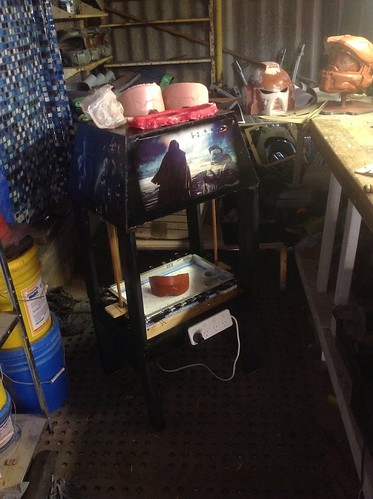
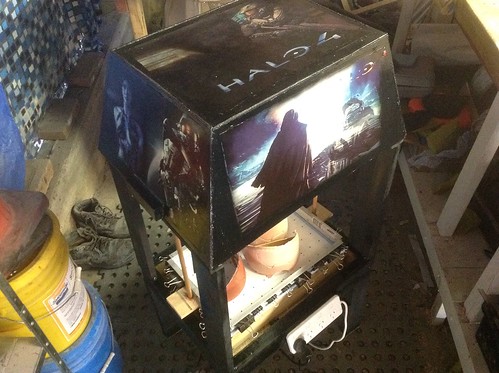
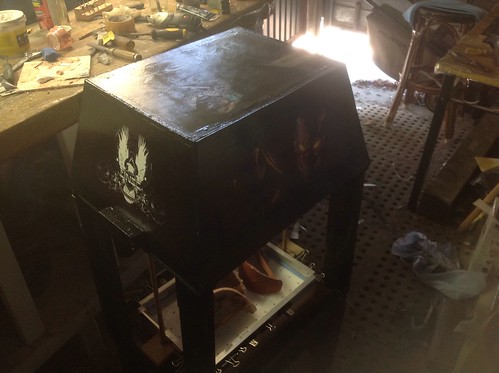
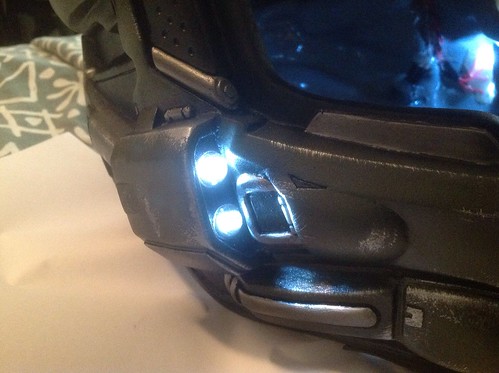
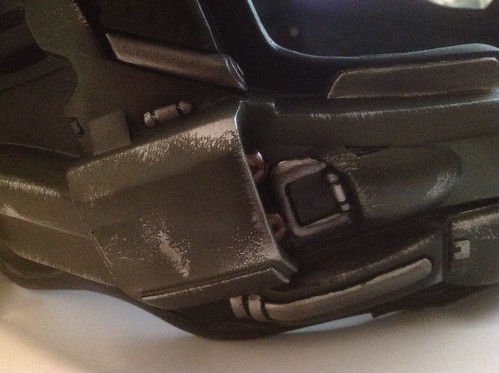
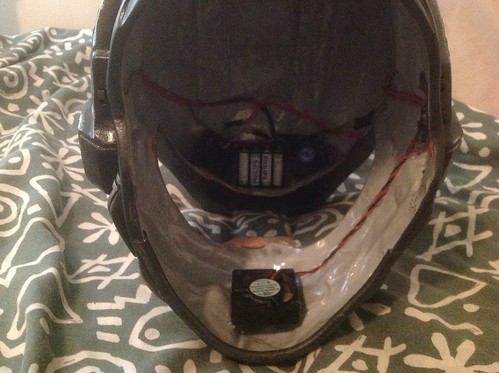
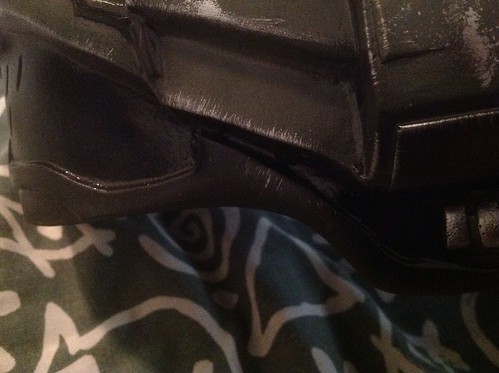
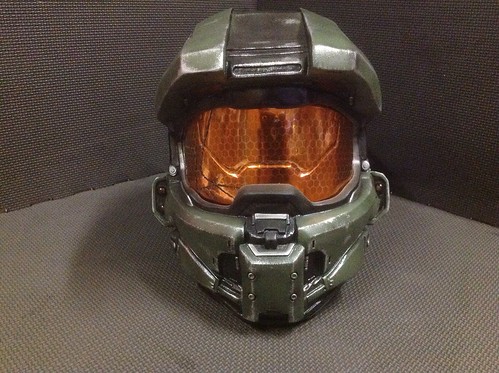
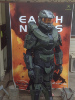
here is the finished helmet as well showing the build process for it.
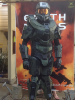
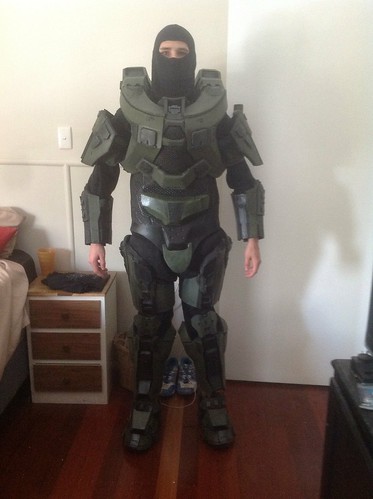
here is my proof pic of the finished suit:

Untitled
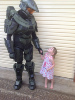
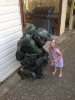
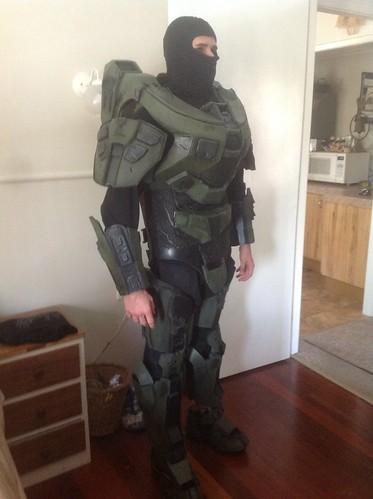
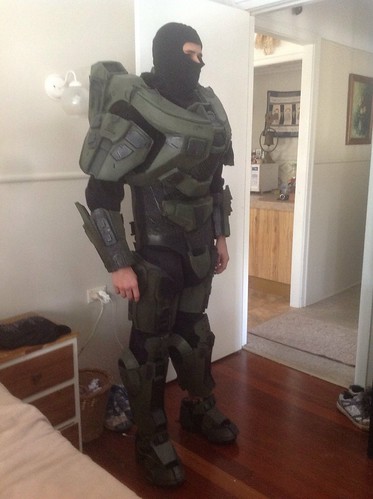
and a few others:

005

002[/url

[URL="http://www.flickr.com/photos/101131384@N02/10640932874/"]017

009
My name is daniel and i fell in love with master chief's armour, so when i had the chance to finally build and make him i decided to make it out of foam because you can were it for really long time and it gives more flexibility. so i started like most builds in my room free hand and custom made templates were used. So everyone had a problem with the abdominal armour, it puzzled me. I got and idea from ARTEM after looking at there halo 4 build video. they used latex foam with fixed bits of armour attched and i decided i dont have enought money for that i decided to use foam and some material.so i cust out a singlet shirt pattern and made a shirt out of foam and attached my abdomanal armour to it. cheap but effective. that was a load of my mind when i figured out that and then after 1 month of thinking i decided to make my own visors for my helmet which was another challenge.
the helmet started out as pepakura and hardened with bad smoothcast 320. the smoothcast 320 was left open for a day when i was down to my last litre and due to the air getting into it it turned the part A into sludge. so i continued to use it as i was desperate. My bad. when i started the sanding and filling process and sanded the helmet so much in some areas the smoothcast was showing from the inside layer. keep in mind when i used the bad sludge smoothcast when it came time to do a base layer of paint the paint would not cure on the smoothcast due to a chemical reaction so the paint stayed sticky for 2 weeks. when i finally realised that the paint will never cure i decided to do the rest of the helmet in clay and have to mold it to make a copy paint can stick to, so i started fixing all the little gaps and edges with clay and molding was a breeze.
The visor i am extremely proud of because i made it. I even made a vacuum forming table just for this visor and it was a great success after 6 sheets of plastic. The buck i made by bondoing the inside of a cooking pot to get a really smooth surface and etched out the detail with multiple files and dremel. After i made a mold of the visor i made several so i can pull 3 copies from 1 piece of plastic (witch failed for 6 sheets) but with my last 2 sheets i finally know exactly how to and i will not make the same mistakes again. In dye the visors i spend $100 in IDye golden yellow dye only to realize it didnt work so after multiple messages to thorssoli i read his thread and realized i needed IDye Poly orange (i needed the POLY version). So i now know how to dye things witch is another learning curve.
once everything came together with painting the suit to installing the padding it was estatic with the results.
As i am still young (17) i have learnt alot from this hobby and comparing my props to last year i have made a significant improvement and hope in the years to follow i can some how swing a job out of this passion i have for building things.
Thank you for reading
My build started here so swing on bye have a look :Halo 4 Build by Xtremenoob
I decided to expand because people love to see something new
here is the finished helmet as well showing the build process for it.
here is my proof pic of the finished suit:
Untitled
and a few others:
005
002[/url
[URL="http://www.flickr.com/photos/101131384@N02/10640932874/"]017
009
Attachments
Last edited by a moderator:
")