indiefilmgeek
Sr Member
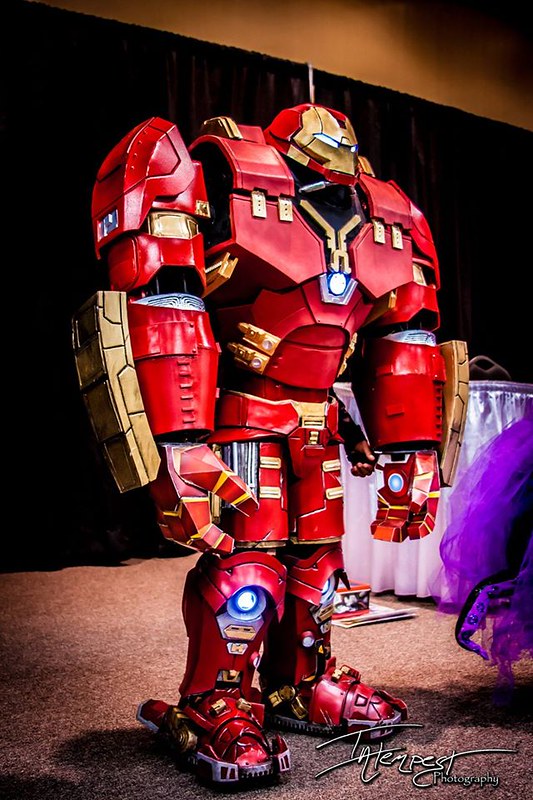
So, 90 days prior to Oct. 31 my 7yr old says he wants to be Hulkbuster for Halloween. While extremely excited to do a build like this, 90 days scares the crap out of me. Mikey's Iron Man suit took me almost a full year.
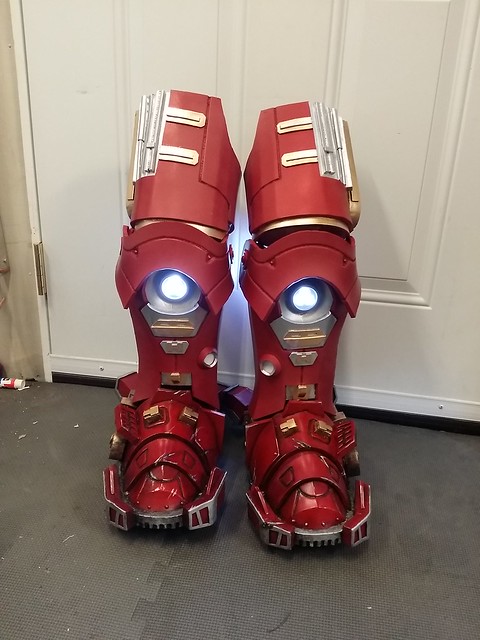
Before I get into the build picks... Here's how it turned out!
The Build:
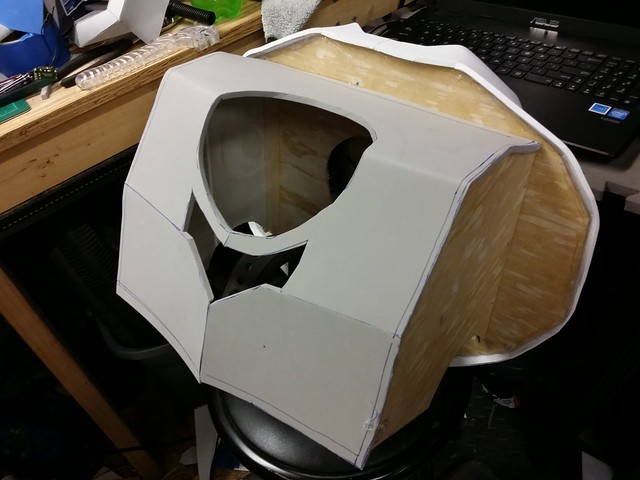
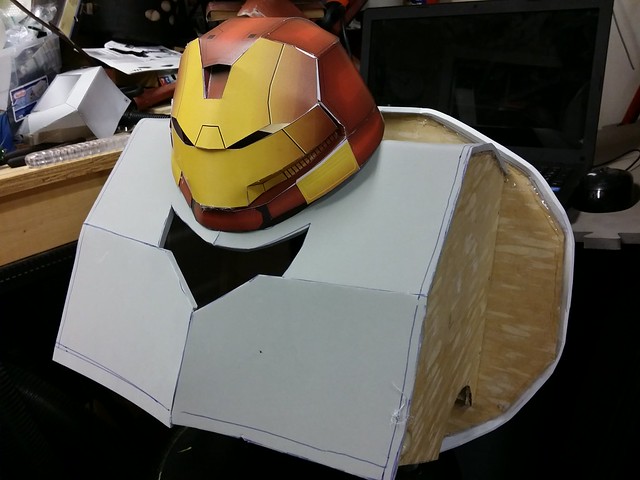
My default templating method for foam building is to use paper Pepakura files to get the shapes of the pieces and then turn those paper peps into foam templates. I couldn't find any foam or paper pep files for the full hulkbuster, so I had to get creative. I found a papercraft 24" model of Hulkbuster that Julius Perdana did. The model parts are all pre-sized and laid out for 8.5"x11" paper. My kiddo is roughly twice that size, so I took EACH individual part and scaled it up manually and then printed it out.
Original Papercraft Model Files:
Hulkbuster Avenger 2 Paper Model - Head
Hulkbuster Paper Model - Arm (Final)
Hulkbuster Paper Model - Torso
Hulkbuster Paper Model - Hip and Leg
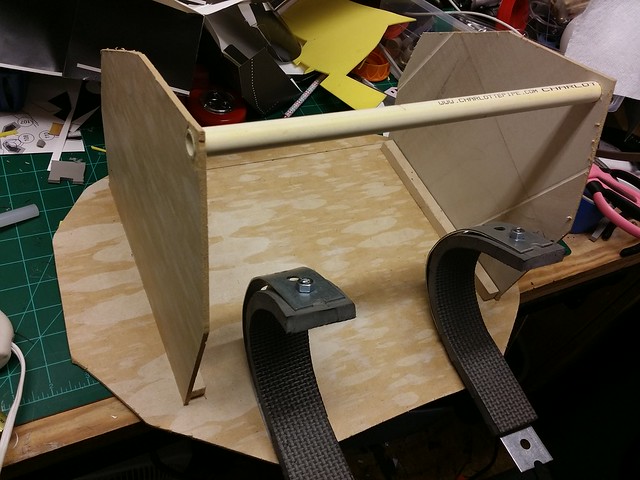
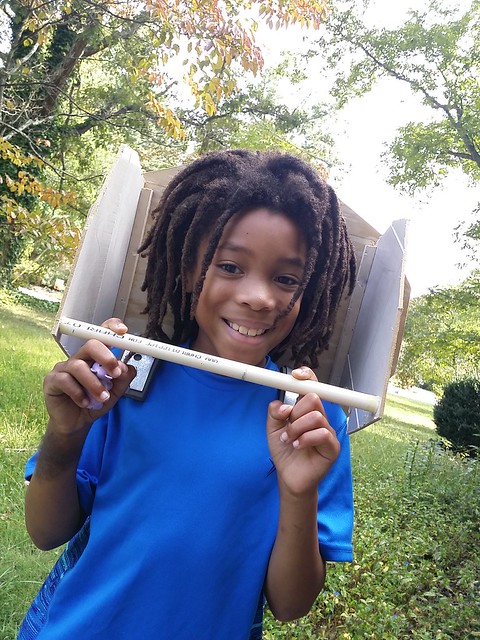
Here is the rough check to see if the scaling was right... this version was slightly too big, so the final set of papercraft files were adjusted before I started using them to build the foam units.

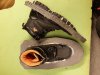
BOOTS:
I started with the boots... I had a pair of black hiking boots I had picked up for another costume (Mikey's Generator Rex from a couple years ago). Using 1/2" thick mat foam, I cut out the base of the boot template and then cut a hole for the boot. Having seen the wear and tear on boots I've built before, I actually RAISED the costume part of the boot off the floor a bit. I used Gorilla Glue and hot glue to attach this base to the boots.

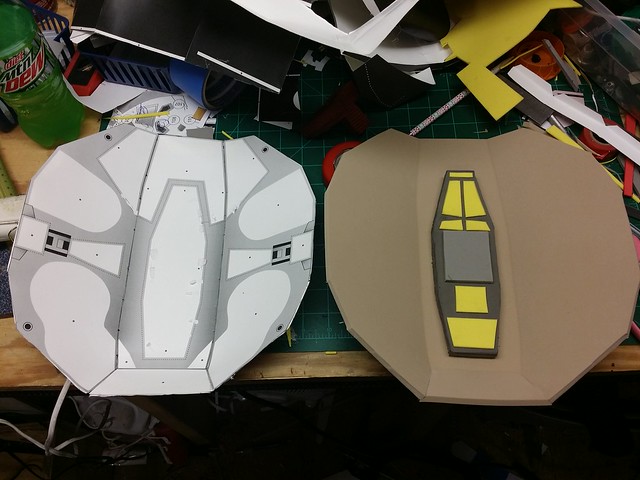
I then started creating the top of the boot out of EVA foam.

I cut a groove into the base foam mat material, so I could get the hot-glued top piece to fit tightly. I then attached both.

From this base, I created the rest of the templated pieces and attached them.


I used a wood-burning tool to score the detail grooves into the foam and 2mm thick craft foam to do some of the other details. Once done, I hit them with a couple coats of plasti-dip.

Then I hit them with Adhesive Promoter (available at autoparts stores) and red (Barcalona Red) & gold (Sunburst) auto paint. I actually also used some standard model paint for the silver and some of the small goal pieces. I was very happy with the way the base colors came out.

Then it was time to weather and detail them. This is my personal favorite part of the project!")

After that, it was a coat of clear gloss for plastics to make it shine...

Before I get into the build picks... Here's how it turned out!
The Build:
My default templating method for foam building is to use paper Pepakura files to get the shapes of the pieces and then turn those paper peps into foam templates. I couldn't find any foam or paper pep files for the full hulkbuster, so I had to get creative. I found a papercraft 24" model of Hulkbuster that Julius Perdana did. The model parts are all pre-sized and laid out for 8.5"x11" paper. My kiddo is roughly twice that size, so I took EACH individual part and scaled it up manually and then printed it out.
Original Papercraft Model Files:
Hulkbuster Avenger 2 Paper Model - Head
Hulkbuster Paper Model - Arm (Final)
Hulkbuster Paper Model - Torso
Hulkbuster Paper Model - Hip and Leg
Here is the rough check to see if the scaling was right... this version was slightly too big, so the final set of papercraft files were adjusted before I started using them to build the foam units.
BOOTS:
I started with the boots... I had a pair of black hiking boots I had picked up for another costume (Mikey's Generator Rex from a couple years ago). Using 1/2" thick mat foam, I cut out the base of the boot template and then cut a hole for the boot. Having seen the wear and tear on boots I've built before, I actually RAISED the costume part of the boot off the floor a bit. I used Gorilla Glue and hot glue to attach this base to the boots.
I then started creating the top of the boot out of EVA foam.
I cut a groove into the base foam mat material, so I could get the hot-glued top piece to fit tightly. I then attached both.
From this base, I created the rest of the templated pieces and attached them.
I used a wood-burning tool to score the detail grooves into the foam and 2mm thick craft foam to do some of the other details. Once done, I hit them with a couple coats of plasti-dip.
Then I hit them with Adhesive Promoter (available at autoparts stores) and red (Barcalona Red) & gold (Sunburst) auto paint. I actually also used some standard model paint for the silver and some of the small goal pieces. I was very happy with the way the base colors came out.
Then it was time to weather and detail them. This is my personal favorite part of the project!
After that, it was a coat of clear gloss for plastics to make it shine...
Attachments
Last edited: