Re: WIP: Foam Hulkbuster for my 7yr old - Chest/Back Progress
Thanks,IFG...I wasn't sure whether it would be appropriate,but here goes:
http://www.therpf.com/showthread.php?t=212583&highlight=classic+hulkbuster
It's the version by SmookCMb.
That's a great version of the comic book Hulkbuster. For those looking for the recent movie version I'd check out
Shadeling's files. Hopefully these two links helps out folks hunting for full-size models!

@indefilmgeek hows the build going hope its going well
Sent from my SM-G900F using Tapatalk
Rough week, but I've managed to get some more work done! Here's a look at what I've been working on...
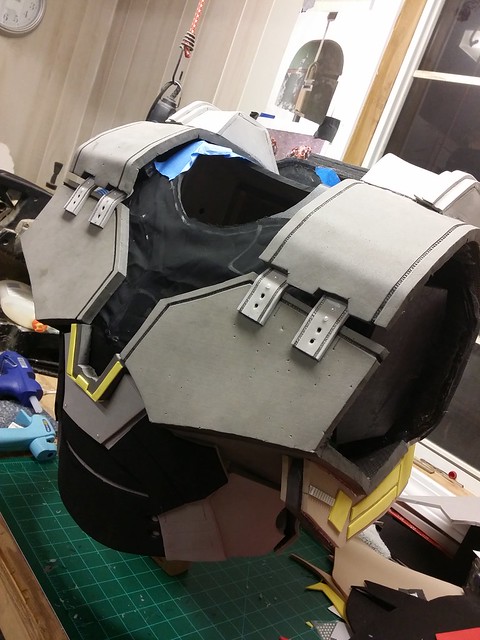
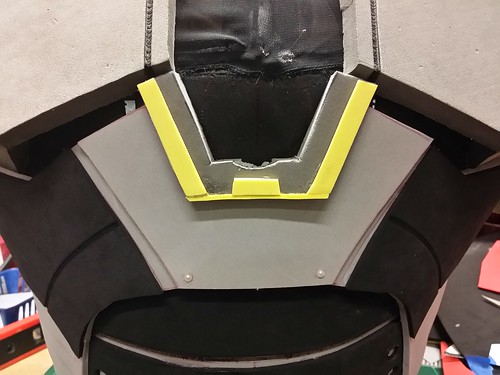
CHEST:
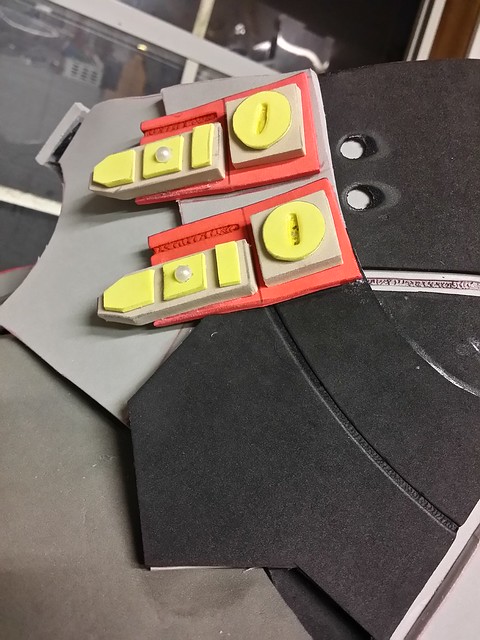
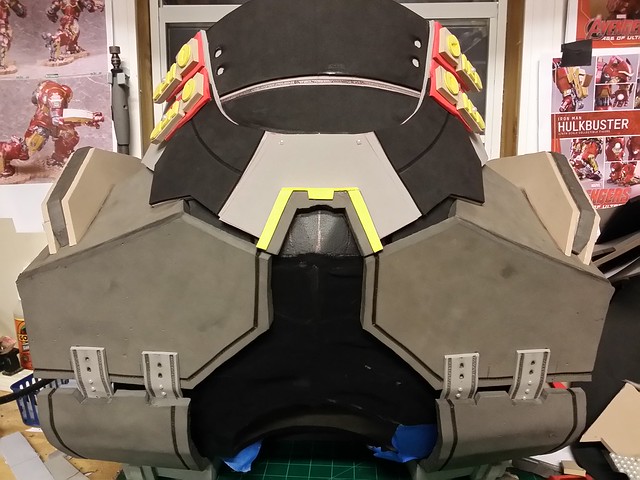
After checking the fit of the chest unit, I mocked this up to show how the Chest/Arms will be larger then the legs... It will be a little odd, but hopefully look ok.
The test fitting also led me to open up more holes for my kid to look out of. More in the front...
And a few in the side too...
To mask these, I used a very thin fabric I've used in lots of other builds. To test it out I put it on my head... which was a very tight fit! :lol
HELMET:
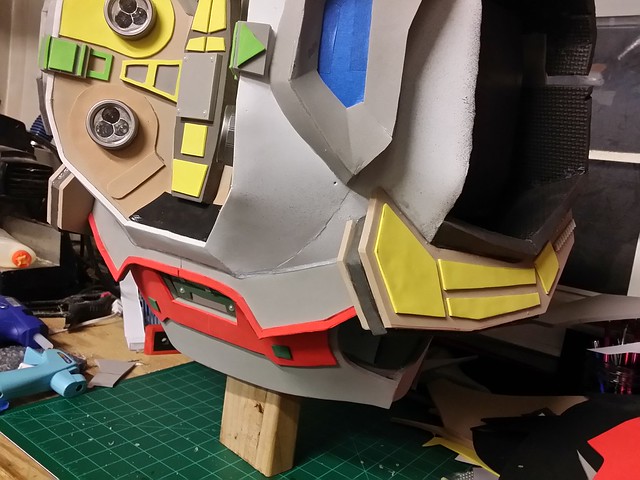
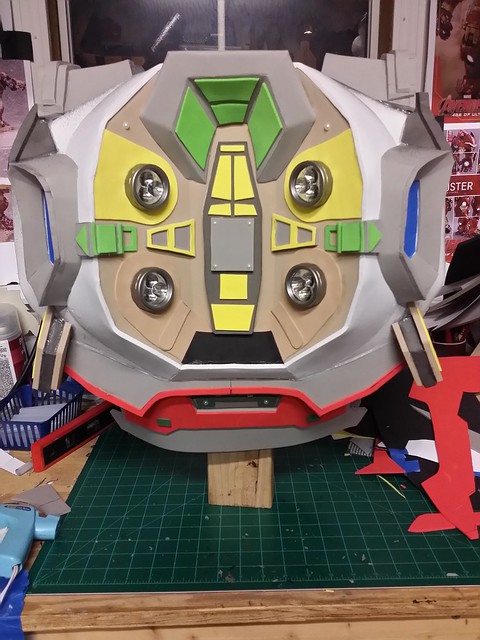
I also have done a lot of work on the helmet. I started with the papercraft model and began creating a foam copy of it - piece by piece.
The faceplate was tricky, but I finally got it looking ok...
And here is the back...
After this, I did some of the detail pieces....
Finally, I started working on the eye-lights... Now, I'll preface this by saying it's best to do this work AFTER you paint the piece... but dove into this without thinking about it and then had to do some fancy masking prior to painting. :behave
I took a string of battery-operated Christmas lights (10 LED string), and used 5 LED's per eye. I basically did the same thing I did for my other Iron Man kids costume (
HERE), but simplified since no one will be looking out of these spaces.
Steps:
1. Glue a matte-finish clear piece of plastic (binder cover material) over the eye holes.
2. Glue the 5 LED's just below (or above) this so they shine into the space.
3. Glue a bright white piece of plastic on top of the LED's (also covering the eye space.
This results in the LED light reflecting onto the white plastic 'backing' and out through the matte-finish clear lense. It is a VERY smooth light, with NO hotspots.
Here is a look at the sloppy inside...
And here is what it looks like on the outside...
I also built another sloppy-fast batter holder for these lights so I can change batteries easily...
And here's how it looks on the chest framework...
Finally, I hit it with a coat of Plasti-dip (prior to priming it and painting it... For scale I put my hand near it. It's SO small!

That's it for now... Hopefully more updates later tonight!


