Re: Weta - Dr Grordbort's Custom Raygun Contest! - SHOW OFF YOUR CONCEPTS AND DESIGNS
Well, mine is just now (finally) starting to come together - in rough form. Been doing a lot of tinkering and staring at it... then more tinkering, and sometimes a change or two. And then more tinkering...
Anyway, here's where I started:
The stock is MDF, created on the laser cutter at work. I wanted to continue with the grip motif to tie it all together, so for the butt area of the stock I pulled a quick mold of the grip design with Knead-a-Mold silicone putty - the stuff works pretty well for quick and dirty molds. I did a thin brush coat of resin and pulled it out of the mold while it was still slightly flexible, and pressed it flat. I also pulled a quick putty mold of the Grodbort logo from the fin and made a casting of it too, to go in the center. In addition, I made several putty molds of the screw heads on the grip frame - I'll make castings of them to stick on the stock in select spots.
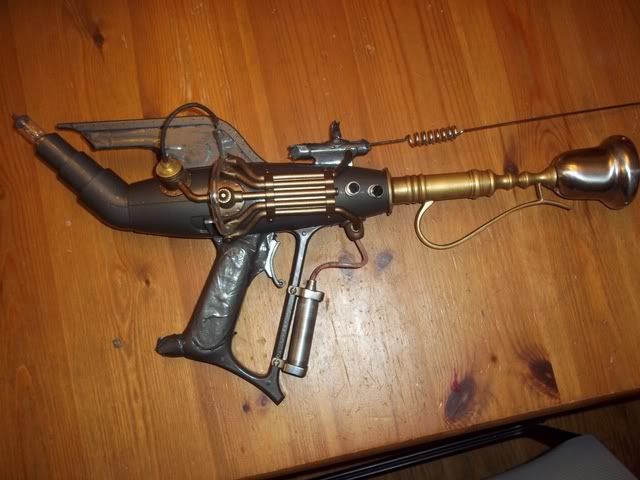
In the meantime, I started the laborious and tedious task of filling in all of the holes and recesses left from the process of tearing the guns apart - yes, that's plural... I picked up two Bison to make a twin-pod raygun carbine! I built a simple jig to make sure that I got them aligned correctly, and got the angles right, and got them canted slightly towards each other (so that the barrels will converge):
As an aside, I started looking at and tinkering with some of the detail parts to see how I could re-purpose them for my build (more on that in a minute):
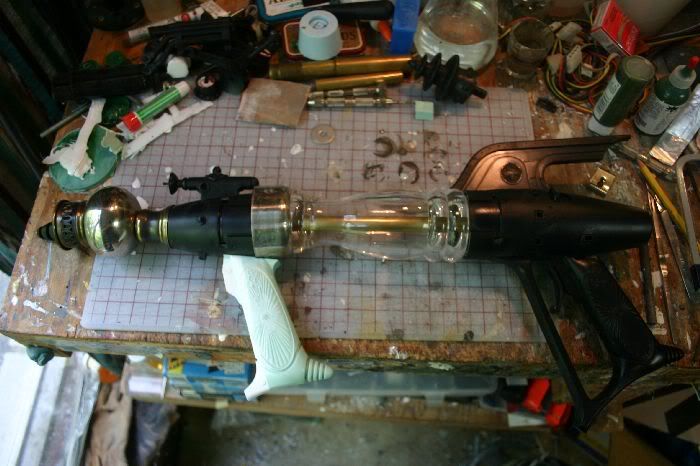
After much effing around with more jigs and fixtures, I created a wedge piece to fit between the pods on the underside, to lock them together in their correct orientation and attach them to the top of the grip section (upon final assembly). Here's a first preliminary test fitting, all held together with double-stick tape:
I also created a corresponding assembly to go on top, not only to help lock the pods together, but also to serve as a cradle to hold...
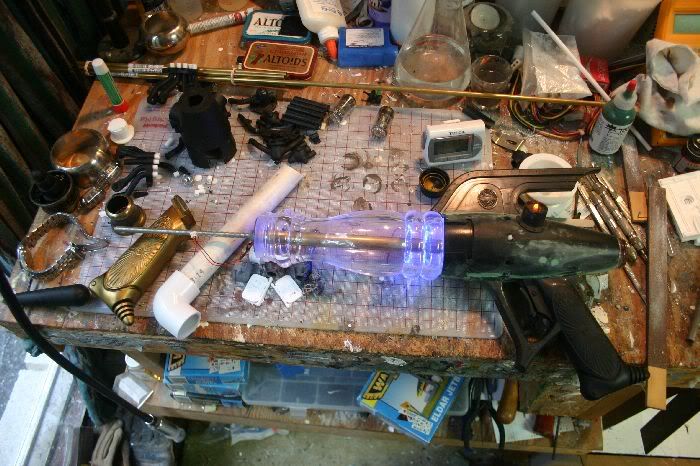
The pressure vessels! (made out of Plastruct ABS tubing and hemispheres)
You can also see here the beginnings of a collar/fitting where the barrels come together - this is where a simple post foregrip will be.
And here's a look at the "intermix pressure control assembly" that I made with a couple of the re-purposed detail parts:
The pressure gauge doesn't have the bezel on it here - I'll be adding a piece of "glass" (clear styrene or acetate) to seal it up.
Tons more work to do yet, so back to it...