Tron Legacy Costume

just throwing in another thing to think about:

ThinkGeek :: T-Shirts & Apparel :: Interactive T-Shirts

these interactive shirts by think geek run on el light covered in some kind of vinyl or plastic print on the front and velcro hooks in the back. they are wired by flat wire, some kind of flat conductive ribbon/tape, and a flat adapter connector that is attached to the shirt. it's removable so it can be washed.

if someone goes the el sheet or tape route, would it be a sufficient layer by itself(even though they may already be covered with a thin laminate) or would it be better to use some kind of material on top as a diffuser and to add strength and protection to the e.l. -especially around the circles?

on the actual tron legacy suits it appears that there is black edging and a black center circle outlining the e.l. pattern. thought i'd point that out too.
 
I'm just joining this thread and catching-up on 16 pages is really time consuming!!! LOL! So without reading everything, I apologize in advance if I'm repeating something. Just wondering what you ladies bought for your body suit - a shiny black unitard? An actual surfing wet suit? And where did you buy your black wigs and your black boots? I'll be wearing this to a couple of Halloween parties, so I don't need an EXACT replica. Just something close so it's at least recognizable! And I think I'm going to buy reflective tape and paint over the top with the Glow Paint everyone's discussing :) Thanks!
 
Question for those of you that have either Light Tape or Panels. Do you have the 9V inverter or 12V? If you have the 12V, Are you powering it with 8AA battery pack or something different? How is it looking?

The reason why I ask is because I've been running a booster on some 9V's to get the inverter up to 12V (it's been working great!) But I just got my Light Tape order and hooked it up the same way and for some reason (probably cause it's a much larger inverter and larger amount of light tape) it's not getting the tape up to full illumination. (and yes it's a fresh 9v battery with booster)

So I was thinking of going the 8AA battery pack route, but wanted to check in with what's working for you all.

Please let me know.. :)

(ps I'll probably have pictures of the progress I've gotten thus far up by sun night)
 
The Back of Sam Flynn's Right Leg

OK, need extra pairs of eyes here.

Look closely at the end of the TRON trailer where you see Sam Flynn walking towards the bright light. One of the best rear shots that show a complete design of the lighting on the back of these costumes. This shot is one of the main ones I've been using for reference.

Look closely at the back of Sam's right leg. Am I crazy, or is that a number '3' on the back. If not, I'd like to get that design right but unfortunately it's the only shot I have to work with so far. Most all other media on-line shows the front or the upper back.
 
Hey guys,

I was hoping to offer some insight for you all about how the real costumes are made. Maybe this will help, maybe not.

I did some interviews with people on the team that I know that built the suits for Tron Legacy. The following is pretty much how any form fitting suit for a performer is made. (think: Snake Eyes, Tron, Predator... anything)

These suits start with a life cast. A full body life cast or a scan and machine routered version of the same thing depending on actor availability and cost. For example, Jeff Bridges was not available as I understand it, but the had a recent scan of him to work from for another movie.

So once you have a quick algaenate and plaster bandage (or body double if you have the $$$)negative mold, now you need to make a positive to sculpt it all on. The positive is usually either laid fiberglass or poured expanding rigid foam. This will give you a raw positive of the actor on which to sculpt. Ordering a machine routered life sized maquette from a scan does not bypass this step entirely as the scans rarely have enough resolution and are smooth enough to work on without some finessing by people in the body shop.

Now you take that positive (either the scan or the rigid foam casting) and de-seam it, smooth out the rough spots and start sculpting on it. The sculptors (usually a team works on one suit) reproduce the design that comes from the art department by looking at illustrations or a maquette. These sculpts are refined and adjusted until production is satisfied. (this can take weeks).

When a sculpt is finally approved, the mold department gets the final sculpt and applies a liberal coat of release agent. The seam lines are determined and the fiberglass negative molds are made. Easy right? Wait, we're just getting started.

From the negative fiberglass mold, a positive is cast in urethane. Next it goes to the body shop. it is meticulously sanded and smoothed using a similar material that is used on cars. The pieces are patched, sanded and smoothed where the sculptors could not get those areas super smoothed and machined looking, the body shoppers come in and make it look that way. Details are sanded and routered or drilled in.

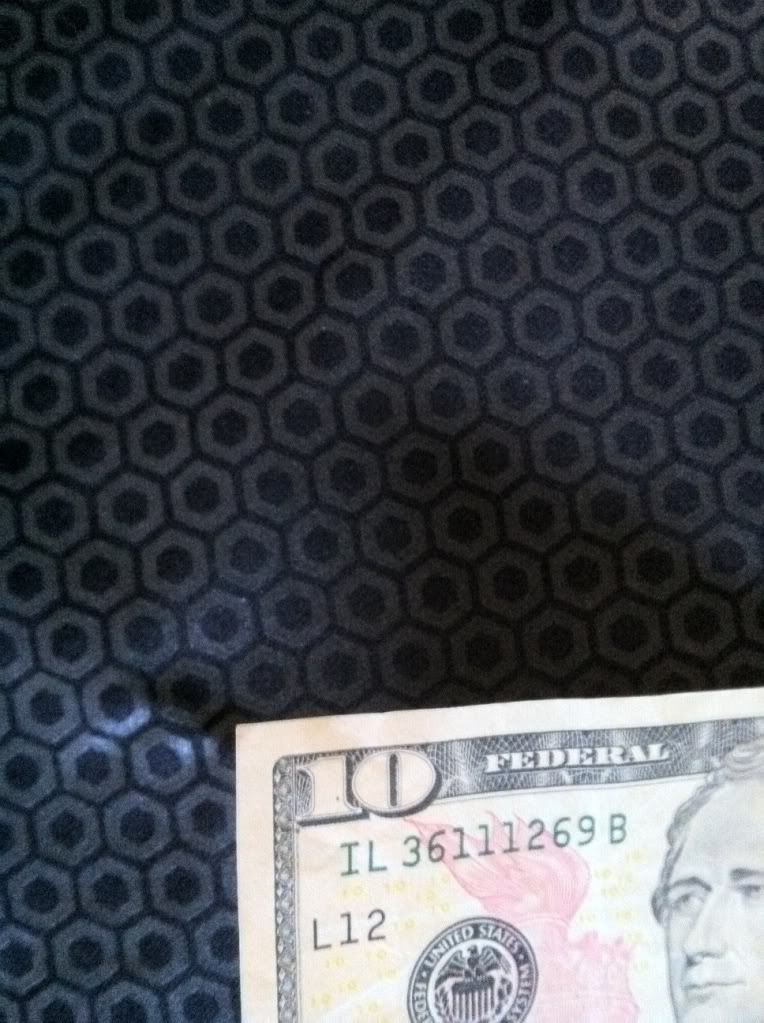
Now the whole thing is cast again in fiberglass for the master negative. A core is prepared for the inside that the custom made spandex body stocking (with the little O's on it shown below) goes over.

Note: I just breezed past a whole section of this costume with one line above. But the Fabrication department has to make (by hand) these custom fitted body stockings so the rubber has something to stick to when it's baked. This is no simple task given how many need to be made.

Once they have a core for the mold (usually a slightly sanded down version of the original positive to make it tighter) the body stocking is fitted over it. and it is positioned in the negative fiberglass mold made of the refined/body shopped sculpt.

A group of people prepare and inject foamed latex into the mold and it's baked. When it is ready, the whole thing comes out of the oven and is de-molded/removed from the core and another one is started right away. The newly baked suit (if it free of steam pockets and passes quality control goes to the Fabrication department for seaming (trimming, burning and patching seams and bubbles) and then it goes to the lighting department.

The lighting elements are inserted into the suit, glued into place and all the little wires are connected. then the **** is test lit to look for breaks in wiring. Once all the elements work, the suit is hung up for delivery.

Keep in mind that's one suit., not boots, or helmets or gloves, or props - just the suit. Now you have a small idea of what goes into making these costumes. Teams of people, thousands of labor hours, multiple skill sets by pros with many years of experience. Is it any wonder why they cost $60K each?

Questions? Feel free to ask.

tron-e-ohs.jpg
 
Last edited:
Well the thing is, that whole thing is skin tight rubber body armor, so i was thinking smooth-on's Dragon skin, especially since Dragon skin is made for doing rubber costume pieces.

It absolutely is made for that - but that's not what was used for the upcoming film at all. It was dense foamed latex. It's custom formed and painted to look like hard rubber, but it's light and absorbs sweat unlike silicone.

Silicone is too heavy for most suit applications. If you want to know what that would be like, put a T-shirt on, and safety pin a pork chop to it. Now go outside and run around. Moves around a lot right?

Read my full description on how the suit was made above.
 
This is the helmet I'm using for my son's Sam Flynn costume I'll have to attach a visor.

p73657b.jpg
 
Last edited:
Just wanted to share a few shots from my shoot I had with my Quorra costume in Downtown LA the other night.

If you go with reflective tape, just know your photographer will have to play with the camera settings to get your costume, the reflective tape and the location to come out just right.

AMAZING! Very well done - you captured the essence of the character. And without spending 60 grand to do it too. Good for you. By the way hubba hubba. :love
 
Hey guys,

I was hoping to offer some insight for you all about how the real costumes are made. Maybe this will help, maybe not.

Thank you for posting this and getting into the extreme detailed work that went into making these costumes.

I am a big perfectionist when it comes to re-creating a movie costume for my cosplay needs. The closest I have come to perfect is my Silk Spectre II latex costume.

I am basically giving up on making my Quorra costume anything close to exact as how the movies made it. No way do I have anywhere close to a 60K budget, time, resources or a team of ppl to help with that. Wish I did, would be an incredible experience as I have been costuming for 20 years and only as a hobby, wish I could do it as a living.

Thank you for your help! Oh and I see you posted a HEX print pattern. Is this the actual HEX 3D material that was used in the suits? If so, it would be great to get my hands on it to replace the material I used to make my Quorra bodysuit.

AMAZING! Very well done - you captured the essence of the character. And without spending 60 grand to do it too. Good for you. By the way hubba hubba.
and thanks so much for your compliments on my lil 'ol less than 200 bucks to make Quorra suit LOL! :D

~Annissë
 
So here is the response I received regarding the Risk Reactor Glow in the Dark paint for Bright White. I am going for it and ordering a ounce jar of this stuff and testing it out. I am coating my reflective time with a white primer as the website indicates and uses 2-4 coats of glow in the dark paint over the primer. The more paint you use, the longer the glow will last. This is all a test :) so wish me luck.

Message from Jim at Risk Reactor:
The glow time is dependent on what charged it, the thickness of the coating, controlling the ambient light and most important the dark adapted eye. Generally speaking every color other than the Yellow Green and Turquoise glow for a few hours. They can still be perceived for much longer depending on the color and the above factors. You can use any of our Black Lights and UV LEDs to charge these products. Below is a link to information on these products.

Glow in the Dark Paints by Risk Reactor!

Black Light Fluorescent and UV LEDs!

Sincerely,

Jim S.

Risk Reactor
877 Main Street
Dallas, Oregon 97338
Phone: 503-623-4132
Fax: 503-623-4187
Welcome Home to Risk Reactor Luminous Supplies!
 
Dear Annisse, If you've looked at the UD replicas website there Tron outfits Don't use any electrical material. They do light up. I found an interview with someone from UD replicas. That their suits will glow like the movie versions in the Dark. After much research I believe that the paint you ordered is the same one they are using. So we saved $60,000 dollars +and:lol a lot of problems.Please don't give up on your outfit. if you must use any foam for a costume use memory foam. You at least have a costume.
Just fix it up. You fit the part!

Ahhh thanks so much :) memory foam huh? Where can I get some memory foam? That is exactly what I need now. The felt I have lining the inside of my chest and arm armour is crap. The glue is all coming off when I wear them and move around. I need to find a way to then mount the memory foam into the armour. Maybe epoxy??? Buying tons of epoxy will be quite pricey but alot cheaper than 60Gs :D

I can't wait to get my Glow paint now if you are say this is what UDReplicas used on their motorcycle suits. David is on these forums, has he or will he confirm that is what was used?

Thanks!
~A
 
Last edited:
Ahhh thanks so much :) memory foam huh? Where can I get some memory foam? That is exactly what I need now. The felt I have lining the inside of my chest and arm armour is crap. The glue is all coming off when I wear them and move around. I need to find a way to then mount the memory foam into the armour. Maybe epoxy??? Buying tons of epoxy will be quite pricey but alot cheaper than 60Gs :D

I can't wait to get my Glow paint now if you are say this is what UDReplicas used on their motorcycle suits. David is on these forums, has he or will he confirm that is what was used?

Thanks!
~A

Foam Mart near Burbank is a great place to start! tell them what you want - those guys know everything.
 
Thank you for your help! Oh and I see you posted a HEX print pattern. Is this the actual HEX 3D material that was used in the suits? If so, it would be great to get my hands on it to replace the material I used to make my Quorra bodysuit.


and thanks so much for your compliments on my lil 'ol less than 200 bucks to make Quorra suit LOL! :D

~Annissë

Yes, I posted that because it is the ACTUAL fabric that was used. Figured I would end the debate about what it looks like once and for all. it is a stretchy fabric but not as stretchy as typical spandex. Heavier. More like stretch slacks. Also, the pattern was specially printed using a very elaborate screening process and inks that make it flex without tearing the little O's. Unfortunately the sample I have is an odd shape and about a 3"x5" sample. So sorry it won't help your costume much. I had entertained the idea of making one of these costumes myself at one point and was going to get a black spandex body suit, put it on a mannequin and airbrush the pattern in gray fabric paint using a laser cut stencil. Stencils are cheap. it would be meticulous work, but it could be done affordably.
 
Hey Annisse, how do you put your armor on?

Snaps on the sides? A zipper somewhere? Elastic?

I can't figure out the best way to do it... at this point, I'm considering sewing the undershirt parts right onto it and making it more of a single piece leather top... depending on how the separate armor attempt comes along. :S
 
Yes, I posted that because it is the ACTUAL fabric that was used. Figured I would end the debate about what it looks like once and for all. it is a stretchy fabric but not as stretchy as typical spandex. Heavier. More like stretch slacks. Also, the pattern was specially printed using a very elaborate screening process and inks that make it flex without tearing the little O's. Unfortunately the sample I have is an odd shape and about a 3"x5" sample. So sorry it won't help your costume much. I had entertained the idea of making one of these costumes myself at one point and was going to get a black spandex body suit, put it on a mannequin and airbrush the pattern in gray fabric paint using a laser cut stencil. Stencils are cheap. it would be meticulous work, but it could be done affordably.


Awesome!!! So do you know by any chance what company did the screen printing of the HEX fabric and how much it costs? I am afraid to even ask that question ;)

Good idea regarding the stenciling. Where can one get a custom laser cut stencil?

Thanks for the tip on Foam Mart by the way!!!

I think for now since I gotta have my Quorra costume in shape to wear to the Disney cast members only day at ElecTRONica this Monday the 11th, I am going with the epoxy route to fix the lining on the armour.
 
Last edited:
Hey Annisse, how do you put your armor on?

Snaps on the sides? A zipper somewhere? Elastic?

I can't figure out the best way to do it... at this point, I'm considering sewing the undershirt parts right onto it and making it more of a single piece leather top... depending on how the separate armor attempt comes along. :S

I used heavy duty metal hooks on one side of the chest armour and put the whole thing over my head. Haha there is actually electrical tape all over the place now too to hold parts that are falling apart. Tiny liitle corners that are tearing. It blends very well with my facing black matte vinyl I used so you can't even tell.

I sewed those metal clasps onto the craft foam build. They keep coming apart due to the tight fit and I have to keep resewing the hooks. Craft foam and the felt lining are just not durable to hold up to all that pressure and movement of my body. That is why the memory foam sounds like a great idea to line it much more durable.

The arm armour was sewn at the seams and and I just slipped them up my arms. The lower part of the arm below the elbows have industrial strength Velcro to hold it down to my bodysuit so it won't be flopping around and stay in place the ends are electrical taped to my middle finger.

Pretty cheap but unless you have 60K like the movie then the cheap route will have to do ;P

~A
 
Awesome!!! So do you know by any chance what company did the screen printing of the HEX fabric and how much it costs? I am afraid to even ask that question ;)

Good idea regarding the stenciling. Where can one get a custom laser cut stencil?

Thanks for the tip on Foam Mart by the way!!!

I think for now since I gotta have my Quorra costume in shape to wear to the Disney cast members only day at ElecTRONica this Monday the 11th, I am going with the epoxy route to fix the lining on the armour.

I will make some inquiries for you on the fabric printing, not really sure. It was likely fairly expensive to produce but you never know unless you ask.

Laser Cut Stencils can be ordered online - you need to provide the art usually. Custom Stencils, Stencils these guys offer custom laser cut graphic stencils starting at $35 but you would want a quote.
 
This thread is more than 3 years old.

Your message may be considered spam for the following reasons:

  1. This thread hasn't been active in some time. A new post in this thread might not contribute constructively to this discussion after so long.
If you wish to reply despite these issues, check the box below before replying.
Be aware that malicious compliance may result in more severe penalties.
Back
Top