Philip is a god!
A kind, generous, and talented one at that!
Philip is a god!
Philip is a god!
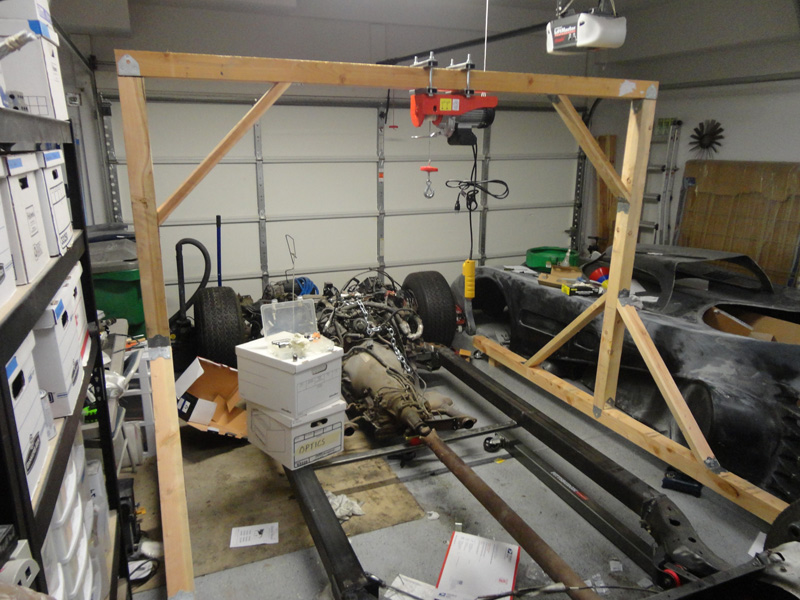
Woah! Philip Wise strikes again! This showed up today:

Want to see what's inside?? Visit the blog and check it out! I'm stoked!!!
The Project Workbench: RebelScum Strikes Again!!!!
That's gorgeous Philip! You do such amazing work.

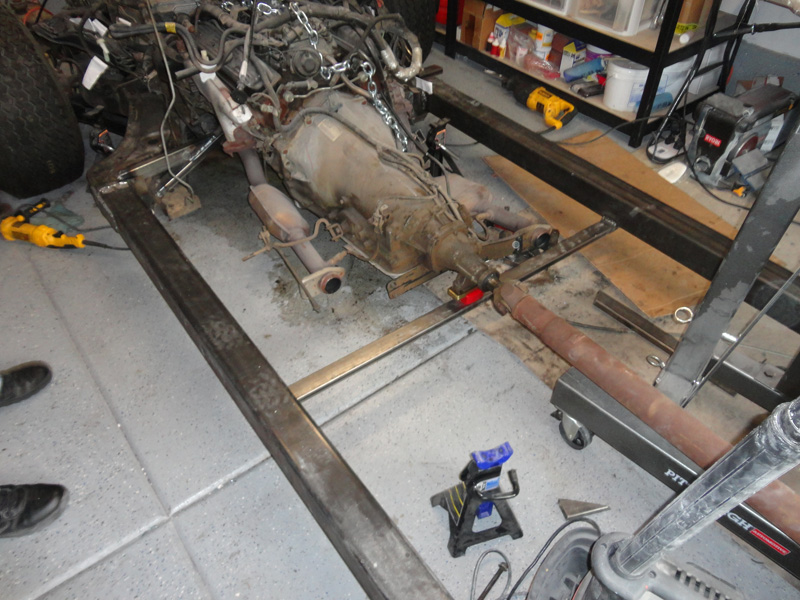
With that all said, it appears I am still learning the same old lessons, time and time again. Today's lesson??
Measure twice, cut once.
Don't know how I missed it, but I was a quarter inch off on the holes I drilled into a metal bracket today, for the hoist mounts. Took about an hour to do that one piece, so it was a bumme to see that I got it wrong. Still, good thing I didn't do all four before checking my work
Just another day in the garage, I suppose
Glad to know I am in good company.

Sweet rig, how much of the interior cockpit with you build before fitting off the shell?