Studio Scale A wing, finished at last!

Status
Not open for further replies.
Re: ID help Studio Scale A wing.

Well, its about time I put everyone's hard work in to practice. I have to say a massive thanks to Michael for sorting me out with a great deal of help with this build, in fact I have to call this a part scratch build as the hard work was already masterfully done. I still have a ton of I'd'n to do but I started the hull shaping yesterday & am making good progress. I was really intimidated by the thought of hacking these hulls up as I really didn't want to balls them up but with Michael threads & the man himself offering constant support, its working out well for me so far.

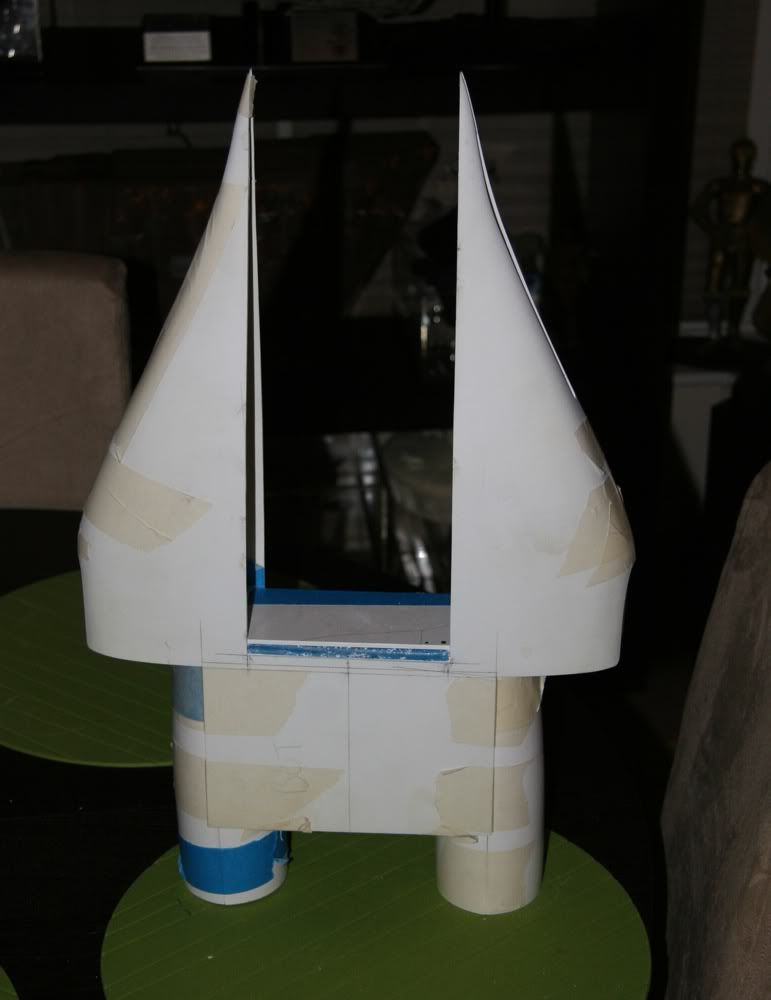
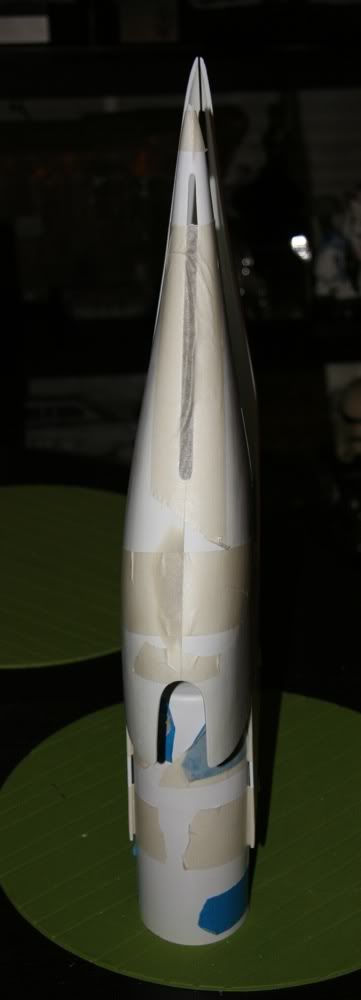
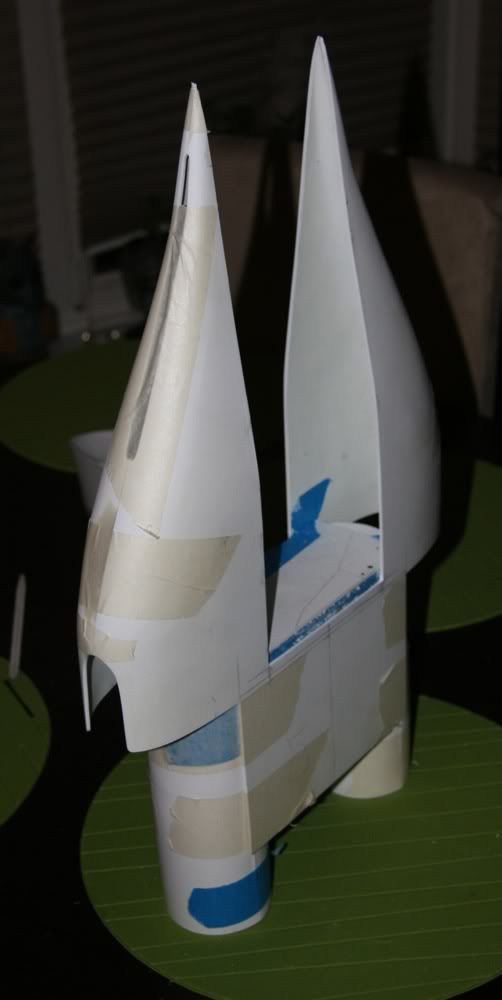
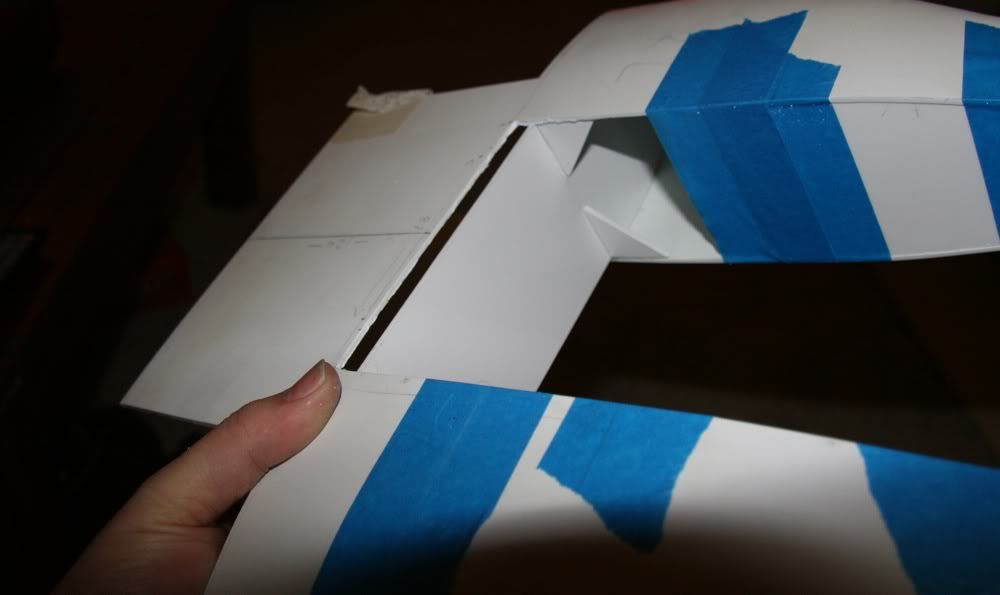
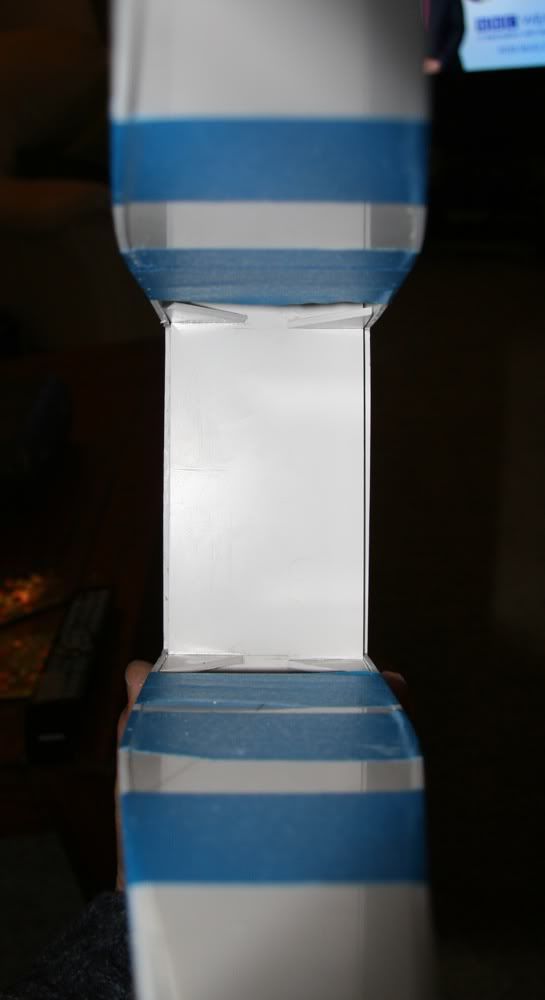
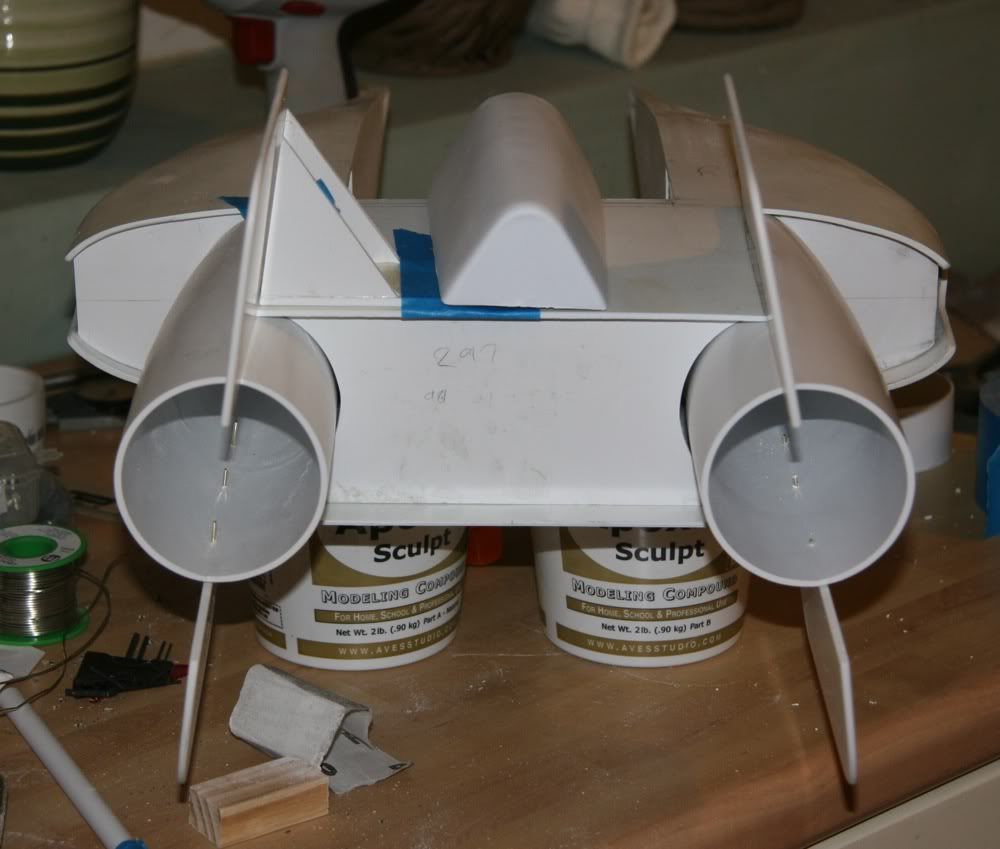
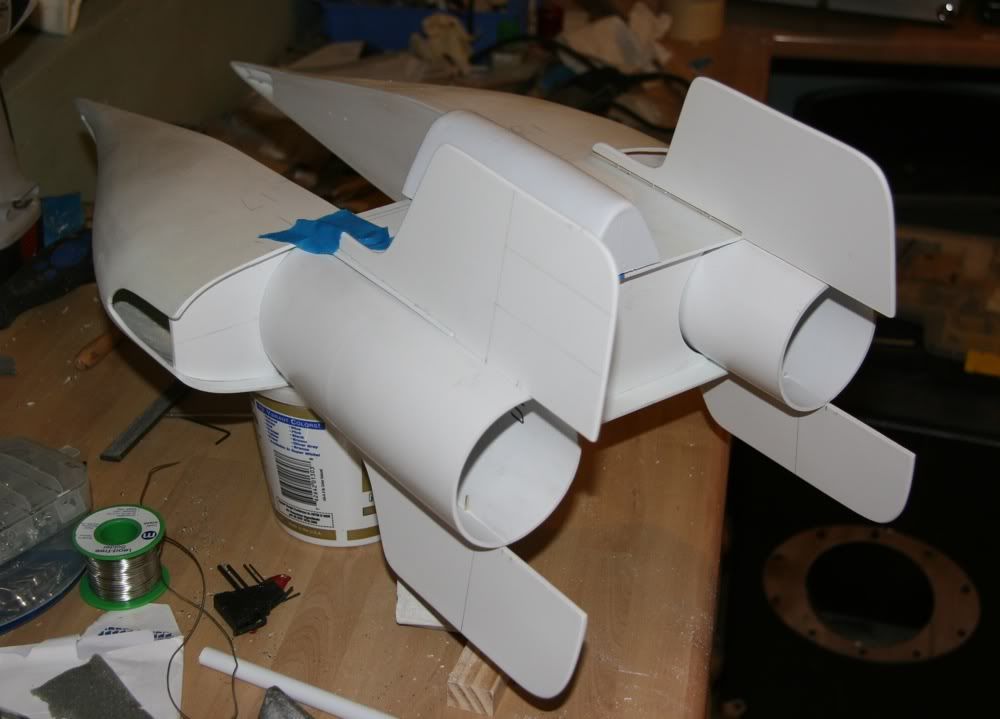
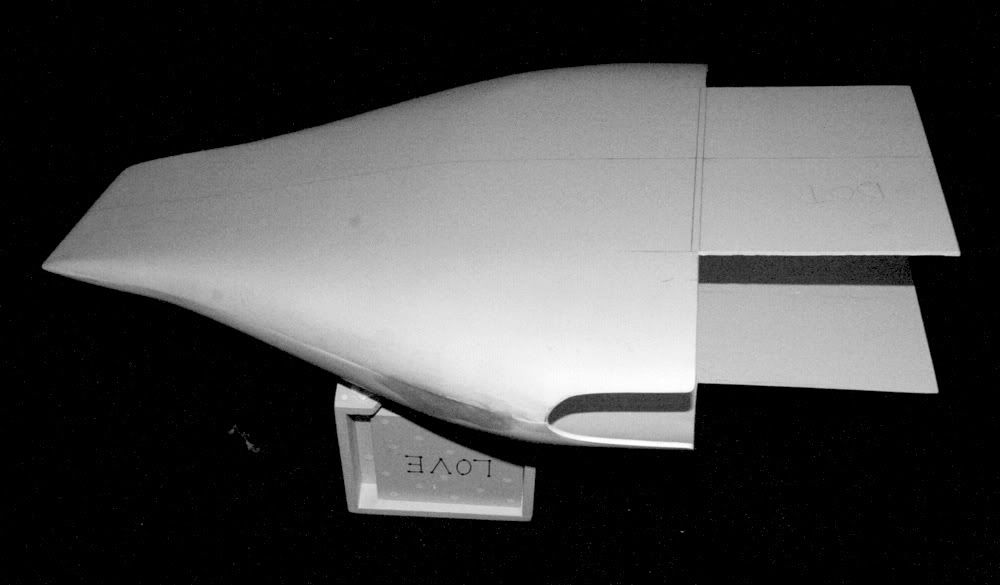
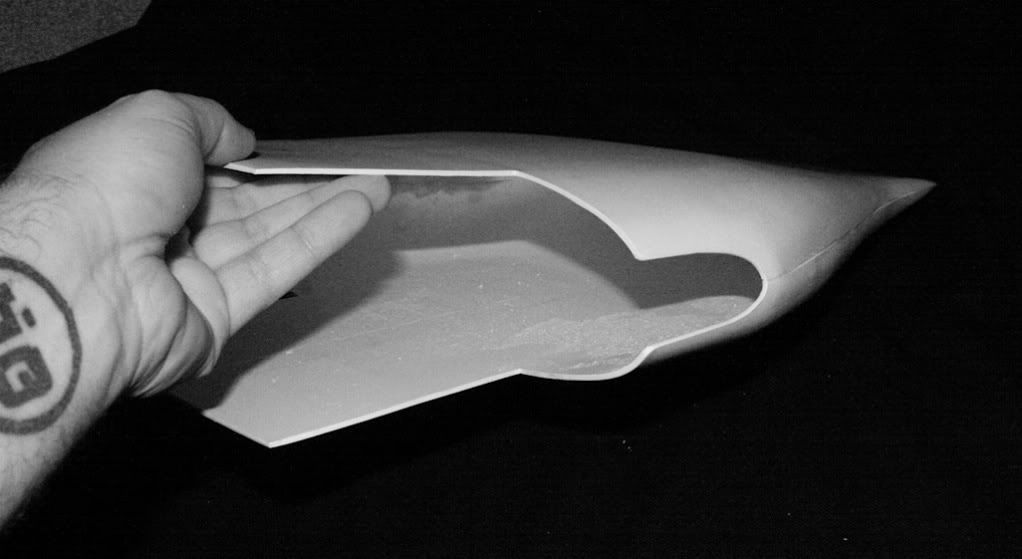
I just have to relax & not rush!!!! I have joined the 2 hulls together but not gone mad with the glue, its a little early in the build to do this but I want to align them as best I could, every time I taped them they never quite seemed to align as well as the time before so I thought it through & joined them.

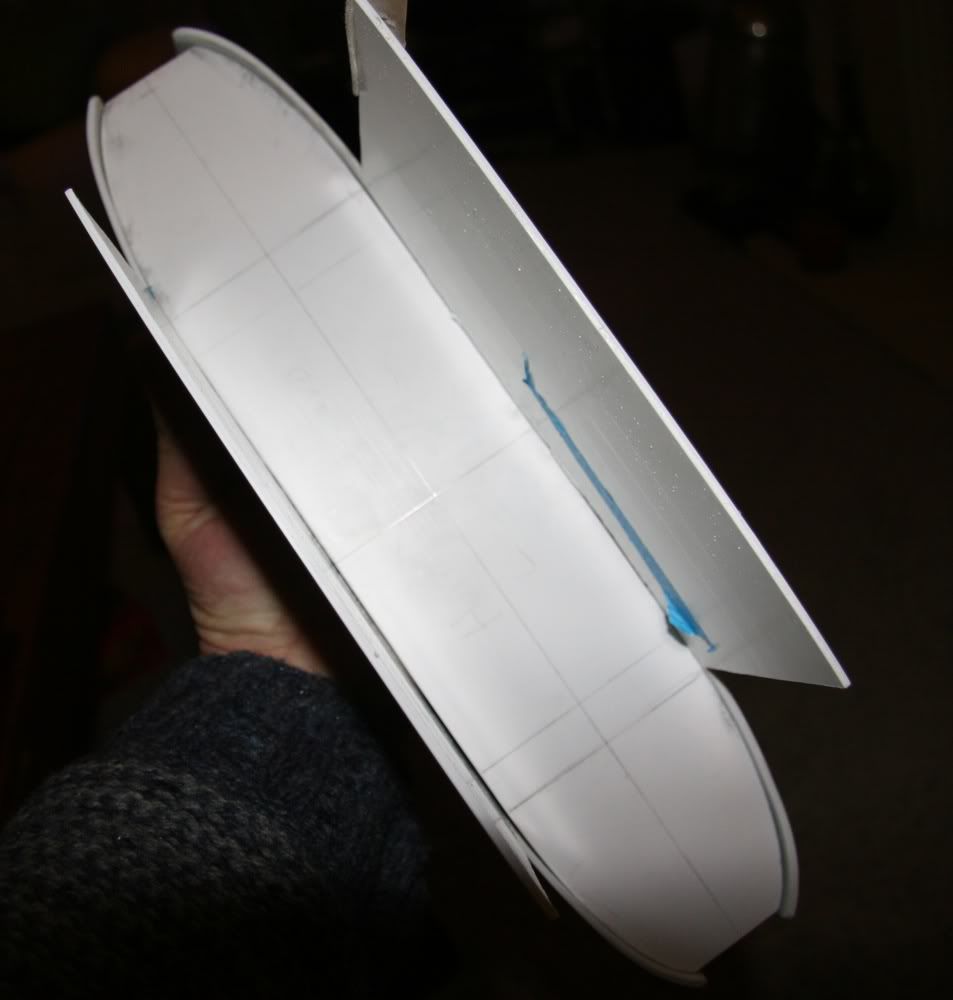
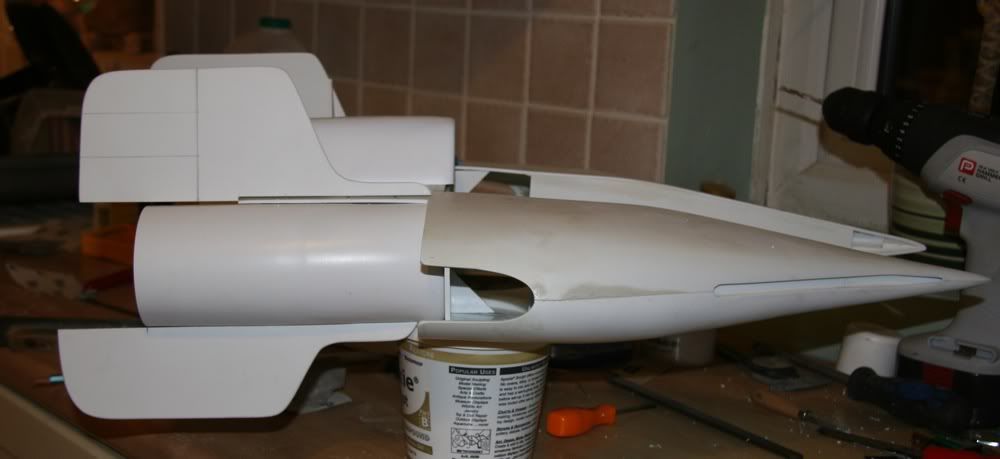
You can see in some shots that it still needs a lot of clean up, the worst areas will be removed for the torpedo tubes so overall its not too bad. I have used Apoxie sculpt on a few areas including inside on the seem. I haven't done any sanding along the outer seem yet so it will end up looking a lot better pretty soon. Tomorrow I'll be digging the car out of the snow then working on the Seem Torp tubes & bulkhead.

IMG_0023-6.jpg

IMG_0027-4.jpg

IMG_0032-3.jpg


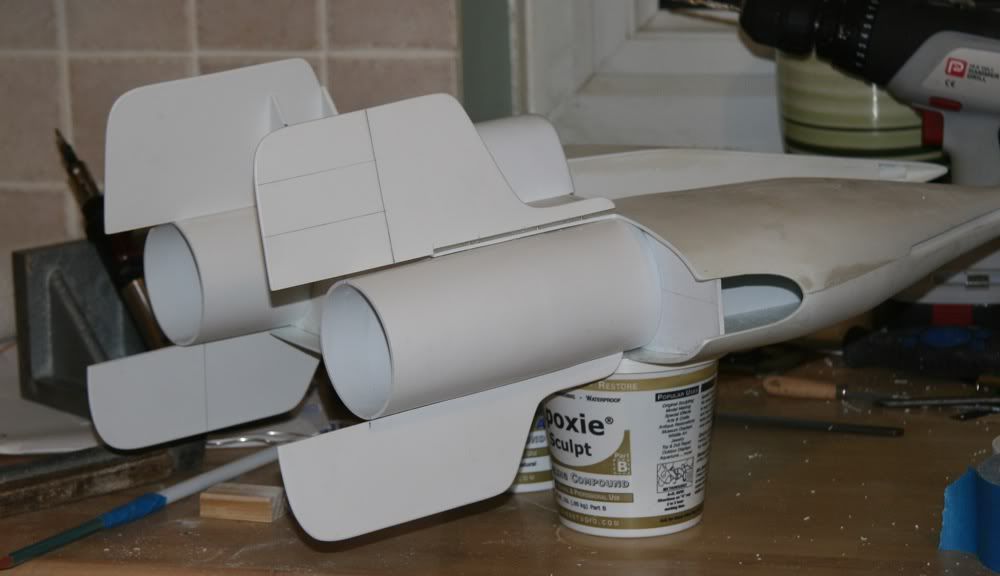
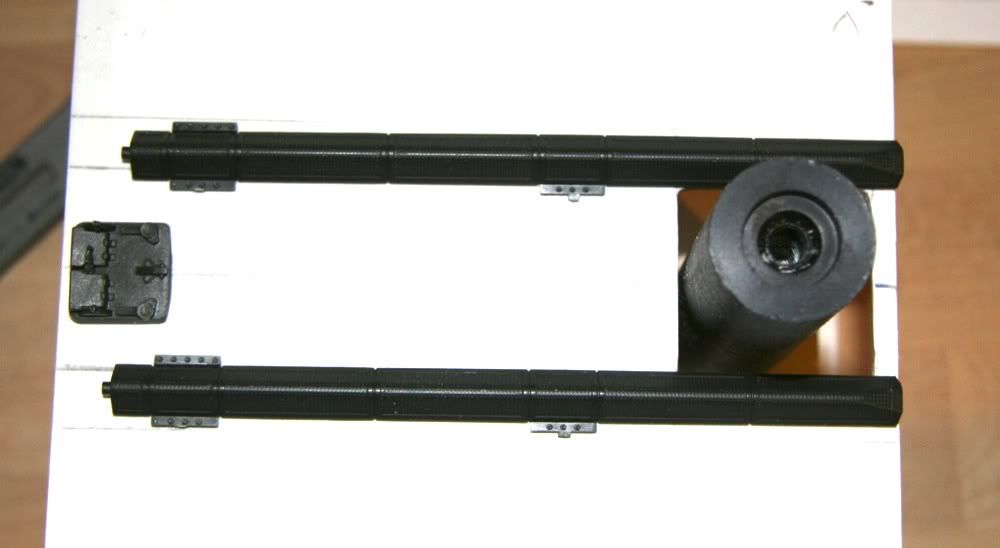
The gun ports are only roughed in at the moment, I will be tidying these up also.
IMG_0024-3.jpg

IMG_0026-5.jpg

IMG_0034-2.jpg


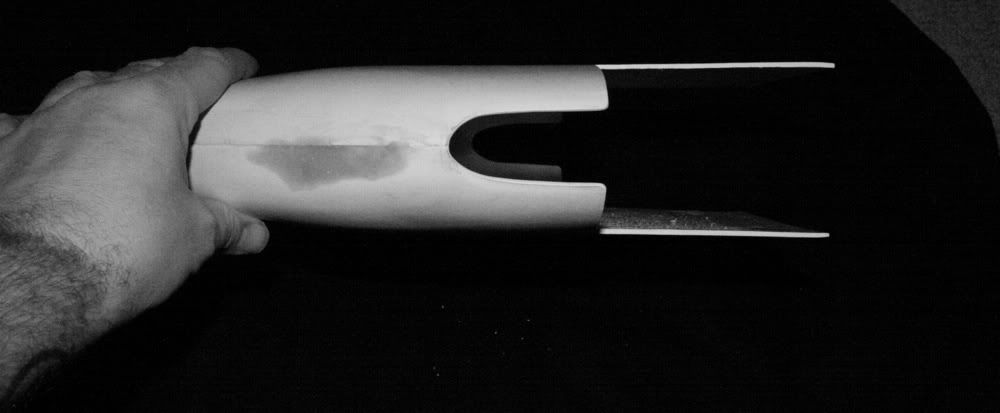
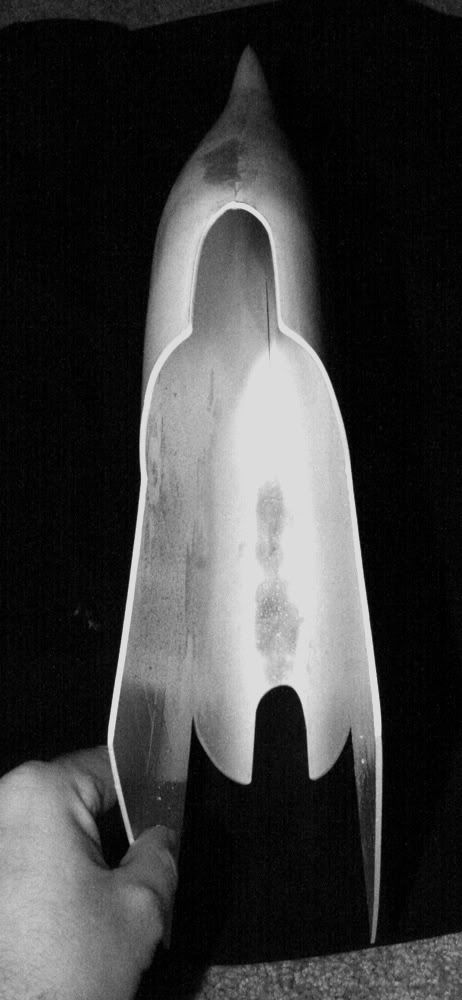
The dark patches inside are Apoxie sculpt.
IMG_0025-4.jpg


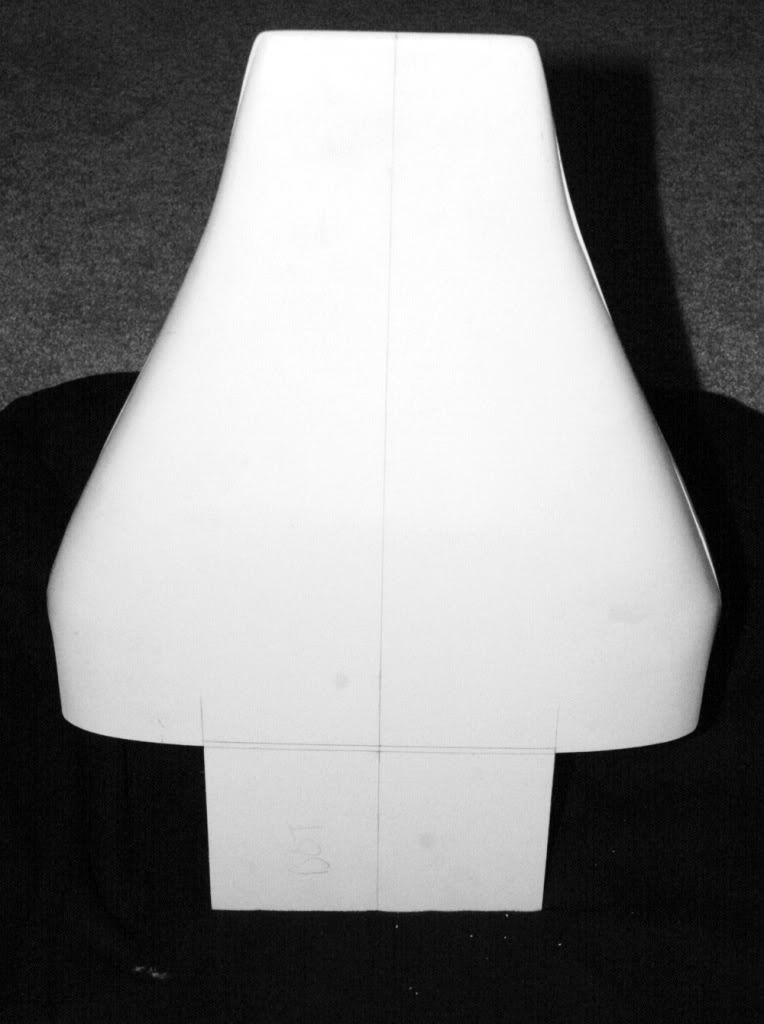
Sorry about the B&W shots but no detail to miss as yet. I am loving this build, just getting those shoulders cut out was an awesome feeling, especially as I didn't destroy em.
 
Re: ID help Studio Scale A wing.

Ya Guy you can see in the 3rd B&W picture the hull halfs are not perfect, but they can be made to work.:lol This was my first Vacuum form project or attempt at making patterns.........:lol:thumbsdown It really needed a top and bottom hulll buck to make sure everything was perfect. Oh well live and learn........yes whatever sins are in that span where the concussion missle tubes are will be dremeled away!! So the distance between the tubes and the gun well you will have to sand or do what you did with the modeling clay.Hollow out the launch tubes and just see what is left to clean up,
nothing to panic about!!:thumbsup


Hey Guy here are the patterns for the half SS A-wing I am working on,
Notice I have a top and bottom hull pattern!!!:lol When I am finished I will send you one buddy!!:lol:thumbsup
100_1929.jpg

100_1927.jpg

100_1926.jpg
 
Re: ID help Studio Scale A wing.

Thanks Michael, they look awesome mate.

I got some more done today, I'm trying my best not to rush it. I nearly never noticed that the center section that needs to be removed top & bottom is tapered. Its slightly narrower at the front. Good job I spotted it before cutting.

On your your main bulkhead support that goes right the way across into the gun wells, how do you deal with the cockpit tub in the middle where you can see the bulkhead support. This will be where the seat goes or do you remove part of the bulkhead wall where the seat tub sits? Hope that makes sense.

I think I may have to do a complicated bulkhead wall as I want my mount point to be the same as the studio model just behind the vents. The bulkhead wall also gets in the way of the wedge recess on the underside were the C600 part ends. I think I know how to get around it but was wondering how you plan to?

Today's progress

IMG_0047.jpg

IMG_0048.jpg

IMG_0049-2.jpg


I'm at that worrying stage with the engine halves, I'm just a bit shy of having the inner ring sitting nice & neat. Filler or risk, filler or risk????
 
Last edited:
Re: ID help Studio Scale A wing.

Guy.


Thats looking great, Me and Michael pulled another set of Hulls when i stopped by his place last week. Yours is looking great. i cant wait for a set, im going to do a concept A wing.

keep it coming.


Al
 
Re: ID help Studio Scale A wing.

Guy.


Thats looking great, Me and Michael pulled another set of Hulls when i stopped by his place last week. Yours is looking great. i cant wait for a set, im going to do a concept A wing.

keep it coming.


Al

Cant wait to see it start mate, I love the Concept A wing. Maybe I'll try that with the new half size pulls :cool

Wow looking good guys. Attack of the A Wings!

Thanks Jason, not as much as a mission as your Falcon mate. Now thats a challenge & a half :eek
 
Re: ID help Studio Scale A wing.

Ya the ramped recessed area on the bottom hull, runs into the inner bulkheads path, you have to cut that bulkhead to allow it to fit over the ramp section.

The tub will not have any conflict with the same bulkhead, if you fit the canopy bulkhead on to the flat deck area you will see the tub will be way out of the way! When you reinsert a center section that has been cut away this will help you also see the distance and how far the tub will be from that bulkhead.


The ramped section you see here is what has gets in the way of that inner bulkhead. Guy in the second pic you can see a line drawn
that is where that bulkhead is to be placed.
Mvc-449s.jpg

Mvc-678s.jpg

You will need a custom cut in that bulkhead to fit the recessed ramp area as you can see in this pic.
Mvc-681s.jpg
 
Last edited:
Re: ID help Studio Scale A wing.

I've been struggling with these for a while, the 2 matching parts on the right of this pic I know I've seen somewhere but just cant find em. Any idea's?

unfound2.jpg

unfound.jpg
 
Re: ID help Studio Scale A wing.

They look like the parts that go on the center of the Maxi-brute part on the rear of the ROTJ AT-ST.Don't know what kit they come from.

Dave
 
Re: ID help Studio Scale A wing.

Your thinking of the Gepard parts Dave, the larger part? There already found, its the small parts flanking them i think Guy would be looking into, and ive no clue either right now.

lee
 
Re: ID help Studio Scale A wing.

Your thinking of the Gepard parts Dave, the larger part? There already found, its the small parts flanking them i think Guy would be looking into, and ive no clue either right now.

lee

Your right mate, I just cant seem to track em down. I may have to give up on em for a while :confused
 
Re: ID help Studio Scale A wing.

Guy my inner bulkhead is 77mm also at the widest,
so your right in the money perfect!!:lol:thumbsup
 
Re: ID help Studio Scale A wing.

Got the bulkhead wall sorted today, it really does help when you have an A wing bible to follow, so thanks again Michael.

Scott's find of the AMT Lowboy parts seem to be spot on. so a big thanks for that Scott, but this means sadly the )) meat wagon vents are too small by about 30%.

IMG_0054-1.jpg

IMG_0055-1.jpg

IMG_0056-1.jpg
 
Last edited:
Re: ID help Studio Scale A wing.

Slowly getting there. Following Michaels amazing build diary, even down to the tubs of Apoxie sculpt as a stand, here's where I'm at so far.

Nothing is glued yet, its all just pinned or free standing aside from the inside bulkhead walls,these are glued in place.

Michaels original patterns are based on the snap fit 1/72 model but where possible I'm trying to adjust it to be a little more like the ILM model. This may or may not work but so far so good.

IMG_0004-6.jpg

IMG_0003-6.jpg

IMG_0005-7.jpg

IMG_0006-5.jpg
 
Re: ID help Studio Scale A wing.

Now that you have the lower stabilizers attached to the engine cans
and the top stabilizers in place, you can drill holes in your engine cans facia's.
Rotate the engine until the stabiizers on the bottom are on the same angle, as the top stabilizers.Then you can mark through the holes you pre drilled with a marker.Remove the engines and drill the holes in the bulkhead, then use wing nuts to easily remove and attach the engines at will!:thumbsup

I used a couple rulers to get the angle off the top to the
bottom stabilizer.
Mvc-553s.jpg

MVC-762S.jpg

MVC-763S.jpg

MVC-764S.jpg
 
Re: ID help Studio Scale A wing.

Well managed to get some stuff done today but not much sadly. I've been working on the armature support. I tried to keep it simple just 2 blocks of bass wood to keep the weight down & some basic angle brackets to help spread the weight. these wont be fixed to the hull but the blocks will.

Just using panavise rods to mount it with no swivel & pan mount.

IMG_0007-7.jpg

IMG_0008-6.jpg

IMG_0009-4.jpg

IMG_0010-5.jpg

IMG_0013-6.jpg
 
Re: ID help Studio Scale A wing.

Looking good with the mounting! Cut out looks
like you got it in the perfect
place!:thumbsup
 
Re: ID help Studio Scale A wing.

Damn Guy this is coming along real nice. Im going to build one of these one day that is for sure. Thanks for the build thread from you & Michael. Top stuff!
 
Status
Not open for further replies.
Back
Top