Studio Half Scale TOS Enterprise Scratch build

Status
Not open for further replies.
Thanks Karl. Those plans aren't far off although the secondary hull is shaped wrong. The hull except for the forward coke bottle effect is linear. Straight tapered circle. But the saucer is really close. Thanks for the and the kind words about my work.

Steve
 
I just looked at those plans more closely and they are really close. They are the best Karl on the net. He's just got a slight curve in the secondary hull that should just be straight. So for those of you looking to build a TOS E these plans would be the best to use and that coupled with the pictures I put a link up to here would get you there.

Steve
 
Question for Steve Neill:

Like many people on RPF, I DID like the last Star Trek (2009) film but I had reservations about the art design.

I felt that the new Enterprise design was out of balance and disproportionate. Furthermore, it looked more like an attempt to do a redesign of the TMP Enterprise versus the original 1960s version.

I took a look at Jason Ware's 1/175 scale Refit model and it got me to thinking... IF you're going to blatantly design an Enterprise based on the Refit, wouldn't it have been better to just go back to Matt Jefferies' plans for the Phase II Enterprise, rip off the rectangular nacelles on that one, and graft on cylindrical nacelles and the main deflector dish from TOS Enterprise? It certainly would have been more respectful to both the TOS Enterprise and Matt Jefferies in particular (IMHO).

(SIDENOTE: One thing I liked better about the Refit was the detail on the pylons. I felt that the Phase II design's abrupt 'cut' in the aft section of the pylons just before they graft onto the nacelles didn't look good. I liked the fact that the Refit detail enhancers/designers/artists/modellers continued the connection instead of cutting it. That detail of the Refit is about the only thing I would have liked to have seen on the Phase II ship. At least the Phase II ship reused the TOS saucer, albeit at a slightly increased diameter.)

I have to admit one basic thing always bugged me about TOS Enterprise. I never could understand how those pylons could support those long nacelles. They always seem a bit too thin and looked weak. If anything, I've preferred the sweepback of the Refit's nacelle pylons (greater sense of speed -- I know it doesn't make sense, but a lot of stuff in Trek was done for drama's sake at the expense of scientific accuracy!) as well as the positioning of the (new) nacelle pylons closer to the dorsal neck of the Refit. There was nothing majorly bad about the TOS Enterprise but the Refit always seemed a bit better balanced engine wise with a slight proportional improvement with the increased diameter of the saucer.

Getting off those quibbles, it's been real obvious to me for several years (even before I saw the HD-Remastered Star Trek episodes) that the original TOS Enterprise looks very good with the Aztec paint job and better lighting that wasn't available in the 1960s. It disturbed me to read that production personnel on the last film felt the original TOS Enterprise was "too static" and lacked dynamism. I just wondered if I had seen the same show they did!

As controversial as the Remastered Star Trek was, it proved to me the original design STILL works and that the main problem a lot of us had with the original series was all the stock footage that got reused time and time. Also, there were many implied space battles but just no budget to do them in the '60s. The great thing with the Blu ray sets is that we still get the original versions of the episodes if for whatever you can't stomach the new CGI sequences.

Sorry about this rambling post, but I felt I had to write 'long' to make sure I made all the points I wanted to...
 
Thanks for your post Will and I hear you clearly and appreciate your input.

Please all, lets keep the thread on topic.

Steve
 
Last edited:
Now that the Big T day is over and I have recovered from two days of preparation, helping my wife, entertaining guest and being host, I'm back at Photo Shop sizing things up for the secondary hull and neck. Then off to the LHS to buy some additional materials and start the hull at long last.

Hey thanks Pez!

Steve


Can't wait to see this next part!!! :D
 
Thanks Brandon. Just got back from the LHS with a stack of balsa and basswood. Took all day to size the plans and estimate the lumber I'd need. Tomorrow I'll get it started.

Steve
 
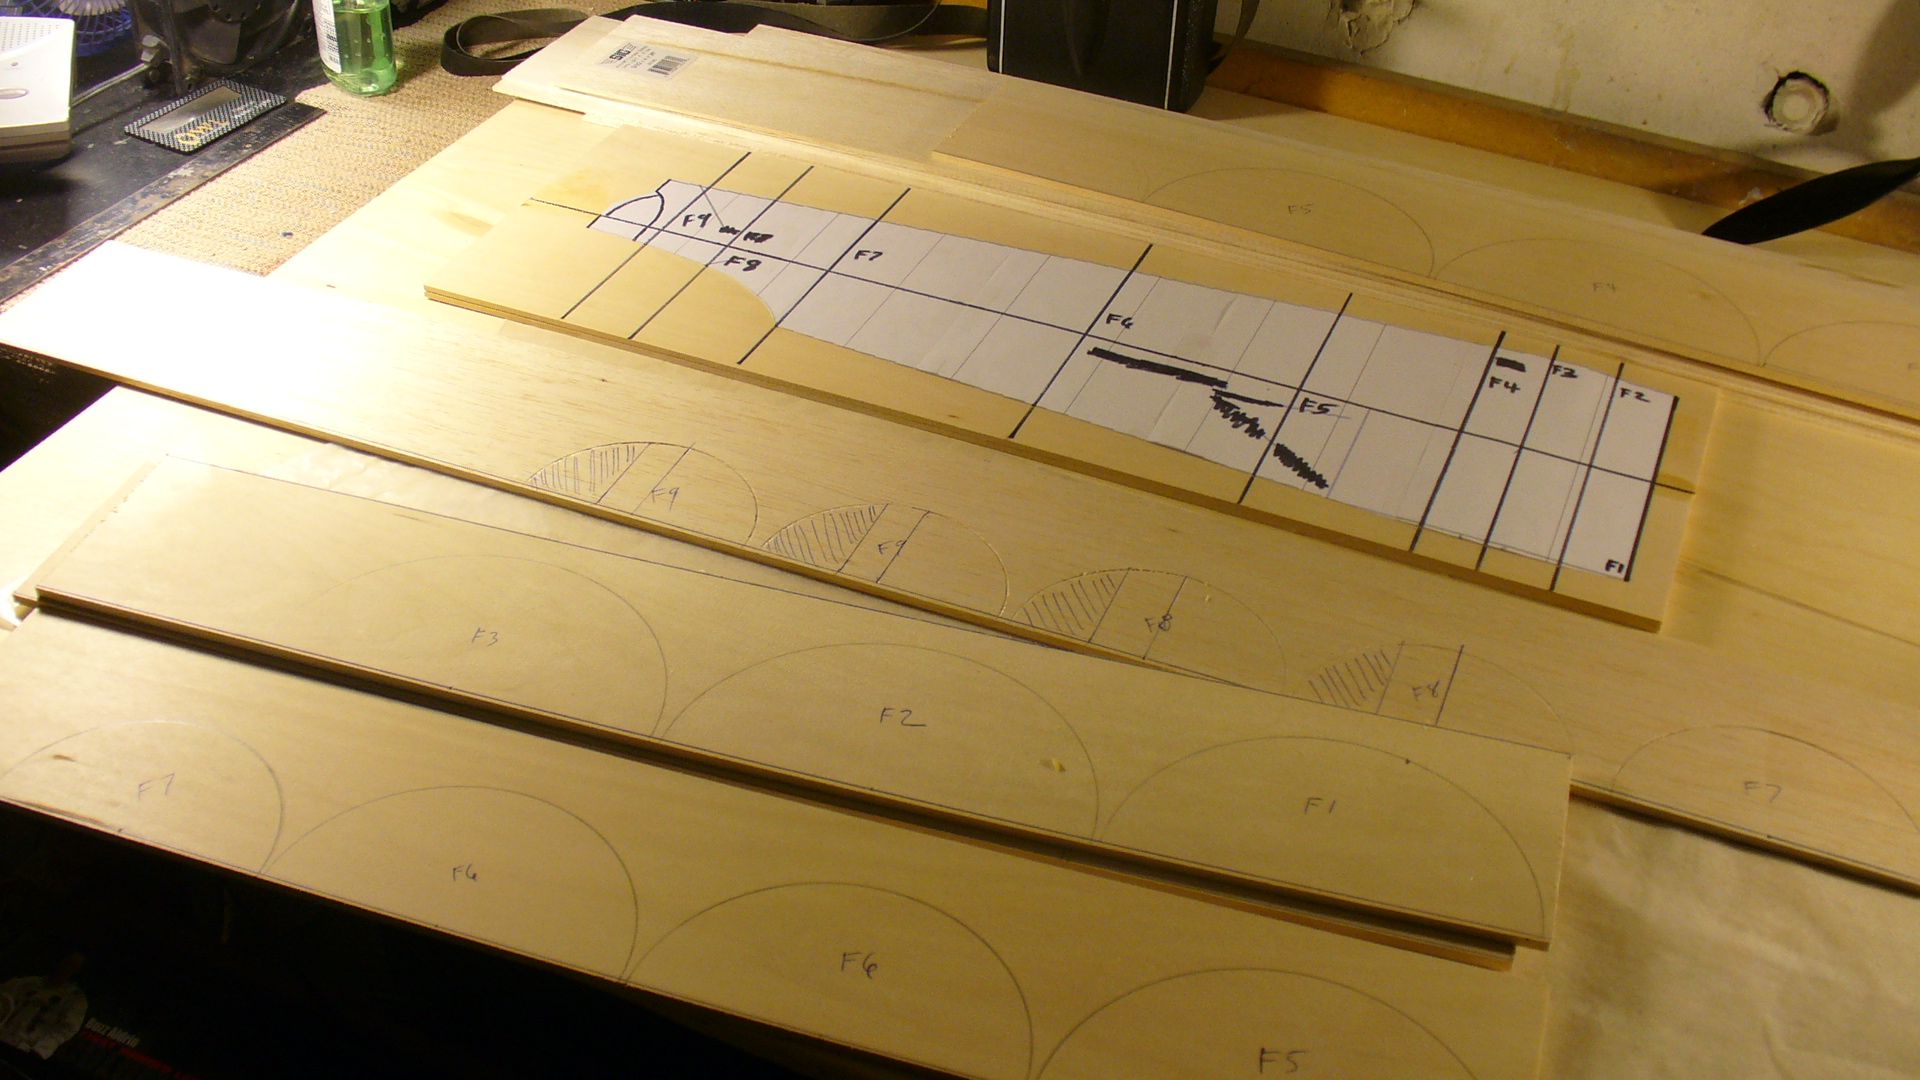
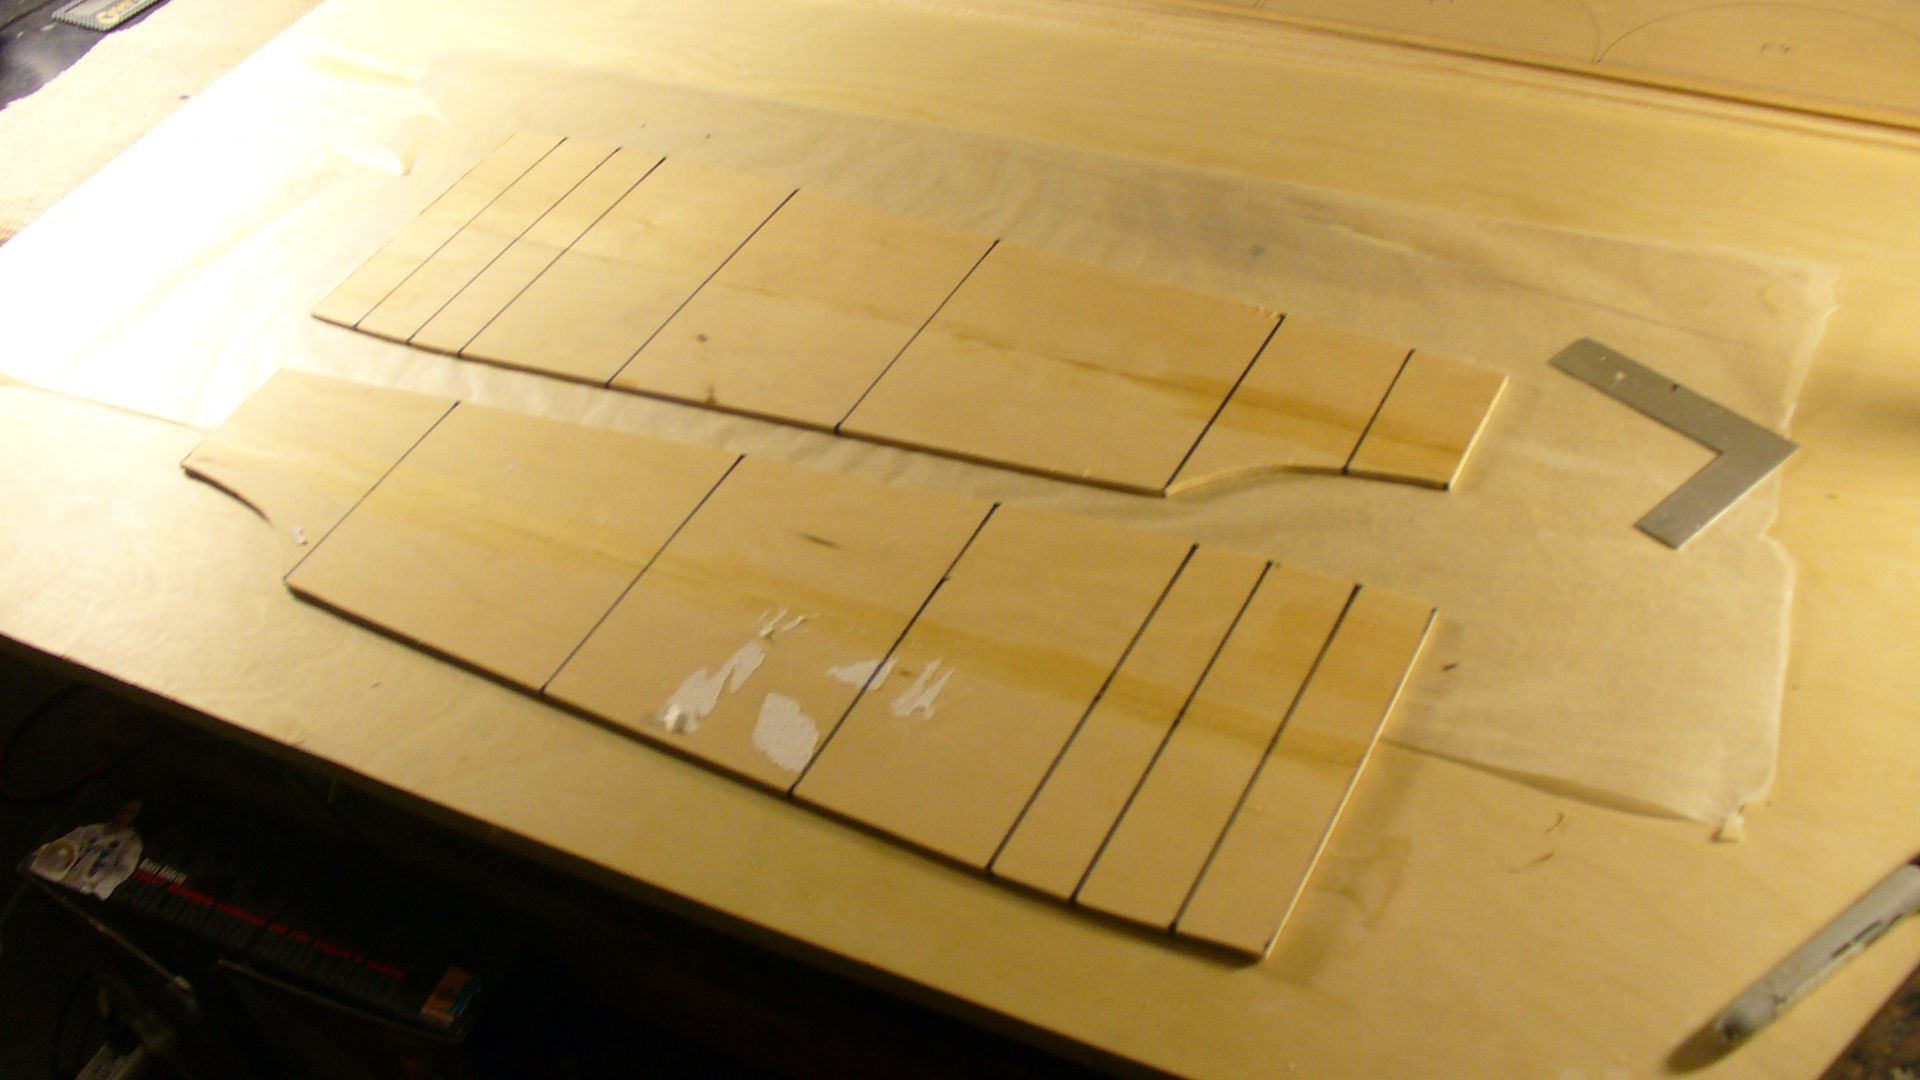
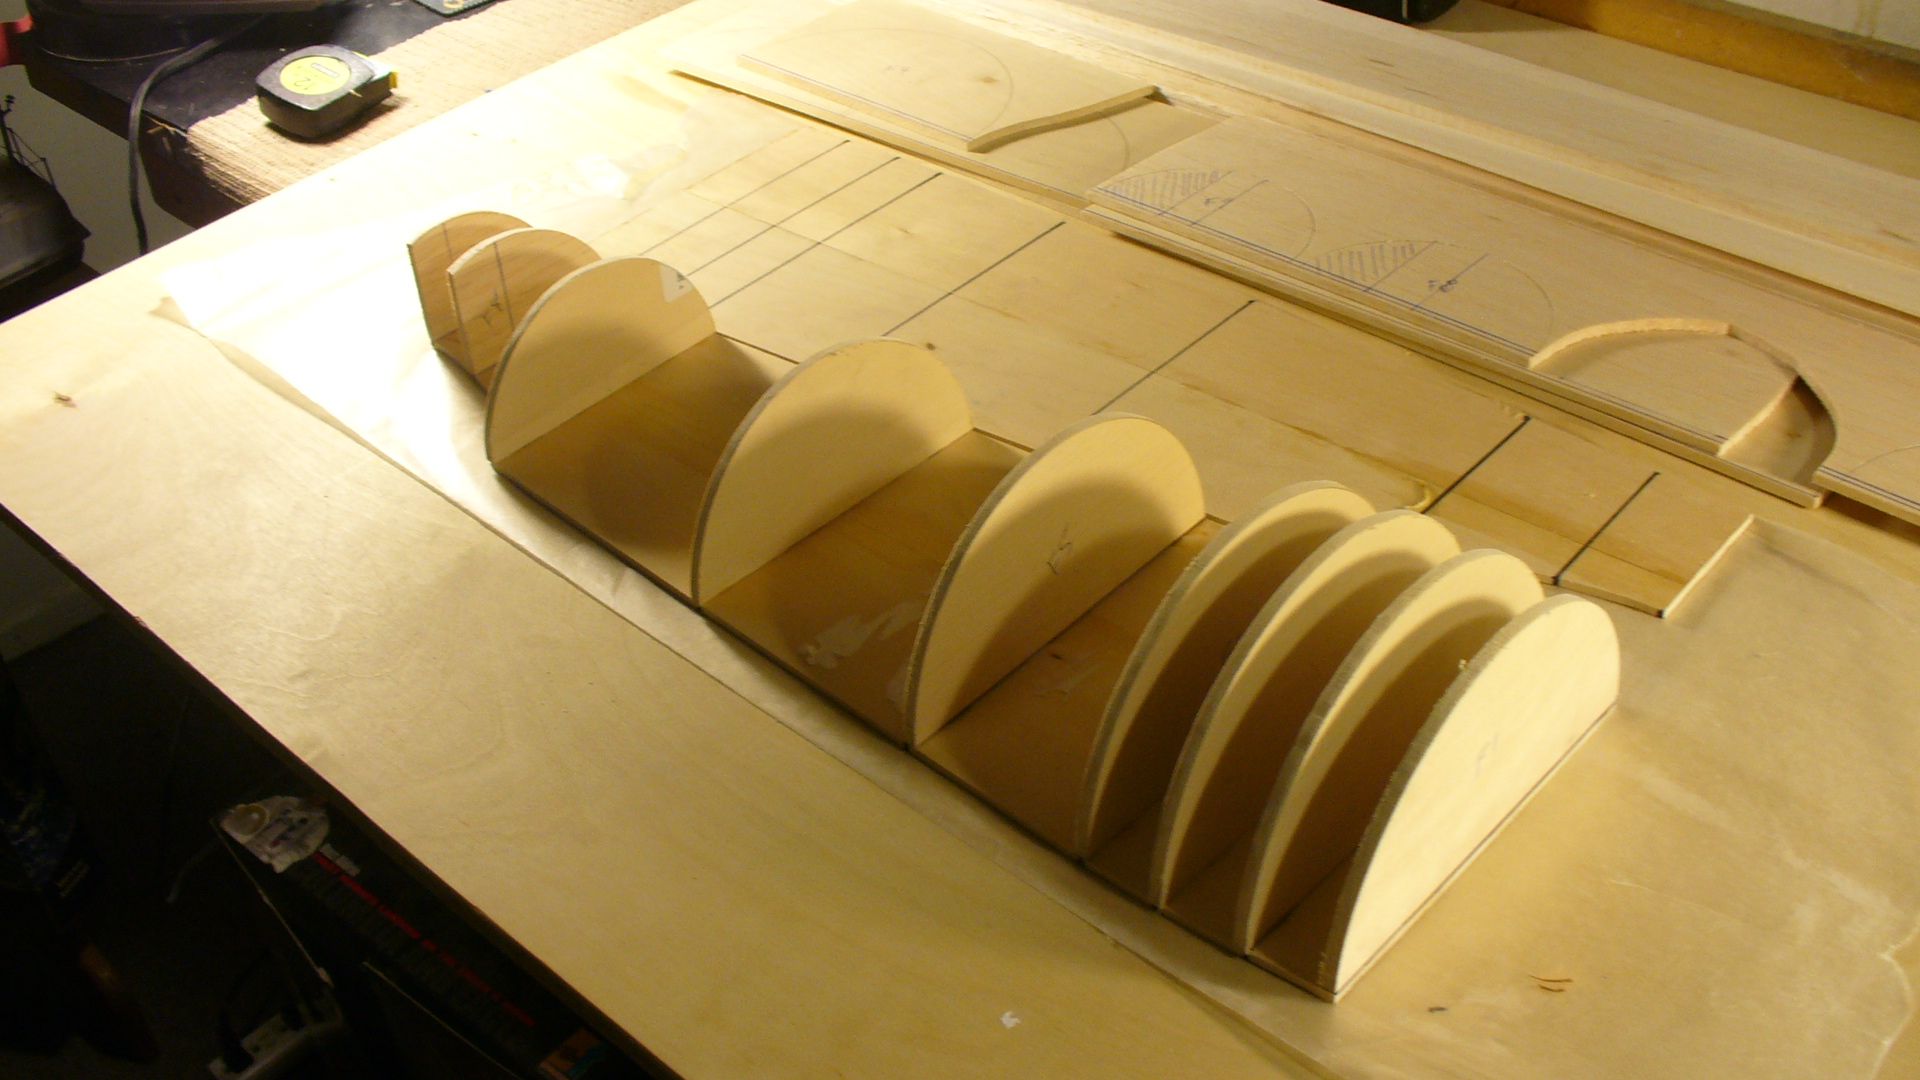
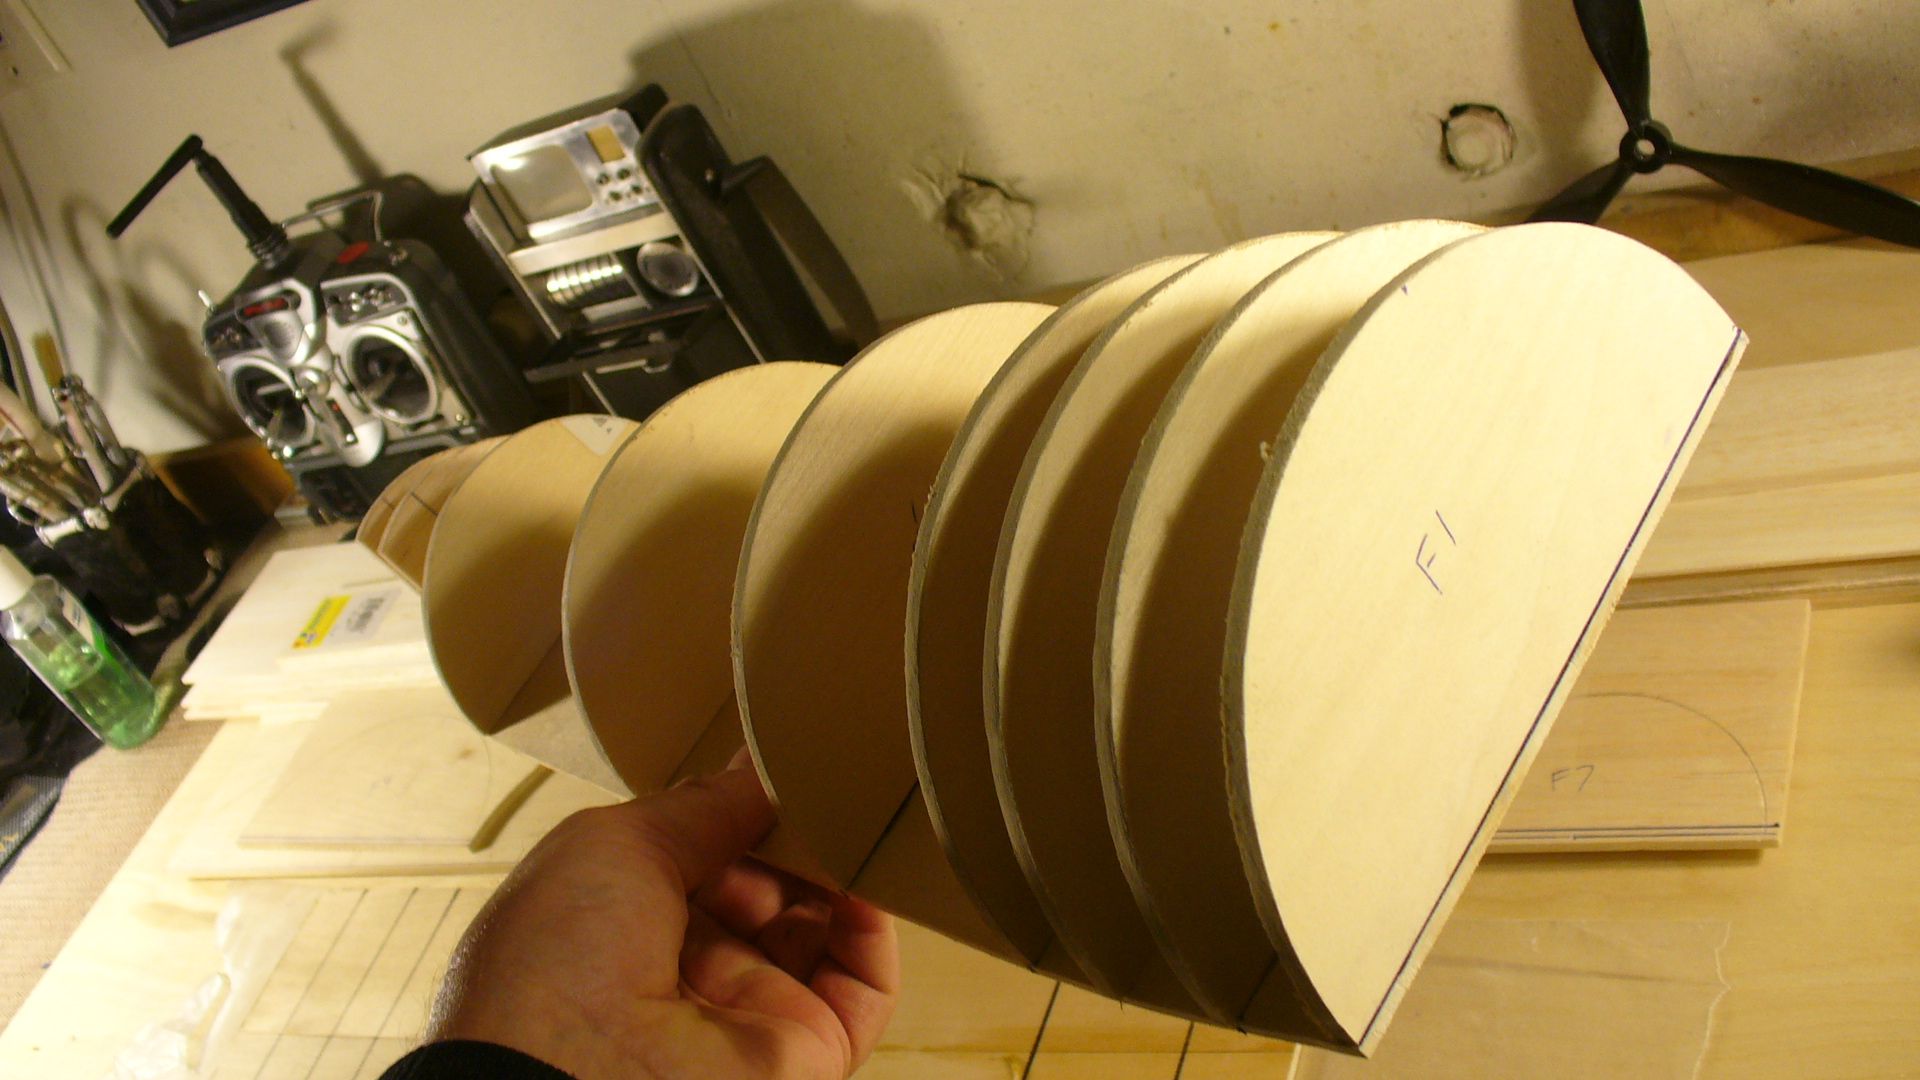
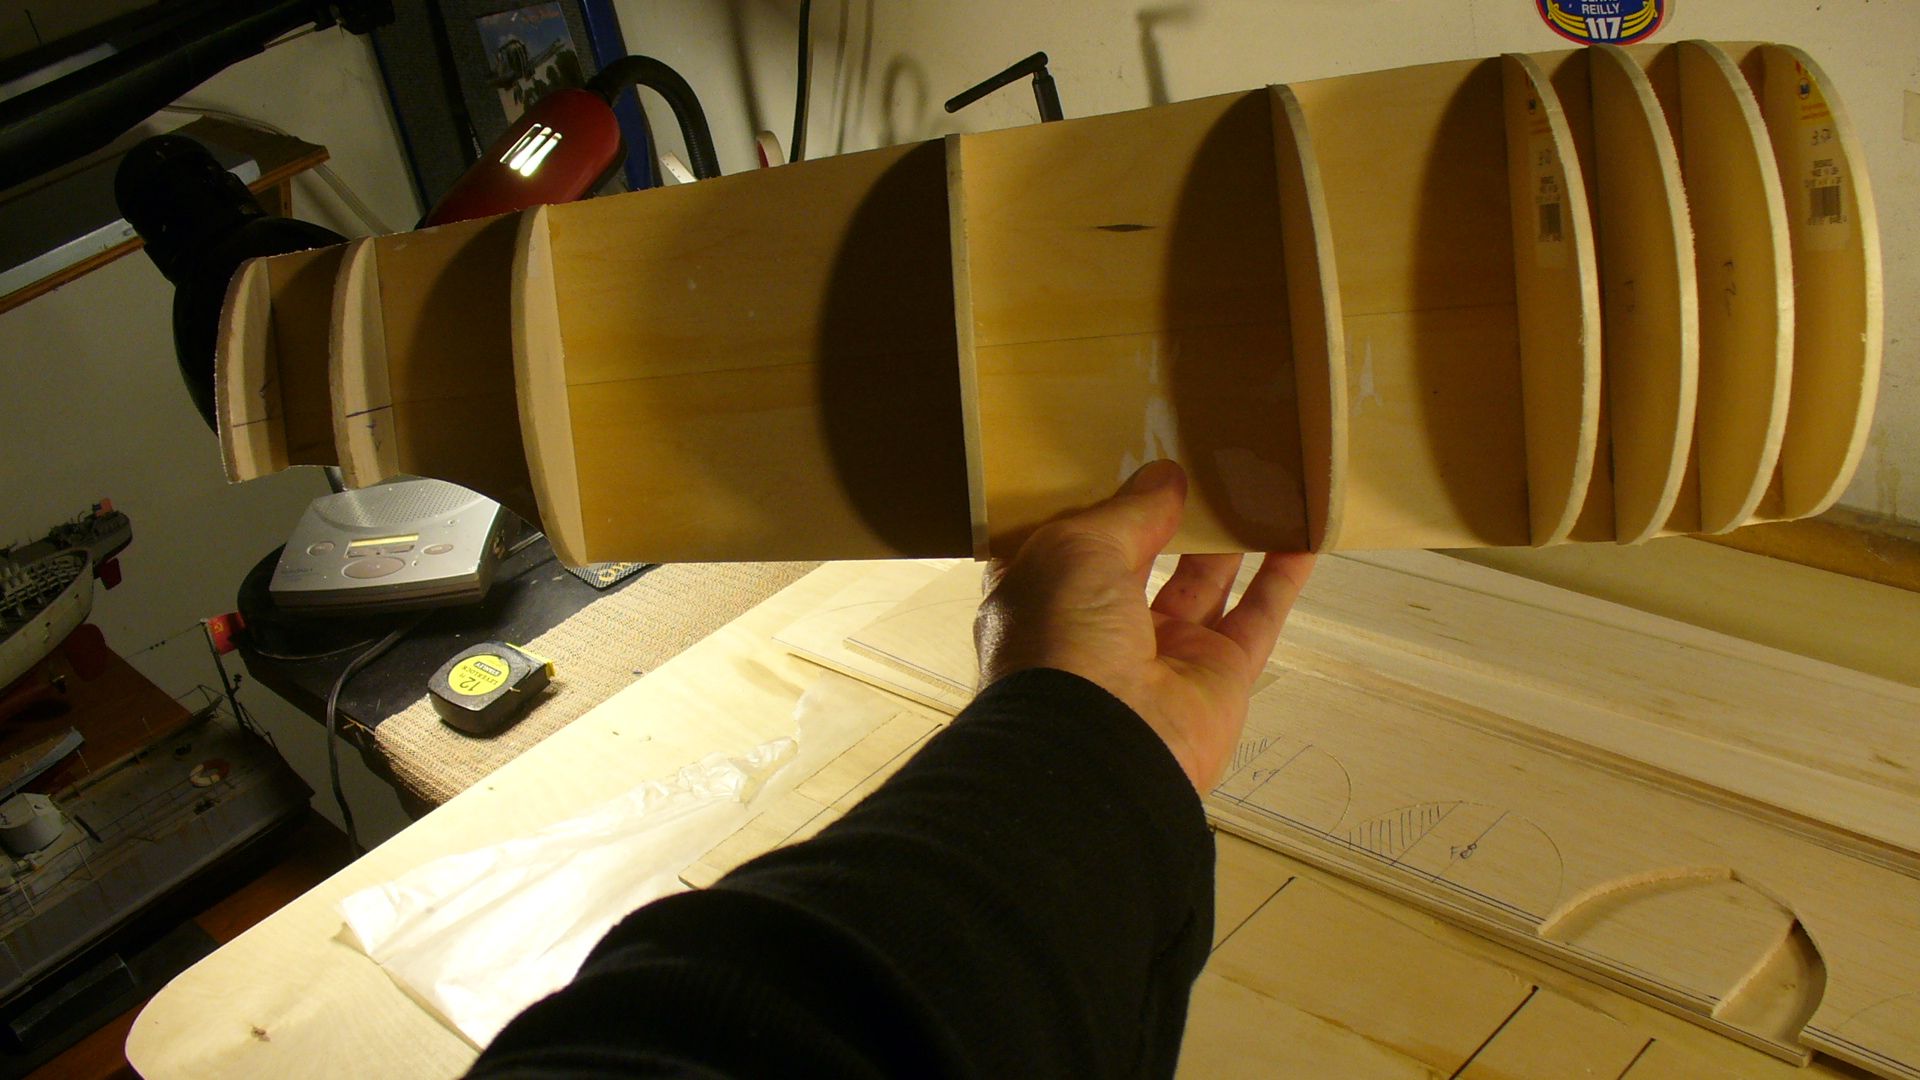
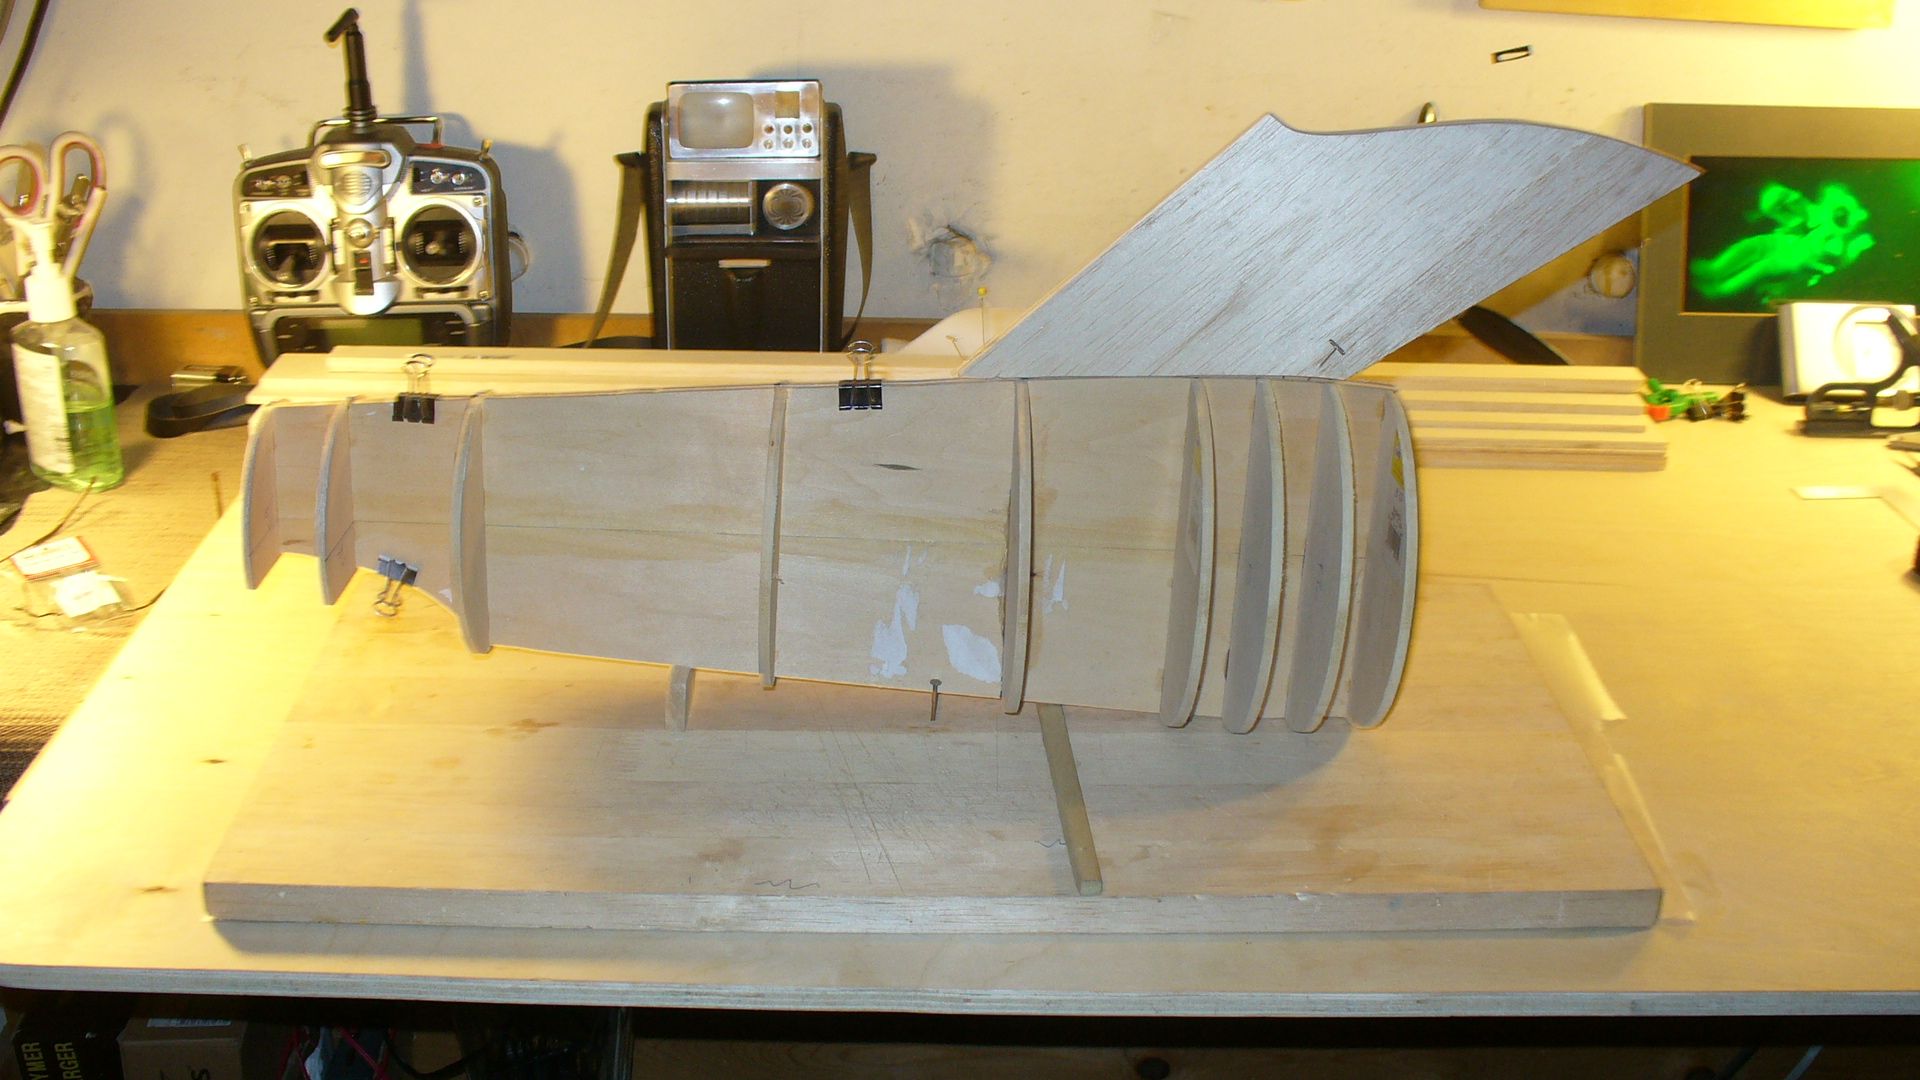
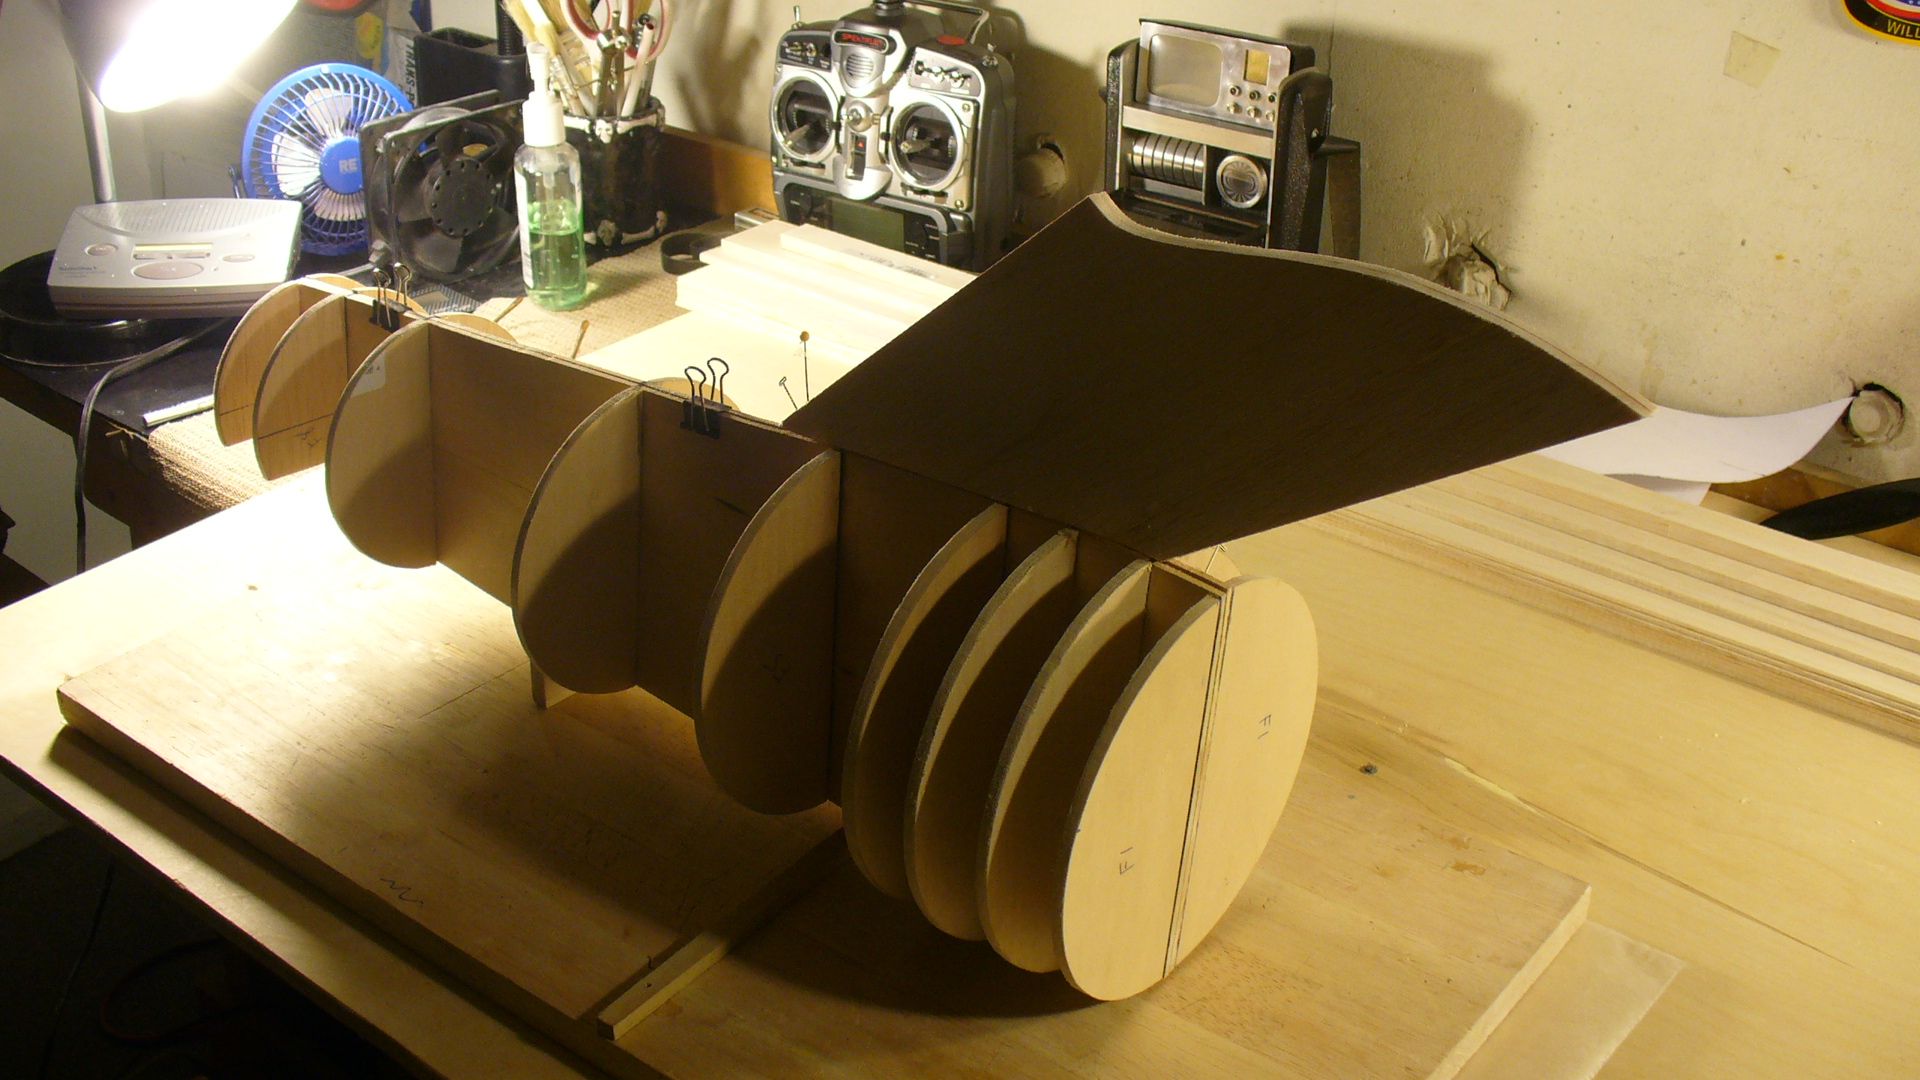
OK. Been making profiles and formers all day and was able to get some of them mounted to the profile. What I did is print out the profile with the former locations and 3m 77 glue the profile plan to two pieces of basswood. These were also lightly tacked together so they could be separated after cutting. I then cut the profile and separated the two pieces so I have an exact RT and LT profile.

Next was to cut the formers taking into account the 1/8 profiles thickness. Otherwise you'll be out of round.

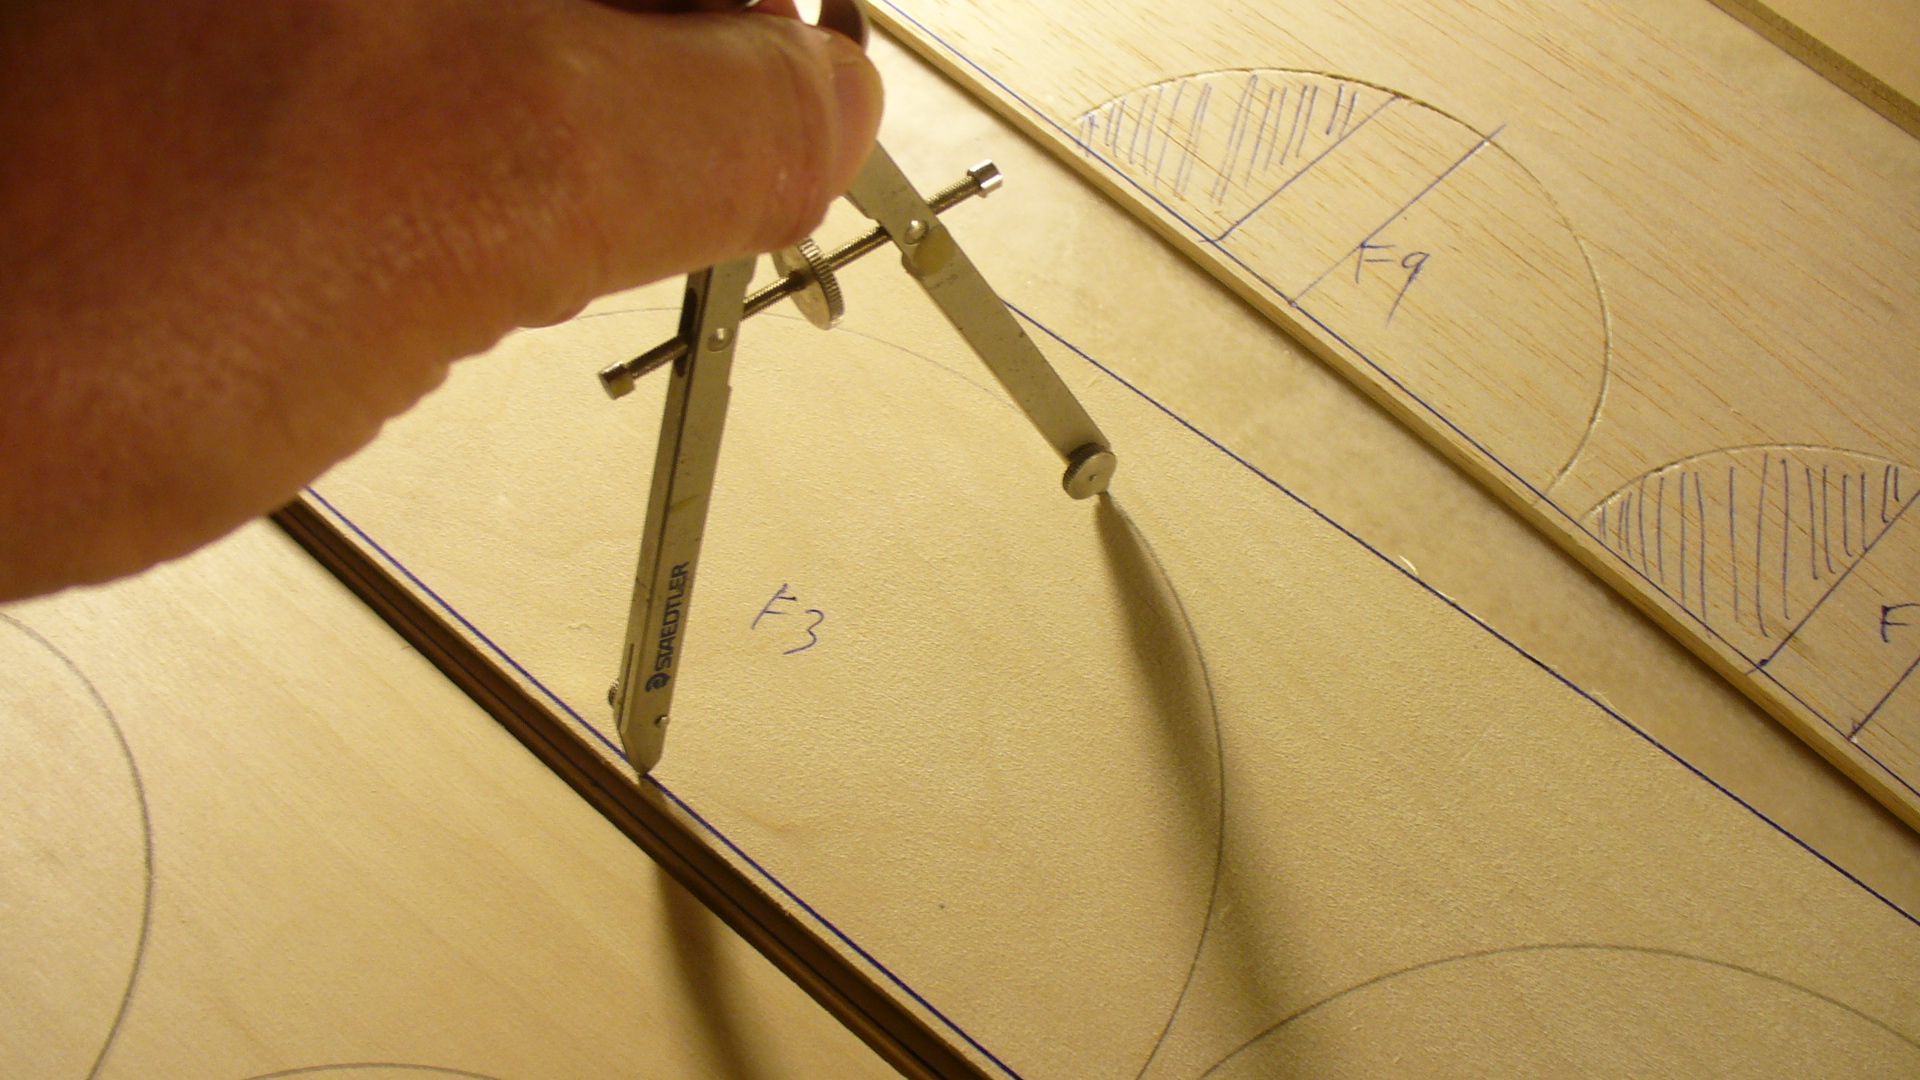
The way I made the formers was to simply use a compass. Measure off the profile the width of each former from its location on the profile and mark with the compass. And yes I accounted for the 3/32 balsa sheeting I'll be using tomorrow to sheet the right and left hull sections.

Eventually the RT and LT hull sections will be pegged together so I can match sand and check they are true to each other.
I can hear your thoughts now. Why a right and left side? Well it’s easier for one to get the formers straight and sheet. Additionally it will be easier to mold and give and exact parting line to sand to before connecting together since you’ll need to get inside to mount the lighting. Every part of this model and the molds will be right and left sides for this reason. Yes it means seaming and filling and sanding but there’s no other way to access the insides and add the lighting. Not easily anyway.

More tomorrow,

Steve


P1050418.jpg


P1050419.jpg


P1050421.jpg


P1050422.jpg


P1050423.jpg


P1050424.jpg
 
This is a remarkable display of craftsmanship. I envy your model building skills and the beautiful model they are producing. :thumbsup
 
Hey Steve,


Thought you might get a kick out of this...

Galaxy Photography, Images by Jason Ware

!:175 Scale Enterprise Refit, Built by Jason Ware

I've been an avid, amateur astronomer for 18 years, and I've seen Ware's photos since the beginning. He's top in the field for astrophotography. As for the Enterprise...good lord. I think it must be his I saw on Youtube about a year ago and was just shocked at how amazing it looked.

That being said, I'm in awe of what your doing on this build. Keep up the great work!

Cheers,

Guy
 
so thats how i should have done it. :)
would you recommend cut-outs within the formers for running wire, or would you drill a hole for each wire as you go?
 
Brandon I would just make the circular cut outs. You’ll have lots of room to play with. I don't have to worry about this of course because these masters will be RTV molded and the parts cast from Epoxy glass.

Guy thanks a bunch and II too have been an astrophotographer but haven’t done it since the off axis star guiding days. I still remember those 45 minute guided exposures and the excitement to get those slides back from the photo lab.

Onigiri here it goes. Not real an amature.

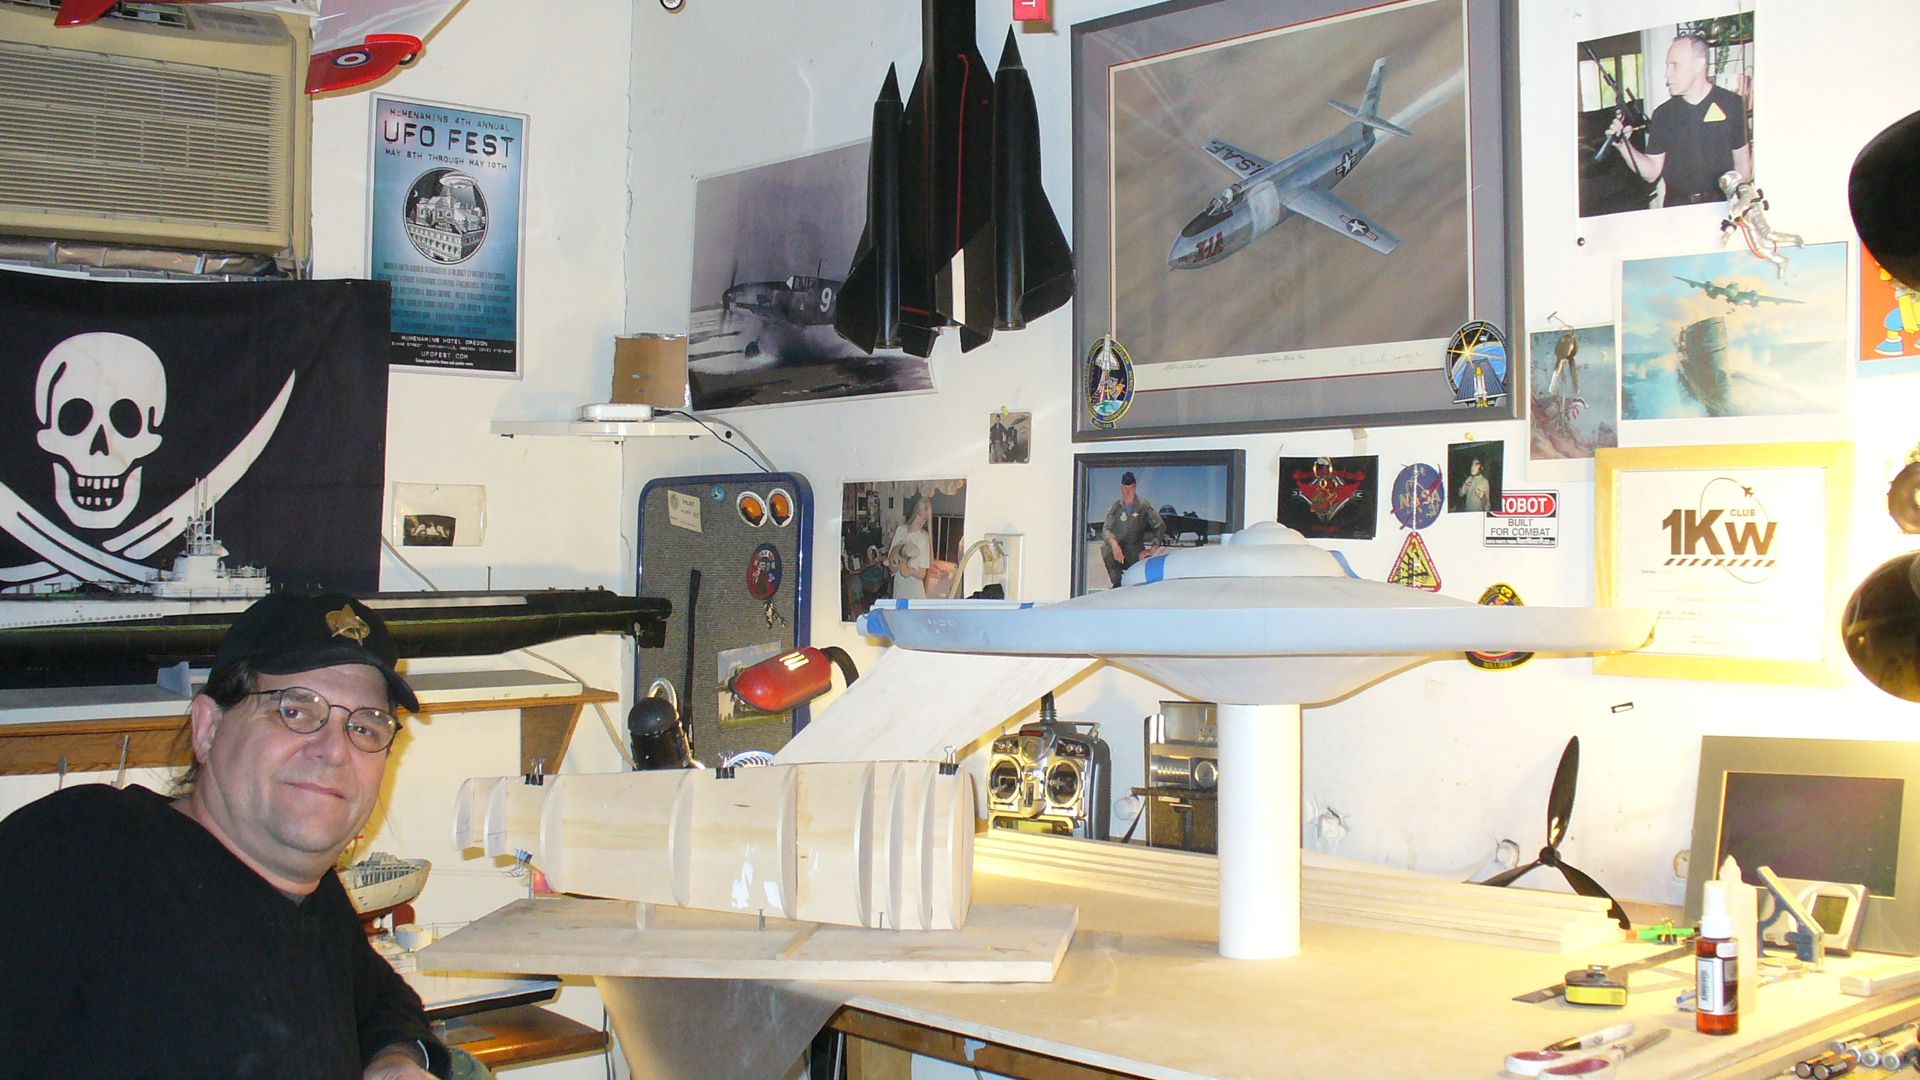
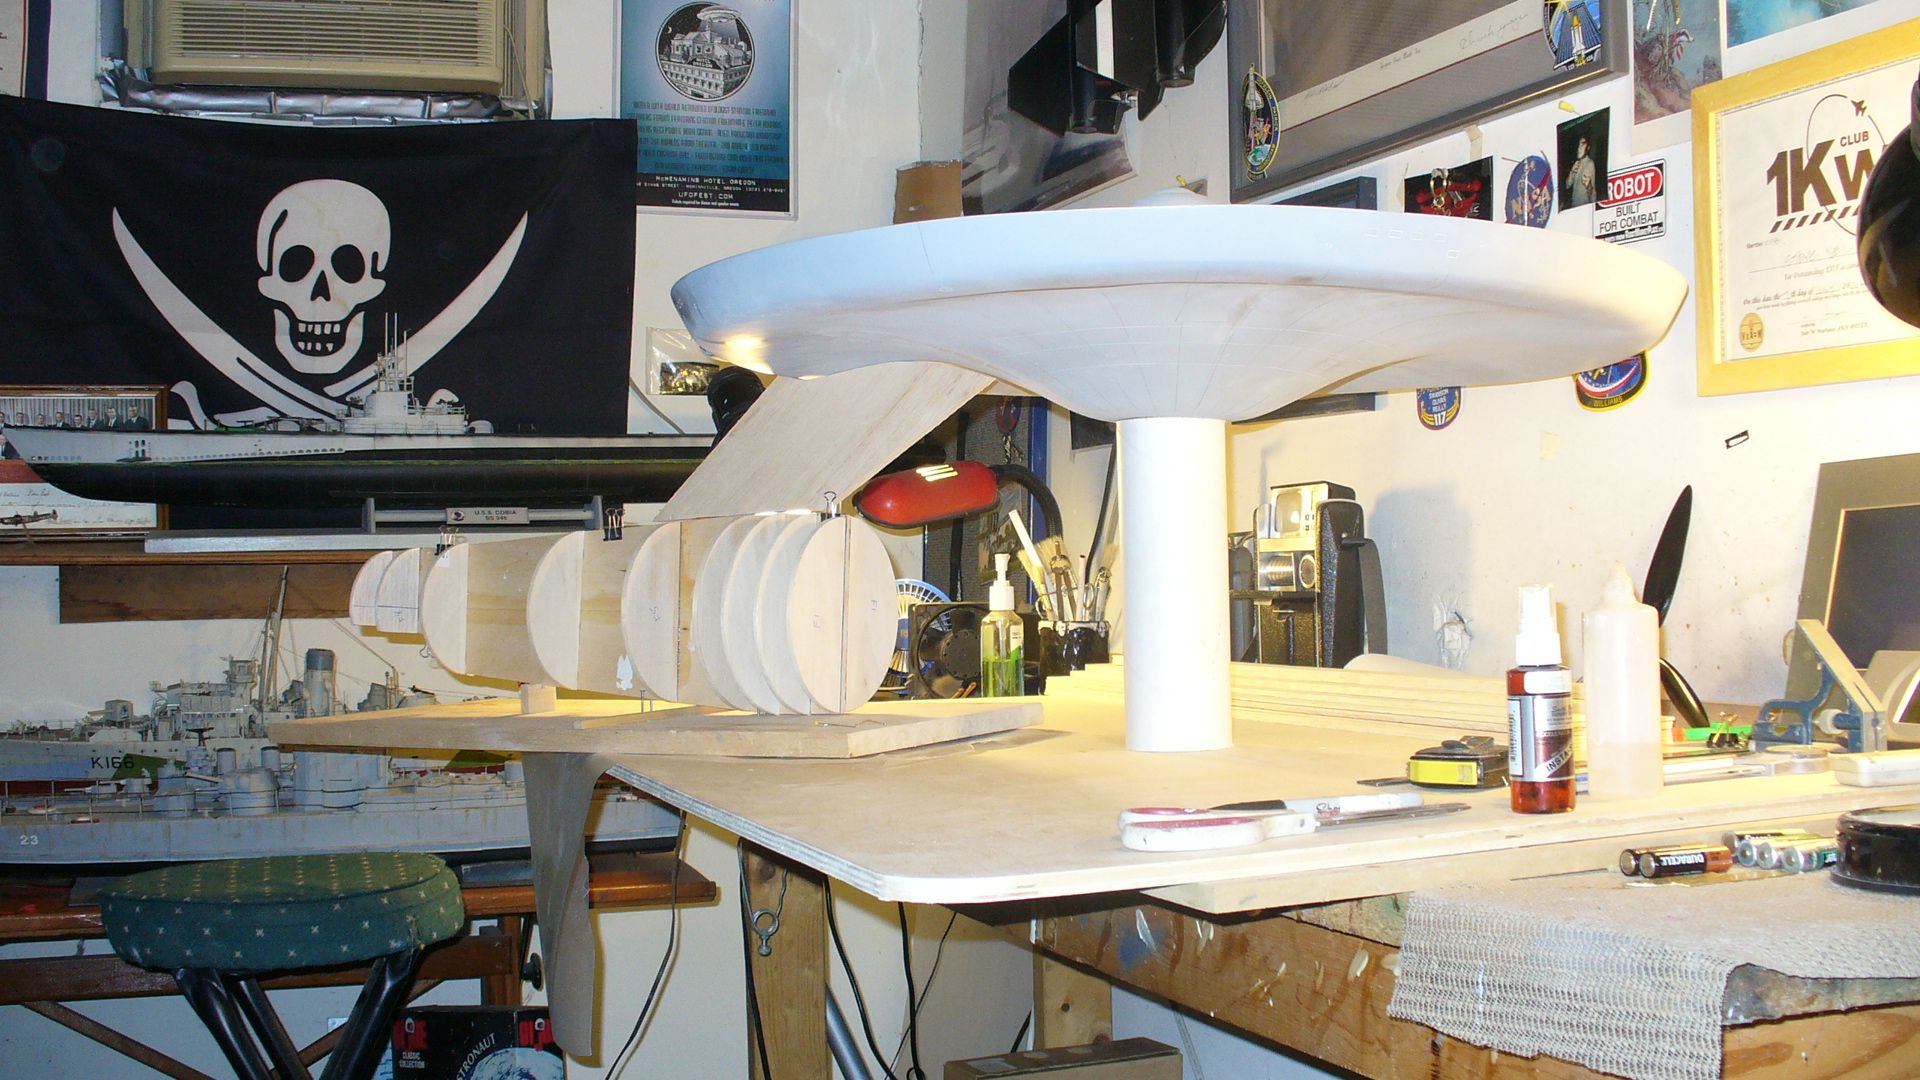
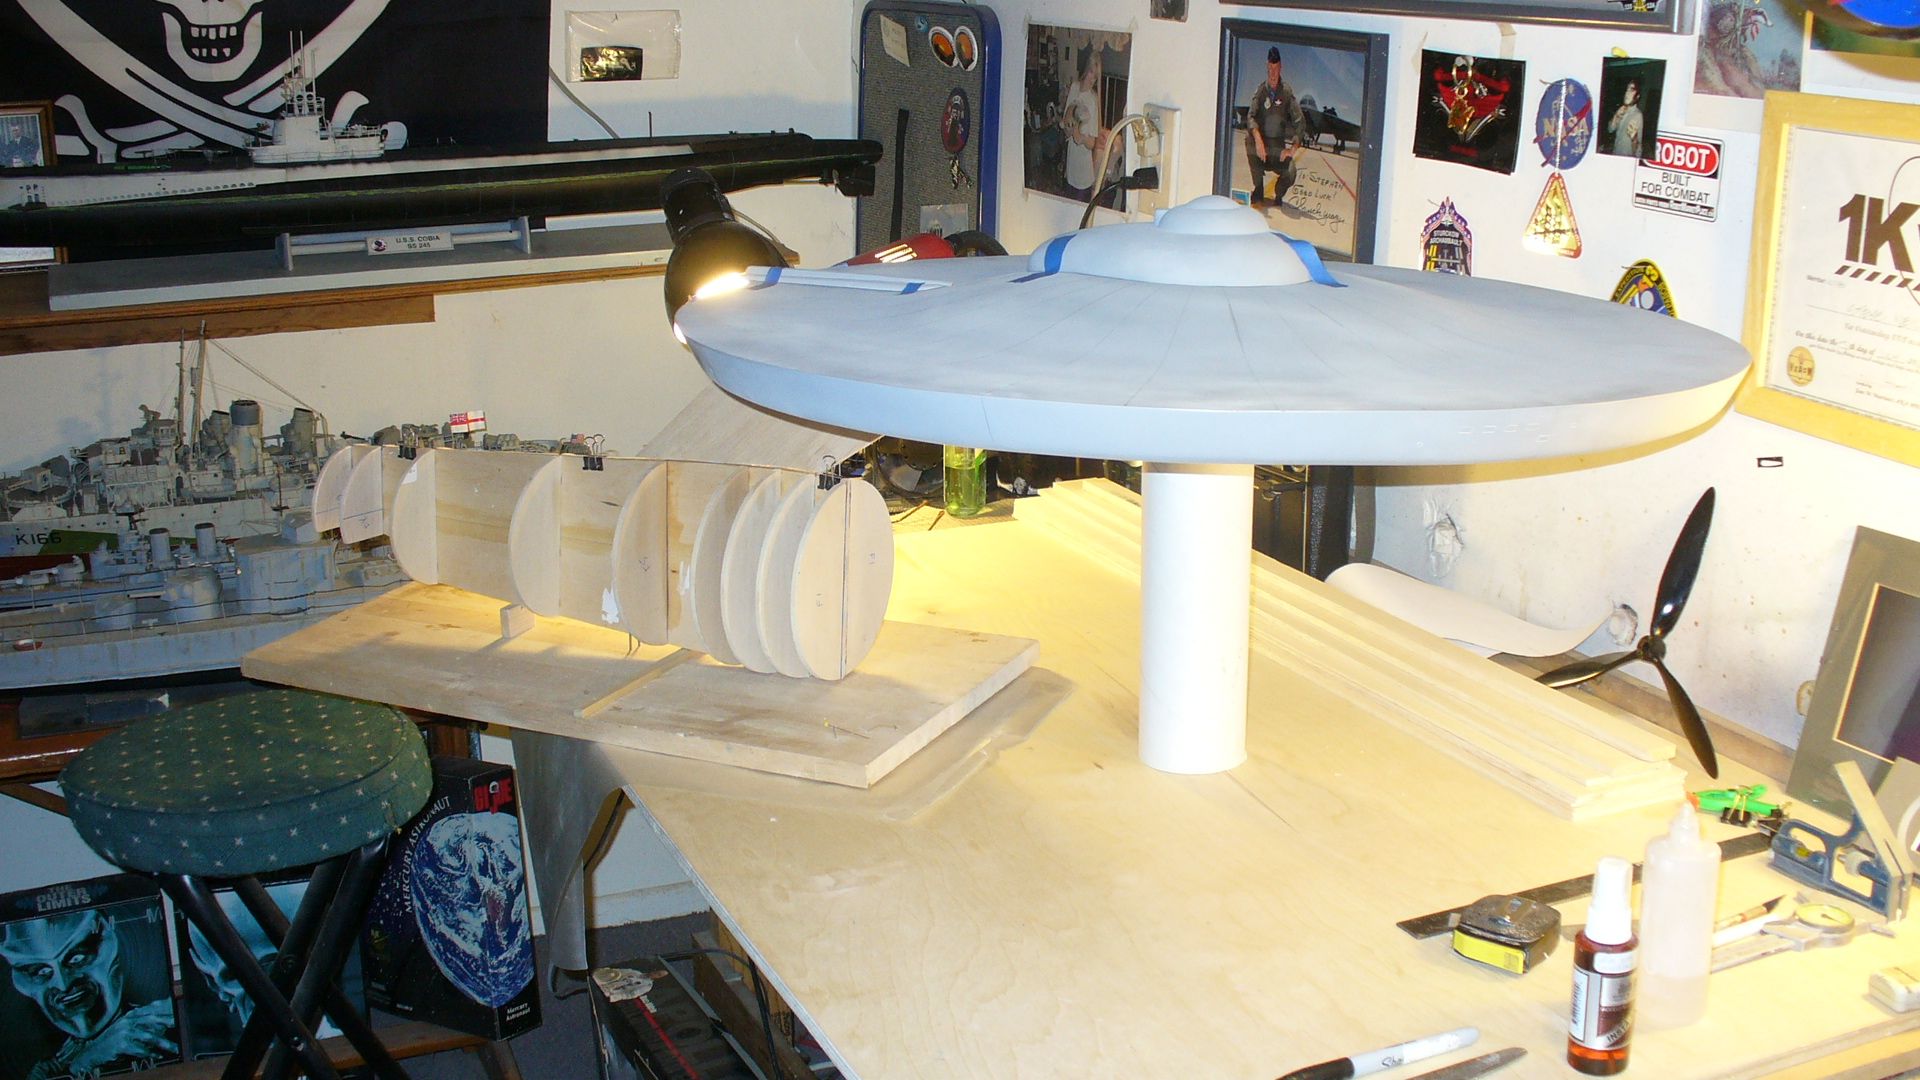
Today I built the other side of the secondary hull and cut the neck out which will later have some simple structure added to it, sheeted, with and thick leading and trailing edge add to it made out of balsa and sanded to shape.
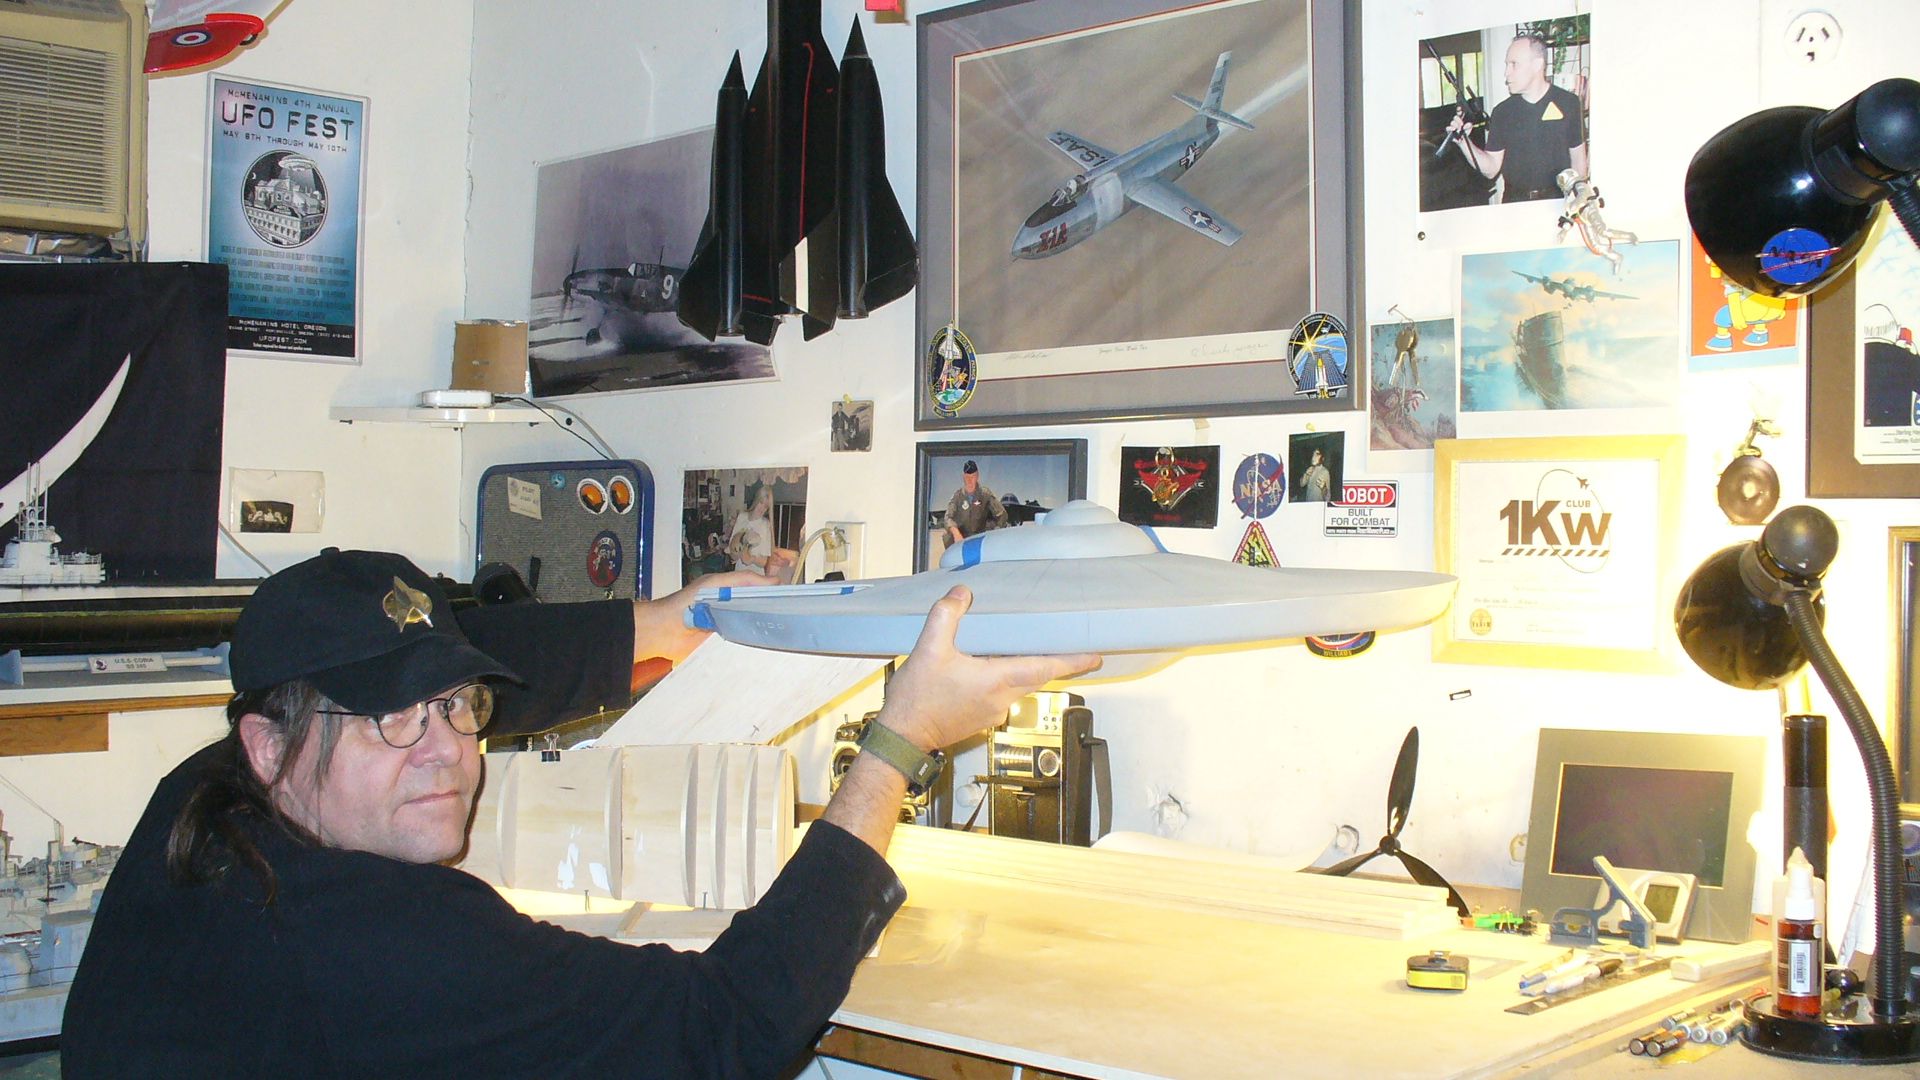
I couldn’t resist propping up the saucer against this structure for a look. This is a bigger model than I have realized up to this point. My goodness. I’m going to go broke making the molds on this model. I figure about 1000 bucks just for the RTV silicone to mold all the parts! Time to starting hunting for deals.

Here’s a picture of a 58 year old big kid and his dream toy! Talk about geek!

Steve


P1050434.jpg


P1050439.jpg


P1050438.jpg


P1050435.jpg


P1050431.jpg


P1050428.jpg
 
Steve,

She's looking great! Thank you so much for the detailed instructions for layout and construction.
I'll be making a trip to my LHS tomorrow to pick up the necessary supplies
to redo my secondary hull, as i see now where my mistakes were made.
 
Status
Not open for further replies.
Back
Top