Couple of modifications after the great remarks from AnubisGuard :


 )
)

I think I'm verry close to the orginal(s).... Thanks to your remarks !
- Looks like the real prop antenna parts are the same piece flipped over for the other side, rather than mirrored. Notice how the grooved ends are on the bottom on the left but on the top on the right.
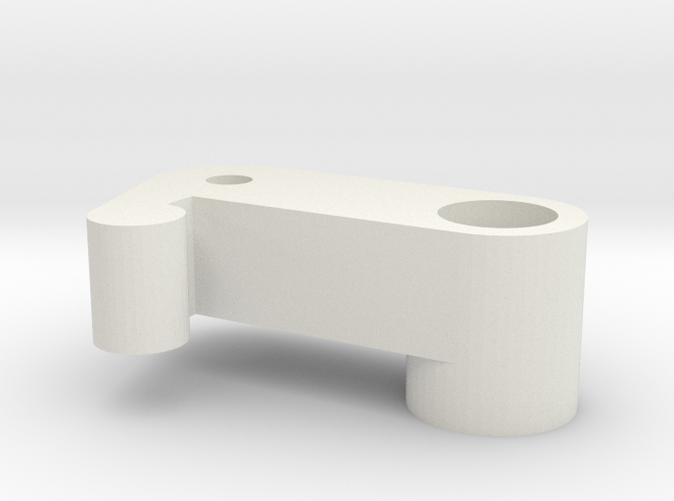
- The side "buttons" near the top of the prop (the blade release buttons on the razor) are a smooth curve on the real thing; on the CG model you've got flat sides and an angled bend near the top instead
- The little tri-wing shapes on the face above the grille have too-skinny "wings" on the replica. They look less like radiation warning symbols on the original, and it looks like the upper surfaces are a little bit domed as opposed to flat.
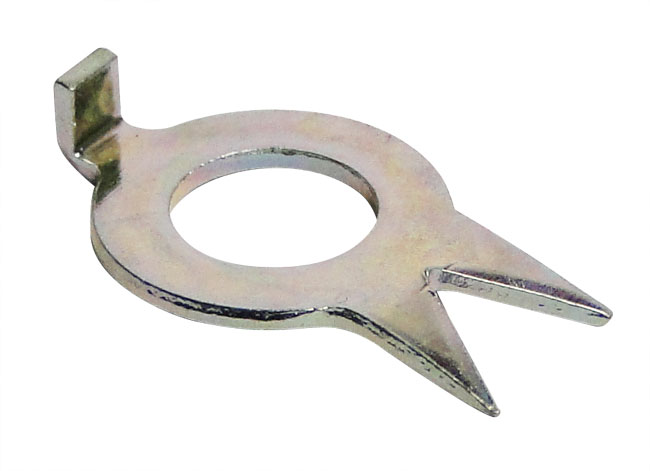
- The two gold antenna tips you have as little angled cones are actually the tips of aviation matrix pins. Here's a pic of a set I bought off ebay:
)- Finally, the sample tray is too short by about 50%. The circuit board is too short, and the body is not just a half-circle but is more like a half circle attached to a short rectangle.
I think I'm verry close to the orginal(s).... Thanks to your remarks !