Looper Blunderbuss - Pics of Painted Slushcast Kit on pg. 18

Re: "Looper" Blunderbuss Shotgun - WIP pics begin on Page 3

Are you planning on doing a run and selling them once you prefect your method?

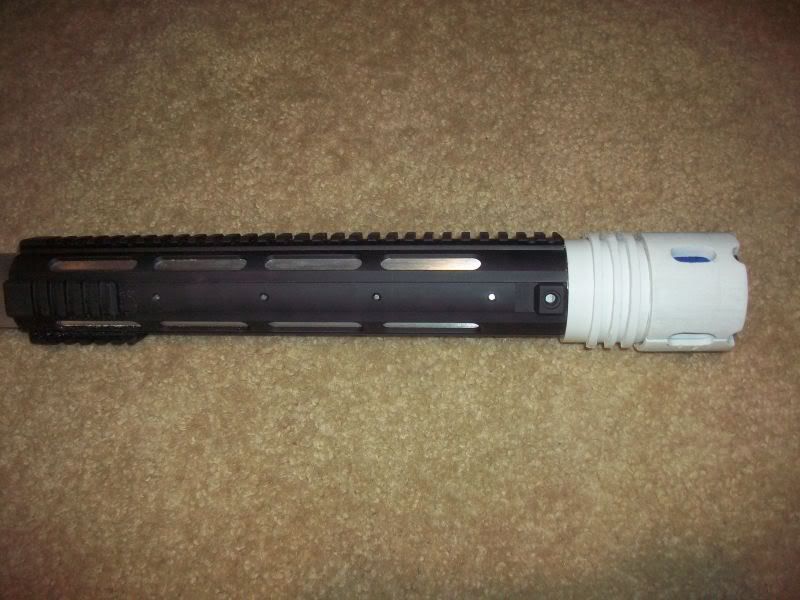
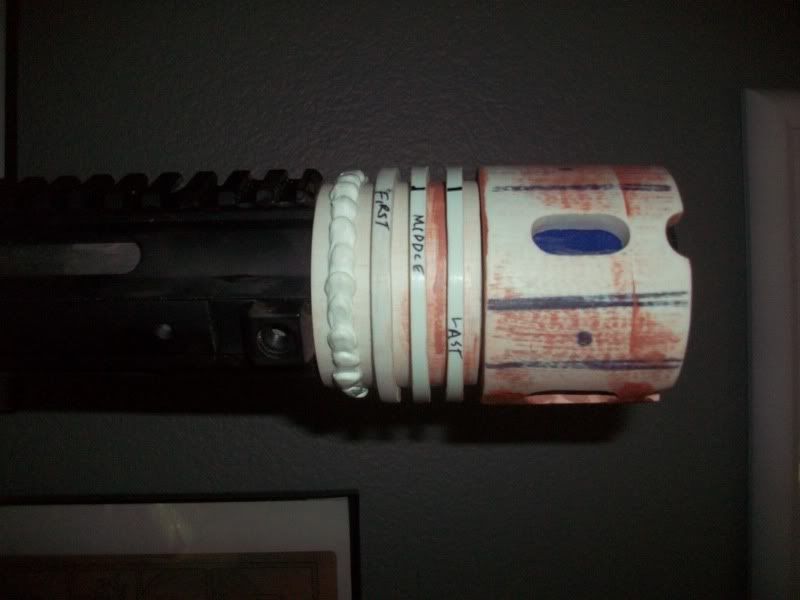
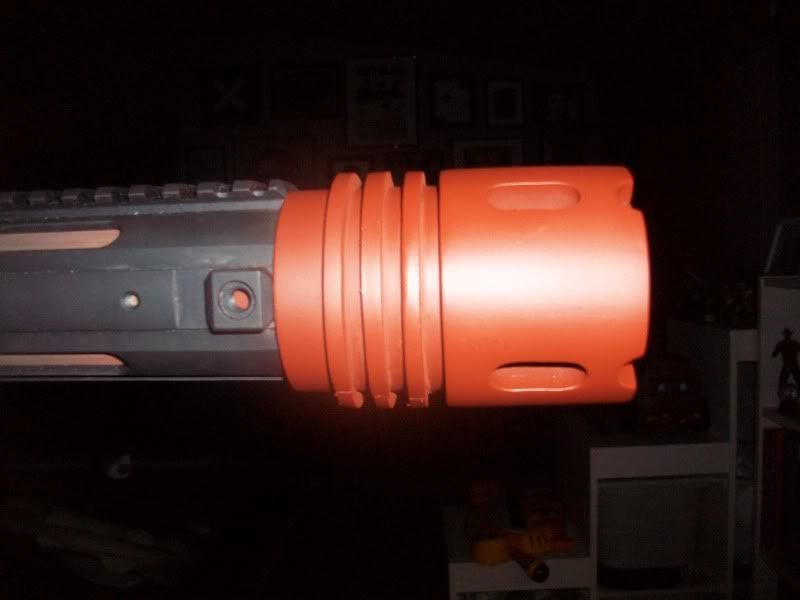
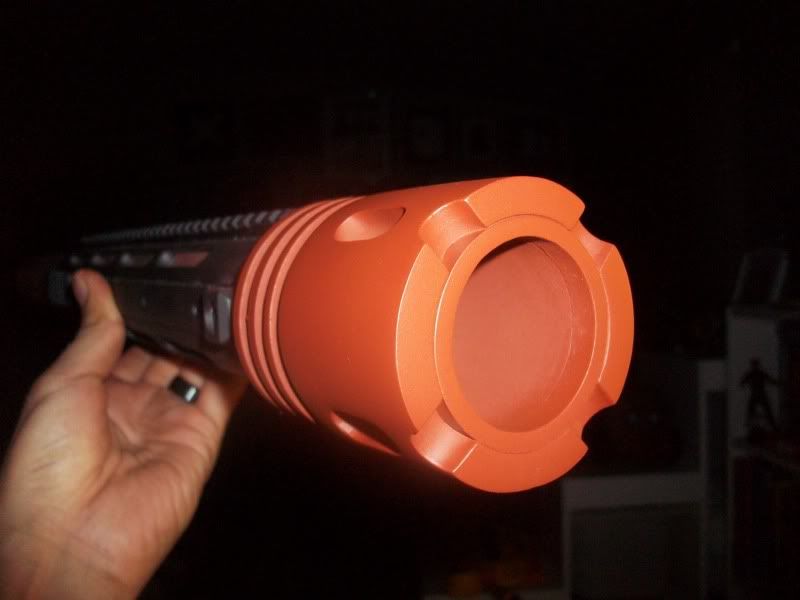
If I do I run, it'll most likely be limited to parts. The YHM-5005 that makes up the majority of the gun is still available to purchase. If there's interest, I'll put together a kit that includes resin casts of my front and rear endcaps, slide, grip and trigger and a precut and drilled length of aluminum tubing. All you'd need is the foregrip and and a couple afternoons before you're off and Looping.

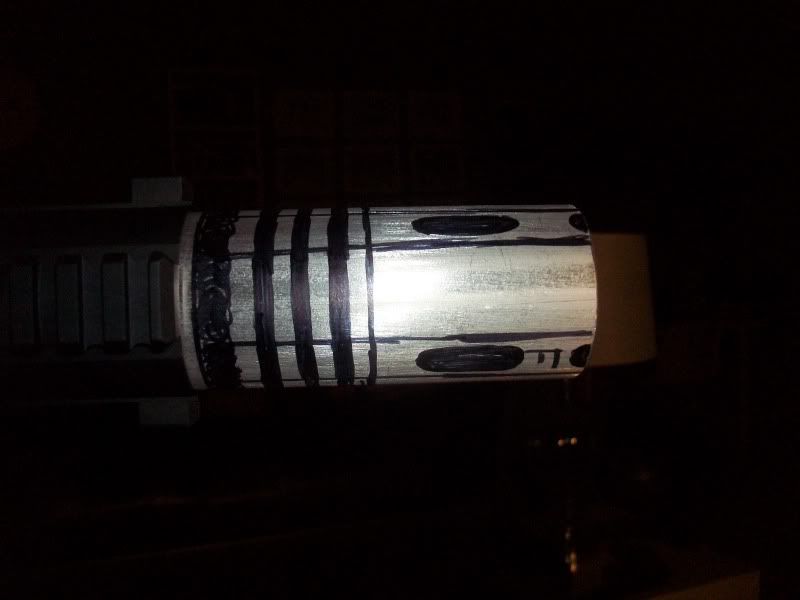
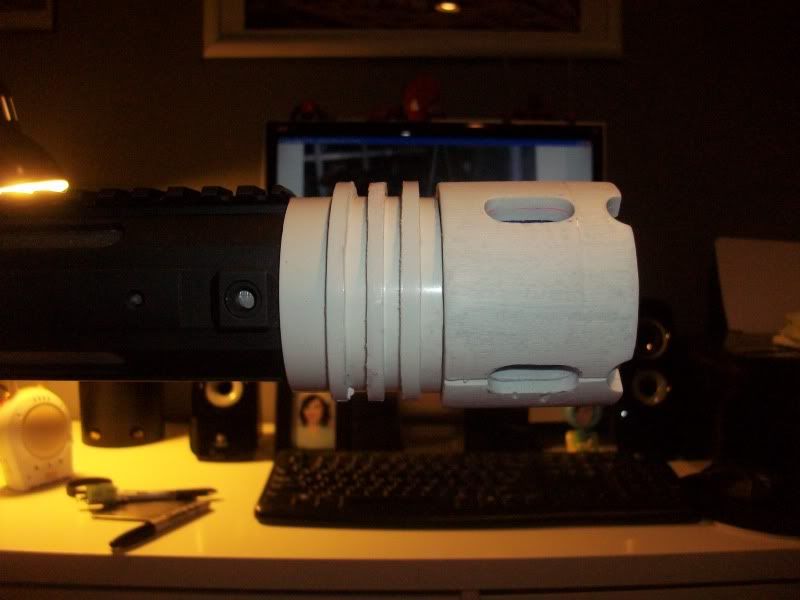
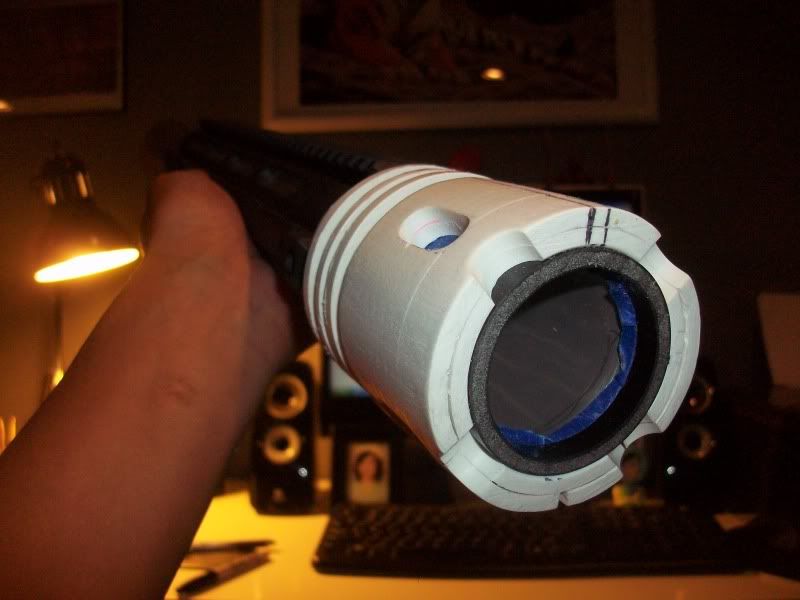
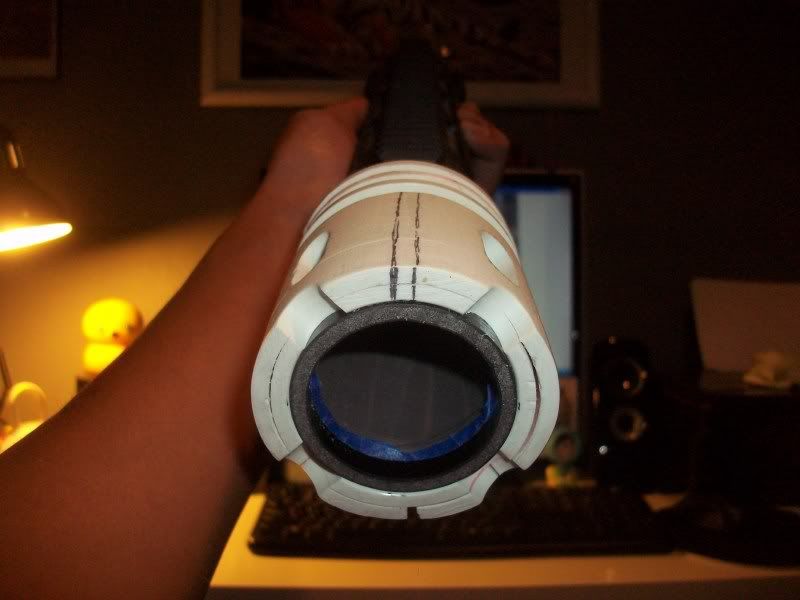
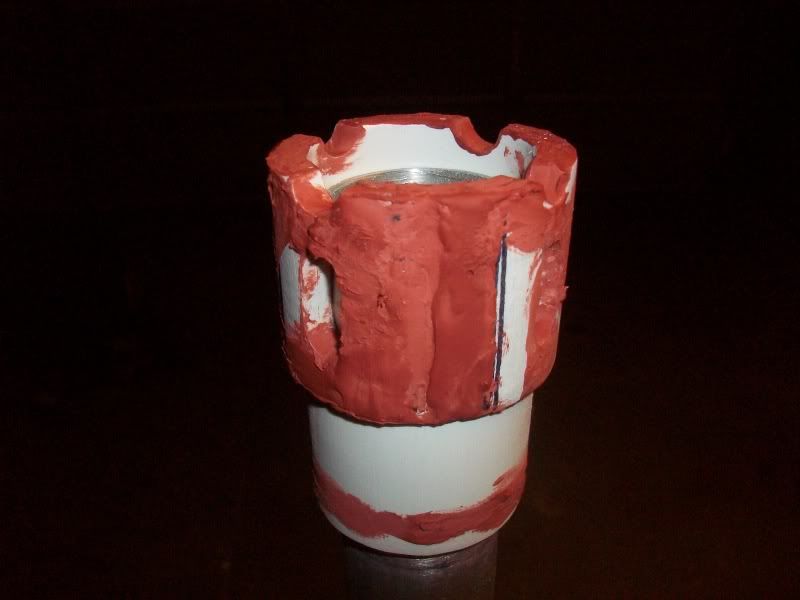
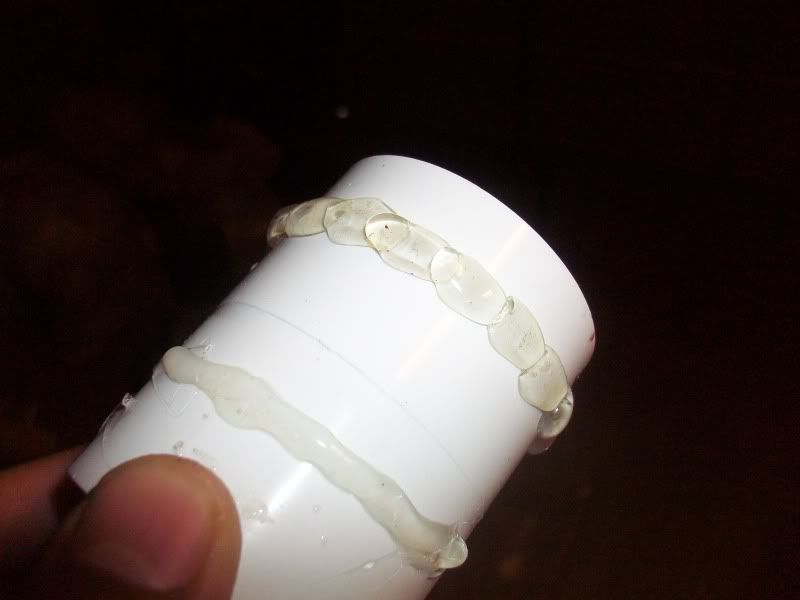
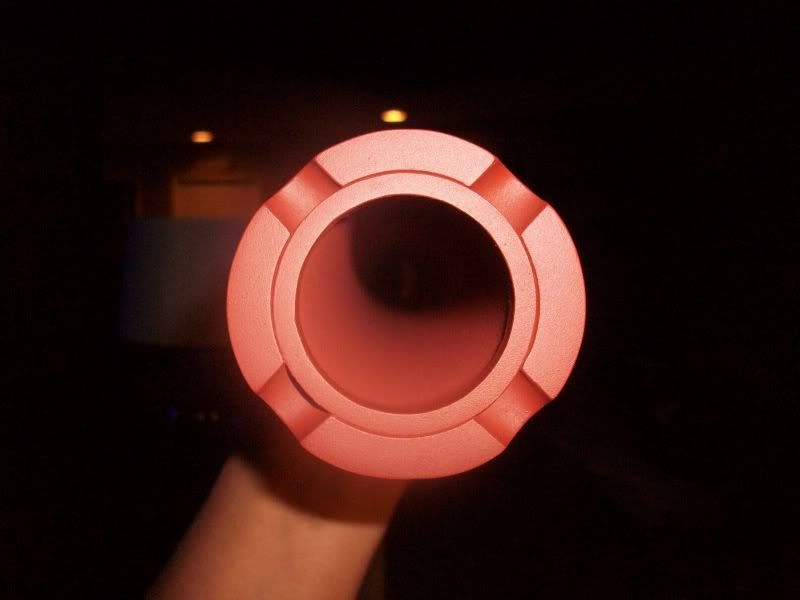
Still, that's a ways off. Tonight is devoted to working on the front endcap (in between feeding sessions for my newborn son, that is). :facepalm
 
Last edited:
Re: "Looper" Blunderbuss Shotgun - WIP pics begin on Page 3

So after studying the SDCC photos of the prop, I realized that one of the shotguns is a stunt cast and the other looks to be a blank-firing version. I'm guessing the blunderbuss with the darker trigger guard and thicker lanyard loop is the live-fire gun because you can see red wiring in the slot where the slide sits. Both of the guns are nearly identical except for the aforementioned trigger guard and lanyard loop and the texture of the wood grip. I prefer the look of the blank-firing version and it will be what I base my gun on.

I was able to fit in a bit of work on the front endcap last night, mostly planning but some body work. I'll post pics later tonight.

Quick poll, for anyone who's reading. After studying the Looper International trailer last night, I finally figured out something that's been bugging me for a while now: How exactly does Joe load the blunderbuss? It's a very quick shot, but in the trailer you can see that the blunderbuss has a break-action...I'm not sure where on the gun it is, but I'm guessing it's right where the grip and the main body of the gun meet. Should this be something I add into MY gun? I won't come to a decision until the movie comes out and displays the break-action with more detail, but I'm just wondering if you folks out there see the feature as necessary.

-Jonaas
 
Re: "Looper" Blunderbuss Shotgun - WIP pics begin on Page 3

Some updates!

100_9907_zps250136b0.jpg

I took some proportions using the hi-res reference pics and marked off how much of the aluminum tubing needed in order to mount the front endcap. After that, I got a little Sharpie-happy, roughly (VERY roughly) drawing in the features of the endcap.

100_9914_zpsf1462407.jpg

The 1 1/2" PVC coupling I planned on using as a base for the endcaps were a tad too large for the aluminum tubing. I made a sort of shim out of Apoxie Sculpt. After it cured, I carved and sanded it down to ensure the coupling would slide on snugly.

100_9940_zpsd386d4c0.jpg

And here's where I am now. I still have a bit of sanding to do on the shim before it fits the coupling perfectly, but not much. After that, I'll start laying down the details of the front endcap using bits of PVC pipe in the same diameter as the coupling. I hope it works out okay, but I plan on trimming these parts out with a Dremel and we all know how notorious PVC is when it comes to melting under friction. I run my cutoff wheel low and slow and hope for the best.

-Jonaas
 
Re: "Looper" Blunderbuss Shotgun - WIP pics begin on Page 3

Hey Jonaas,

I know that you changed this thread to be just the blunderbuss. But, while randomly searching fleabay I found this. I know it isn't the Mateba, and I cannot speak to the quality of the cast, but it could be a starting point. Maybe for the receiver section. It would need heavy modifications, but it may be better than a scratch build.

Coolmodels are notorious recasters. Stay away!
 
Re: "Looper" Blunderbuss Shotgun - WIP pics begin on Page 3

I know that you changed this thread to be just the blunderbuss. But, while randomly searching fleabay I found this. I know it isn't the Mateba, and I cannot speak to the quality of the cast, but it could be a starting point. Maybe for the receiver section. It would need heavy modifications, but it may be better than a scratch build.

Thanks for the heads-up, man...but yeah I can't reasonably support known recasters. As for the Mateba, at this point I'd want to track down the actual gun...but I know that finding one will be an insane task. For now, I'm saving up my pennies to pick up a Magnum Research BFR.

So I was just down in the garage practicing my Dremel cuts on a scrap piece of PVC coupling and I THINK I figured out a way to carve myself a fairly accurate front endcap. I'm off to Lowe's to pick up more couplings. Hopefully, I'll post a pretty big update by the end of the night.

Thanks, everyone!

-Jonaas
 
Re: "Looper" Blunderbuss Shotgun - WIP pics begin on Page 3

So after a couple of solid hours in my workshop, I made some real progress on my front endcap:

100_9950_zps77d4bec8.jpg

Essentially, I covered my shimmed aluminum tubing with some 1 1/2" coupling cut to length...

100_9954_zps441843f9.jpg

...then I slipped on carefully trimmed sections of 1 1/2" coupling and super glued the pieces to the first coupling.

100_9953_zps28d3cdd1.jpg

Using my Dremel, I carved in the endcaps vent holes. I also topped the barrel with a small sliver of black 1 1/2 inch PVC pipe to give the muzzle a cleaner look.

100_9957_zpsc88f71ca.jpg

I've yet to finish the detailing of the endcap, but I'm pretty sure that I'll be able to pull it off with a lot of patience and a steady hand. More updates as they come. Thanks, everyone!

-Jonaas
 
Re: "Looper" Blunderbuss Shotgun - WIP pics begin on Page 3

It took me a second to realize how you made the ridges on the end cap. Thats brilliant instead of using a lathe.
 
Re: "Looper" Blunderbuss Shotgun - WIP pics begin on Page 3

It took me a second to realize how you made the ridges on the end cap. Thats brilliant instead of using a lathe.

Thanks, man! But believe me, a lathe would've been much appreciated in this situation, but I had to work with what I had. The ridges still need a lot of work...I have to sand them down to equal thickness then round off the edges a bit too. Plus, I've realized that the front section of the endcap looks a bit too short and thick, so I'm going to extend it with a couple more slices of trimmed coupling. Some Apoxie Sculpt and a bit of sanding should hide the gap.

Gotta go take the mother-in-law to dinner now...look for updates in a few hours!

-Jonaas
 
Re: "Looper" Blunderbuss Shotgun - WIP pics begin on Page 3

It took me a second to realize how you made the ridges on the end cap. Thats brilliant instead of using a lathe.

Thanks, man! But believe me, a lathe would've been much appreciated in this situation, but I had to work with what I had. The ridges still need a lot of work...I have to sand them down to equal thickness then round off the edges a bit too. Plus, I've realized that the front section of the endcap looks a bit too short and thick, so I'm going to extend it with a couple more slices of trimmed coupling. Some Apoxie Sculpt and a bit of sanding should hide the gap.

Gotta go take the mother-in-law to dinner now...look for updates in a few hours!

-Jonaas
 
Re: "Looper" Blunderbuss Shotgun - WIP pics begin on Page 3

Very cool! I dig this prop (and that jacket in your first post)!
 
Re: "Looper" Blunderbuss Shotgun - WIP pics begin on Page 3

Very cool! I dig this prop (and that jacket in your first post)!

Thanks, man! And yeah, that jacket is super effin' sweet. My gut tells me is storebought, but I haven't been able to find ANYTHING on it in the past 6 months. I'll keep my peepers out for it, though. If I ever source it, I'll put up my findings here.

So no updates tonight. After we got back from dinner, fed the baby, went to bed, and woke up 4 hours later to feed the baby again. Thus, I got ZERO work done on the blunderbuss. The next update should feature the completed body construction of the front endcap, prior to having its' unwanted gaps filled in with Apoxie Sculpt and the side rail details scribed in. Also, I've been toying around with recreating the front endcap's weld line with hot glue, and I think I got a pretty good technique down. I REALLY wasn't looking forward to having to hand sculpt the weld line, so hopefully my method works out.

Thanks for reading!

-Jonaas
 
Last edited:
If you guys are taking about the blazer from the future scenes, there's no way that thing was store bought; too unique of a cut.
 
Re: "Looper" Blunderbuss Shotgun - WIP pics begin on Page 3

If you guys are taking about the blazer from the future scenes, there's no way that thing was store bought; too unique of a cut.

I've been Googling "Nehru collar" and "Mandarin collar." The look of the jacket isn't terribly uncommon, and imagine that at the very least it's a store bought item that's been impeccably tailored. Another clue is costume designer Sharen Davis' filmography doesn't read like one that merits original costume design (with the exception of "Django Unchained" and "Dreamgirls" that is). However, it's nice to know that when all else fails, Tripoli is right around the corner.

So just a small update for now, just to keep myself motivated:

100_9965_zps50469274.jpg


Just wanted to fill in all the cracks and dings on the front section of the front endcap. Bondo Spot Putty to the rescue! I've also filled in some deep gouges on the rear of the front endcap. Tonight I'll be fairing the PVC rings that make up the "lathed" section of the front endcap rear, making them all smooth and a uniformed thickness. After they're mounted, I'll round the edges to give them a slightly worn texture. I have two possible methods for the notched detailing for the top and sides of the front endcap: 1. Dremel them in with a sanding drum, fill defects with Spot Putty and sand smooth OR 2. Sand a 3/4" flat section across the top and sides of the front endcap from the front of the muzzle to the last ring, lay down a small amount of Apoxie Sculpt over the flat section and sculpt in the rounded notch.

100_9964_zpse39fc5e5.jpg

I HAVE hit a snag, though. After all my tests, I couldn't get the hot glue look enough like a weld line to my liking. Maybe I'll pick up some silicone caulk and see what turns out, but as of now I'm guessing that sculpting is my only option. Effing h-e double hockey sticks, man. :cry

-Jonaas
 
Re: "Looper" Blunderbuss Shotgun - WIP pics begin on Page 3

I just bought a tube of paintable caulk and it is working out TREMENDOUSLY well. I've run a few piping tests and I'm extremely pleased with the results. It won't look exactly like the weld lines on the actual prop, but for my money (and more importantly, time) I'm willing to accept that.

Meanwhile, I've gotten the remainder of the front endcap super smooth as all gaps have been filled with Spot Putty. I gotta run down to Walmart to pick up a couple cans of primer so I know where I stand before the next step.

Man, I'm getting more and more excited with this project every day!

-Jonaas
 
Re: "Looper" Blunderbuss Shotgun - WIP pics begin on Page 3

Updates!

100_9983_zps8c8cffae.jpg

So here's the Proof-of-Concept for the weld line. I took a tube of caulk and piped on the fake weld line onto an extra piece of 2" coupling that was greased with some Vaseline. After it cured, I simply pulled it off and positioned it onto the lower section of the front endcap. This is merely a first pass...the final version will hopefully be more accurate. I'll then affix the final version with a bit of superglue and hide the break with another dot of caulk.

I'll be making two separate weld lines (one for the front and one for the back). The back edge of the rear endcap also has a weld line, but because of it's position, I'll probably end up sculpting that one.

So that's it for now. Currently, the front endcap is drying after being hit with a coat of primer to see where I'm at. I'll be fixing everything into place within the next couple of days and I'll update when it happens.

Thanks for reading!

-Jonaas
 
Re: "Looper" Blunderbuss Shotgun - WIP pics begin on Page 3

Pretty convincing weld line.
 
Re: "Looper" Blunderbuss Shotgun - WIP pics begin on Page 3

Very interesting build. Cool technique for the fake weld line.
 
Re: "Looper" Blunderbuss Shotgun - WIP pics begin on Page 3

Very interesting build. Cool technique for the fake weld line.

Thanks man (and Dorian). But I still need to get that bit primered and painted before I can be truly happy with it.

I only put in a bit of work into the blunderbuss this evening, but all in all, it's work that I'm really happy with. I'll be back with a bigger update soon.

-Jonaas
 
Re: "Looper" Blunderbuss Shotgun - WIP pics begin on Page 3

Just a quick Sunday night update:

101_0201_zps459f2297.jpg

The main body of front endcap is completely assembled and superglued together. Save for some minor cracks that need filling, from here on out, most of the work on this piece will be comprised of meticulous, nerve-wracking Dremel carving.

101_0203_zps4b90e6f8.jpg

I will have to carve 8 identical bevels that run parallel to each other, 2 each on the top, bottom and sides. These bevels must also line up perfectly with similar bevels on the YHM-5005. I'll be attempting these cuts with a sanding drum (I used to have a smaller sanding drum that would be more fitting for this task, but I've since lost it). The 8 bevels terminate at ANOTHER bevel, one that runs around the edge of the muzzle. Also, I might end up carving a groove into the fake PVC barrel in the center of muzzle to make it look more like the source material, but my gut tells me I probably won't torture myself with such a mind-numbing task.

101_0210_zpsf742935e.jpg

I'll start the carving tonight after dinner. At the same time, I'll also lay out what's going to be the final caulk weld lines onto a greased pane of glass. It takes a bit of time for the caulk to cure completely, so I imaging I won't be mounting them onto the front endcap until Tuesday...and hopefully by then, those bevels will be carved up perfectly (or at least as close to perfect as I can get them and smoothed perfect with more Spot Putty and 220 grit sandpaper).

-Jonaas
 
Back
Top