HALO Master Chief Costume Progress Thread (helmet rebuild begins on p.19)

Re: HALO Master Chief Costume Progress Thread

I've been wanting to get a few more pics of me wearing the parts I've made so far. Unfortunately I've been alone in the shop most nights while I've been working on these things. Then the other night my sister made the mistake of stopping by the workshop to visit. That's when I shanghaied her into taking these:
4433340943_c391dc3e97_o.jpg


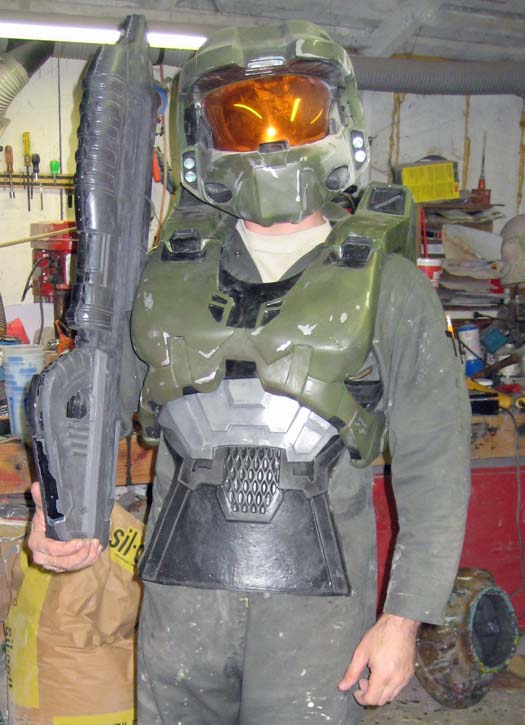
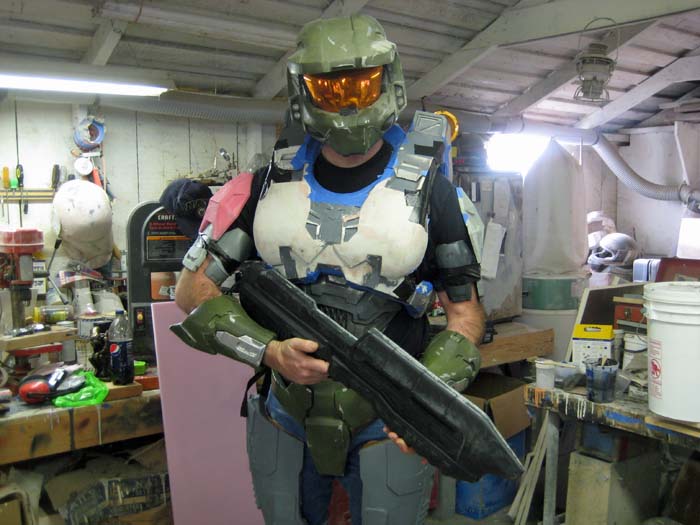
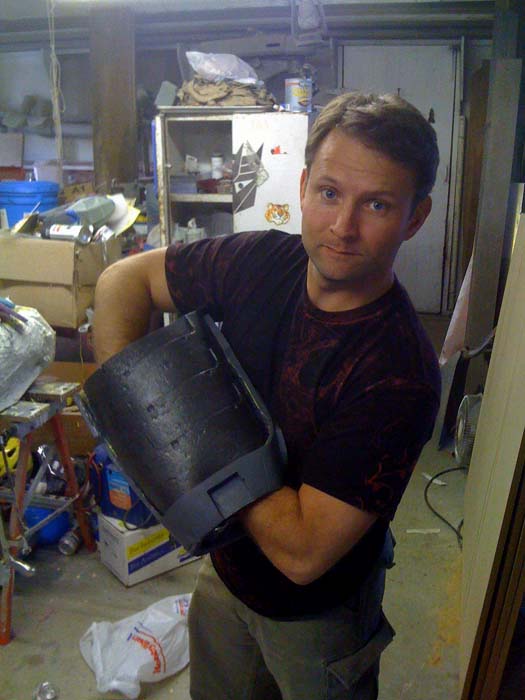
Here I'm wearing the torso armor with the new ab plate and one of the pulls from my undersuit molds. It's a bit snug, but I think it looks pretty good:
4434114928_8e9b63a358_o.jpg


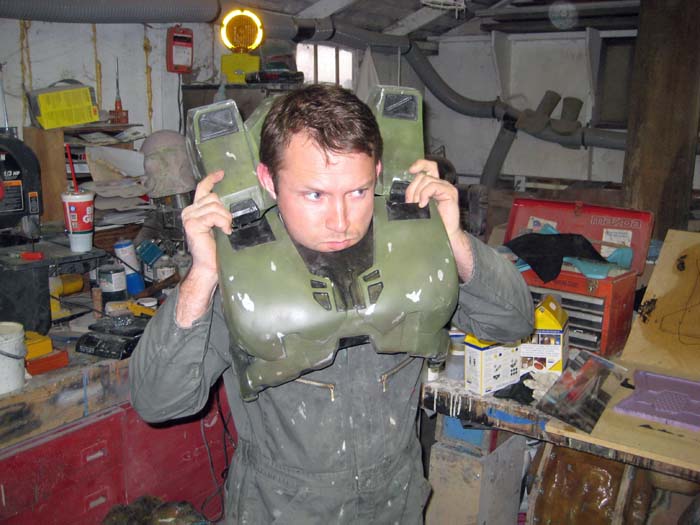
Speaking of snug, I'm really glad I decided to separate the front and back halves. Getting it on and off while they're attached is a bit painful:
4434115174_1b0f581aaa_o.jpg


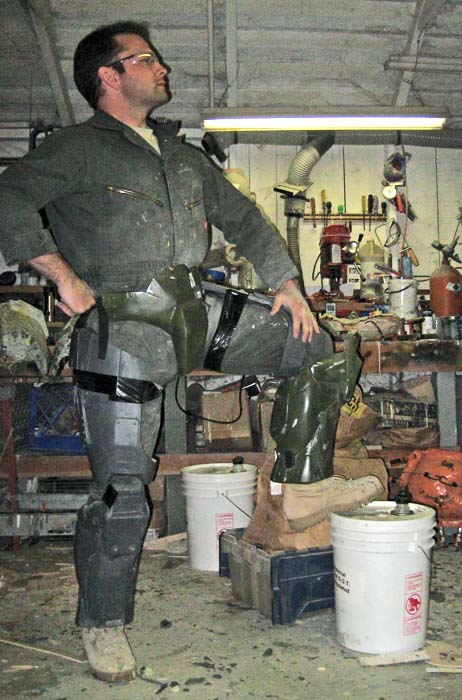
Since she was there, I also coaxed the sister into trying the rig on as well:
4434115302_5d88c4ca7a_o.jpg


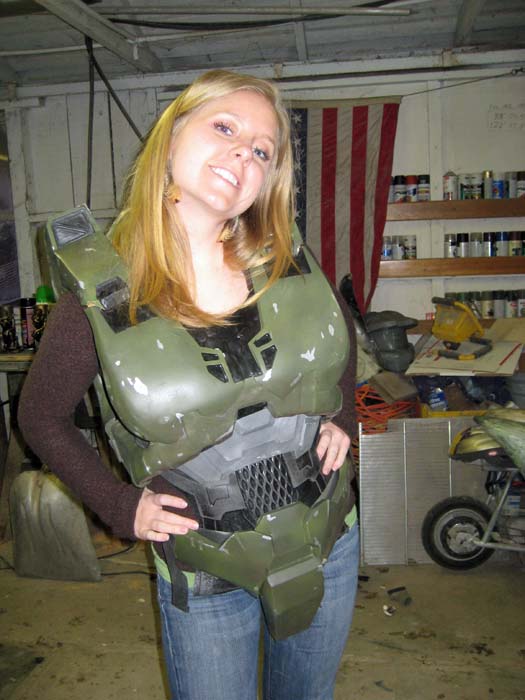
She's around 5'2" tall so she's a bit too small for this outfit:
4433341321_fba3e8158b_o.jpg


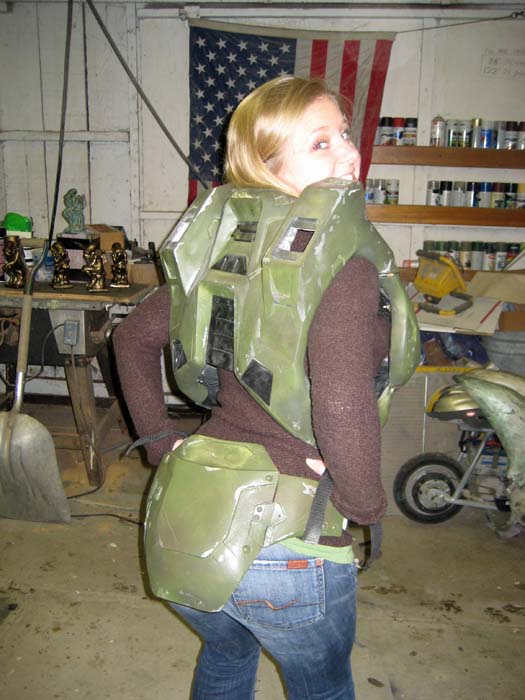
I guess it makes sense that she looks a bit wrong since I'm a good four or five inches taller and it's almost too small for me:
4434115560_d6cfabe28e_o.jpg


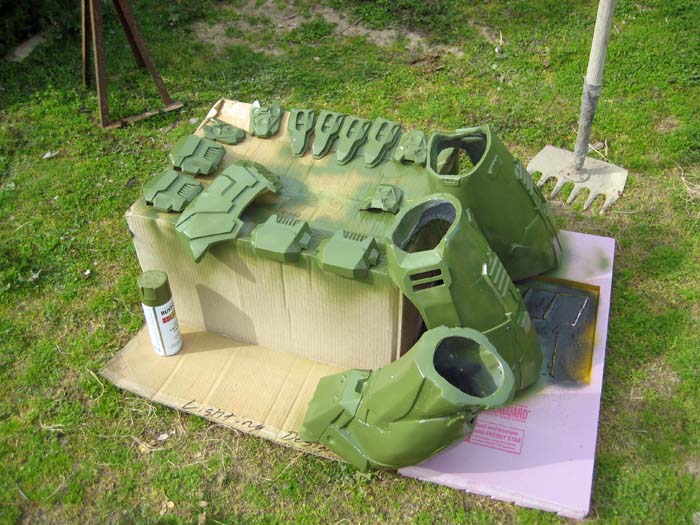
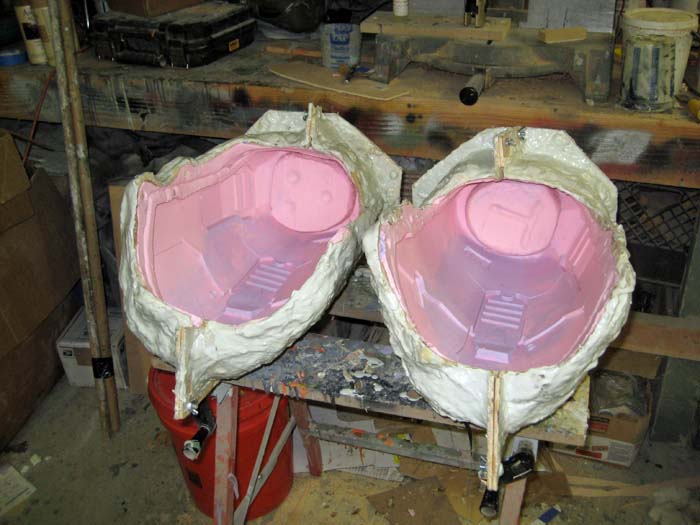
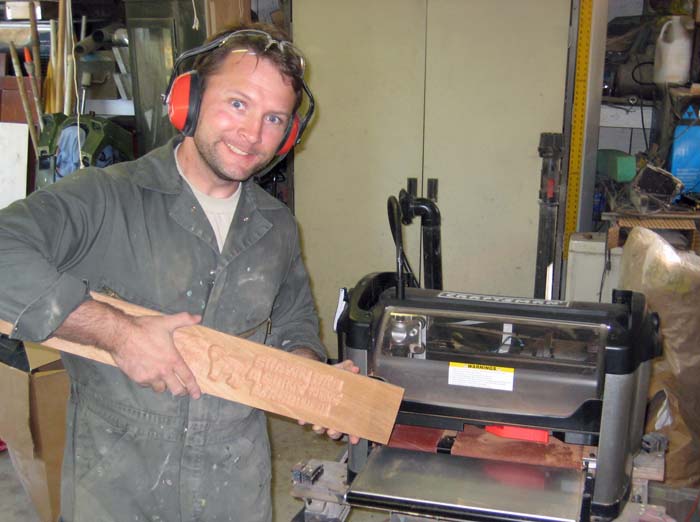
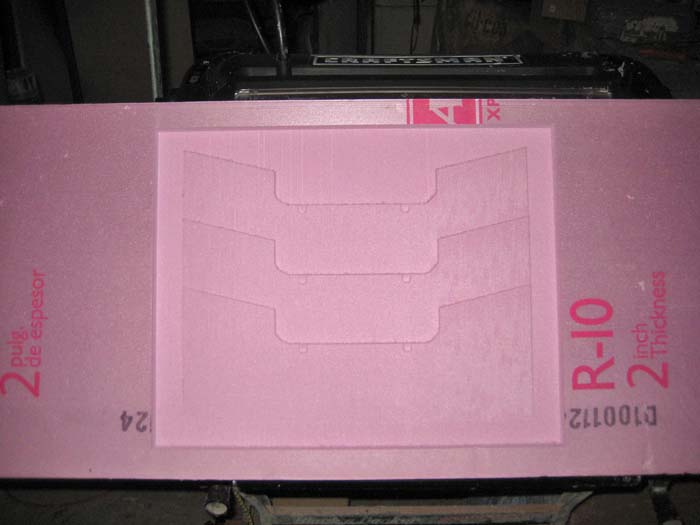
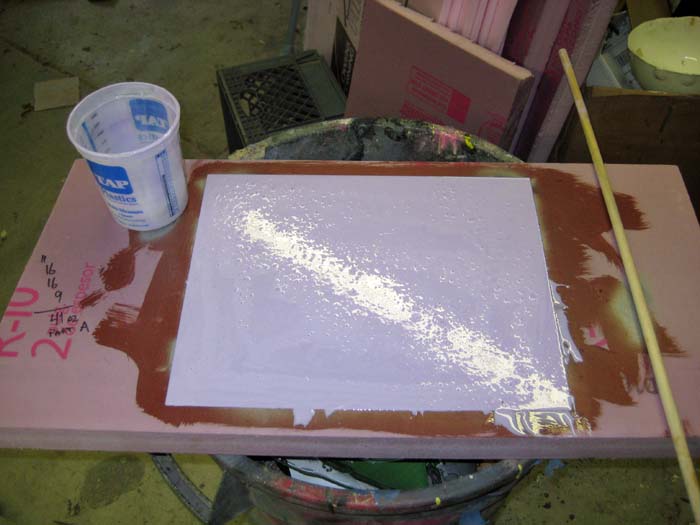
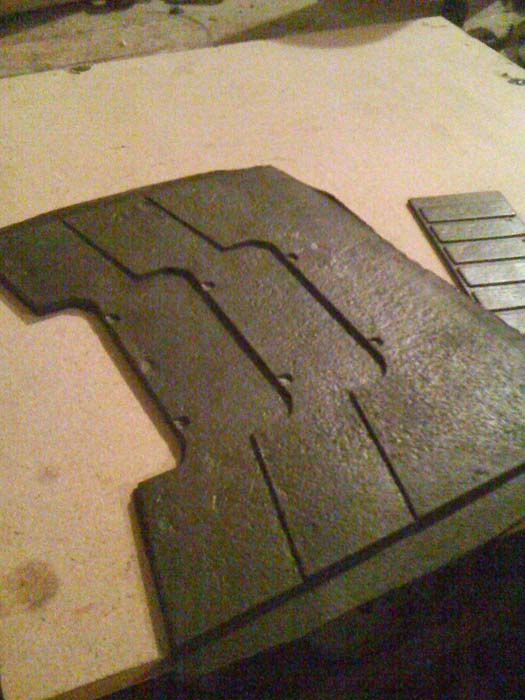
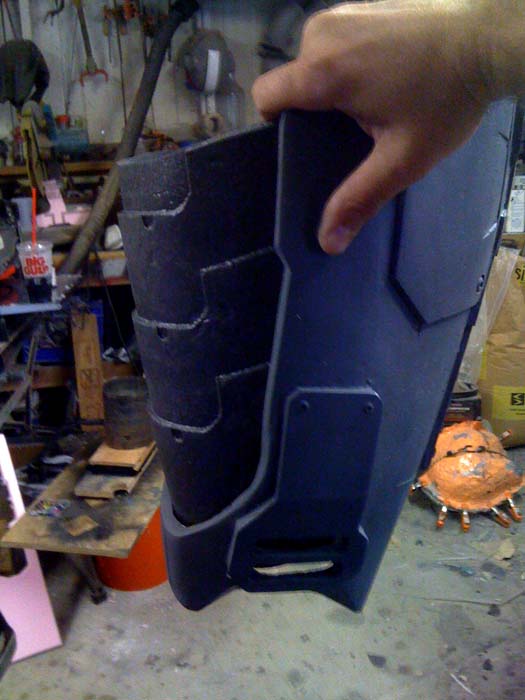
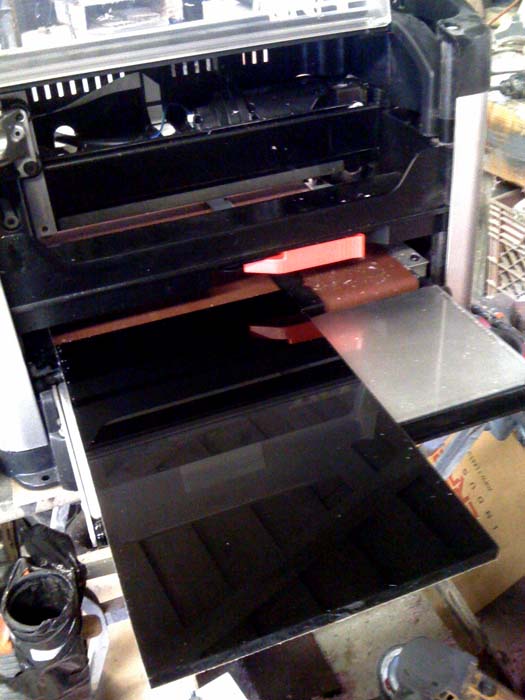
In other news, the thigh molds are done:
4433341611_8dbb50a858_o.jpg


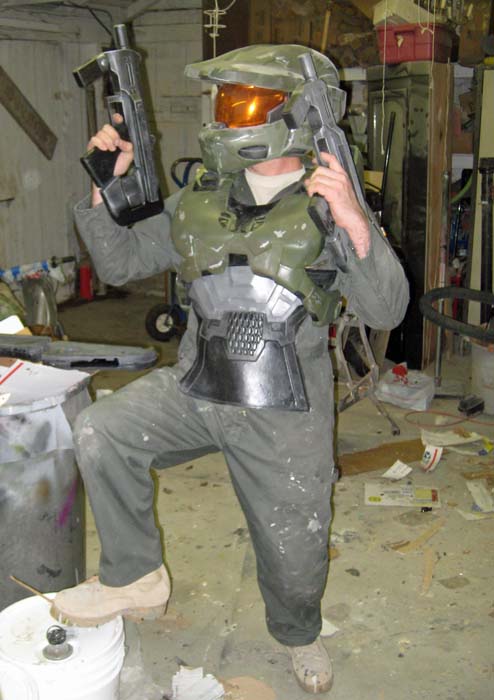
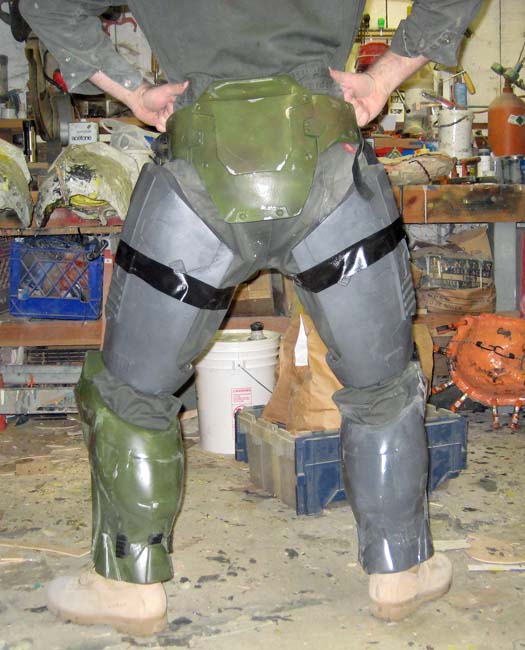
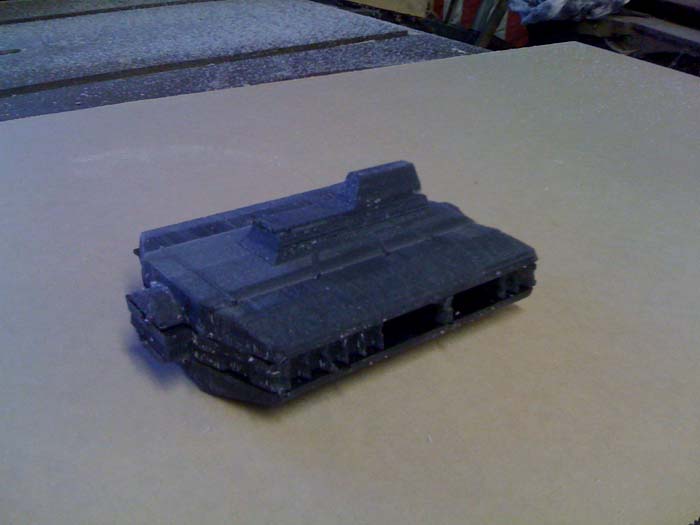
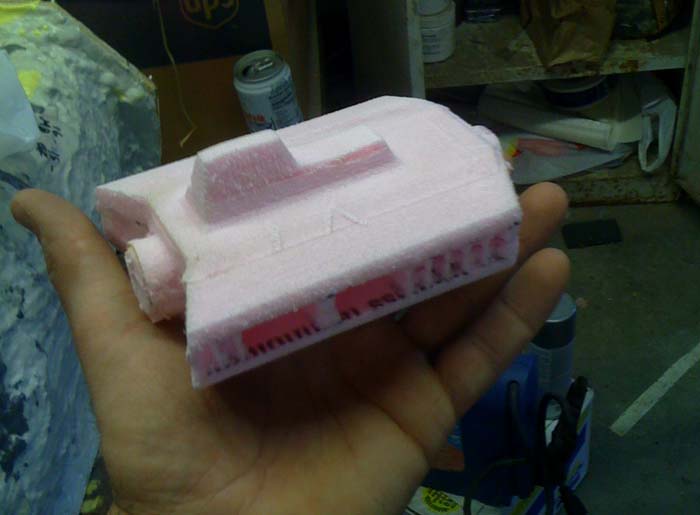
I've only poured two pairs of thigh armor so far, but I had to take a few shots of me wearing them:
4434115786_afae8258b6_o.jpg


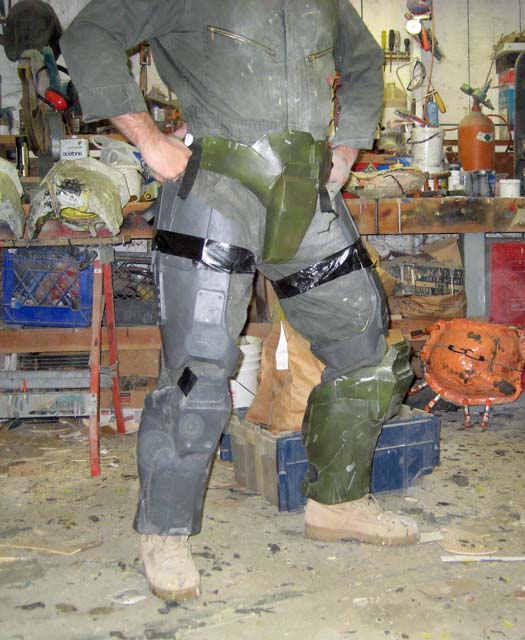
I'm holding them in place with black duct tape for now. When I finish the flexible inner thigh armor, that should hold them much better. That plus a worthwhile strapping system should make it possible for me to avoid the pooped pants pose:
4434115916_8eeb6e5c06_o.jpg


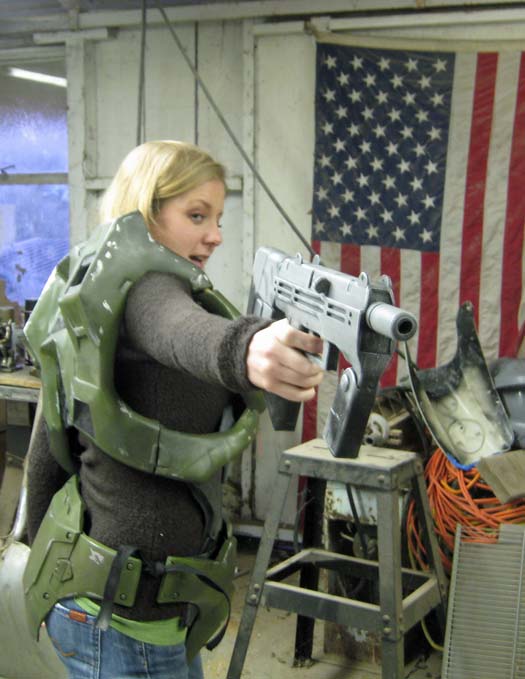
Fortunately, I can still strike iconic poses:
4434116132_4898c468c4_o.jpg


Stay tuned...
 
Re: HALO Master Chief Costume Progress Thread

Stunning wok mate, wish I was a little taller to pull this costume off
 
Re: HALO Master Chief Costume Progress Thread

MINOR UPDATE:
I'm still making slow progress on the larger sized torso prototype. Here's a shot of my friend Sam wearing it:
4457817232_fda375b819_o.jpg

Sam is 6'7" tall with an average build. The torso armor in this shot is the larger prototype and all of the other armor parts he's wearing are the same size as the ones I'm wearing in earlier pictures. At this point, it really looks like I'll be able to fit everyone with two sizes of torso and one size of everything else. Once I get the prototype finished I'll be starting a pre-order thread in the Junkyard so folks can buy copies to help me pay for the moldmaking materials. Keep an eye out for that.

MAJOR UPDATE:
I've picked up a new machine to help me out in the shop. It's called a Craftsman Carvewright and it does a handful of carving and shaping processes without much supervision. Here's a shot of me with the first plank I ran through the machine:
4457039405_8b00d9d949_o.jpg


For the first armor part, I made the prototypes for the soft rubber parts on the inside of the thighs:
4457040517_138b533c3d_o.jpg


Pretty soon I'll be painting them to smooth out the surface texture and then I'll make molds so I can pull copies in foam rubber. What's really great about the machine is that the software can import 3D files (in .stl format) and then let me slice them up to be carved out of whatever sheet goods I decide to use. It's not the fastest thing in the world, but it beats the hell out of spending a couple of nights cutting and folding pep files, then a week worth of smoothing, detailing, and prep work before I make a mold. With that in mind, if anyone needs a 3D model made in real life, shoot me a PM and we can work something out.

For now I'm looking for some solid, high-res models of weapons to crank out.

Stay tuned...
 
Last edited:
Re: HALO Master Chief Costume Progress Thread

Progress continues on the larger torso. One of the main problem I had with the smaller torso was the cost of shipping the oversized packages whenever someone would buy a copy. I've decided to make the molds smaller by cutting the back along the seams:
4462298775_3ed82c460e_o.jpg


I will be making the little detail parts in the middle as separate castings. The plan is to set it up with some slots that will be underneath the detail castings so that you can pass straps underneath them. The back piece will strap on like a backpack, then the front piece will clamp on, so the entire assembly will move with your ribcage. The ab plate will be hooked to the lower strap and snap onto the undersuit so that it moves with your belly. So in the end, the torso armor will be made in fourteen separate castings. There will be the chest piece, the back piece, the ab piece, the vent details on either side of the back, the three detail bits, and these three shoulder pieces for either side:
4462298639_1e3afac9ae_o.jpg


The main benefit of separating the shoulder parts is that I will be able to control the thicknesses and make all of the vents and whatnot into actual holes that won't have to be cut out of each of the pulls.

I'm also shaping the insides of the chest and back parts:
4462298531_033f83dd7d_o.jpg


In the end, I'll be able to leave voids to fit batteries, amplifiers, radios, mp3 players, or whatever. When I'm done, I'll be making multi-part molds that will shape the outside AND inside of the chest and back pieces. This way I can just pour the castings and wait for them to cure. This should save me the usual backache at the end of trying to rotocast the huge chest armor molds. It's going to take a lot of silicone, so please keep an eye out for my pre-order thread if you're interested in picking up a copy. If you wait until after I've completed the molds, it will cost more.

Stay tuned...
 
Re: HALO Master Chief Costume Progress Thread

About the machine: I love it!

So here was the full process for the inner thigh parts. First, I spent about an hour finalizing the design in the Carvewright software. Then I uploaded the file to the machine, lined up a chunk of 2" thick insulation foam, and fired it up. Unfortunately, the piece I was making was wide enough to block most of the vacuum dust collection port. Add to this the fact that the foam was inclined to build up a lot of static cling and hang onto every surface inside the machine. This meant that every half hour or so I had to go in and blow out all of the foam fluff with compressed air. Even so, it took four tries before I managed to get through the full carving without having foam bits gum up the drive belt for the vertical axis. Note to self: don't make pieces so wide that they cover the dust collection ports.

Here's the final (successful) carving of the inner thigh prototype coming out of the machine:
4467389583_7ca0d65a8b_o.jpg


And here it is dusted off and ready for final smoothing and prep:
4467389653_ed753e7c5e_o.jpg


It turned out to be a good thing that I had three incomplete versions of this piece to experiment with. I tried every kind of paint I had in the shop looking for something that wouldn't eat the foam. In the end, it took two solid coats of normal, water-based, latex house paint to seal off the foam to prevent the textured spraypaints from destroying the prototype. Note to self: next time use a more chemically-stable material than foam to make prototypes.

Here is the master all painted up prior to moldmaking:
4467389737_914554d56c_o.jpg


Making the mold was as simple as it gets (especially for me). Simply mix part A with part B and pour into the void carved around the prototype:
4468165286_1926a5e39c_o.jpg


Once the silicone cured, it was just a simple matter of peeling it out of the master. It came out perfectly clean, so if I want to I can pour more molds to speed up production. Awesome!

Making the pulls is pretty simple too. I'm using a 2-part urethane foam rubber (often referred to as "cold foam" because you don't have to bake it to cure it) with black pigment added in. The rubber gets poured into the mold, then a flat board with a piece of spandex tacked onto it is laid on top and weighted down to keep the foam from bubbling out of the mold. As the foam rises, it soaks into the spandex and the two become one reinforced piece. The foam I'm using has a 5-minute de-mold time. Once it's cured all that remains to do is peel it out of the mold, trim off the excess, and attach it to the rigid thigh armor.

Here's the first successful pull from the mold:
4468165340_5cb31b39e0_o.jpg


Here's me holding it inside one of the thigh castings:
4467389947_cfea7468f3_o.jpg


And finally, here's the money shot showing one of the foam rubber inner thigh parts taped into one of the rigid outer thigh castings:
4468165478_6087f31991_o.jpg


In other news (and I should probably start another thread for this part) I've started tinkering with weapon builds using this thing too. Because I'm overly ambitious, I've started slicing up 405th user bevbor's sniper rifle model. For my first attempt at cutting it, I made the muzzle brake out of 1/2" black acrylic. Here's the before pic showing my shiny black piece of acrylic:
4467390095_c9199133cb_o.jpg


Here's the after shot when the machine had done its business:
4468165654_1f4355f294_o.jpg


And here's the assembled muzzle brake:
4468165738_da0b761f19_o.jpg


Unfortunately, the acrylic sheet was a hair under 0.5" thick. As a result, the finished muzzle brake was not quite as tall as it was supposed to be. On top of that, I've got the same problem with static cling that makes the much harder bits of acrylic tend to get stuck in the tender working bits of the machine. It took two tries to get the finished, too-small piece cut out. When you factor in the cost of the material and the difficulties of cleaning up the finished piece, making masters out of acrylic is a really bad idea.

Realizing this, I made another copy of the muzzle brake out of a piece of 1/2" foam just for gits and shiggles:
4468165814_df62fa305f_o.jpg


While these experiments have been fun and educational, I'm thinking that my next round of prototypes are going to be cut out of plain, ordinary, medium-density fiberboard. Also, having realized that I should learn to walk before I run my first marathon, I'm going to start by making a magnum pistol instead of a 6'2" long rifle.

In the meantime, I need to come up with a suitable name for the machine. It seems like calling my robot shop assistant "it" is disrespectful. Any suggestions?

Stay tuned, I've got a lot of parts lined up for primer and there's plenty more to come...
 
Re: HALO Master Chief Costume Progress Thread

Someone on the405th mentioned the name "Vera." "Lopez" is getting a lot of play as well. I still haven't made up my mind though. I'll be making more than HALO gear on this thing. But for now...

Here's my second minor success story with the device:
4473426058_e4f598f470_o.jpg


This was the end result of 7 hours and 26 minutes of run time on the machine. I cut it out of MDF and the finished surface was surprisingly smooth. Now all I need to do is stick the pieces together, sand, paint, stamp the lettering into it, and make a mold. Here's a shot of me holding it with the pieces just stacked together:
4473426410_da142252ae_o.jpg


The digital model was one I found in the Google 3D warehouse. I don't remember who made it though. Here's a closer shot of the pieces all stacked together:
4473426226_3c88bbc936_o.jpg


While I realize that seven and a half hours seems like a long time, I have no idea how long it would've taken to make one of these by hand. On top of that, while this thing was doing the bulk of the work making my pistol, I was able to put my attention elsewhere. Among other things, I put primer and a base coat on a lot of my pieces:
4473425854_a434aedcc6_o.jpg


Before anyone asks, the primer was a two-part automotive primer shot with an HVLP gun and the green that I use for a basecoat is Rustoleum Army Green.

Stay tuned...
 
Re: HALO Master Chief Costume Progress Thread

I love that machine..I still need to get one
Great work
 
Re: HALO Master Chief Costume Progress Thread

Oh, Lopez is good, since he was a Robot and all. I guess it comes down to whether you want to think of the machine in feminine or masculine terms.
 
Re: HALO Master Chief Costume Progress Thread

Someone on the405th mentioned the name "Vera." "Lopez" is getting a lot of play as well. I still haven't made up my mind though. I'll be making more than HALO gear on this thing. But for now...

Here's my second minor success story with the device:

Stay tuned...

That rocks! Now it makes me wish I had one (not that I have the money or the room for one in my cramp, little apartment). That's just frakkin' awesome.
 
Back
Top