Fully articulated 24" tall AT-AT adventure

Looks like there's a been a little bit of progress here. I was so busy these last few weeks on that firework show, trying to catch up with everything now. Cleaned the house today. Was REALLY needing it.
I should clean up my model building area and work on something....... oh, I think I know.
 
Anyone seen this? Hopefully should be a link to Merlin models AT-AT


Yes, I referenced parts of their model in my Revell build. It looks fantastic.
Im not suggesting the cost isn't justified but it was far too expensive for me. It really looks like they did a magic job!

Cheers,
Josh
 
One of the featured pictures here on the site was from 2014 (and says taken in 2008), but had a few pics from the studio model.
So grabbed the link and who knows if any pics with help or not, but just incase.

 
One of the featured pictures here on the site was from 2014 (and says taken in 2008), but had a few pics from the studio model.
So grabbed the link and who knows if any pics with help or not, but just incase.

Thanks for sharing. This is the static resin model as seen on the modellers magic site. It seems to be doing the rounds quite a bit. Every bit of info helps!

Cheers,
Josh
 
Sorry to break news that my participation with this project needs to be put on hold for awhile. Need to pay extra attention to some real life matters that have come up.

The project is not dead. I will be back. I just don't know exactly when.

In the mean time anything people can find out about the construction and function sequence of the "rubber band/strap" system for moving the leg pistons well be most welcome. Seems there is a second pin at half the radius out on the cam that causes some slip or motion limitations or something on one of the passes of the band (yes, there are two strands). Notice that the angles of the action angle are different between the front legs and the back. The top half of the band (upside down - closest to the hip blade) is not touching the rotation pin of the cam and seems to be passed around another pin. How is that working??
04_pic.JPG
 
Hi all, I'm sure I'll have a thing or two to throw in here. For some reason, I wasn't receiving notifications from the other post, so I'm glad I found this. I'll soon share the stuff I have been working on to try to create a walking AT-AT and all the pitfalls I found. I gave up for a long time, so a group effort might be better.

I've recently started up on this forum again. I was here years ago and created a Rancor sculpture, and also some AT-AT dioramas. The pics below are from the ERTL kit... I spent about 2 years making this and did a stupid amount of modifications.

I also did a couple of F-Toys dioramas for commissions, but I don't want to spam the thread.

View attachment 1470441
View attachment 1470442

View attachment 1470443

And just for fun, here is a really long stop motion I did a few months back with the Bandai AT-AT. Looking forward to seeing what happens with this thread!


Looks awesome! Looks like the scene straight out of ESB where the 3 walkers are closing in on the rebels right after they begin the retreat and just before Luke takes one of them out. The Empire wasn't playing around on Hoth.

What material did you use for snow? Sorry if I missed the answer if you posted it already..
 
Last edited:
Thanks, that is the exact scene I was hoping to recreate. To be honest I have been looking at the Bandai AT-ATs again as they are perfect replicas, and I sold the original diorama. If I get the time I might make one for me, and one to sell.

The snow is just filler that you would use on your walls, you can use the standard stuff or the lightweight spackle. I just sprayed it down with lots of water before it set to give it the flowing look

The Bandai AT-AT is perfect as far as I can tell, so that would save you quite a bit of time.

Bandai also has a 1/144 AT-ST Empire Strikes Back version that comes with a 1/144 Snowspeeder. It might be cool to have a little ~2 inch tall ESB version of the AT-ST running around off to the side if you do another diorama. As far as I know, this is the only mass produced release of the empire version of the AT-ST.

On my AT-ST 1/144 I made a custom decal of the skull emblem on its port side, added some hoses to the chin cannon and under the "head", and added the leg brackets to the back of the legs with some very thin styrene strips. The AT-AT is completely stock. I need to finish the Snowspeeder up. I have some rebel hoth turrets from the ERTL AT-AT and some from the ERTL Hoth Rebel Base model kit. After seeing your great diorama I'm thinking of doing one on a smaller scale.
Sounds great, post some pics of the AT-ST! are you going to be using the figures from the hoth set? If not I'd gladly buy them from you.
 
Sorry to break news that my participation with this project needs to be put on hold for awhile. Need to pay extra attention to some real life matters that have come up.

The project is not dead. I will be back. I just don't know exactly when.

In the mean time anything people can find out about the construction and function sequence of the "rubber band/strap" system for moving the leg pistons well be most welcome. Seems there is a second pin at half the radius out on the cam that causes some slip or motion limitations or something on one of the passes of the band (yes, there are two strands). Notice that the angles of the action angle are different between the front legs and the back. The top half of the band (upside down - closest to the hip blade) is not touching the rotation pin of the cam and seems to be passed around another pin. How is that working??View attachment 1479330
Seems like a rubber band hooked on a few pins
 
Sounds great, post some pics of the AT-ST! are you going to be using the figures from the hoth set? If not I'd gladly buy them from you.
Here's the little bugger....added the hose under the chin cannon, and a few smaller hoses under the "head". Also, I added the brackets on the back of the legs, which weren't present on the kit. Great little kit as he looks just the the ESB AT-ST.
Screen Shot 2021-08-16 at 4.57.49 PM.png
Screen Shot 2021-08-16 at 4.59.04 PM.png
Screen Shot 2021-08-16 at 4.58.22 PM.png
 
That's great! I love your weathering, especially the AT-AT. Looks studio scale, no joke.

Thanks man!

Check that article out "Painting Panzer" I posted above if you like that look. Basically no washes, no drybrushing. You do some shadowing with the airbrush where the shadows would fall, you can use the airbrush or a Tamiya soot weathering stick for soot streaks, I throw in some random splatters, color disruptions with some smearing, a few paint chip effects, etc. then overspray it with thin filters to tone it all down. For panel lines, I usually don't fill them in, or if I do, it's just a small area where some soot or dirt would collect not the entire panel line. I'm a little sloppy, too, so if the airbrush splatters too much I just try to work it in , lol. Same technique on my German Jagdpanther.


Screen Shot 2021-08-16 at 7.00.30 PM.png
 
Great stuff, thanks. I couldn't see your link but managed to find the article online. My process was to prime the models, airbrush some very weak primary colours to break up the grey, pre shading and stuff and then mist coat to tone down any heavy weathering.
One thing that worked well was to get chalk pastels, grind them into powder, mix with water and a hint of dish soap and then apply with a paintbrush in a traditional watercolour wash. This creates a very interesting texture (a bit like the pro modeller wash where you dunk the entire model in solution).
Sorry about that. I had the link in a different thread, but I'm glad you found it. In that article he also talks about use pastel chalk.

Post some pics of your technique sometime.
 
Sounds great, post some pics of the AT-ST! are you going to be using the figures from the hoth set? If not I'd gladly buy them from you.
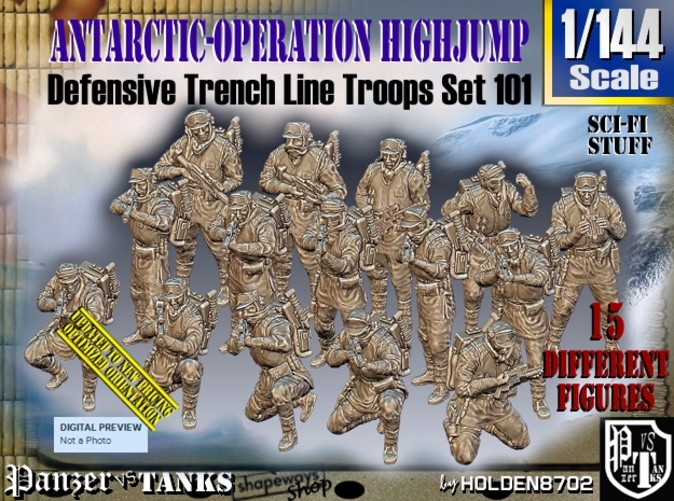
rather than the figures in the Battle of Hoth set, you can use these

They are a lot better


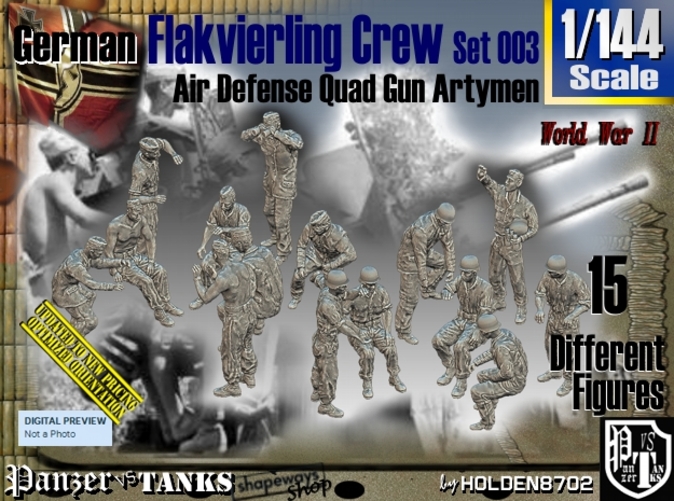
He has lots of sets in 1/144 just


Grabbed some pics of mine in the snow last winter
IMG_9220 (2).JPG
 

Your message may be considered spam for the following reasons:

If you wish to reply despite these issues, check the box below before replying.
Be aware that malicious compliance may result in more severe penalties.
Back
Top