You are using an out of date browser. It may not display this or other websites correctly.
You should upgrade or use an alternative browser.
You should upgrade or use an alternative browser.
Cracker's 1/144 Finemolds Millennium Falcon Asteroid Field Diorama (3D)
- Thread starter crackerjazz
- Start date
Chicagovader
Sr Member
Wow! Very impressive so far, can't wait to see it complete.
3d-builder
Sr Member
Fantastic brother those astroids really sell off......wow they look
so real you can almost see the dirt on them!:thumbsup
so real you can almost see the dirt on them!:thumbsup
Chrisisall
Master Member
Indeed you are creative, as the Emperor has foreseen.
Orbital Drydock
Active Member
Nice work Cracker! Digg the lighting!
Like your doing, I try to place the leds as far away as possible. Diffused surfaces act like a rear projection movie screen & emphasize the light cone. Lately I've been using straw hat leds for close lighting. They have a 120 degree cone instead of the typical 10-20 degree cone. Bigger cone = Closer to part.
Tin foil is an excellent light blocker, but an uneven light diffuser. If you can spray the foil with reflective white titanium dioxide paint or even flat white paint, it will disperse the light very evenly. There's also a product called Foylon that is the most evenly reflective/blocking coating I've seen. It's not cheep though.
reflectivity percentages:
Foylon 94-95%
TiO2 reflective paint 90-95%
Flat white paint 85-93%
Semi-gloss white 75-80%
Aluminum Foil 70-75%
cloneprops
Well-Known Member
Great job,amazing¡¡¡¡
crackerjazz
Sr Member
Thanks for your kind comments, guys! ")
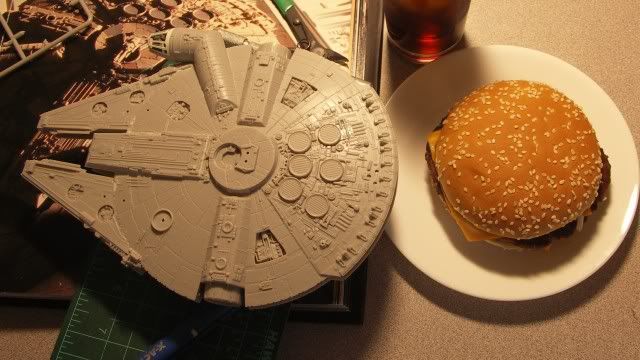
Redirk, great idea on the expanding foam. Danikin - just knowing I've inspired someone means my efforts have paid off, thanks. Yes you have to get the kit. For a 1/144 it's packed with detail. Those guns are pin-size, it's awesome .
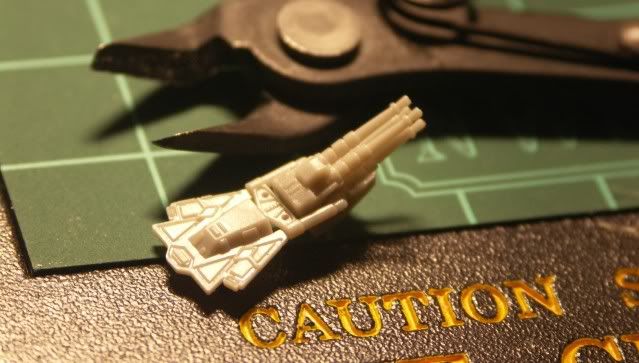
I've been staring at the hull for days on end wondering what the best way is to approach laser blast damage. Oh, and eating (especially a burger) while you work on your Falcon is not advisable. Besides the dirty hands, you might grab the wrong one.
Redirk, great idea on the expanding foam. Danikin - just knowing I've inspired someone means my efforts have paid off, thanks. Yes you have to get the kit. For a 1/144 it's packed with detail. Those guns are pin-size, it's awesome .
I've been staring at the hull for days on end wondering what the best way is to approach laser blast damage. Oh, and eating (especially a burger) while you work on your Falcon is not advisable. Besides the dirty hands, you might grab the wrong one.
Fett_Ish
Sr Member
On my 1/72nd I dremeld them out. I then thought it was too rough though so I had to fill and sand the holes smoother, which was not cool. I read that someone took a soldering iron to theirs. I am sure it would work but temp is key to keep it from turning from bend to T-1000 bullet holes. I imagine very small tip for this scale as well.
crackerjazz
Sr Member
Thanks Fett_Ish : )
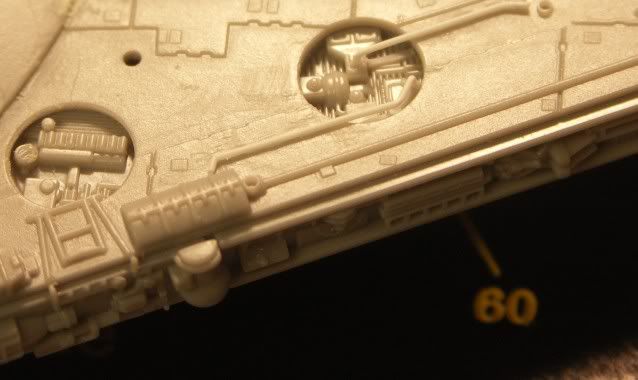
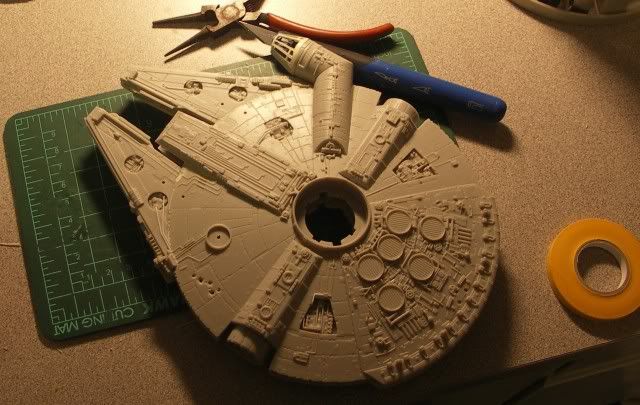
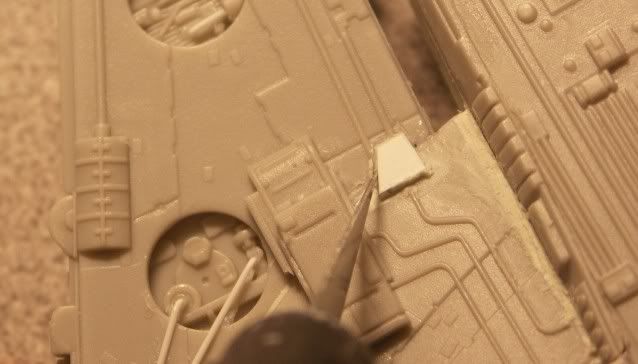
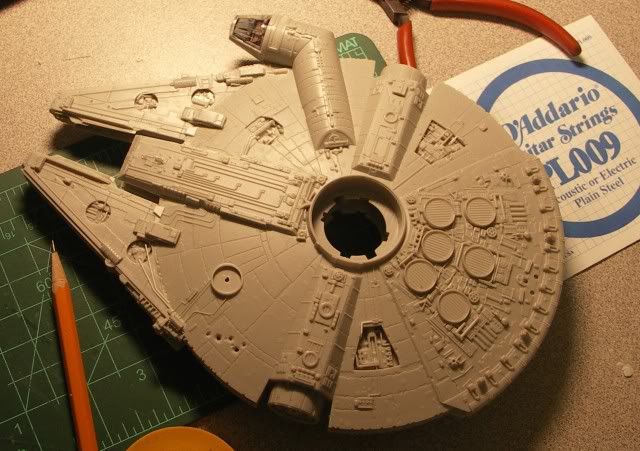
Printed out the blast holes to mark the spot. Used the drill and file to make the craters.
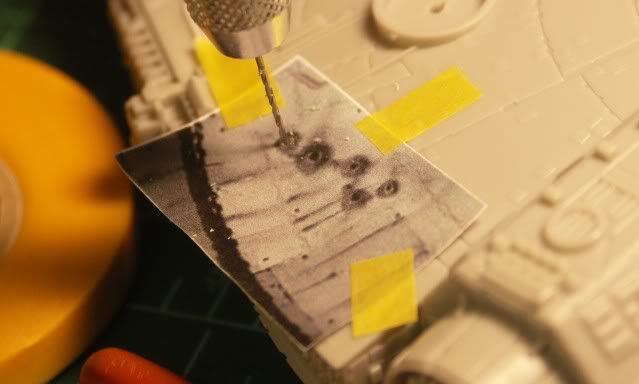
Some piping looked difficult to remove without making a mess of the plating so I didn't even try.
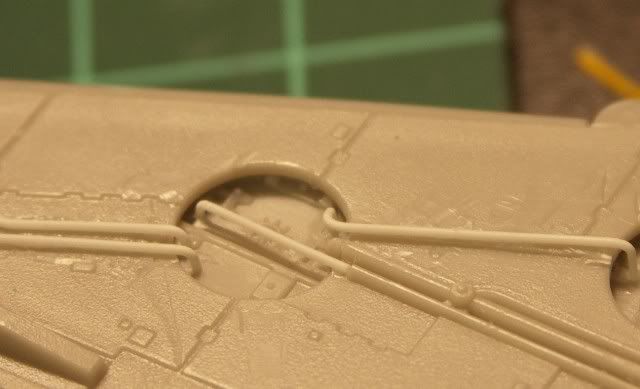
Initially used brass rods but found styrene easier to shape and cut the ends square.
Printed out the blast holes to mark the spot. Used the drill and file to make the craters.
Some piping looked difficult to remove without making a mess of the plating so I didn't even try.
Initially used brass rods but found styrene easier to shape and cut the ends square.
ozzyguanche
Sr Member
Awwww man, I don't have any 3d glasses.
you totally made that work mate, well done.
ozzy
you totally made that work mate, well done.
ozzy
Commander Dan
New Member
That is way cool!
crackerjazz
Sr Member
Thanks for your kind words, guys!
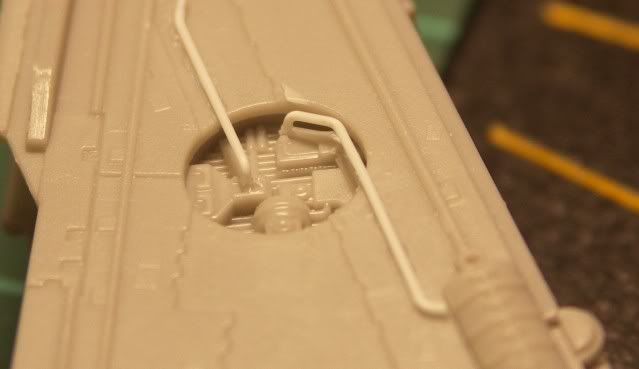
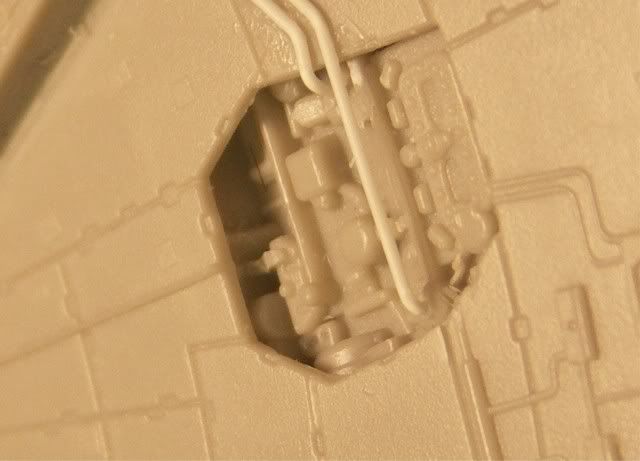
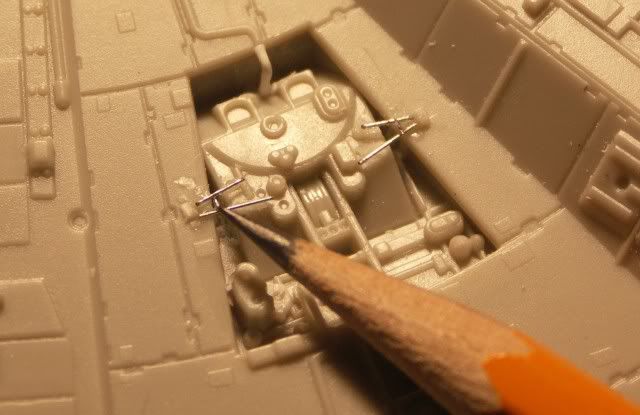
Alaneye - now I know how plumbers feel. It's just that there's no escaping from
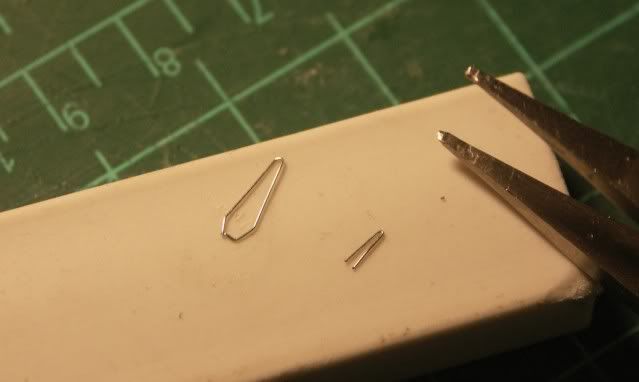
it when you build a Falcon. I used thin electric guitar strings for the parts below.
Those small crossbars reminded me of the tiny hair on the bathroom sink after you
shave. I don't know how I managed to attach them because even the tip of the
tweezers were too big for them. I tried what seemed like a hundred times
to brush them into place each time racing against the setting of the glue. After
the nth time I succeeded and will treat myself tomorrow with something for
that success. I think I've had enough - I'll really start painting this weekend.
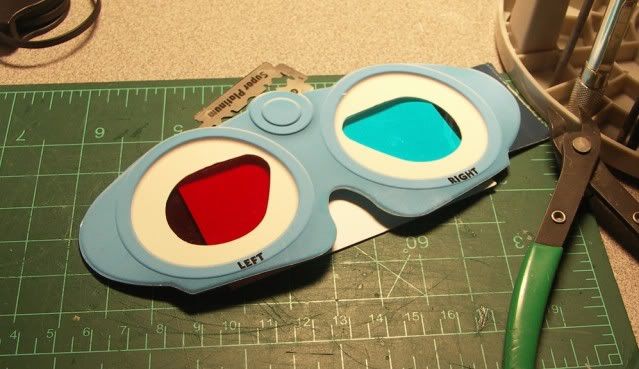
Ozzy, try to get the glasses. Mine are the cheap children's 3D books kind.
They're red-and-cyan, different from cinema glasses. (I don't think the kid's books
come with anything else).
Alaneye - now I know how plumbers feel. It's just that there's no escaping from
it when you build a Falcon. I used thin electric guitar strings for the parts below.
Those small crossbars reminded me of the tiny hair on the bathroom sink after you
shave. I don't know how I managed to attach them because even the tip of the
tweezers were too big for them. I tried what seemed like a hundred times
to brush them into place each time racing against the setting of the glue. After
the nth time I succeeded and will treat myself tomorrow with something for
that success. I think I've had enough - I'll really start painting this weekend.
Ozzy, try to get the glasses. Mine are the cheap children's 3D books kind.
They're red-and-cyan, different from cinema glasses. (I don't think the kid's books
come with anything else).
ozzyguanche
Sr Member
I am sure I can find some somewere, I used to have a few pairs but through them out when I stopped playing around with 3d. I realy want to see the pics. LOL
Ohhh actualy I would rather see it in person, and the bigger brother too. Maybe I can detour on my next trip over there. Was supposed to be last year, but did not happen.
Those bits are tiny man, you and scratchy should have been heart surgeons.
Ozzy
Ohhh actualy I would rather see it in person, and the bigger brother too. Maybe I can detour on my next trip over there. Was supposed to be last year, but did not happen.
Those bits are tiny man, you and scratchy should have been heart surgeons.
Ozzy
crackerjazz
Sr Member
Thanks, Ozzy, anytime Heart surgeon? I don't know about that - Scratchy maybe but me - I'm a trying-hard modeler. I've practically given up on the big brother - my kid is starting to complain that all I think about is the Millennium Falcon, and man, when I was working on the Hasbro conversion I did nothing else but. At least this smaller one will get done relatively quicker.
Skinned some styrene over Apoxie Sculpt for these parts that I lost. Pressed them in place and sliced off the apoxie that squeezed through the sides.
Corrected the Finemolds mandible tab shape:
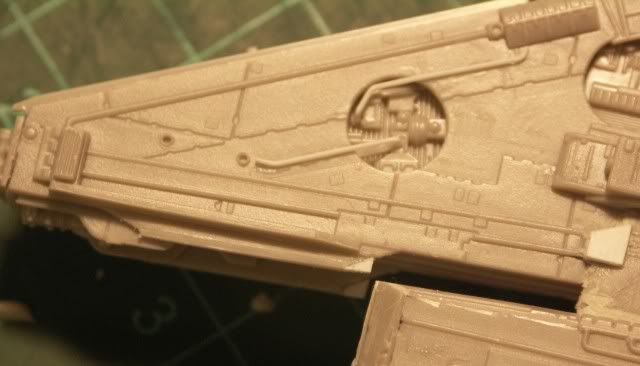
Cut up some guitar strings for the jawbox top detail that I removed.
Not very visible attached, is it? : ) This one's ready for painting (I keep saying that, don't I?)
Heart surgeon? I don't know about that - Scratchy maybe but me - I'm a trying-hard modeler. I've practically given up on the big brother - my kid is starting to complain that all I think about is the Millennium Falcon, and man, when I was working on the Hasbro conversion I did nothing else but. At least this smaller one will get done relatively quicker. Skinned some styrene over Apoxie Sculpt for these parts that I lost. Pressed them in place and sliced off the apoxie that squeezed through the sides.
Corrected the Finemolds mandible tab shape:
Cut up some guitar strings for the jawbox top detail that I removed.
Not very visible attached, is it? : ) This one's ready for painting (I keep saying that, don't I?)
Similar threads
- Replies
- 2
- Views
- 4,750
- Replies
- 77
- Views
- 14,919
- Replies
- 28
- Views
- 6,300
- Replies
- 55
- Views
- 9,005