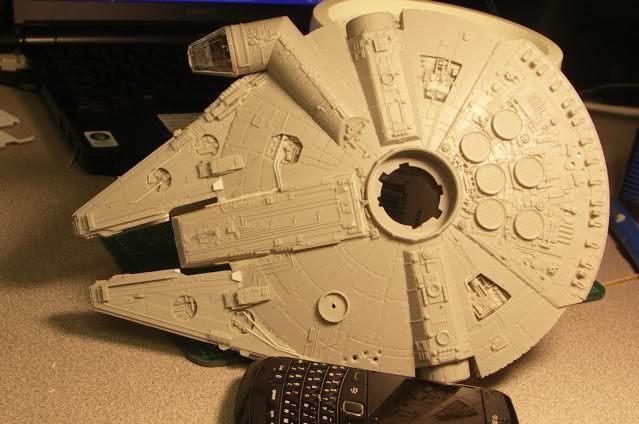
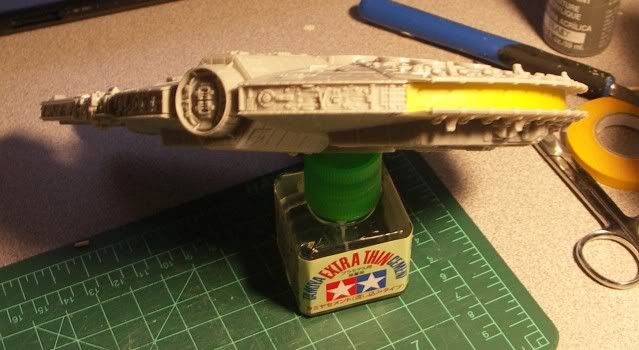
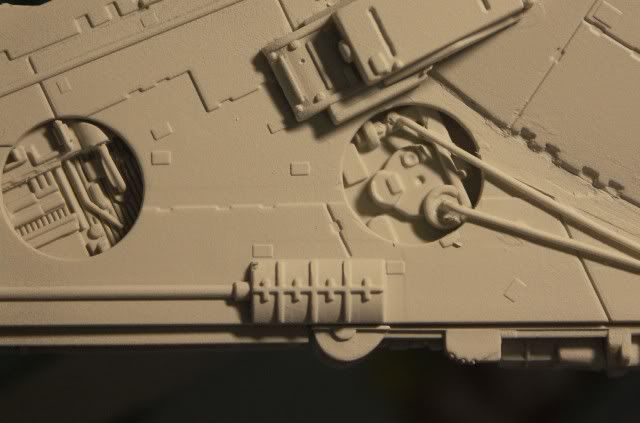
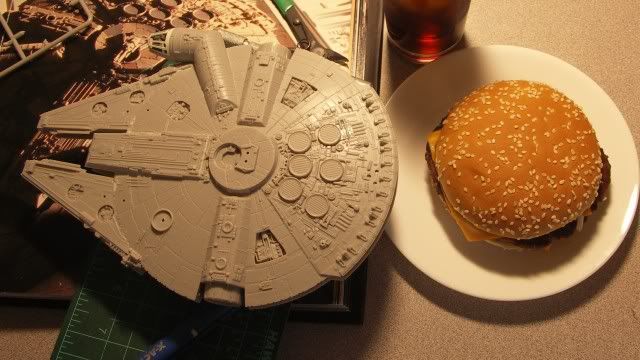
I am working on model similar to this with lights an asteroid base. I have started work but would love some feedback on anyone else that has attempted it.
Here is a post i created on another site, just going to copy paste here if that is okay?
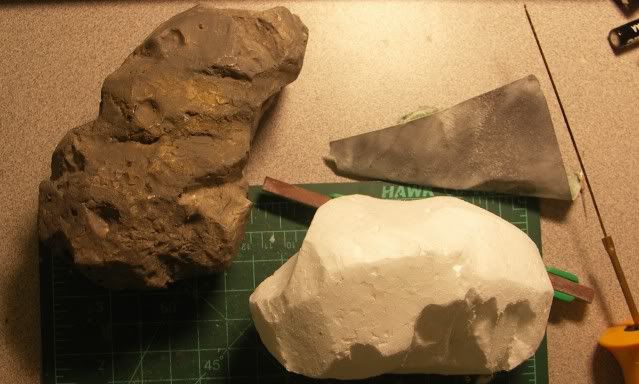
Working on the base of my model display, a large asteroid with a small base to be inserted.
I am using this actual asteroid photo as a guide.
Google Image Result for http://i.space.com/images/i/5606/i02/asteroid-sizes-100831-02.jpg%3F1292271175
Asteroids, comets and moonlets visited by spacecraft | Flickr - Photo Sharing!
This is the concept art of the actual in game asteroid:
Google Image Result for http://images1.wikia.nocookie.net/__cb20070909143421/homeworld/images/f/f9/Hw2_0403-j.jpg
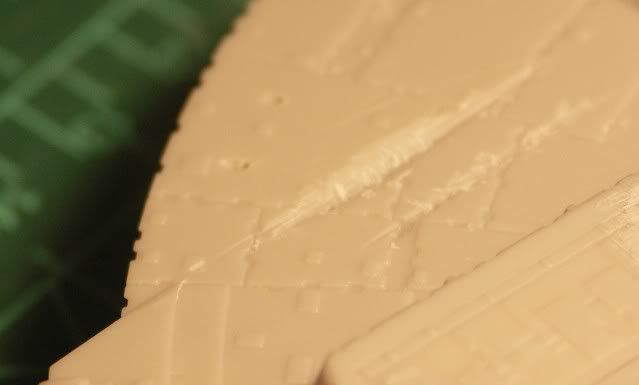
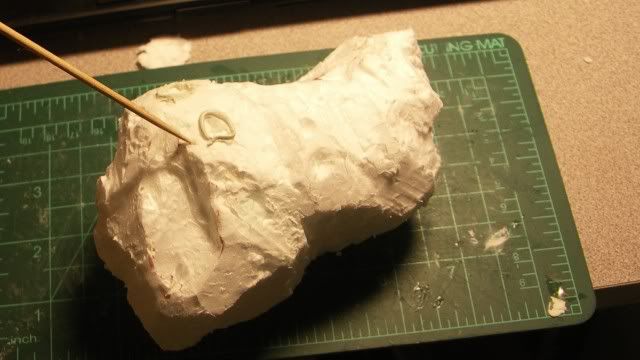
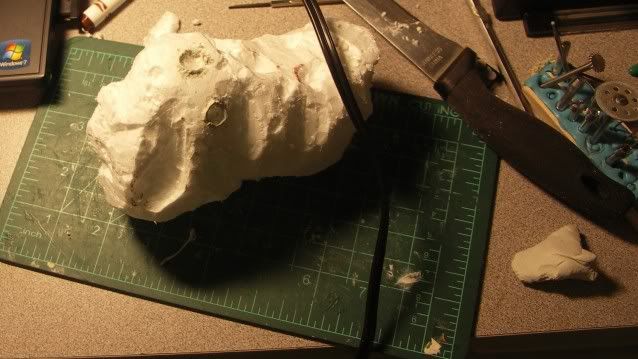
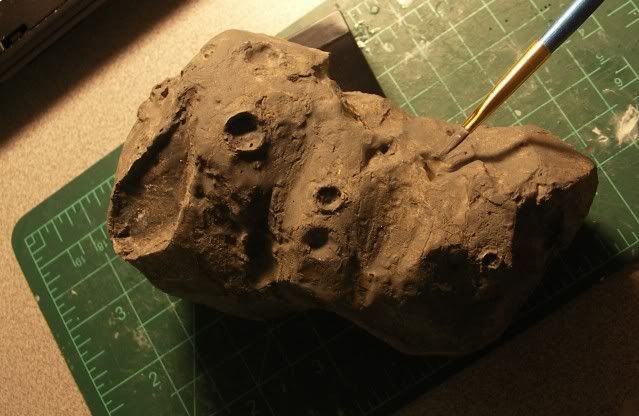
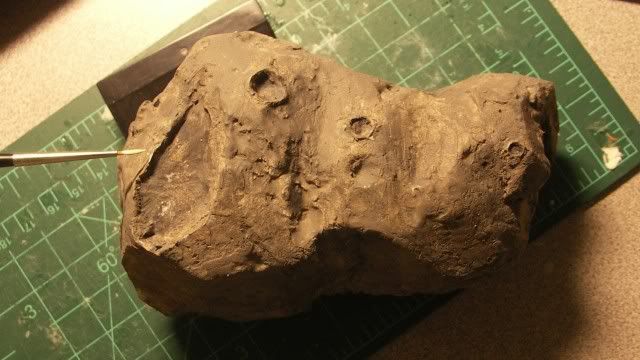
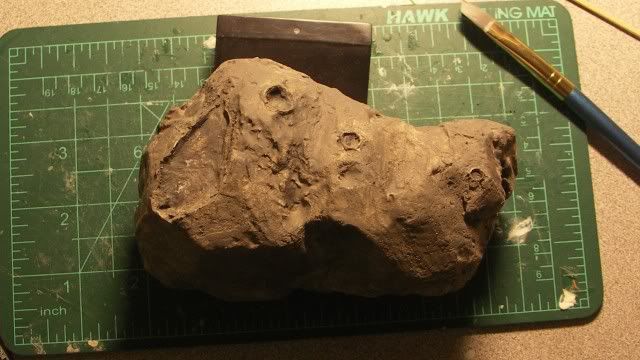
And here is my first pass and carving and sanding:
Asteroid 1st try - YouTube
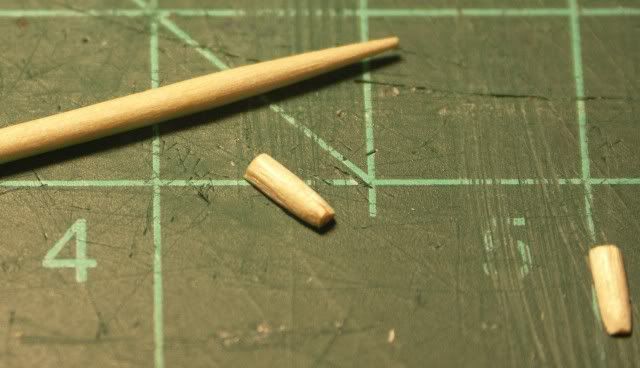
Items I used:
Hot Wire Foam Factory Crafter kit.
120 and 220 grit sand paper sponge.
What I think:
It still does not look natural. There are several lines and small patches that I have not been able to smooth out. The asteroid is still about 20% too big so I have some working space to salvage.
What I learned:
1. make the rock shape first, do not try too much detail on first cutting pass. This makes sanding foam very difficult. At least with the tools I am using. If someone knows a better way I am all ears!
2. Add larger craters slowly and work on each one carefully. Do not rush.
3. Add the small details like small craters, some pot mocks, etc last after surface is sanded where you want.
Materials I am going to experiment with for the coating:
Preface:
I have bought and am going to experiment with these materials on small pieces of foam to see which one of I will use for my coat. My goal is to produce an asteroid that looks similar to the real picture above. To make it feel and look professional/authentic* up close. Since this is a very large asteroid it will be more rock like than gritty as planet/moon surface would be. But I also want to keep the weight down to around 10-15 pounds. The surface needs to be sand-able, able to prime and paint.
1.
MagicSculpt. So far on a test piece I can tell this still, although very cool, is going to be heavy! I am not very experienced with sculpting but I am having problems getting a smooth surface because the material is sticky and the viscosity is a bit thick.
I am wondering is
MagicSmooth might work but I can find no example pictures or photos online.
2.
PolyFilla cellulose filler. As seen by this post :
http://www.therpf.com/f11/crackers-1-144-finemolds-millennium-falcon-asteroid-137585/index2.html
I may also try the
grout + acrylic polymer mixture.
I think this guys asteroids look great but I want mine to be a bit more rock like since these people decided it was worthy enough to build a star base in.
")
3. I just ordered some
Styroplast and am going to try that as well. I liked that it may hide much of the raw foam detail but the viscosity is low enough to pick up the ridge detail I sand into the foam. It also looks like I can sand, patch, and reapply this material to get it to the smoothness and desired look without a super thick coat. But i have not worked with it yet so we shall see. here is a short video of it:
TerranScapes - Styroplast Review - Hot Wire Foam Factory - YouTube
Question I have for the audience:
1. Anybody worked with the items above and can tell me based on what I have stated as my desired end product which you would recommend and why?
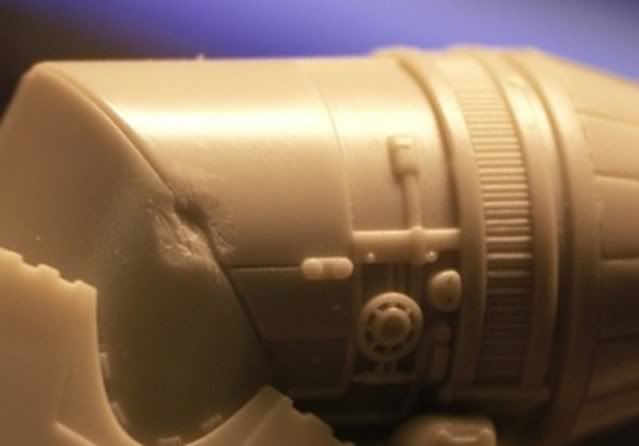
2. If I want to install a small styrene base with lights should I coat the exterior first and then cut/machine out the inside or just cut this puppy in half do all the work I need and then glue it back together and sand the seems before coating?
3. Anyone worked with lights know if power source and lights are nested int he foam will I be creating a fire hazard?
4. When trying to create craters and sand I find even the 220 grit sponge tends to rip out foam balls and create line edges. Any technique that would work better to produce smooth round craters in the foam?
-Billy