spacerone
Well-Known Member
Really nice! The buttons are a bit tall compared to this pic, but I like it :thumbsup
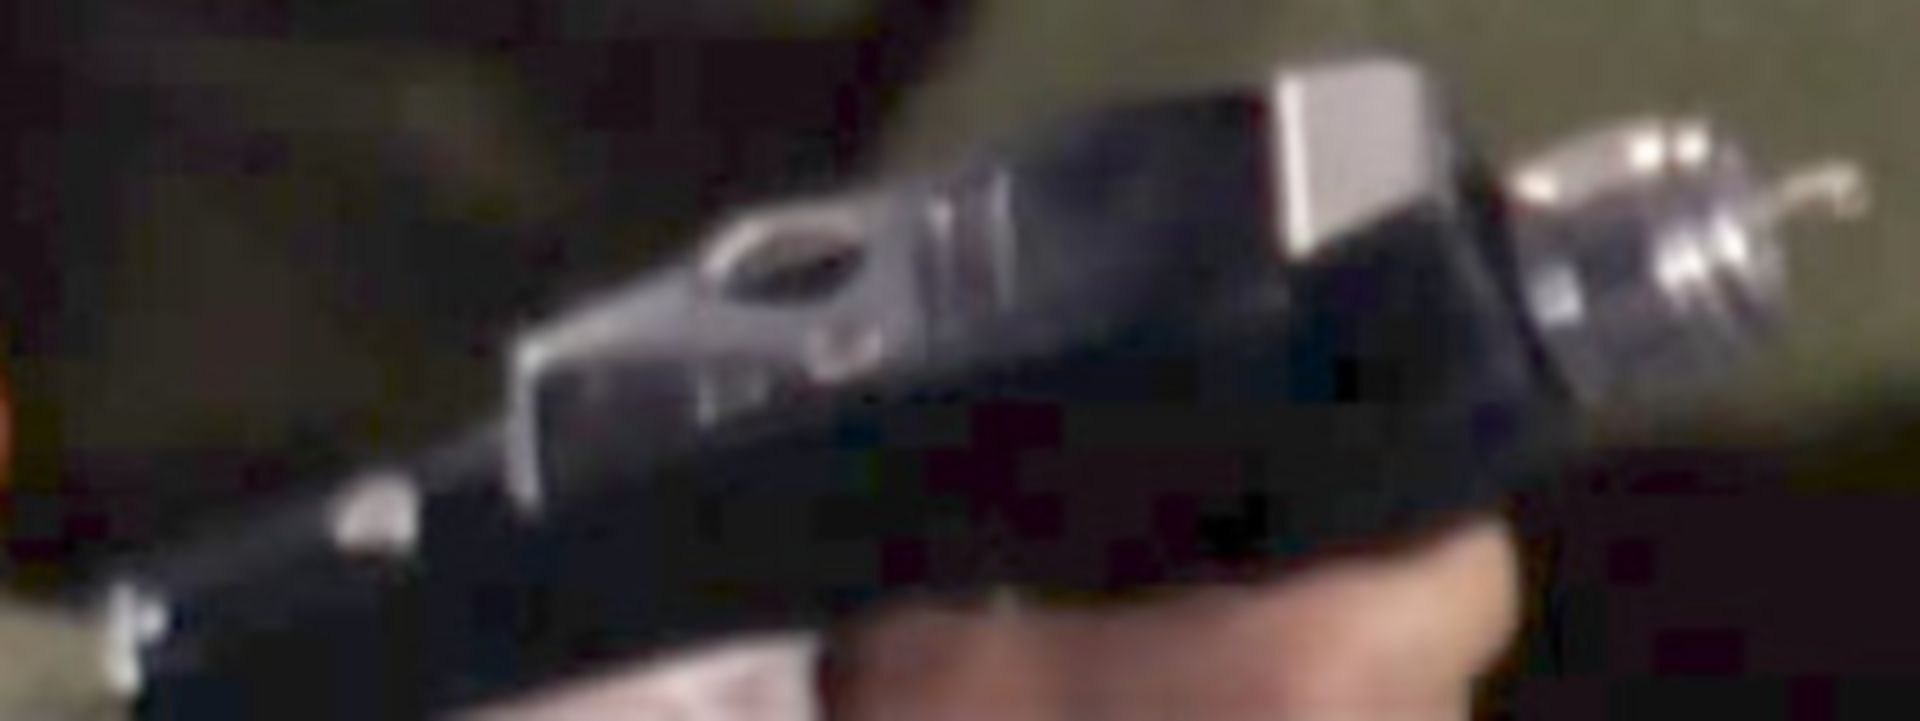
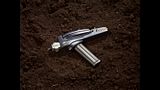
This is the photo I used for reference.

Fortunately the buttons are still adjustable, is this better :confused

Really nice! The buttons are a bit tall compared to this pic, but I like it :thumbsup
That looks just fine :thumbsup
I wouldn't worry about it, it's too tough to tell details in that pic. We can see that they are round, but size/diameter can't be made out. But they look a bit shallow to me, like they were made from larger diameter rod.
I like yours as it is, they stand out and look great.
Thanks Kabiil!Looks nice !


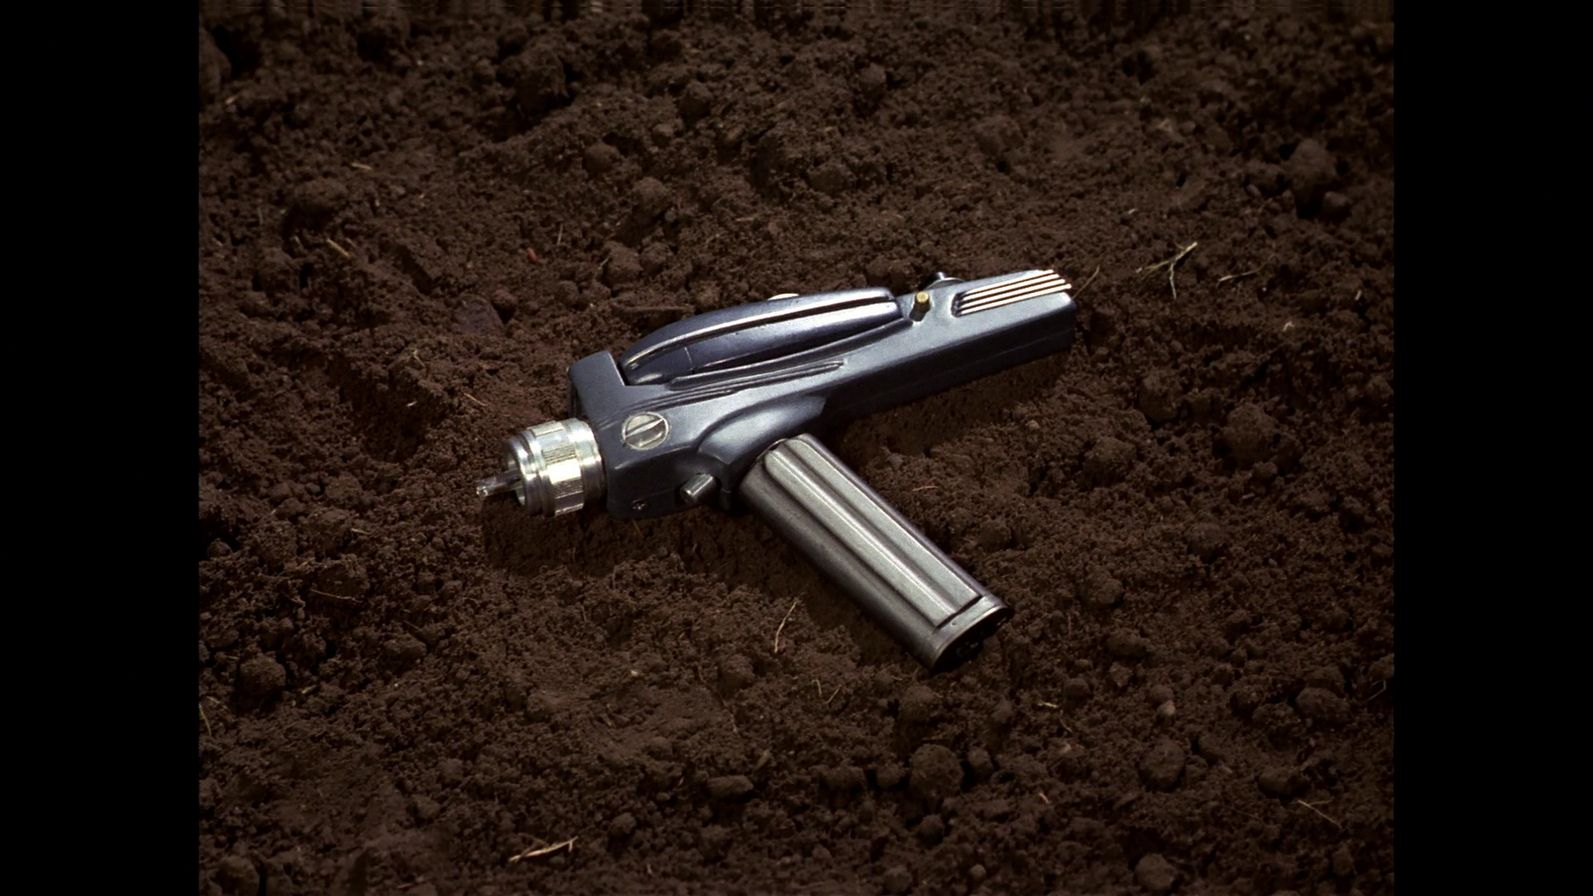
Do you plan to redo the side ribs on the P2? Those curved ribs stand out more than any other thing on these.
On the screws, if you ad them you can make them functional. Glue nuts into the left half with epoxy, then you could open it up if needed and it'll look correct too")
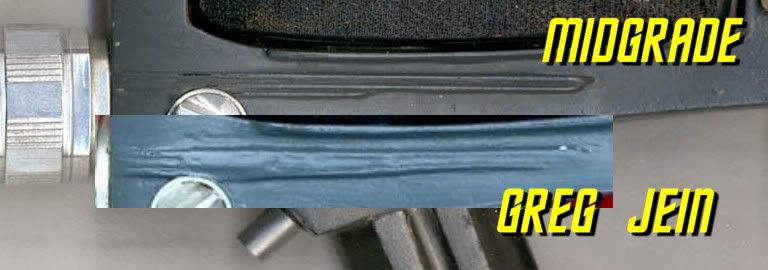
My best guess is 3/64in. I used 3/64 styrene rods on my scratch build and it looked just right to me, half rounds didn't stand out enough. And .1in quarter round for the large rib under the P1....Do you know the size of the side ribs :confused
My best guess is 3/64in. I used 3/64 styrene rods on my scratch build and it looked just right to me, half rounds didn't stand out enough.


Use liquid cement for plastic, like Tenax 7R, Plastruct Bondene, or Ambroid Pro Weld. Hold the rod in position, and apply a small amount of cement with a fine brush. It will flow under and along the joint, and should make a clean bond. Do one rod at a time.
The AA ribs look to be the right length, they just need to be straight. The large one under the P1 should be an even thickness along the full length, not the teardrop shape AA used. It may be possible to sand down the large part at the front, but the quarter round would be easier I think.
The side knob position varied a bit from one prop to another. Some may have cut into the ribs, but most seemed to just touch the line. So do it however you like.

Thanks robn1!Looks great! The new ribs look just right :thumbsup
Thanks Chris!Oooo, very nice!:thumbsup
All this talk of ribs is making me hungry :lol
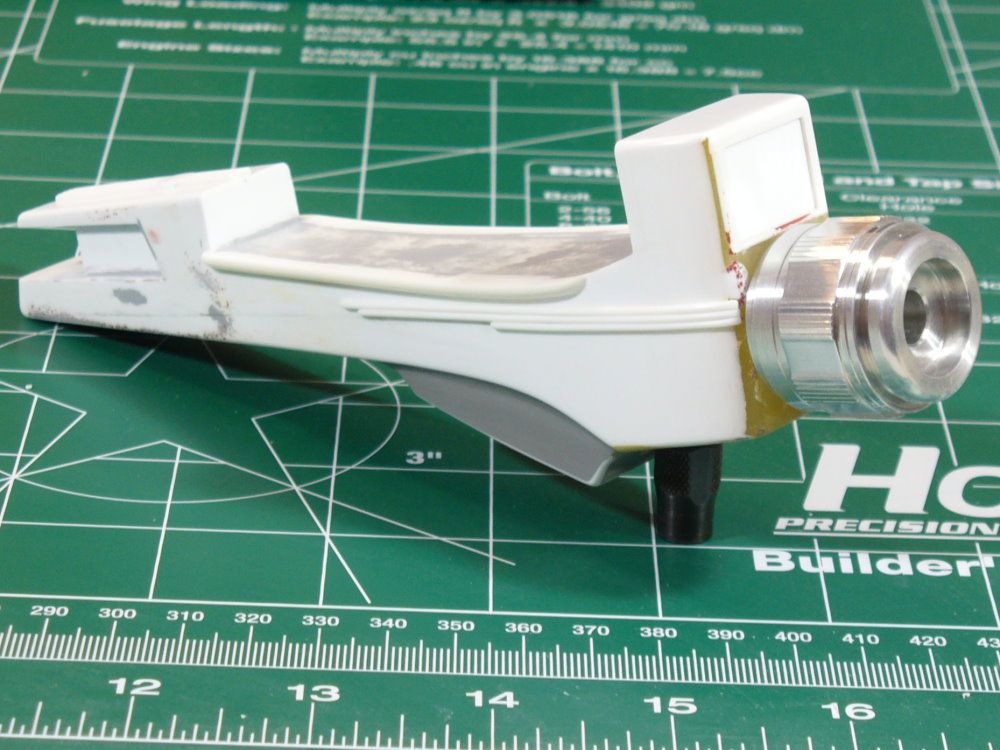
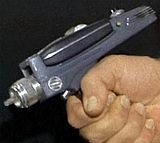
The metal rare dial and short/stub nose emitter tip. Did a quick test fit and I think they give it the perfect touch for my b&w. What do you think robn1, is it a go :confused

Yes, it's a go! Throw some paint on it! What rear fins are you gonna use?
