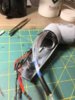
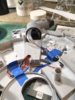
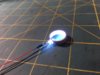
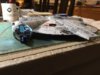
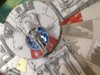
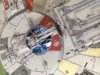
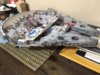
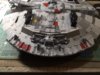
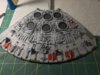
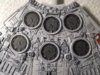
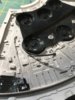
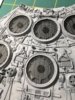
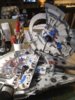
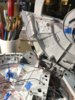
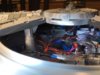
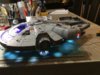
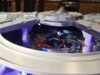
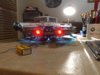
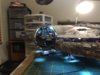
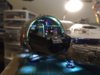
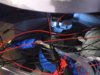
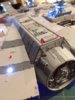
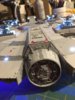
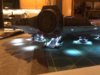
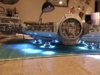
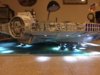
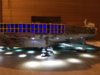
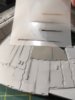
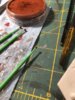
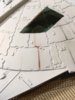
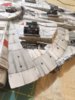
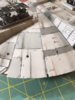
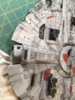
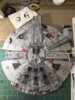
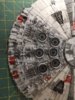
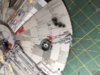
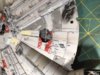
Here's a slew of stuff over the past few days. Laser Bond came in quite handy when securing the fan screens. I discovered that the slots in the fan base for the alternate screens wasn't going to fly. Found some disc type do-dad's in some 1/35 scale WW2 German troop stuff, it works. Not using the alternate plastic screens gets you a gap around the edges, testing shows light leak. I used some scrap black wire stuffed into the gap, two layers actually, to fill it and secured with lazer bond. Image 6 and 7 shows how I've connected the upper and lower hull electrics. #8 is my tunnel extension with the white LED for the bright ambient light seen in the tunnel. It's a tad too thick so I've been gently working it down with a file as to not disturb anything. I'm thinking I'll get within 1/8 inch. I'd suppose the gun wells would have mated without the extension anyway so I should have taken a different approach, but it should be fine. The rest of the pics are with everything connected and powered up. I'm really happy with it so far. I decided not to press the upper and lower hulls together yet. Best to finish the decals which I started on Sunday afternoon...slow going operation, then I suppose touch up the areas where decal water took off the wash. Snip the fat FO and set the low clearance light fittings. Light clear coat, then on to the weathering. I used pastel powders which works for me. Then once all that is done, clear coat the weathering and press it all together. I'm going to do a display base for it but not a full on dio. I have a couple or a few of the Hoth ground lights left so I think on a piece of raised plywood I'll do the snow again, I think I go some of that left over also. Plant my Bandai Han, Chewy and one of the extra Hoth Lea's close to the ramp...and call it good.
")