Vaderios
Well-Known Member
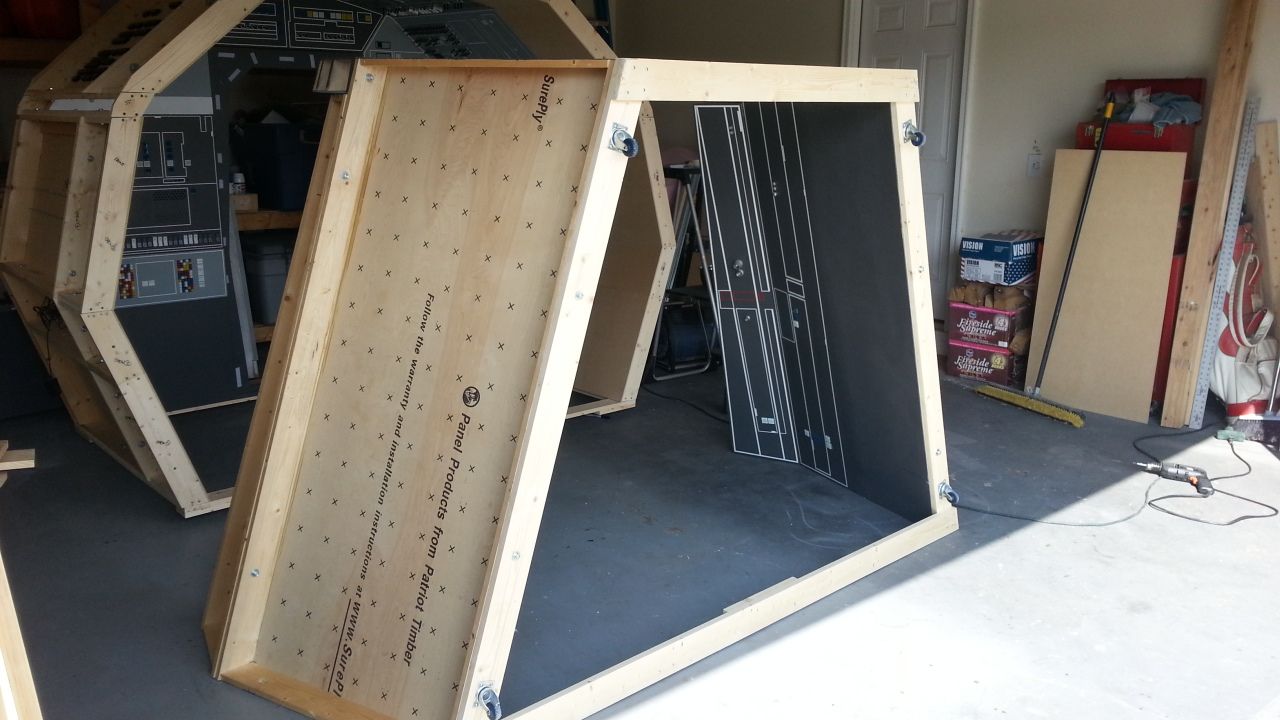
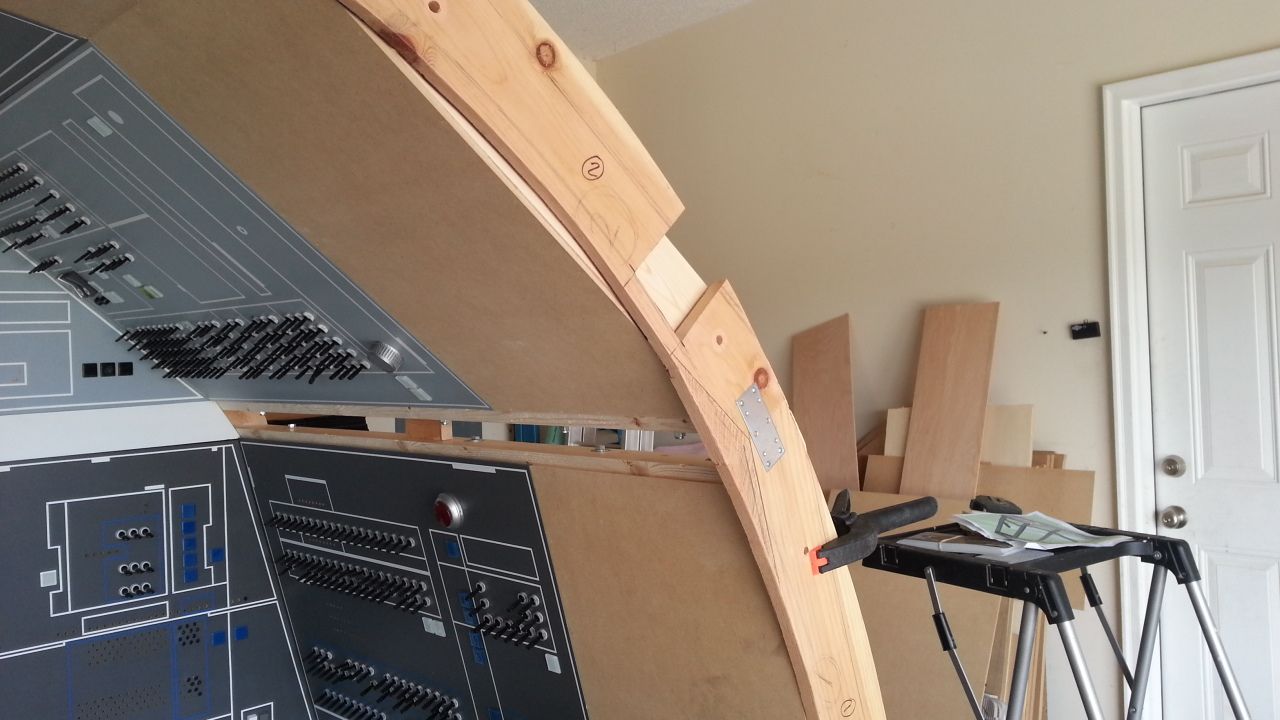
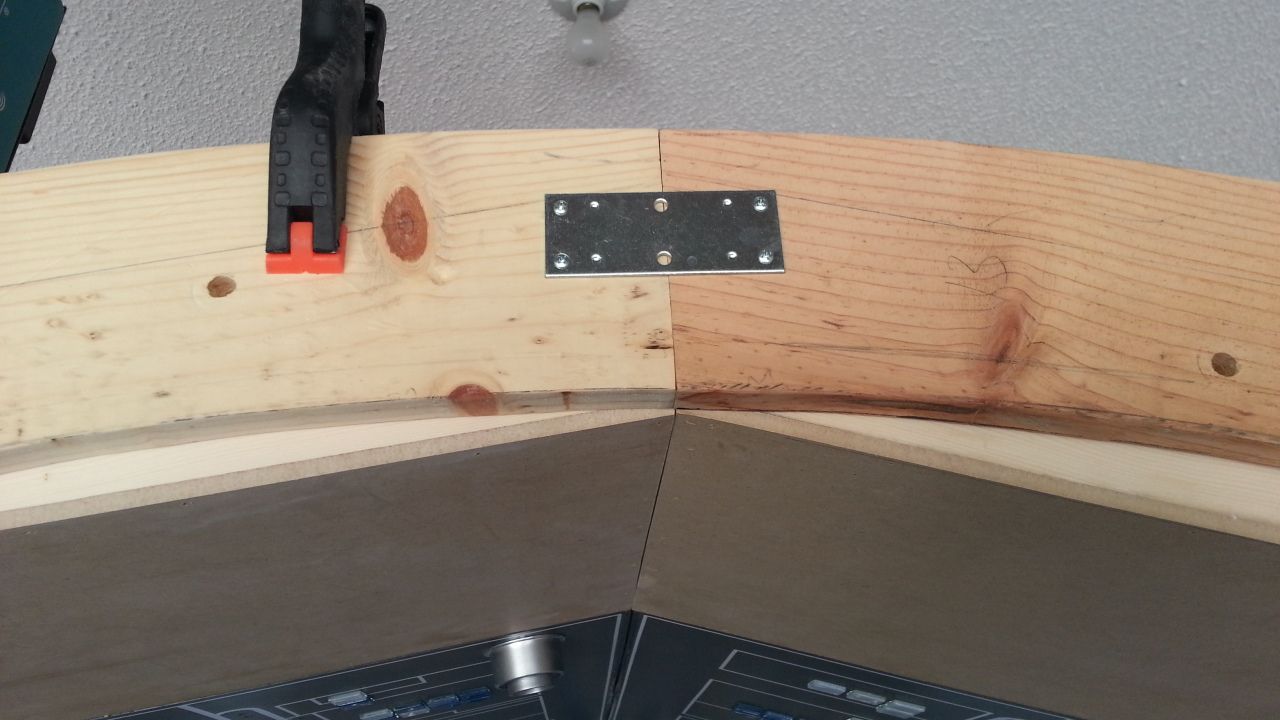
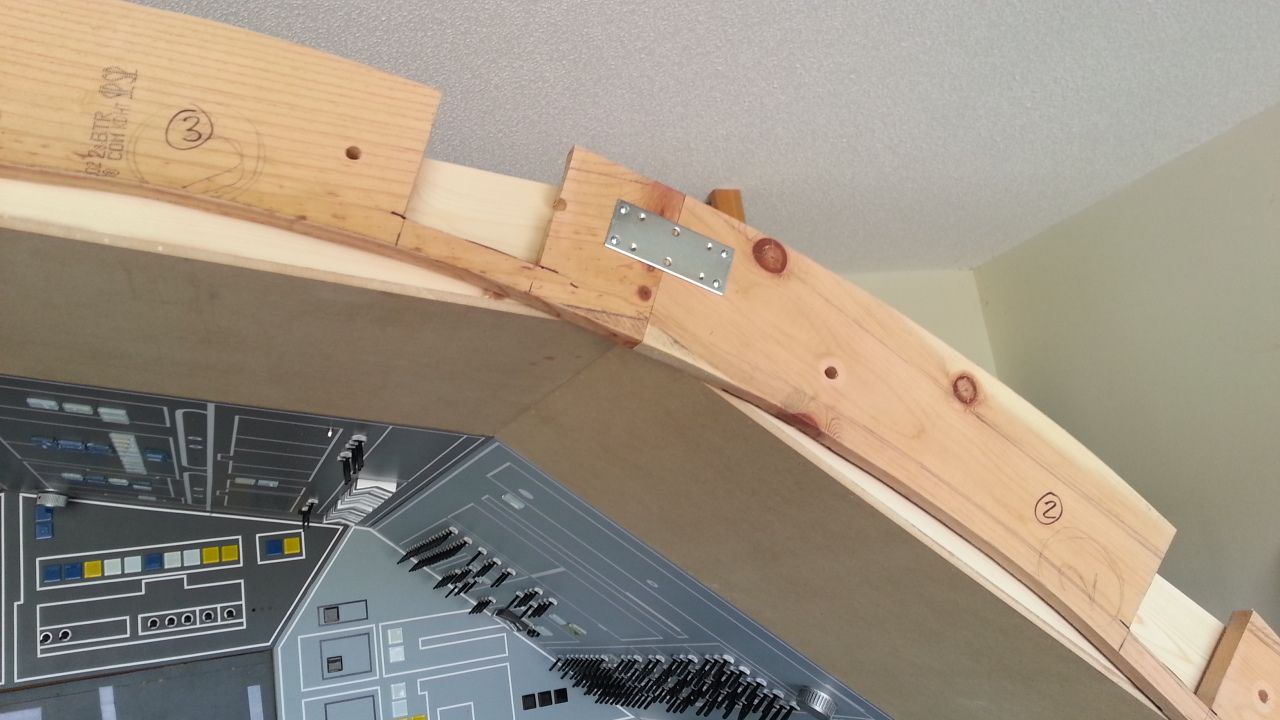
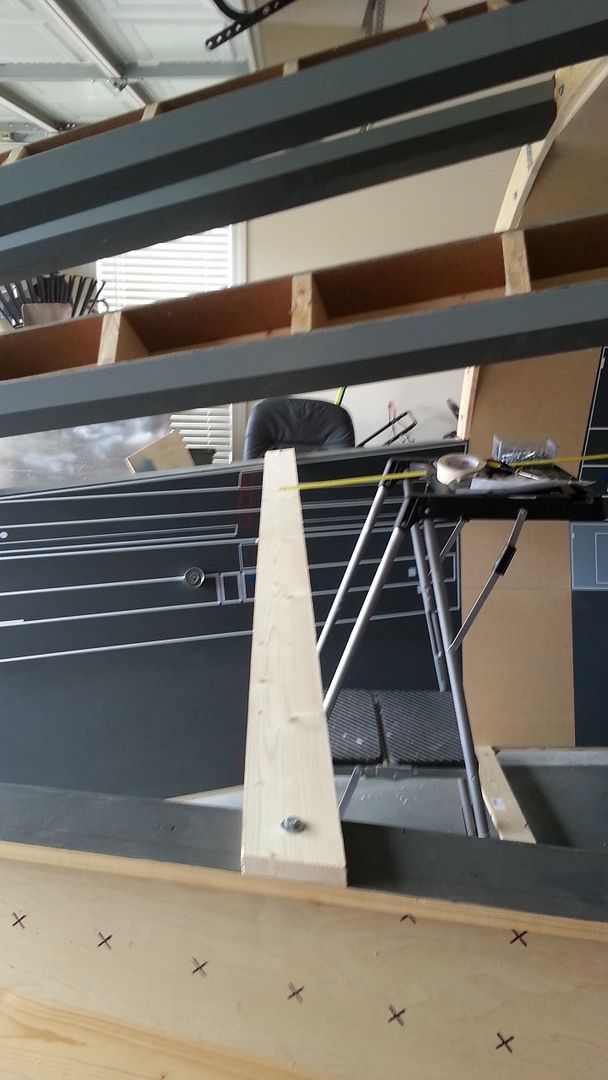
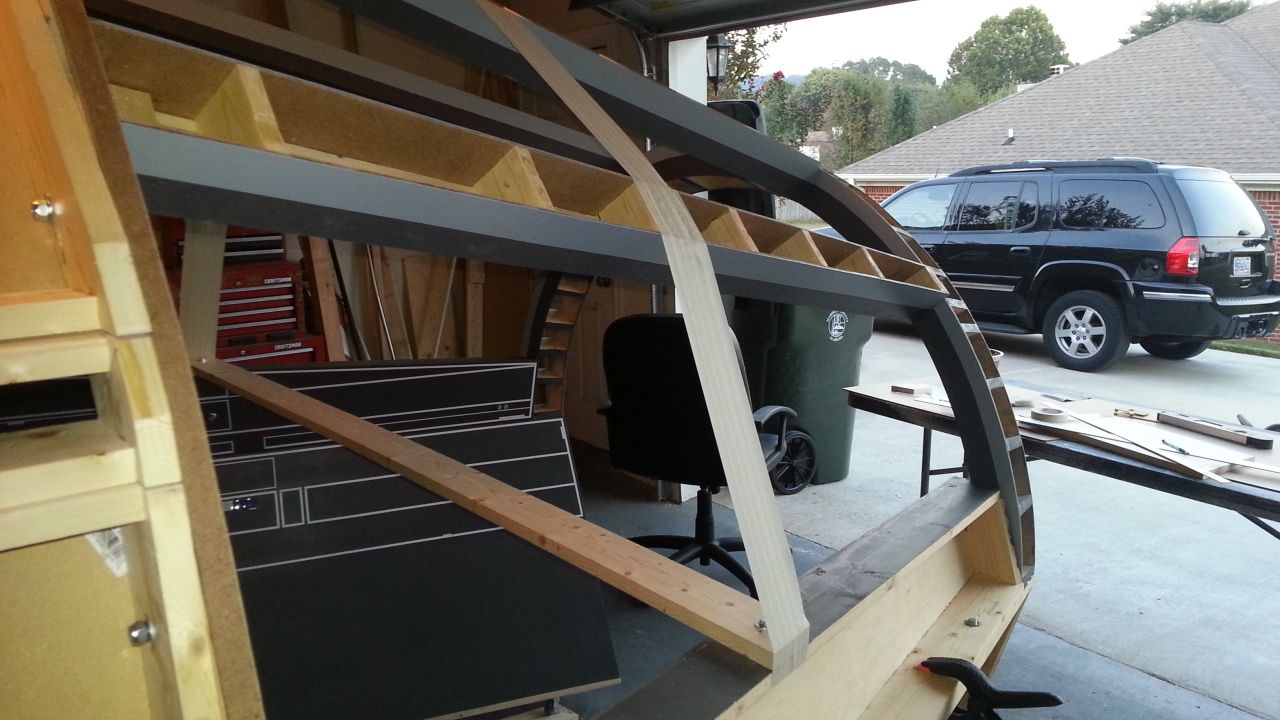
Re: 1:1 Millennium Falcon Console Replica
No i dont think so, but i might get some luck on the making of empire strikes back. i will try and scan if any useful reference photo") Unless you already have the book.
Unless you already have the book.
-Angel
Hi A,
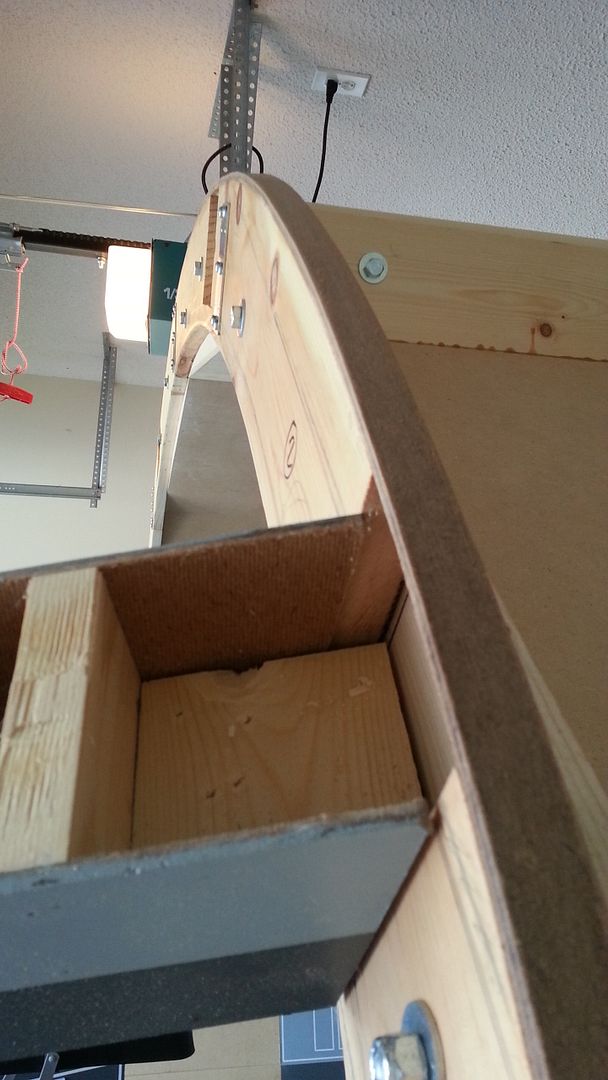
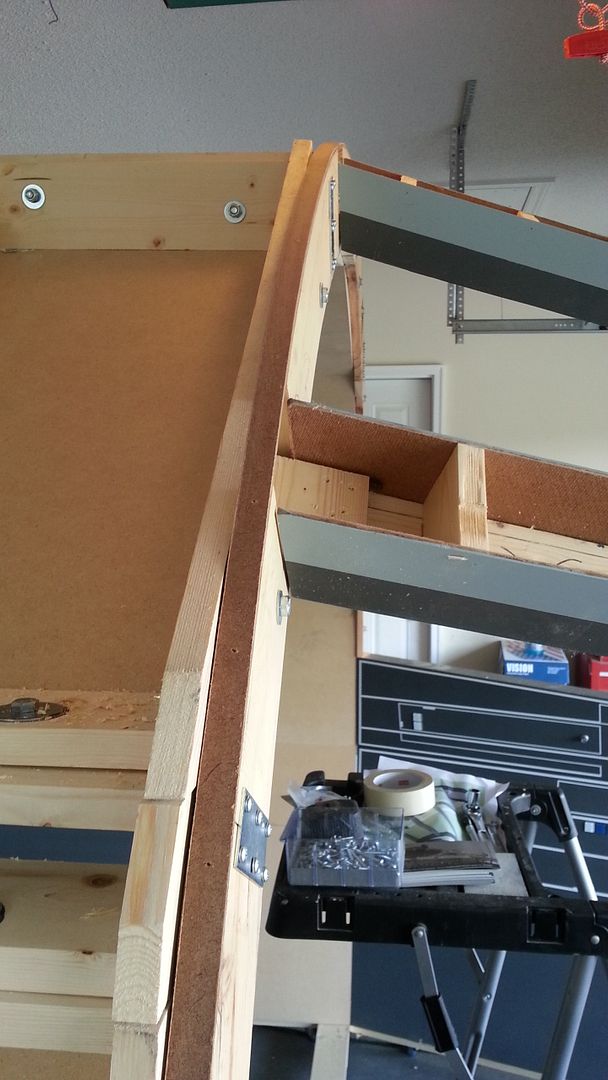
THANKS again for the great images! Quick question... are there any images of the side wall / ESB extensions that I am currently working?
No i dont think so, but i might get some luck on the making of empire strikes back. i will try and scan if any useful reference photo
Unless you already have the book.-Angel