Thank you guys!
If anyone else decides to do this:
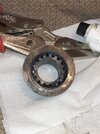
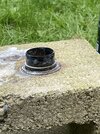
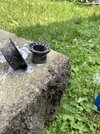
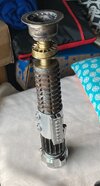
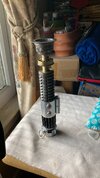
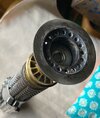
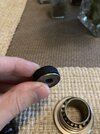
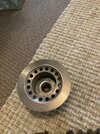
cut above the first ring if your grenade has no endcap. The ring will slide right into the recess/threads in the rear of the grenade.
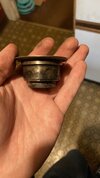
If you have an endcap, cut above the second ring, and trim the exposed cap with a dremel, maybe 1-2mm
Either way, you're looking to equal the 2" Graflex clamp space, but all 8 rings + a grenade endcap is too long.
If anyone else decides to do this:
cut above the first ring if your grenade has no endcap. The ring will slide right into the recess/threads in the rear of the grenade.
If you have an endcap, cut above the second ring, and trim the exposed cap with a dremel, maybe 1-2mm
Either way, you're looking to equal the 2" Graflex clamp space, but all 8 rings + a grenade endcap is too long.