Re: Just What This Forum Needs: Another Ironman Build
thorssoli, I noticed in your pics that you use the same, or at least very similar, blue painters tape that I have used for my builds. I have had trouble with the tape removing the paint that it has been placed on to cover, did you have any issues with this?
You need to make sure that your paint has a stronger bond with the piece than the tape does with the paint. The fact that yours is a foam build might be the main problem. There are other versions of painters tape that are designed to be applied over freshly painted surfaces that don't stick quite as strong. In the states they're plurple. I'm sure there's got to be something similar available in your local hardware store.
Shawn, I can see you've mocked up the connection of the three part shoulders there on one side, can you show us how those are connected as I thought they'd need tabs so that each piece would have a bolt shot through? really interesting to see.
Actually, I haven't gotten to that yet. In the picture I posted they're just clamped together. The way the files were designed, they just have arcs cut into the ends that mate up to the shoulder lugs. I'm probably just going to add tabs like you mentioned so I can stick them to the back of the lug.
pfffff too much talent ><
Sorry about that (not really).
UPDATE:
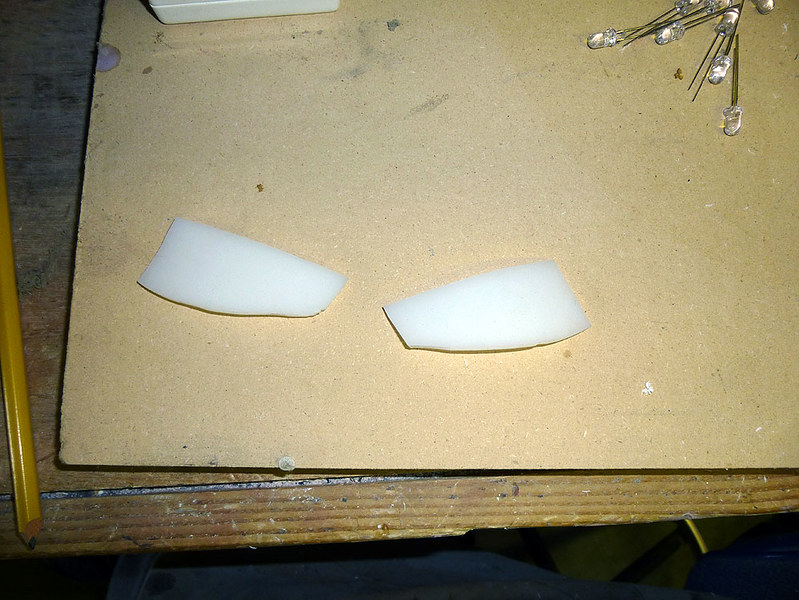
The other day I had the new girl cut out some acrylic lenses and heat them up to bend to shape:
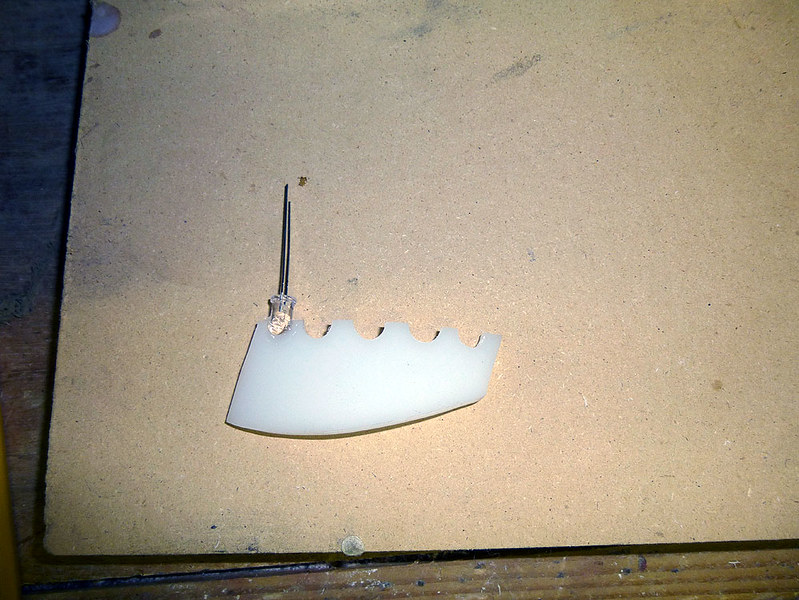
Then I had her Dremel out some notches:
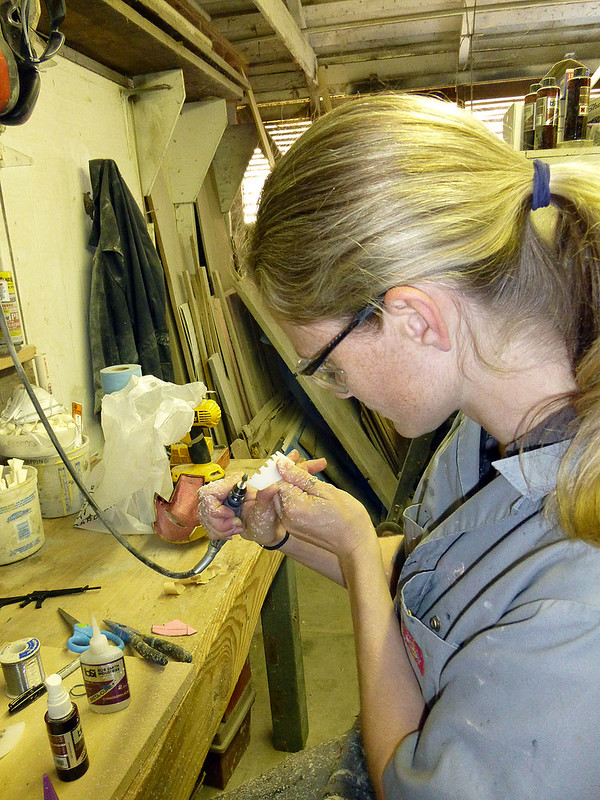
And glue in some LEDs:
Lots of them:
Lots of lots of them:

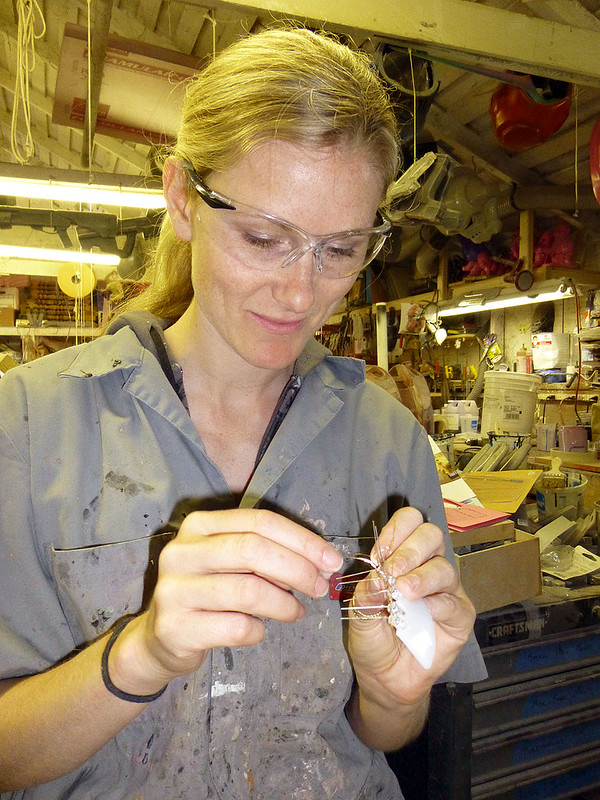
Then I taught her how to solder the connections and wire them up in parallel:

The end result:
Not too shabby.
Next I'll be painting the inside of the lenses with a few coats of thick black paint in order to prevent it from illuminating the inside of the helmet and blinding the wearer. I'll probably lay up some tape over that just to be sure.
Anyhow, while she was working on that, I focused on a few other parts. Here's the print coat on the first half of the upper arm mold:

Here's it is with a bit more silicone laid up:

Here's the elbow and the first piece of the forearm under the rubber:

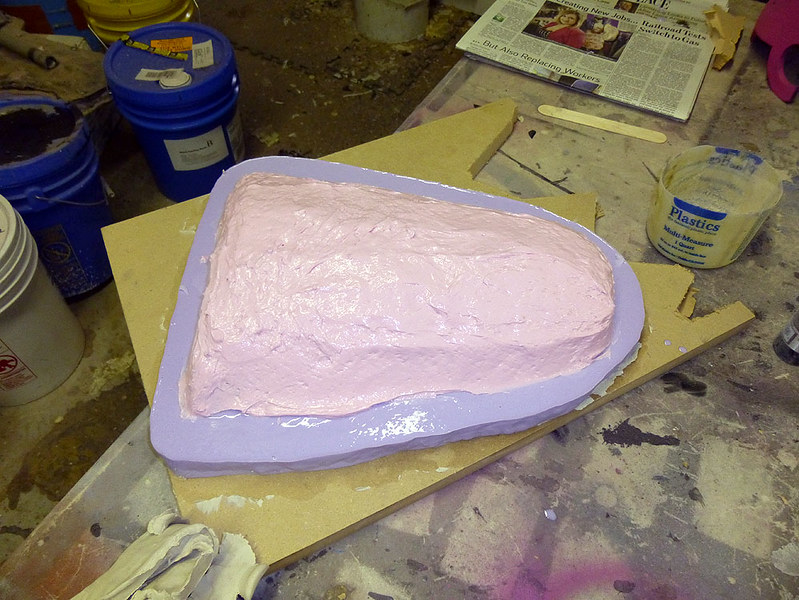
Here's the abdomen plate ready for rubber:
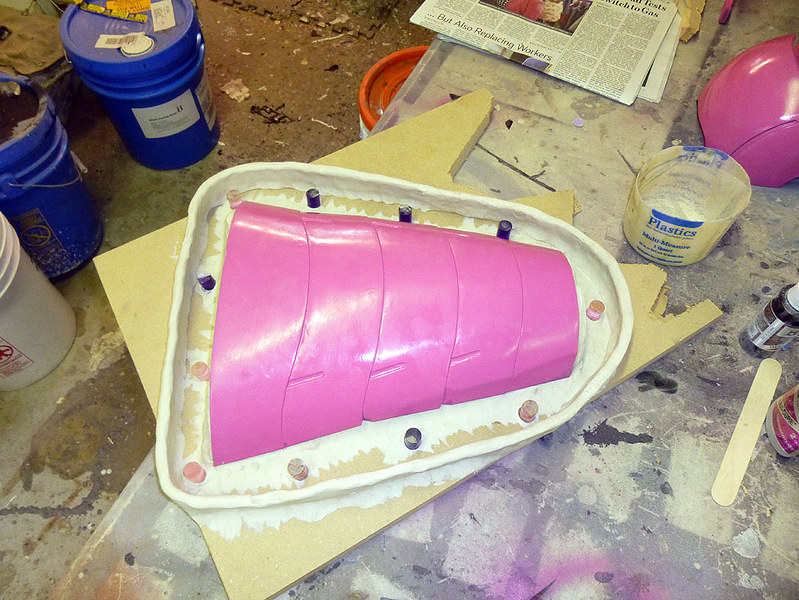
Looking through my photo albums, I neglected to get a pic with the rubber laid up. But I did get this action-packed photo of one of the guys in mid-pour:
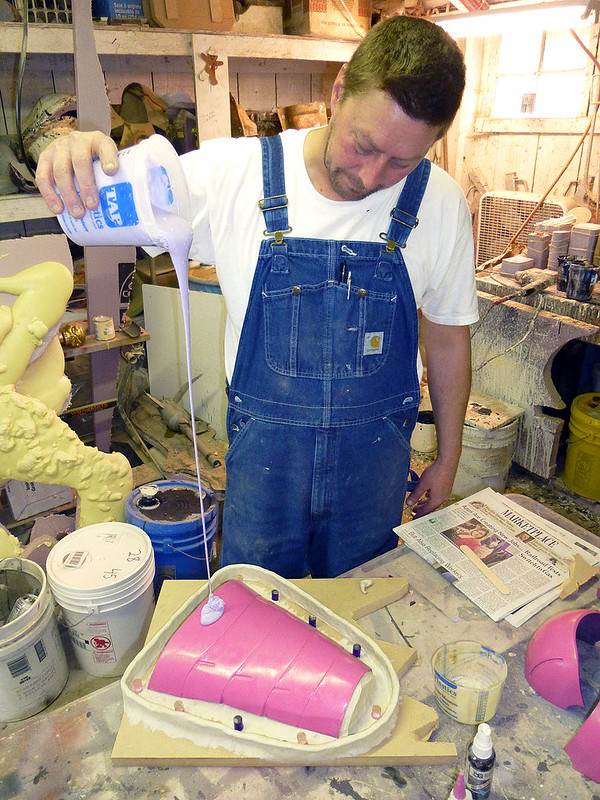
All of those bits will be getting mothermolds soon.
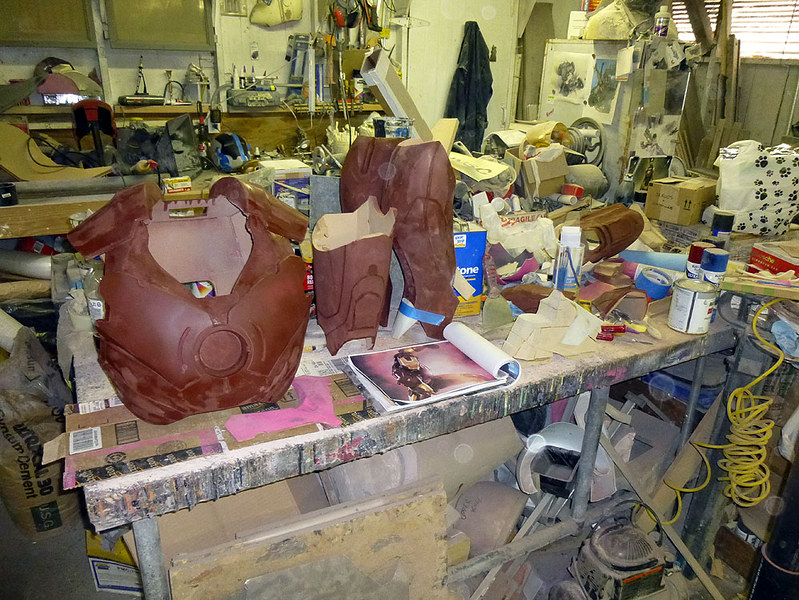
I've also made a lot of progress on the chest:

Which was a minor challenge amidst the distractions:

After much consideration, I've decided to make the pectoral sections permanently attached to the rest of the chest armor. I still need to leave the collar section separate in order to be able to fit my head through, but this way I can reduce the number of molds I'll have to find room for:

I've also finally finished the waist section. Here it is hanging up while I wait for the first coat of standard prototype color to dry:

I've also made a bit of progress on the calves:

Now I just need to finish the thighs, neck, boots, and hip/butt plates...
...almost there.
")