Studio Half Scale TOS Enterprise Scratch build

Status
Not open for further replies.
Well all the dental acrylic windows are in and they look pretty good. Video is uploading it will take awhile.

Here's a picture of the lower saucer section with the dental acrylic windows all in. Video won't load until early tomorrow morning,

Steve


IMG_7858.jpg

Steve, This picture just blew my socks off.:love I noticed in a couple of your recent video updates you appear to be pushing yourself very hard to get all this work done for everybody. If you can take a couple of days off and put your feet up I'm sure nobody would mind. We don't want you to burn yourself out. If you did take a rest for a couple of days you could maybe think about that TOS Shuttlecraft you mentioned a while back.:angel
Thanks, John.
 
Seriously! I keep wishing I had the kind of scratch required to pick up one of these beauties. It'd be quite a sight to behold :D

Of course, my fiance might question just where I'd be able to put it, and I think this would definitely go beyond the boundaries of the prop room :lol
 
Steve,

I was experimenting with dental acrylic and came across a tip that might be helpful.

I saw that when I used painter's tape alone on the outside and made the window, when I pulled up the tape, there was a texture left on the acrylic (from the tape).

I experimented with a couple different ideas before finding that if i taped a scrap of flat brass stock (although I'm sure any polished metal would do) over the opening and then filled it from the inside, when i removed the taped down brass, the window was completely flat with no texture to it.

hope it comes in handy
 
I may be chiming in a little late on this one. But, I've found rubbing baby powder all over your arms and hands, helps keep the fiberglass dust out of your pours and makes you itch a lot less.
 
Lou that sounds great but time consuming. Really the texture isn't that bad and I will most likely have to sand a bit over the windows anyway. Looking over the CR build they had to do the same thing. A bit of clear over them clears them up after too. It did that on Daedalus.

My enemy is time. It's the fire that consumes us! ;)

Here is the latest video:

The Big E Story Part 32

Enjoy,

Steve
 
About the hatch/light at the front of the saucer, In the motion picture the refit enterprise had a hatch at the front where they walked on the saucer at the end of the film, could they be related?
 
Steve,

When you finish this series of video's we are all going to need resin patches to come down from the fix. Kind of like a nicotine patch but for us model types.

Question about the dental acrylic. I'm not very good about masking so would have thought doing a top coat around the windows, filling them in with the dental acrylic then putting everything together would have made more sense. No small, precise masking. Is it ultimately easier and less work to go in the order you are doing it? Fill, mask, paint?

Ted.
Prefect42.
 
Caught my jaw drop watching you unpack your new toy, Paul! That is just suh-weeeet! And I was so scared watching you swing your cutter about.
 
Steve, just saw the latest installment of your video series. Thanks much for the kind words. It means a lot coming from you :) You should've seen the first one I did years ago, though. Yikes, lol.

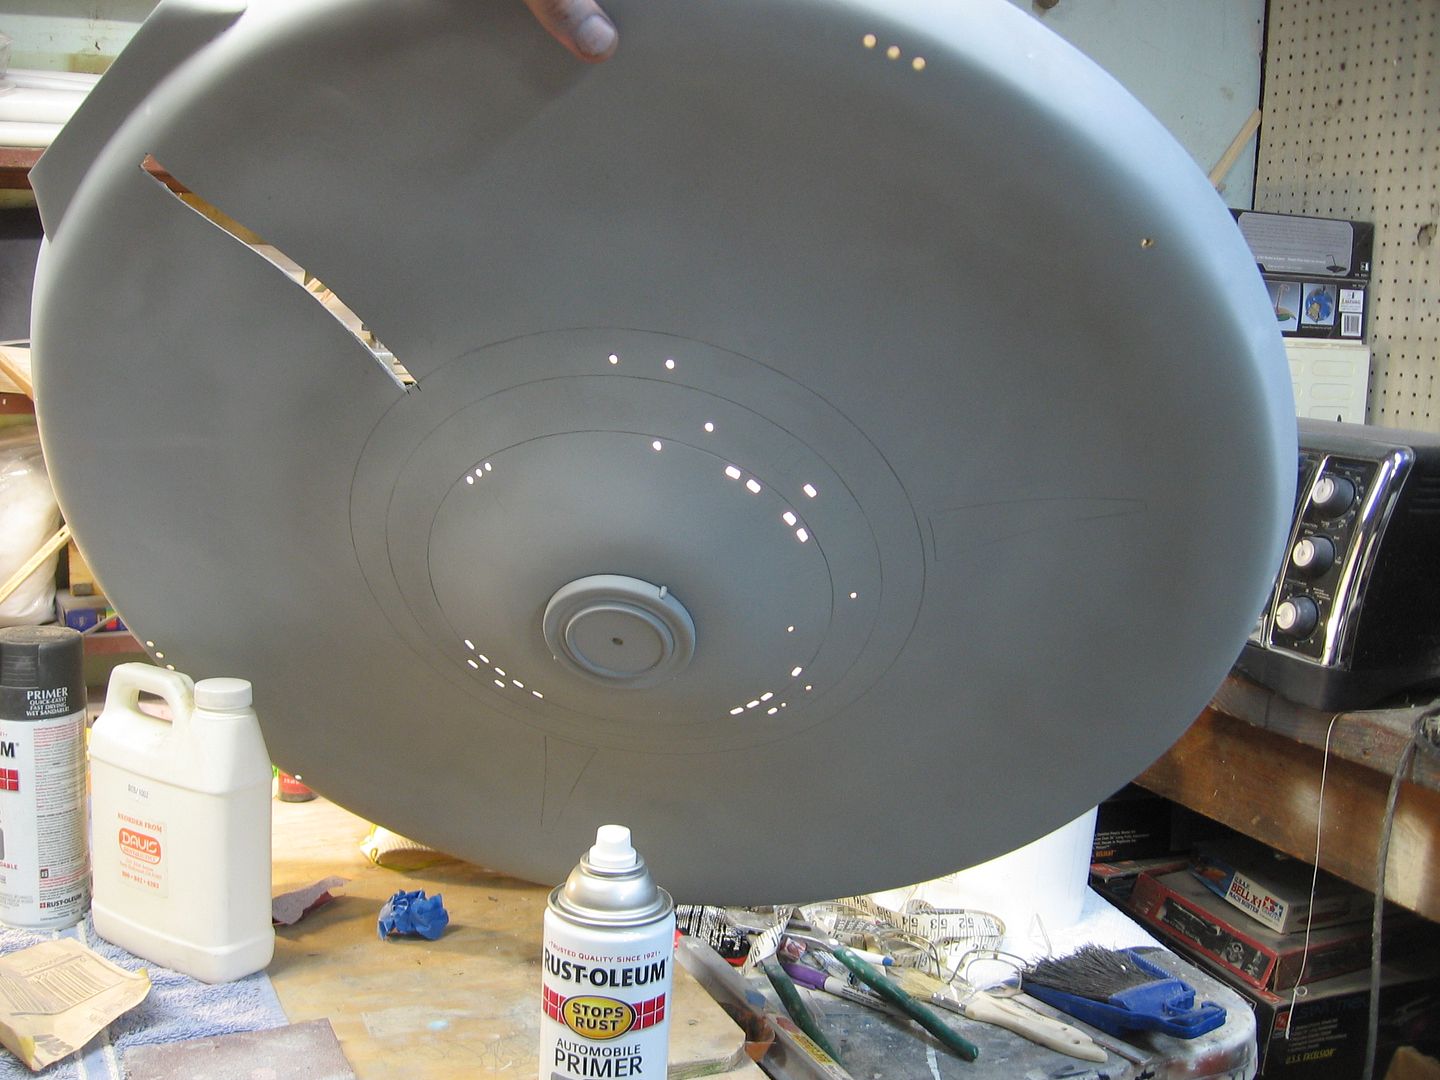
I tried to incorporate as many of the major details from the production model(s) as I could, based on all the research I did when planning out my 22" studio-scale Shuttlecraft (still a WiP).

I had thought about adding some of the smaller surface details, but from a realistic standpoint you'd only be able to see so much on such a small-scale model.

Not that I didn't want to, though. My anal-retentive standards for detail and accuracy can be a bit of a curse sometimes :p

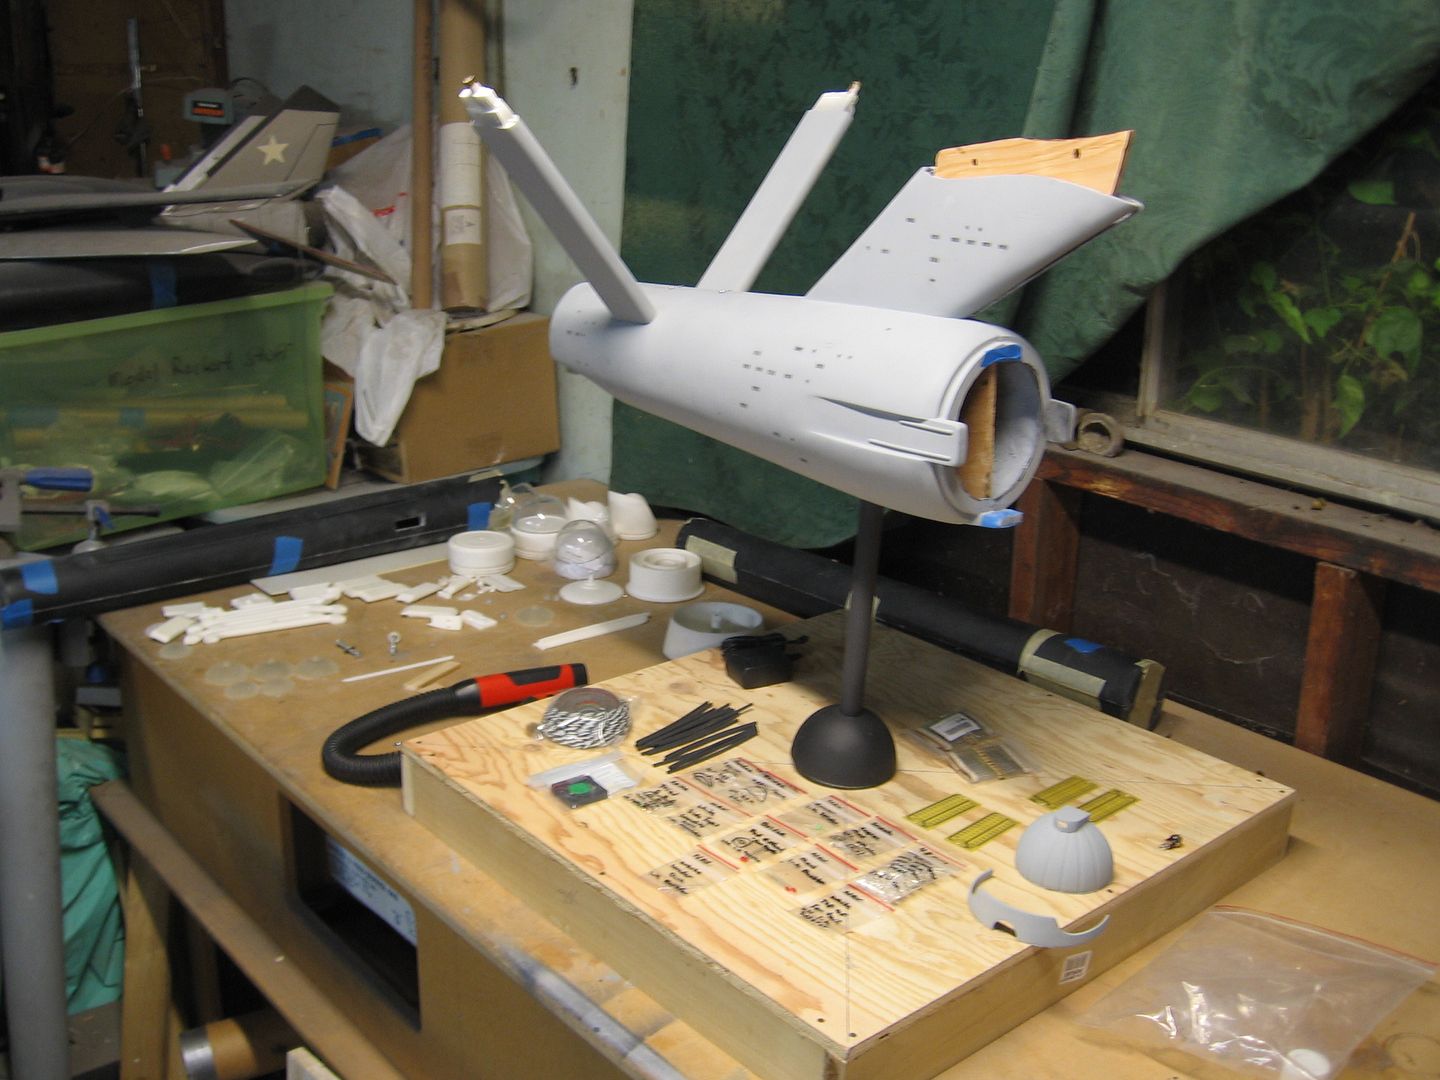
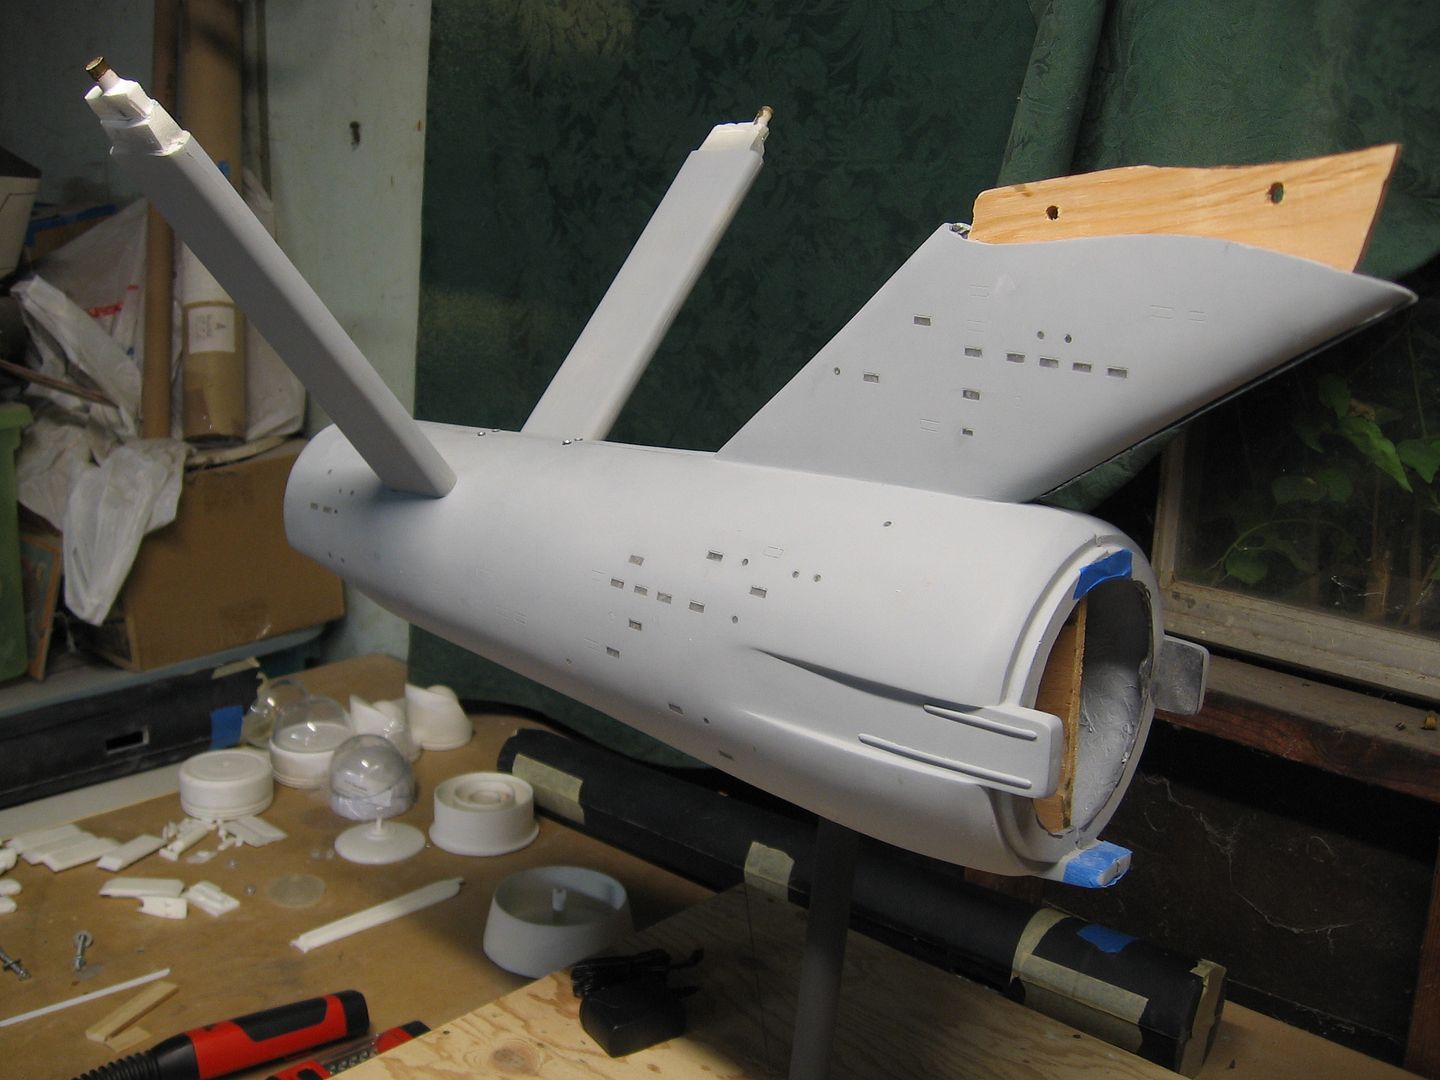
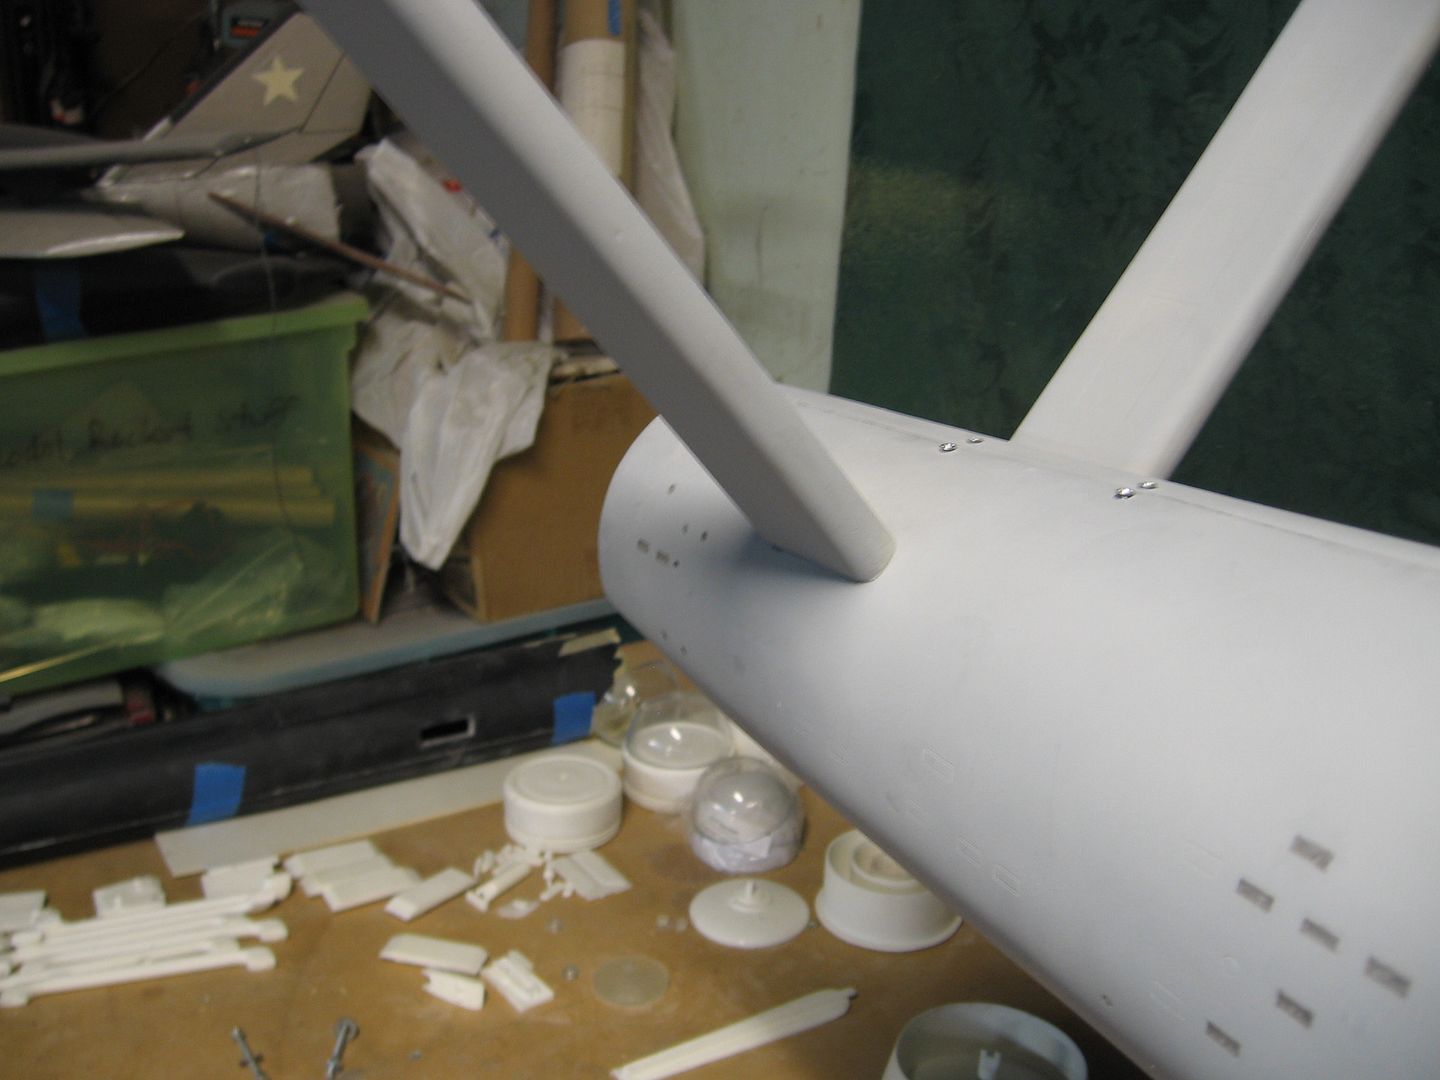
Something not shown clearly in either my own pics or in the video is the small in-step on the port side nacelle. Just couldn't help myself in adding that detail to it, lol.

As for deciding which one to accompany your half-scale Enterprise kit, keep in mind the smaller one is the correct size (based on some calculations I had from way back).

However, the size difference is fairly negligable, so you could probably get away with using the larger one, too. Given my afore-mentioned standards (like I said, a curse, lol), I wanted to make sure you had one that was to the proper scale.

Now just imagine what that would look like sitting in a properly-scaled shuttlebay? ;)

Again, thanks for the compliments on my work. If anything, it should be me thanking you for being the opportunity to contribute in a (albeit small) way to your awe-inspiring project, Steve. I consider it both an honour and a privilege. So, thank you.

Keep up the fantastic work, my friend. I look forward to seeing more greatness with this :cool
 
Ted the kit comes with the masking. They fit exactly and I've done it this way many time before and it's the nest way.

Lots more down today. Lights will go in tomorrow. I had to finish off mounting the pylons to the sub structure and gapping them. Now the whole base and sub are ready to start adding lights too.

The video will be up in the morning. If not sooner and it tells all blow by blow.

Here's a few pictures.

Steve

IMG_7863.jpg


IMG_7864.jpg


IMG_7866.jpg
 
Status
Not open for further replies.
Back
Top