Star Lord helmet AND accessories!!! by Helagak!

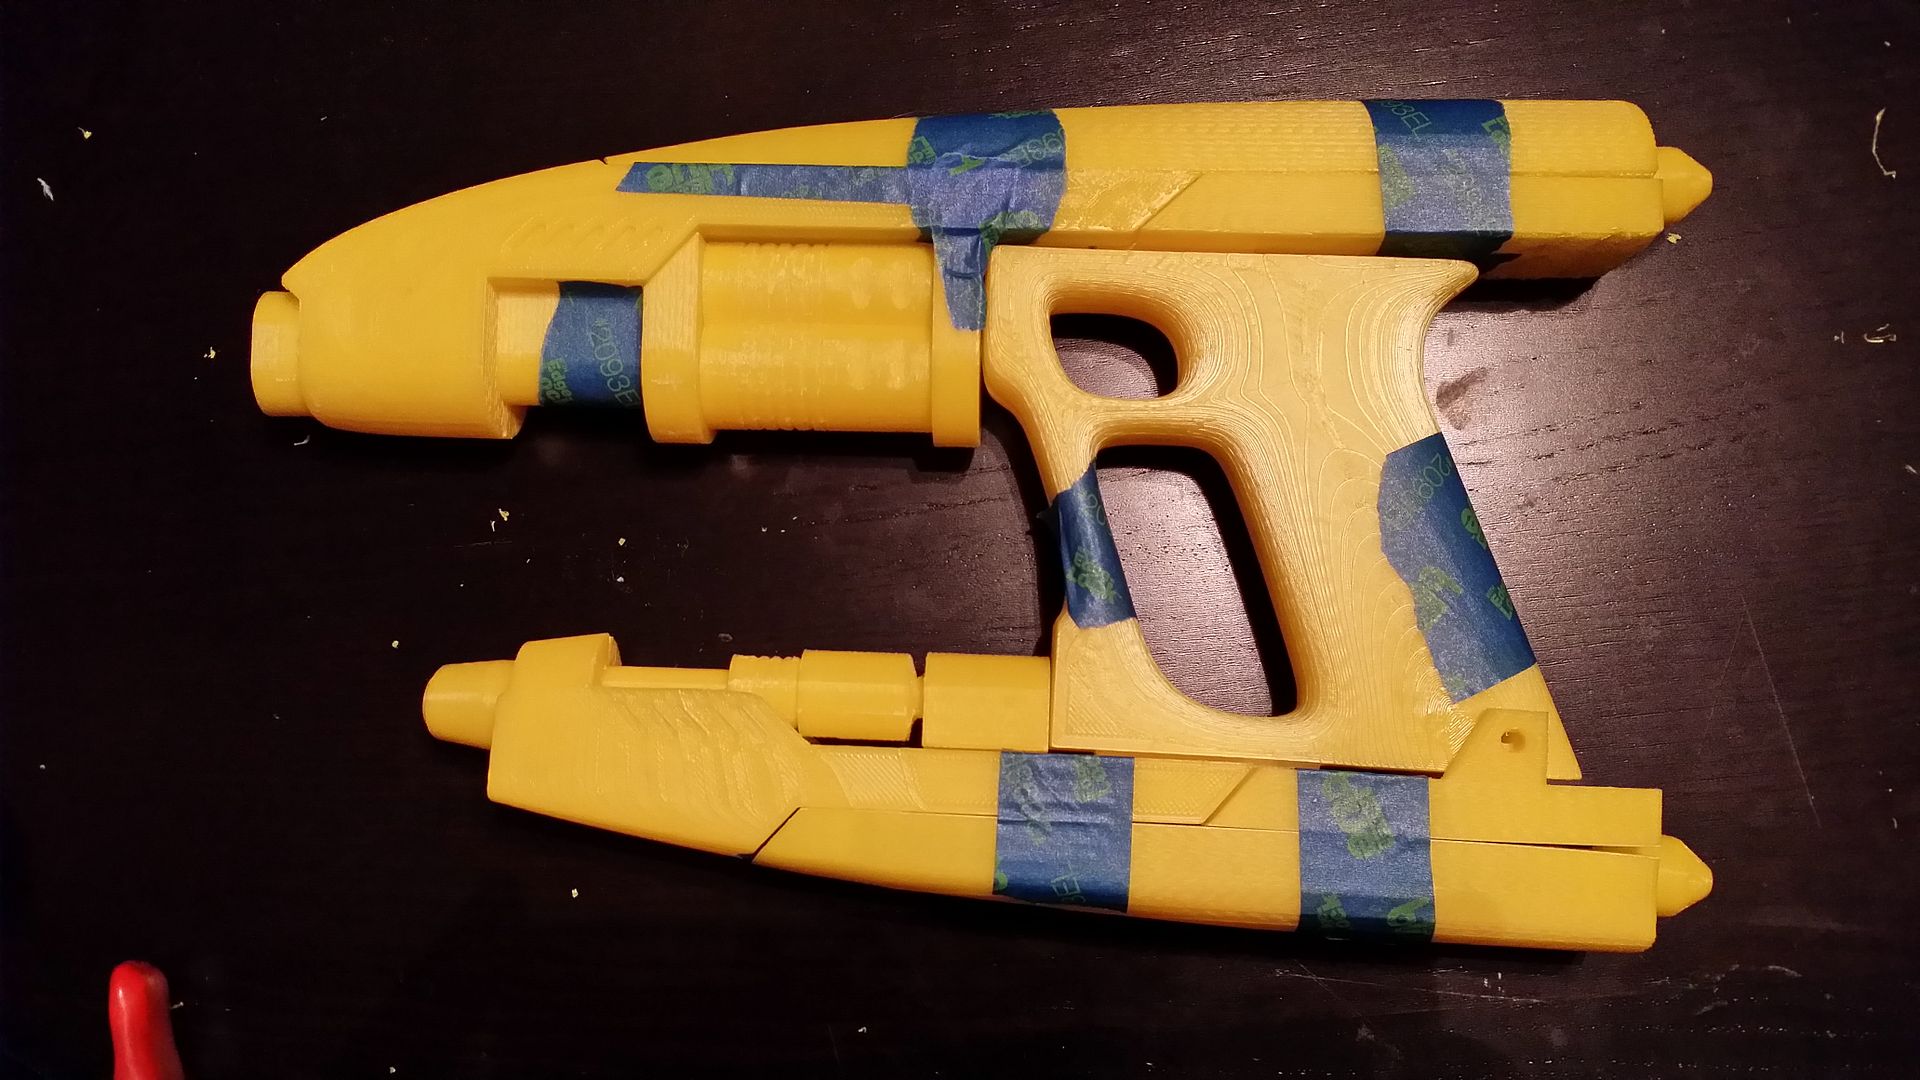
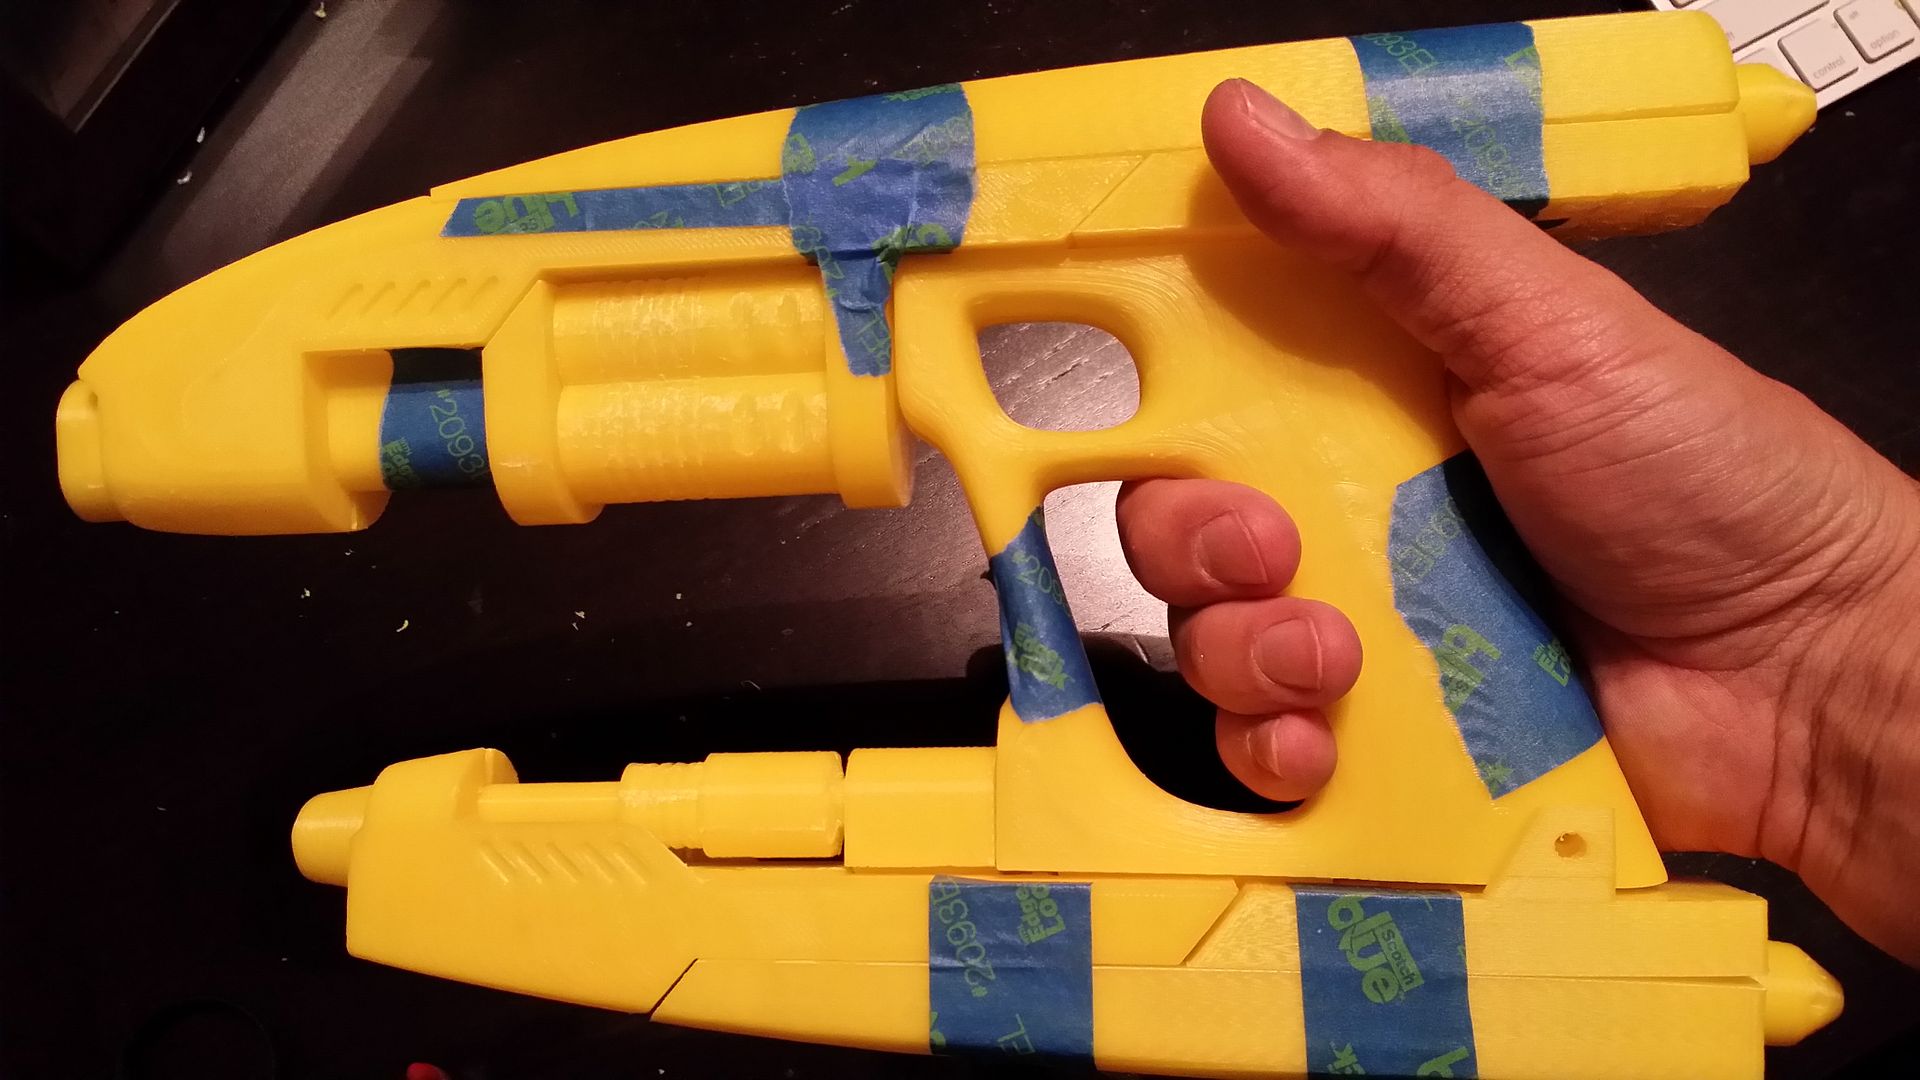
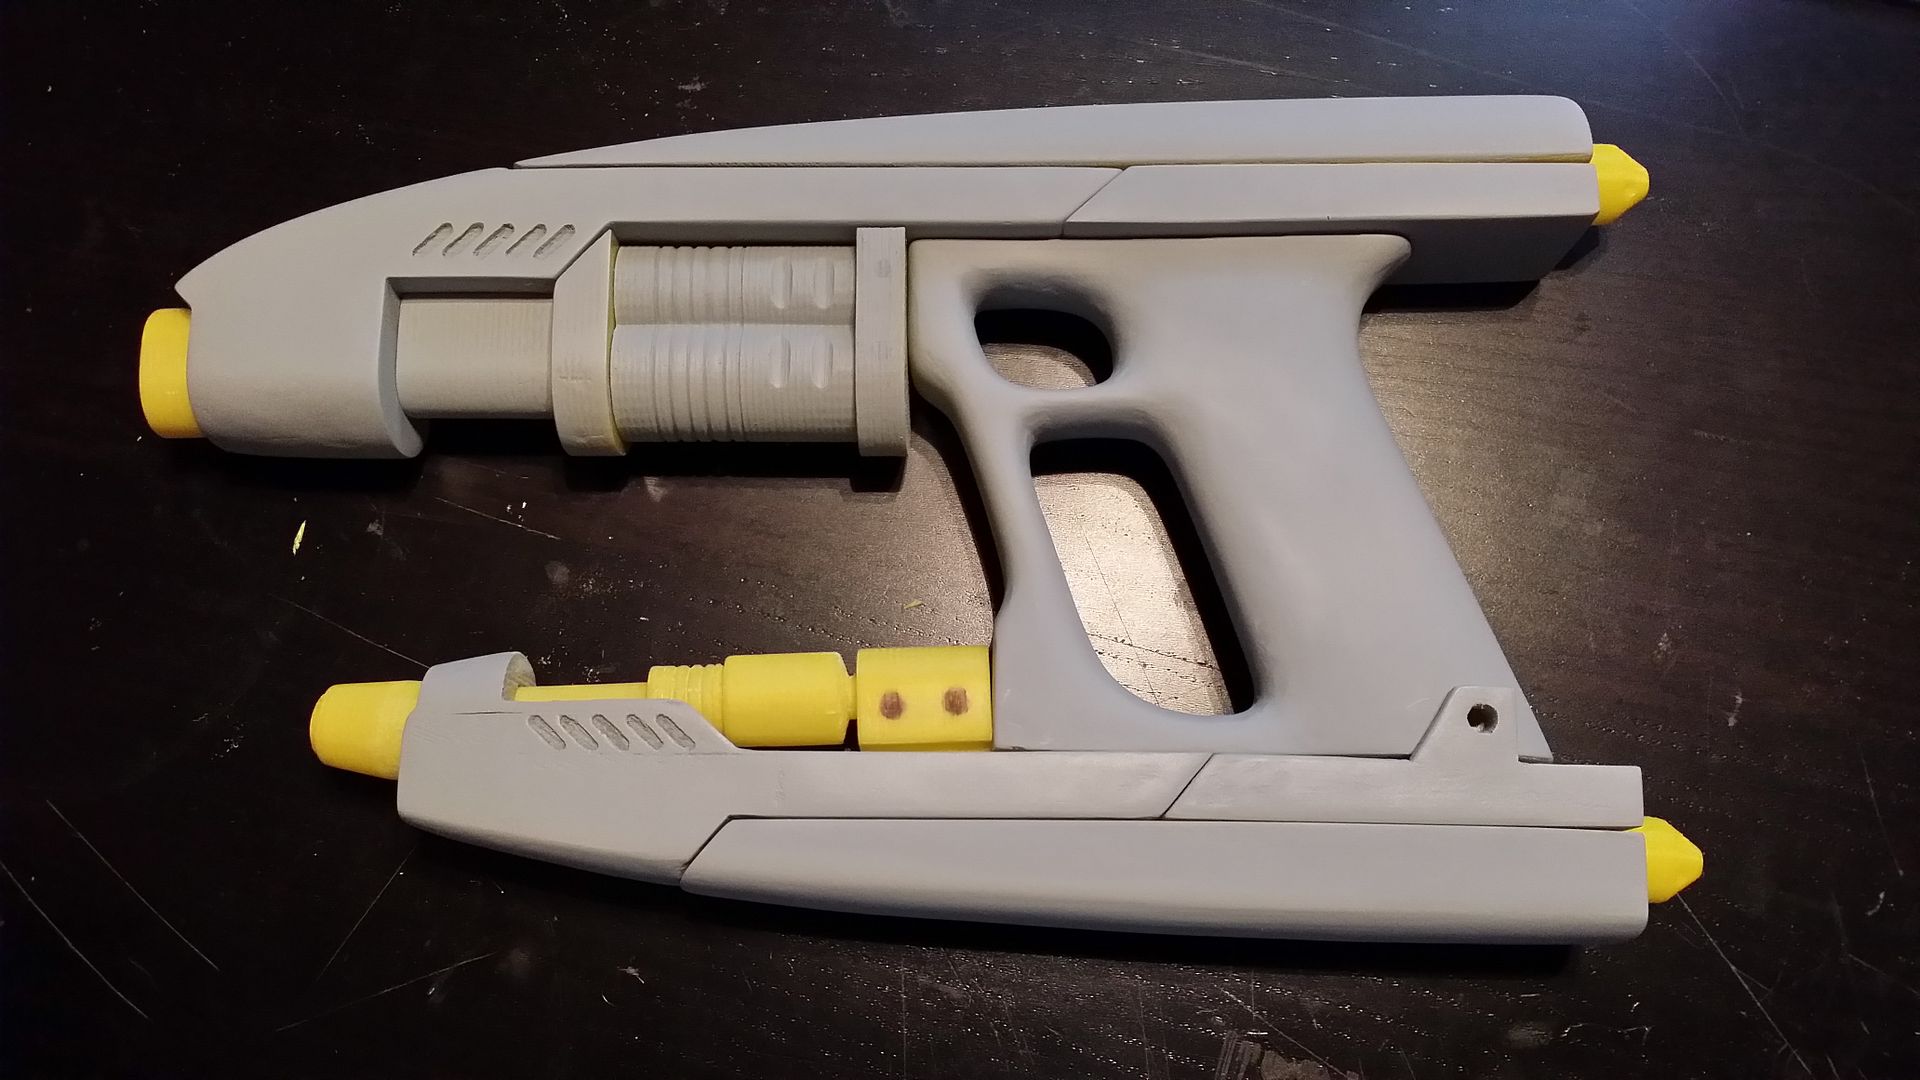
The last piece of the grip is printing now, then I can start sanding and filling!
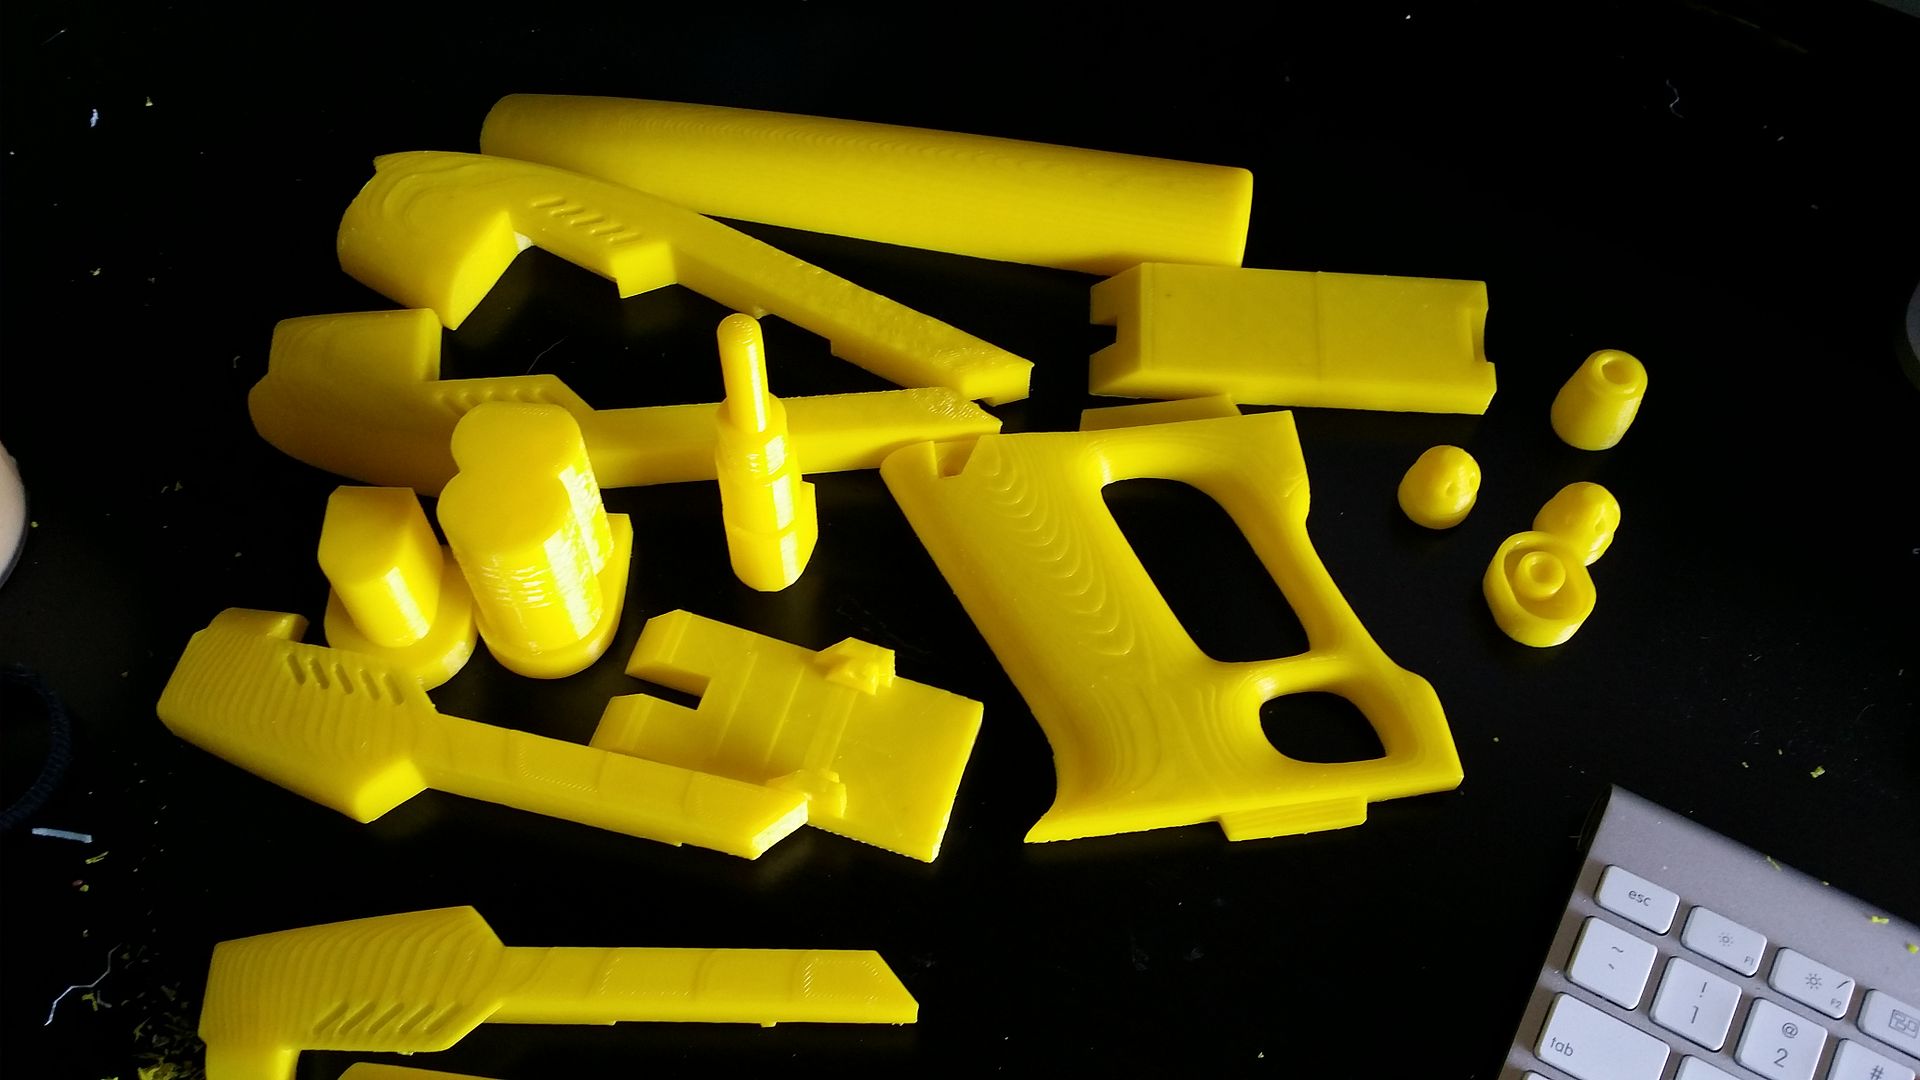
20140610_110308_zpsquqmqhlz.jpg


Also, the little "nozzles" on the top and bottom of the rear look like they would be perfect candidates for my first metal lathe project. We'll see how that goes!
 
kevin, that looks great!! glad the scale came out so good! I just kind of winged it! haha i was really hoping an adult hand would fit the grip!

Anyone looking to scale the helmet files
Scale all pieces by 0.8823529412. This should make for a perfect fit on a person with a 22.5" head. That allows for 1/2" of padding on either side. That size should fit most people.
 
Last edited:
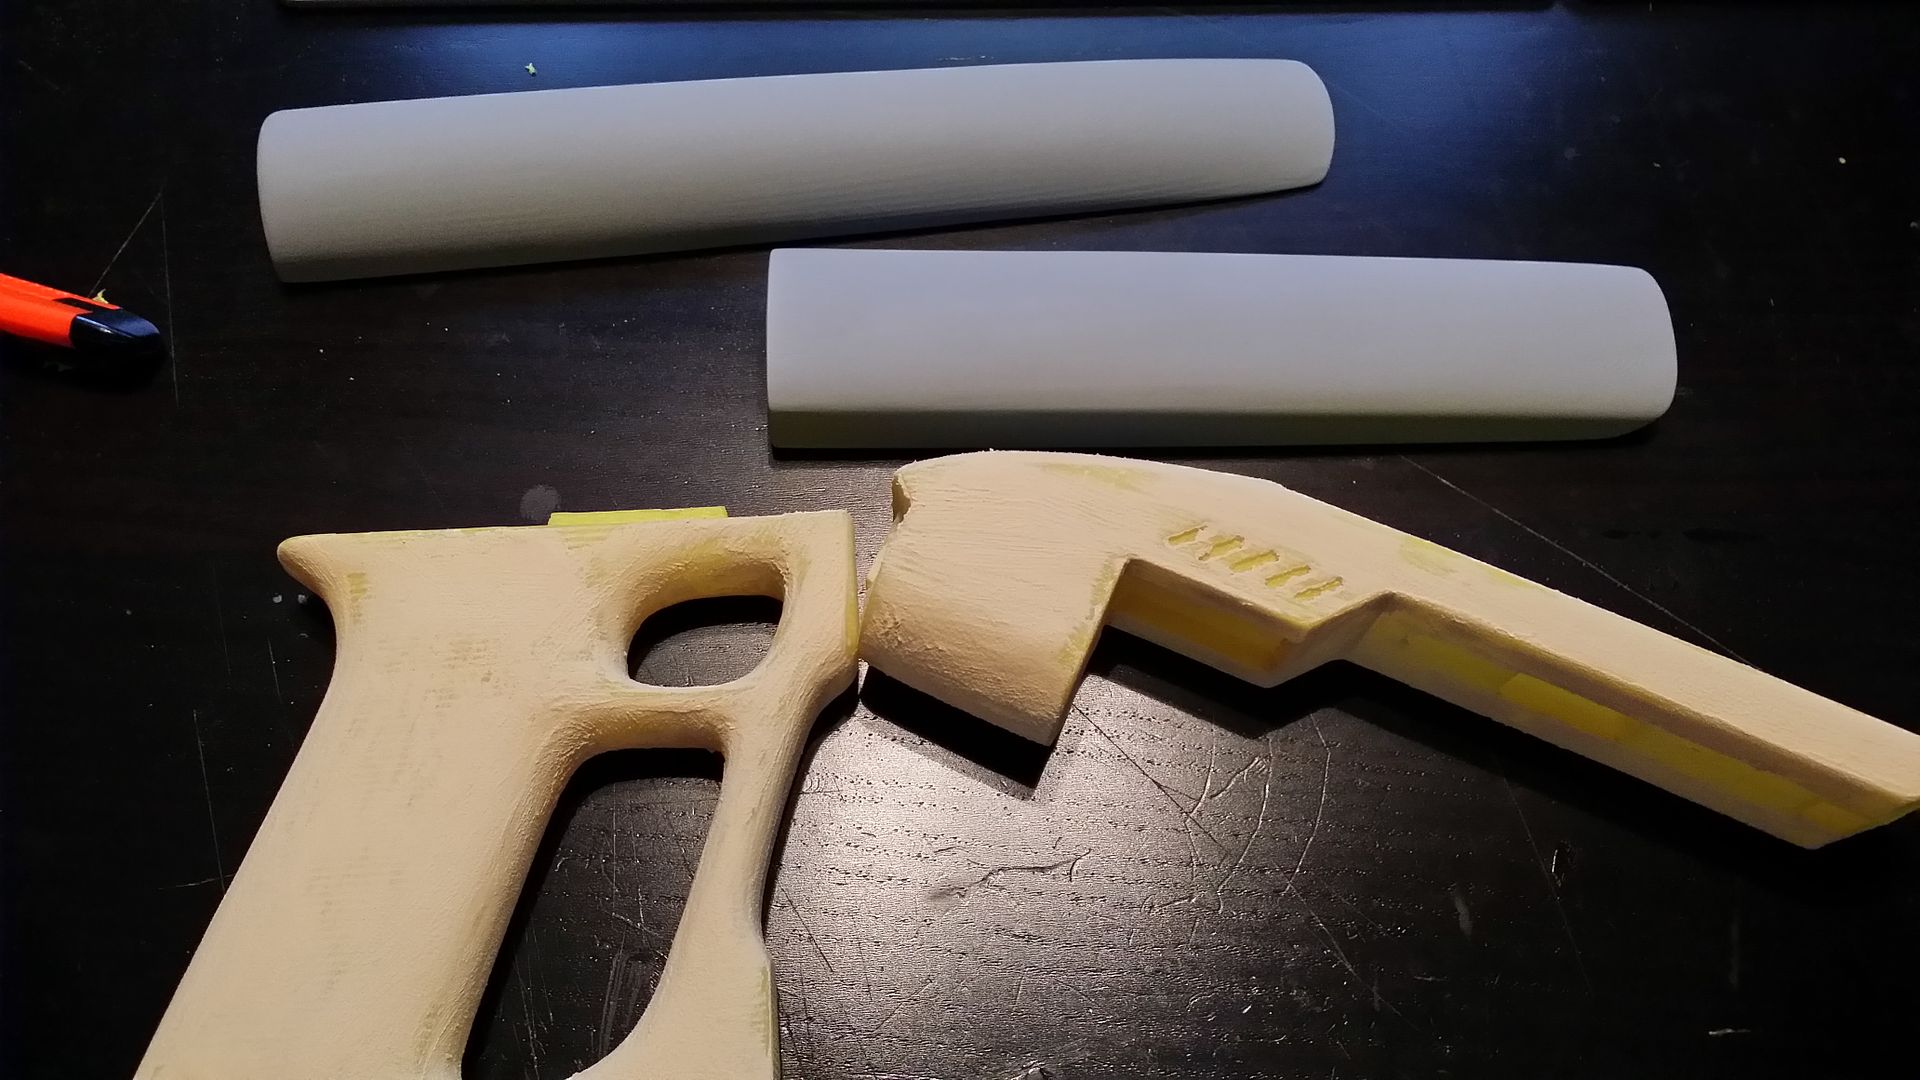
Made some really good progress today on the gun! I hit all the parts with sand paper (60, 150, 220, 400, 800) and then thought I would give wood filler a try. Dancin Fool used wood filler on his 3D printed Iron Man parts and the finish looked great, and it doesn't require you to work outdoors like Bondo would. I was blown away at the results I got after one pass!

20140612_233541_zps19trxdjg.jpg


20140612_195627_zpsk3fvweli.jpg


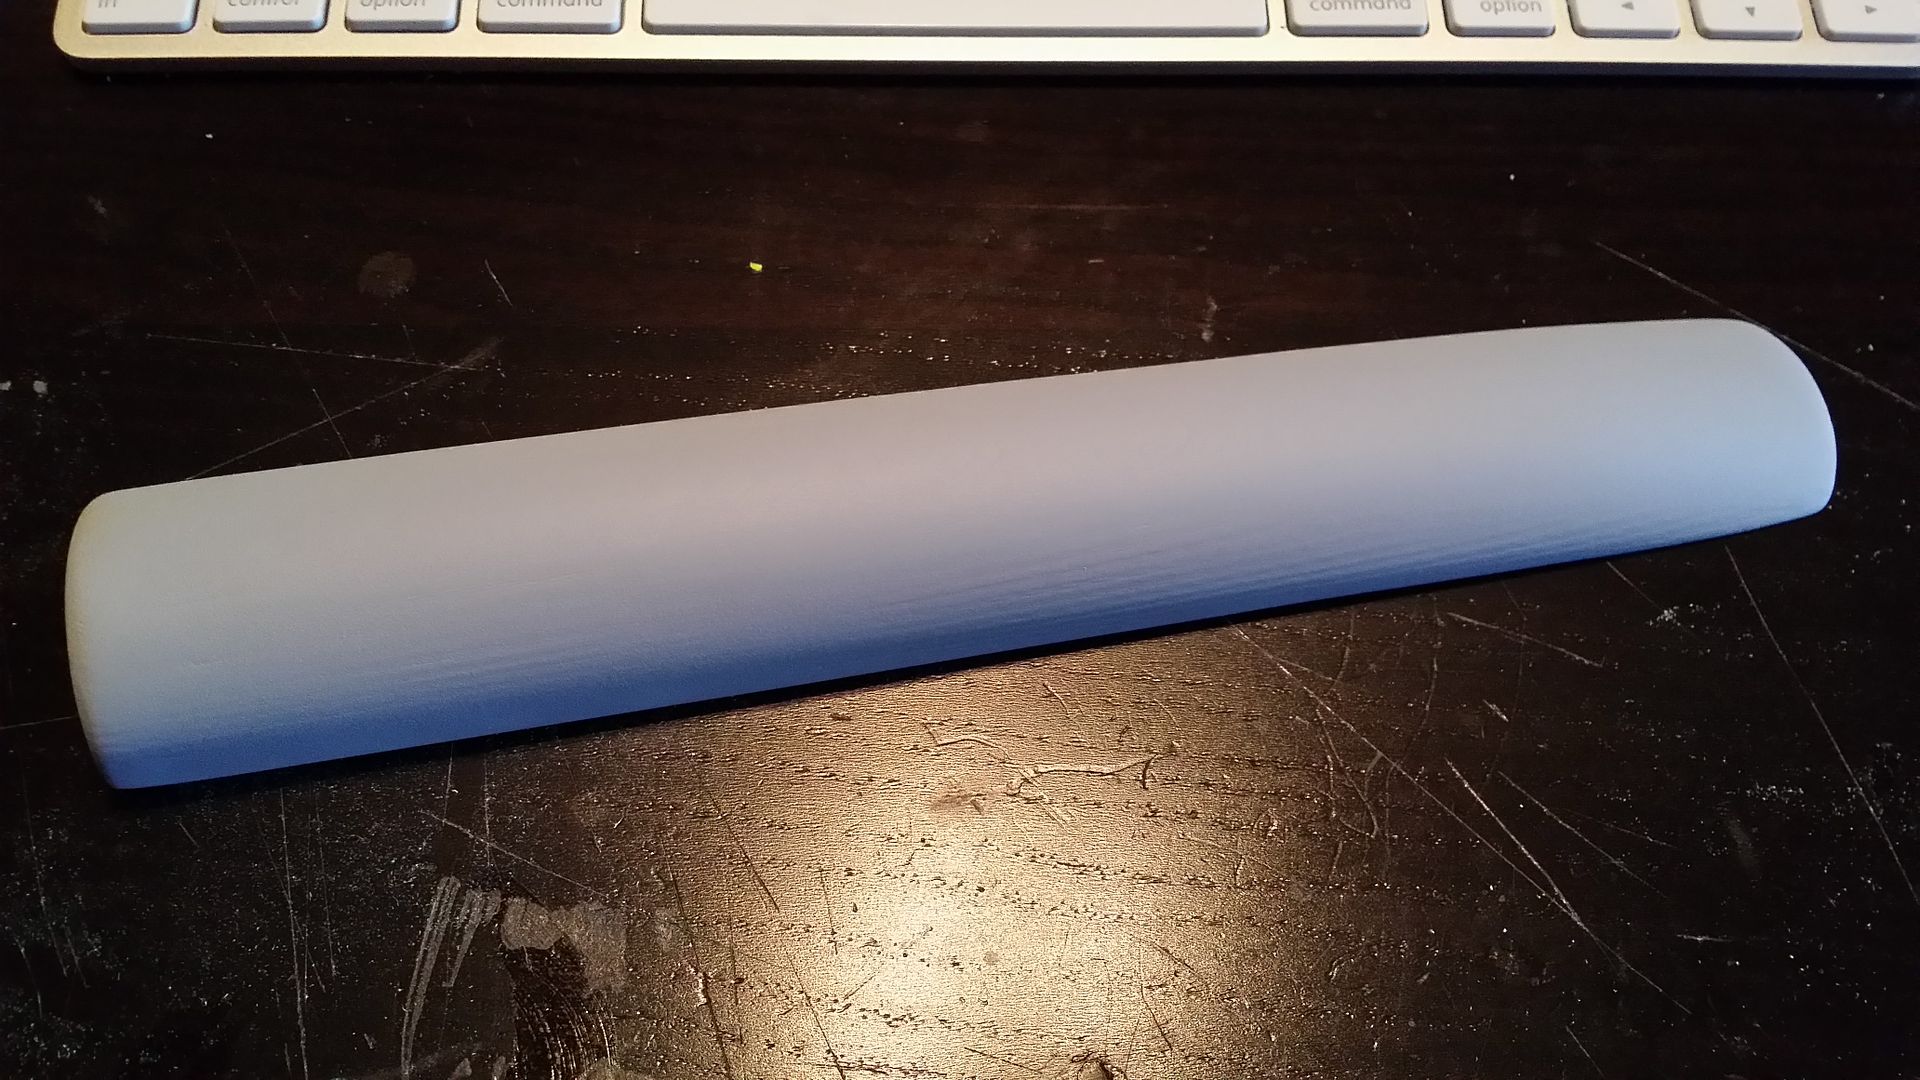
The first picture shows the filler on a couple pieces, and a couple pieces already smoothed and primed. The best part about the filler is that it cleans up with water, so you can smooth it out a bit with a wet finger to cut down on your sanding time. Once the filler is dry, I sand it with 220 and 400, then hit it with filler primer. 90% of the print lines are gone after just one coat of the filler, so I'll do a little bit more before a final sanding and priming.

The goal is to have everything ready to mold by next week :)
 
My filament is coming soon !!!! :)
i will print the helmet!!!
but i want to know if helagak is working in another 3d printer models like iron man, mortal kombat masks, batman, captain america, joker thug....
 
Detail pieces still need smoothing, but here is everything so far! I'm going to take another pass at filling some spots and give everything another coat of primer and see where I stand Sunday. Hopefully I'll make my way to Reynold's Advanced Materials on Thursday to pick up some silicone :)

20140614_001414_zpskloy58n7.jpg
 
Detail pieces still need smoothing, but here is everything so far! I'm going to take another pass at filling some spots and give everything another coat of primer and see where I stand Sunday. Hopefully I'll make my way to Reynold's Advanced Materials on Thursday to pick up some silicone :)

http://i60.photobucket.com/albums/h33/wkevingossett/20140614_001414_zpskloy58n7.jpg


Looks damn good Kevin!!!:thumbsup

Can't wait to make one myself, but man, yours looks good!
 
Hey guys, this is my first time using pepakura and I have a problem. I'm using kamikazeBr's paper version in pepakura viewer. When I open the file many of the pieces are off the page in a large pile. Help please??? IMAG0389.jpg
 
In pepakura veiwer i dont think you can just drag things to where you want, you have to slowly move them, bit by bit, click by click, its annoying, but totally worth it when you have the finished product. Good luck.
 
Sorry to bother you guys again, but I've run into a second problem. The pieces are being printed too small. I've already changer my paper size to letter in the settings, but that didnt seem to work. Do I have to adjust the margins? They are both set to 15. Thanks for the help!!
 
Sorry to bother you guys again, but I've run into a second problem. The pieces are being printed too small. I've already changer my paper size to letter in the settings, but that didnt seem to work. Do I have to adjust the margins? They are both set to 15. Thanks for the help!!
You wanna go into the 2D menu and select change scale, from there you can change it to whatever fits you.
 
Back
Top