Re: Space 1999 Eagle Transporter Build Club UPDATED Sept 21st (PIC HEAVY!)
hi all!
")
Well quite a busy day and very productive....
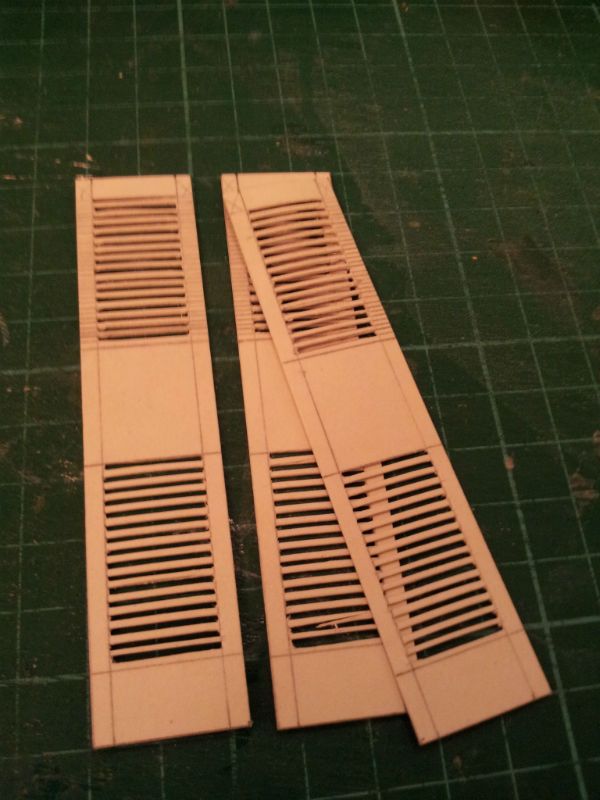
I managed to draw and cut out the four details for the rounded corners of the storage bays in the passenger pod, as well as the four for the equivalent storage bays in the forward walkway. This was bloomin' fiddly, time consuming work and took about three or four hours, but it's done now so I am happy
Each strip is 1 mm wide and 1.7 cm long.
Here's how they look
I am hoping that these will look okay when attached, filled, painted etc...
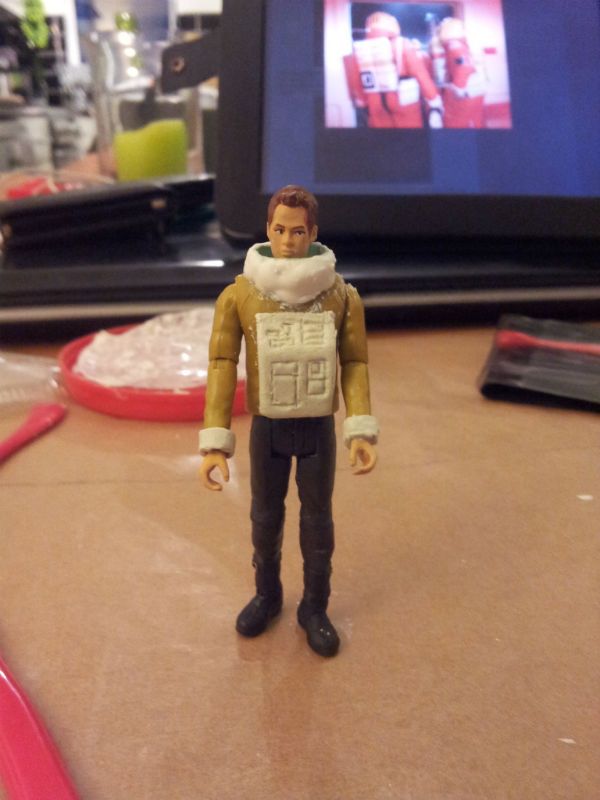
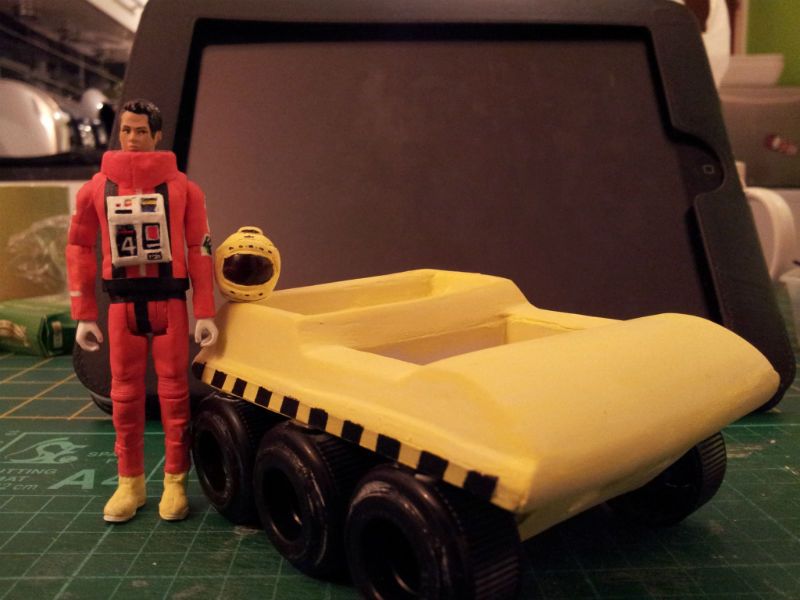
Anyway, here is a bit more info/explanation regarding the Boots and the hanging spacesuit etc...
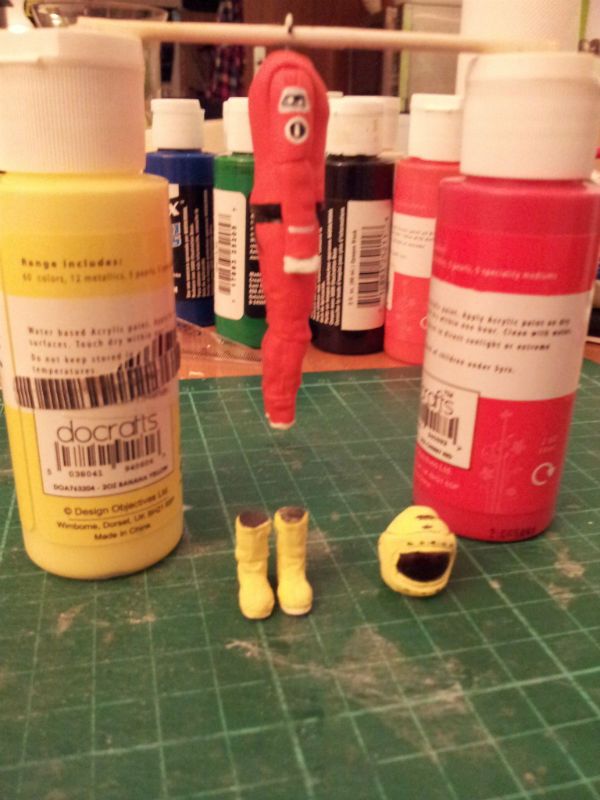
The boots are simply the bottom half of the legs that I removed from the two Eagle pilots , back when I was fitting out the command module cockpit. I simply cut them down to size, and sprayed them white, before adding the yellow over the top. I could never have sculpted anything that accurately so I am, again, pleased I kept them!
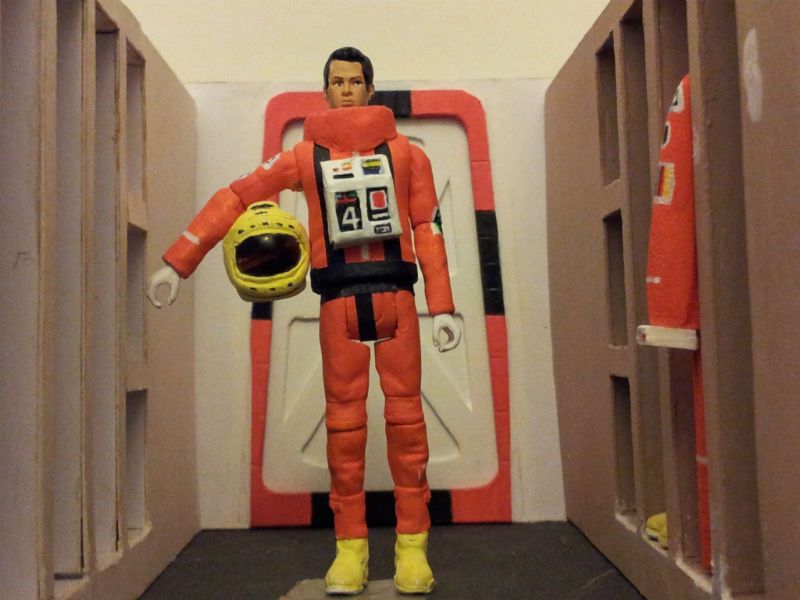
The face plate is a small amber coloured bead and I built up FIMO Air Dry around it to form the helmet. FIMO Air Dry is a revelation to me! It dries rock hard in 24 hours and can then be drilled, sanded, painted etc.... No Oven or heat is required at all, so it is quick and easy with no mess, no smell and no fuss. I shall be making Stun guns and fire extinguishers and ...well...everything else I can think of with this fantastic little product. if making anything fragile like little laser rifles etc... just use a cut to length section of an unbent paperclip as an armature.
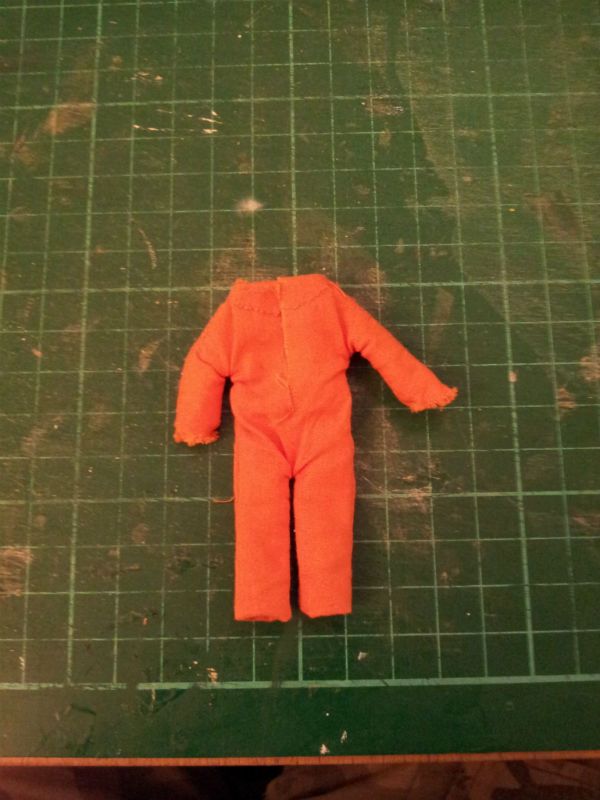
The Hanging Space Suit issue has been the bane of my life for months now..
Firstly, I had four seperate attempts to actually make the hanging suits from real material. That's four times I cut them out and four times I sat there laboriously hand sewing them. They improved each time I made one but after the fourth attempt, This was the best I could hope for and, quite honestly, it is awful!
Even if it had looked AWESOME, (which it definitely doesn't! :lol ) I would still have had to hand sew another FIVE and then look at somehow making little badges for each suit and sewing them on.....:wacko
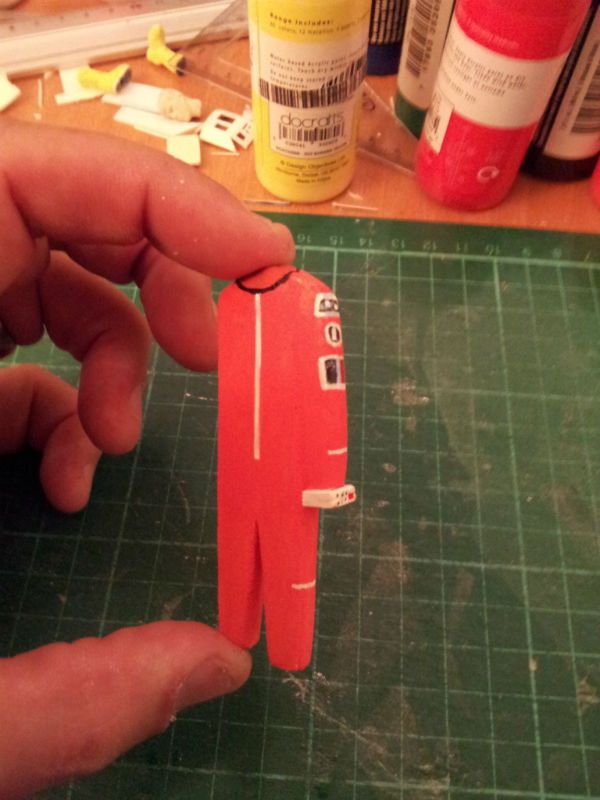
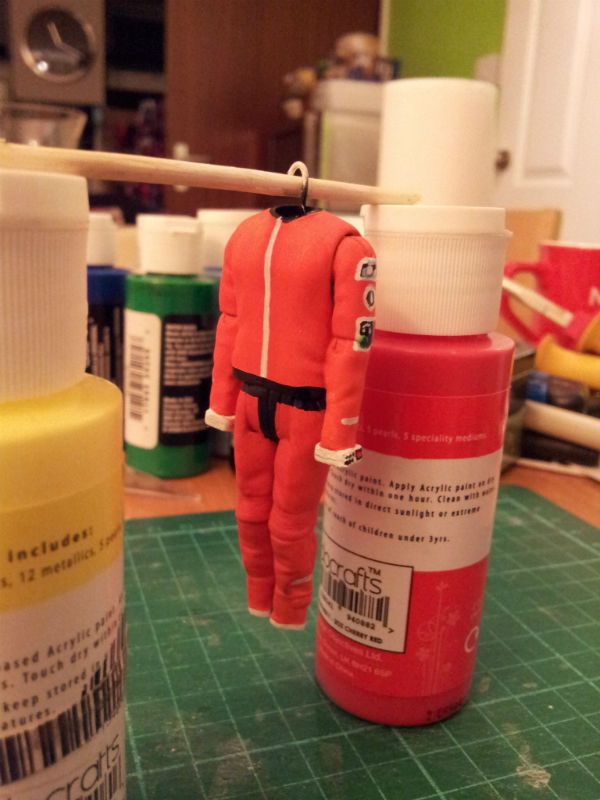
So I ditched that idea and went back to card. and this was the result.
This is the suit that can be seen hanging in the rack on yesterday's update. I think it looks okay and if I made another five, they would, I believe pass muster. They are three layers of thick card glued together, sanded into shape, primed and then painted. The badges are just painted on when the orange paint has dried.
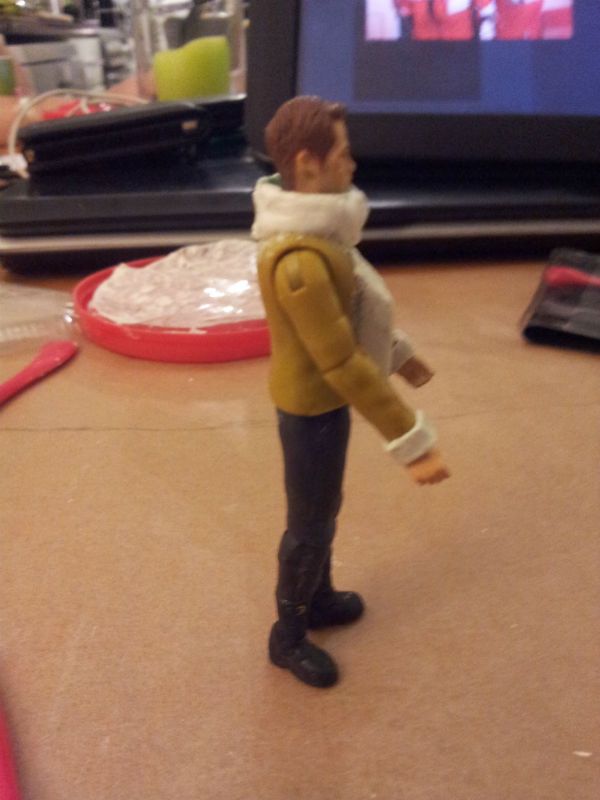
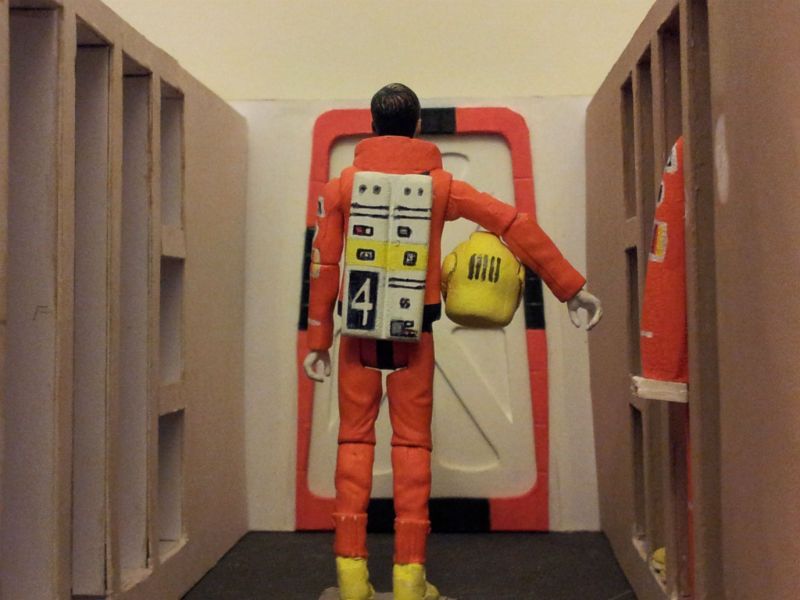
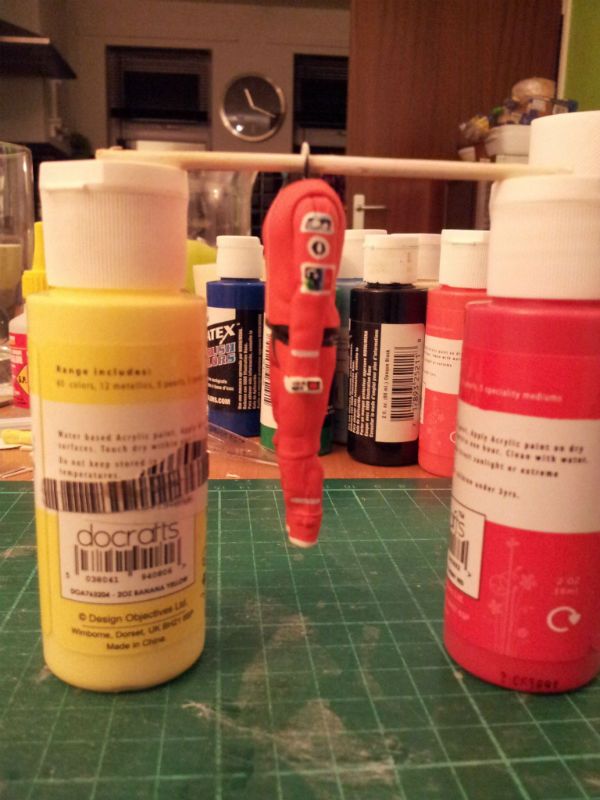
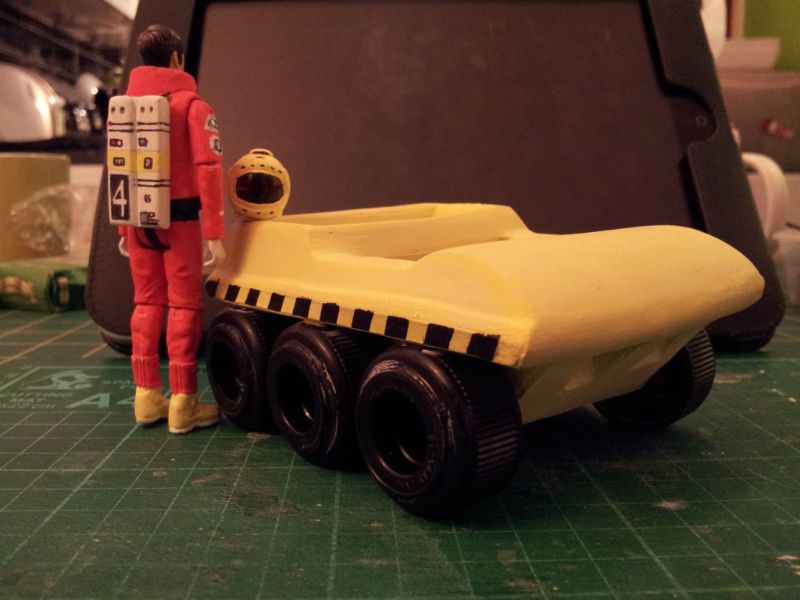
The problem is from my point of view is this: They are too flat and stiff looking, so it was back to the drawing board. Then today, I came across a Spock figure that I would never have used on any build because of his distinctly recognisable features, so I pulled his head off, cut off his hands and feet and set to work on the remaining parts to make this:
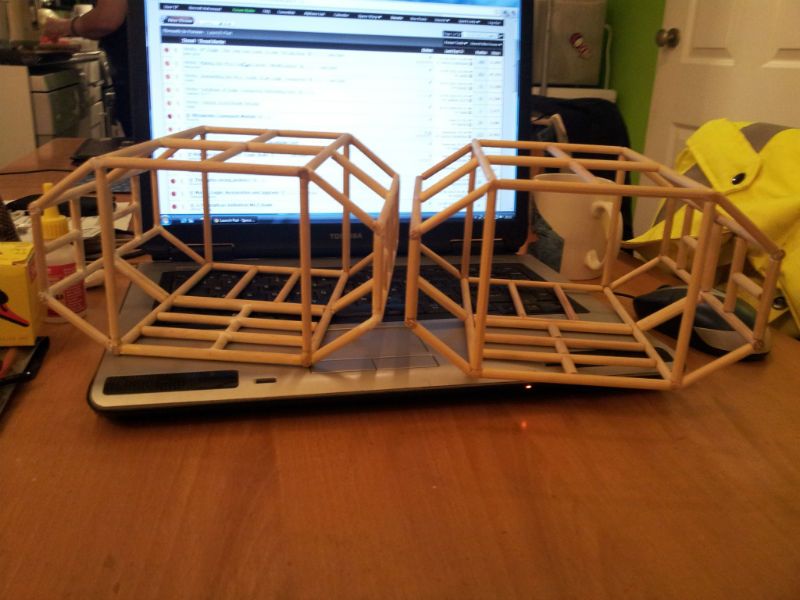
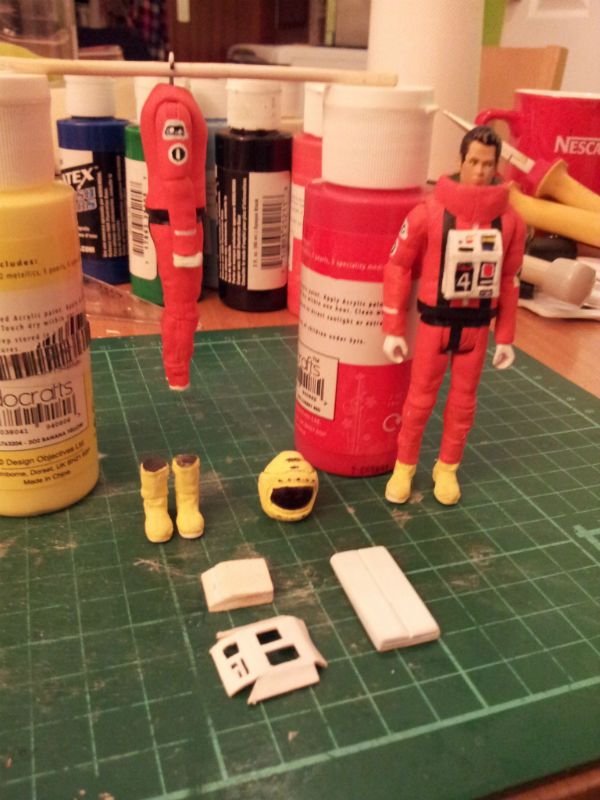
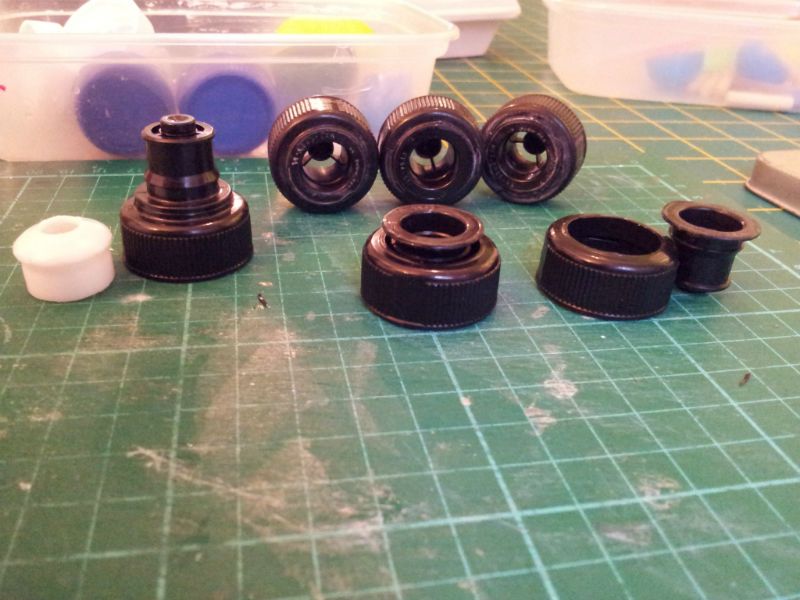
Here you can see in the foreground the method of construction I have used to make the air tanks and front chest box.
I know its such a little detail in the grand scheme of things but I think it will make a whole world of difference to the finished piece.
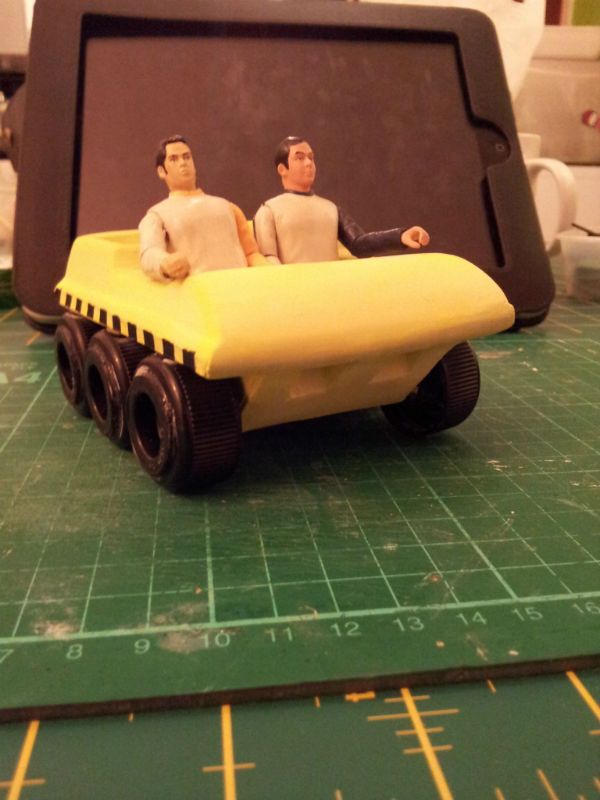
Here is a photo to show it in situ.
BTW! I have fitted the first set of corner details, as you can see in the last two pictures above. They still need tidying etc but I think they will work out fine when all is finished.
Well I hope that explains a little how I go about making my uniforms and props etc... Any other questions you have are, as always, very welcome!
More soon, and thank you for popping in!
Darren