Space 1999 Eagle Transporter Build Club (PIC HEAVY!)

Re: Space 1999 Eagle Transporter Build Club UPDATED 21/04 (PIC HEAVY!)

Well, greylocke..I have it on good authority that Darren will be back! Yay!:)

As to your other question, I was wondering about something very much like that, too..
 
Re: Space 1999 Eagle Transporter Build Club UPDATED 21/04 (PIC HEAVY!)

Memorial Day is always a good time for mowing the lawn and doing various outdoor activities, so that consumed much of my day. I kind of lost steam for it when I noticed that the gas cap had popped off my mower at some point, then I spent more time than I care to admit looking for it!:wacko Besides...my Eagle was calling me!:love
So I cut out the slot in the bottom of the foam board for the aluminum rod. It's not quite the hack job it appears: the lighting just caught every groove at its worst! That's the trouble with photographing stark white objects with the flash on: every detail washes out. It's not unlike my dog who died in March. She was all white, too, and I could never photograph her out in the sunlight, or with the flash on. She appeared as no more than a white, featureless smudge! So I left the flash off where necessary here, it only looks sometimes like I work in a dim gloom!
View attachment 96155View attachment 96156
Anyhow, I cut out the second layer of foam board for the "floor level" of the pod. I rather like the thickness of the underside. It gives a bit more credibility to the idea that there's room under there for the takeoff jets, extendable support legs and such (that always bugged me as a kid, how Iron Man in the comic books could have things like buzz saws and bulky devices contained inside his wafer-thin armor).
View attachment 96157View attachment 96158
To make the slopes to the side doors, it occured to me that I could carve out the foam to a taper. It wouldn't have been a big deal to just gouge out the foam and build supports for the slope, but I wanted to try something else. With the foam board being 1/2" thick (I always say 3/8"...any reference I've used thus far mentioning 3/8, disregard:facepalm), I measured the distance at floor level to the end of the slope and divided the distance into fractions of 1/2 (3/8, 5/16, 1/4) and so on. I figured if I cut grooves in the floor at corresponding depths, I should be able to carve out "pie slices" along the way and be able to retain the foam form for the slope. So using tape to mark the x-acto knife to the right measurement, I could control the depths of the cuts. I hope that explanation made sense!
View attachment 96159View attachment 96160View attachment 96161View attachment 96162
Anyhow, it worked out pretty good. piece by piece, I cut out the foam to ever decreasing thicknesses, until finally I had the basic slope form. I then used sandpaper on the exposed foam to smooth out the cut, which will form the basis to attach a styrene floor.
Now I just have to do the same to the other side!
View attachment 96163View attachment 96164

In conclusion, let me wish my best to any veterans who happen to bless us with their presence on this forum. Without such as you, none of us could engage in these silly pursuits of ours!:thumbsup
 
Re: Space 1999 Eagle Transporter Build Club UPDATED 21/04 (PIC HEAVY!)

Update (of sorts!):

Well, the Eagle build will continue...but I'm not sure if it will be right away. Turns out I may be moving sooner than I had expected! If that's the case, there may be a bit of a delay. So don't think (both of you who actually read this thread :lol ) that I've abandoned it. Even if the thread slips back to paghe 37 by the time I get back to it, lose not hope!:)

(By the way, chrisisall, I will be living nearer to you...just thought I'd pass that on!):eek
 
Re: Space 1999 Eagle Transporter Build Club UPDATED 21/04 (PIC HEAVY!)

Wow this just keeps getting better. I love the fact it's inside as well as out. Outstanding!

Steve
 
Re: Space 1999 Eagle Transporter Build Club UPDATED 21/04 (PIC HEAVY!)

Thanks, Steve! I wasn't sure if I would at first...but I decided to "err" on the side of challenge!:cool
 
Re: Space 1999 Eagle Transporter Build Club UPDATED 21/04 (PIC HEAVY!)

Well, I am back after all the "issues" and ready to pick up the Eagle build!!! WooHOOO!

I should have an update in a couple of days :)
 
Re: Space 1999 Eagle Transporter Build Club UPDATED 21/04 (PIC HEAVY!)

WOAHHH! I just discovered and read your phaser scratch build!!!
That is frakking AWESOME, Bro!!!
 
Re: Space 1999 Eagle Transporter Build Club UPDATED 21/04 (PIC HEAVY!)

WOAHHH! I just discovered and read your phaser scratch build!!!
That is frakking AWESOME, Bro!!!
Well, it's a nice little piece that came out well, but what you guys are doing on this thread is quite frankly way more impressive.:cool
 
Re: Space 1999 Eagle Transporter Build Club UPDATED 21/04 (PIC HEAVY!)

Just glad these are going to get finished, and everyone is doing well.
 
Re: Space 1999 Eagle Transporter Build Club UPDATED 21/04 (PIC HEAVY!)

Thanks for the feedback, Gents!

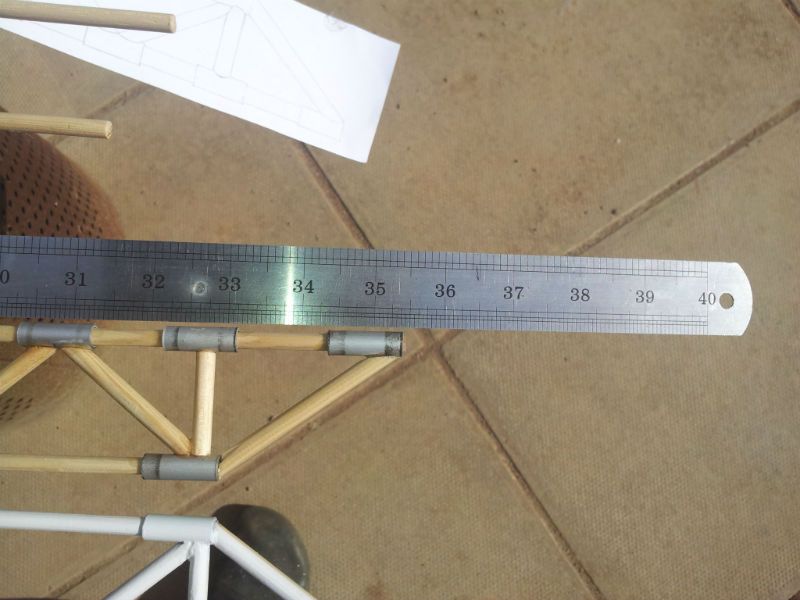
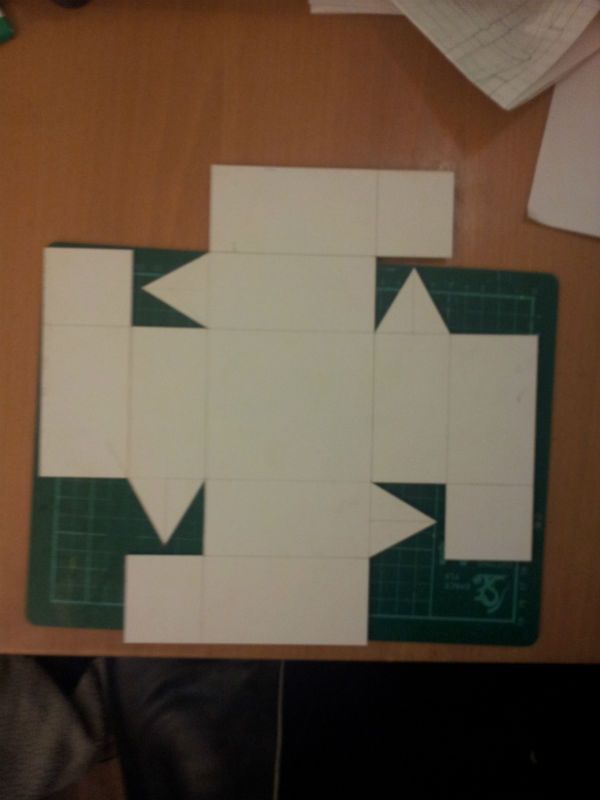
Okay! So today was the first day in M O N T H S that I have been able to get back to my Eagle build so I thought I would go straight for the kill, so to speak, and get on with the spine. I managed to complete the construction of the other half and both lengths measure exactly 35 1/4 inches or, approximately 90cm. The rule in the picture is drooping so the reading you see is not accurate.

E4.jpg


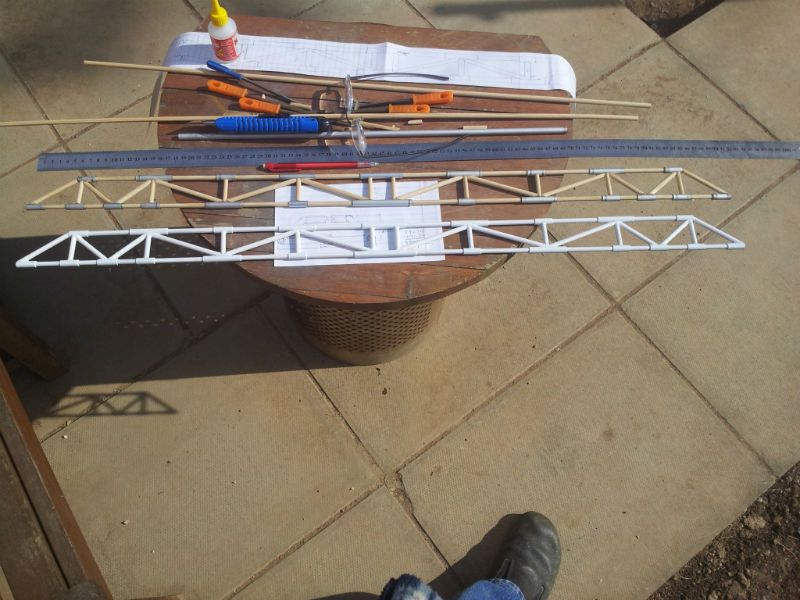
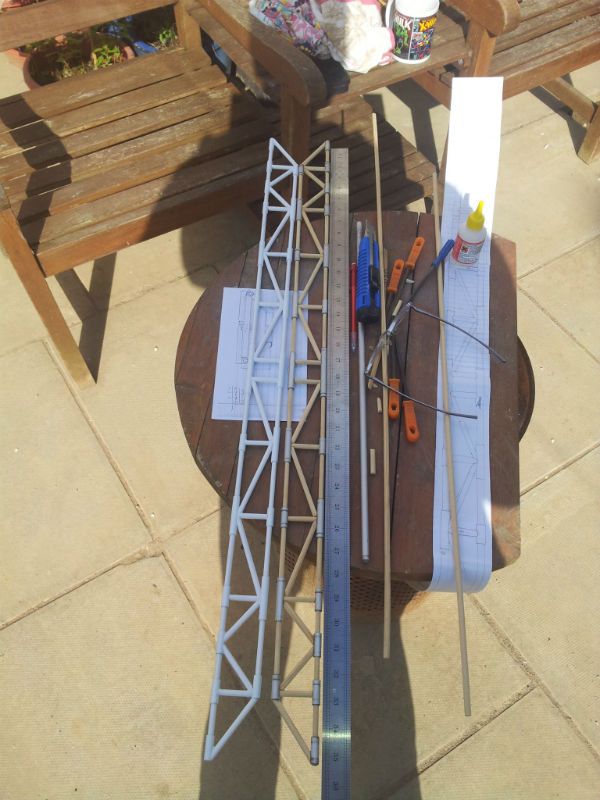
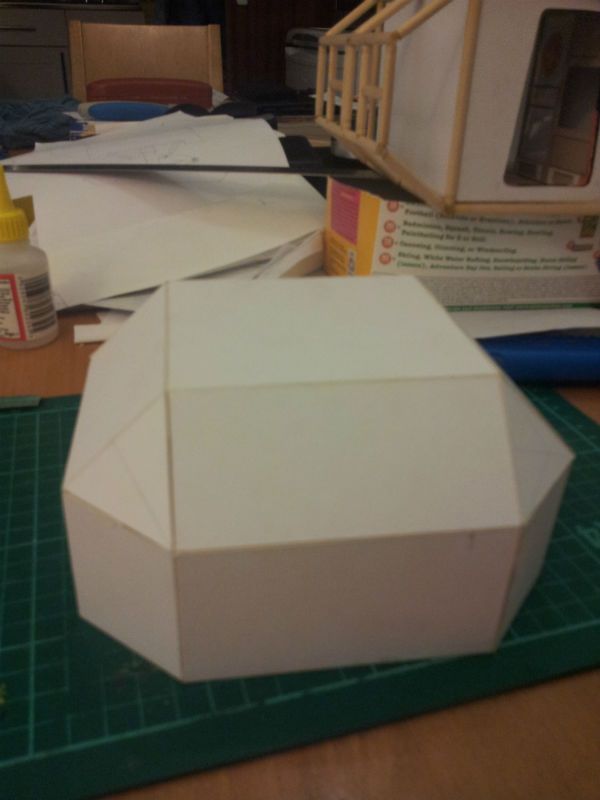
I also managed to breeze a coat of white primer over what will be the inner side of one spine half. this shows up all the imperfections that need tidying up. I will do exactly the same thing to one side of the other half and then, when all the imperfections are filled and sanded, I will attempt the final spine assembly. My reason is simple: once the spine is fully assembled, The inner sides will be practically impossible to get at, so I am doing them now.

E3.jpg


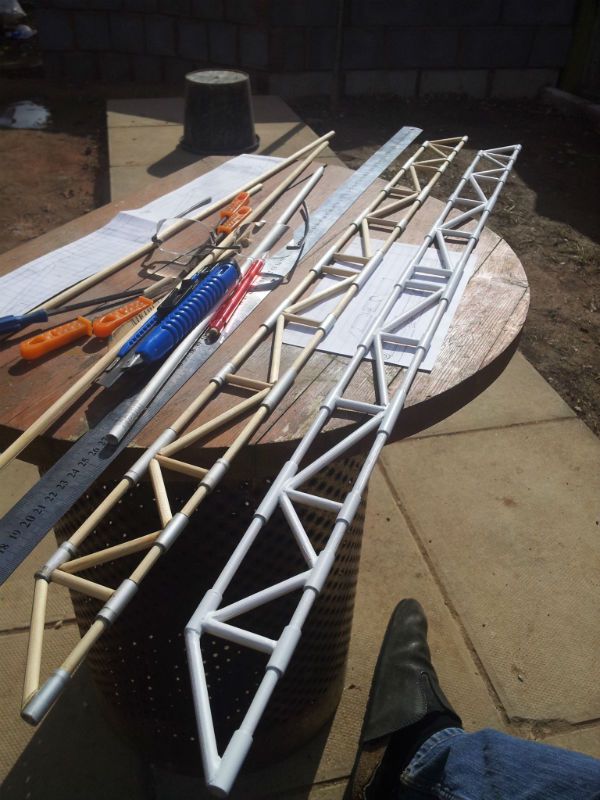
Here are a couple more shots of the spine halves. I Know it's just white primer but DAMN it feels great to see the structure in a coat of white paint!!! It's like a milestone reached and it makes it all feel a little more....well.....real, I guess.
E2.jpg


E1.jpg


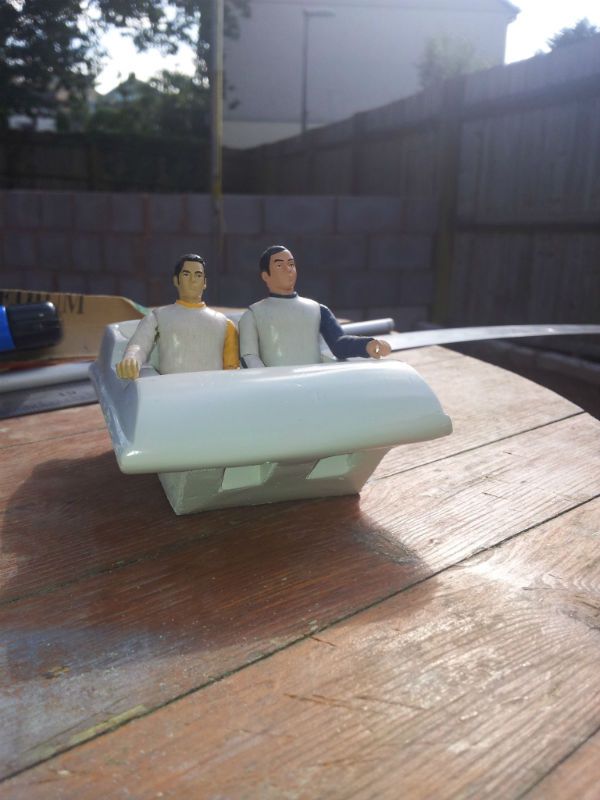
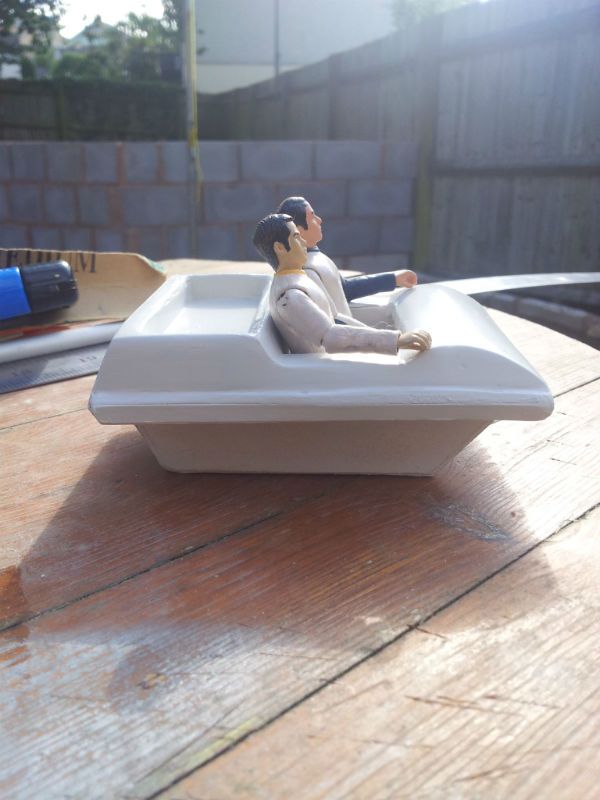
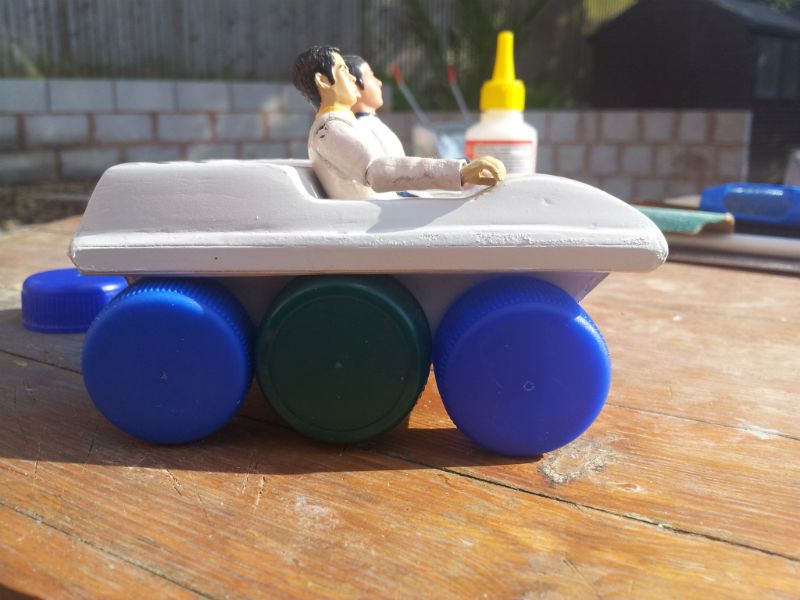
So, a while ago, I mentioned that I had been toying around, building a same scale Moon Buggy, to see if it would fit in the passenger pod. Here is as far as I got:

Untitled.jpg


She may not be screen accurate but I like her! :cool

MB5.jpg


Anyway, the Buggy build came to a grinding halt because of all the other.....stuff......happening in my life, but also because I couldn't come up with a suitable set of wheels for it,
until.
.
.
.
.
.
.
.
.
.
.
.
.
.
.
.
.
.
.
.
.
.
.
.
.
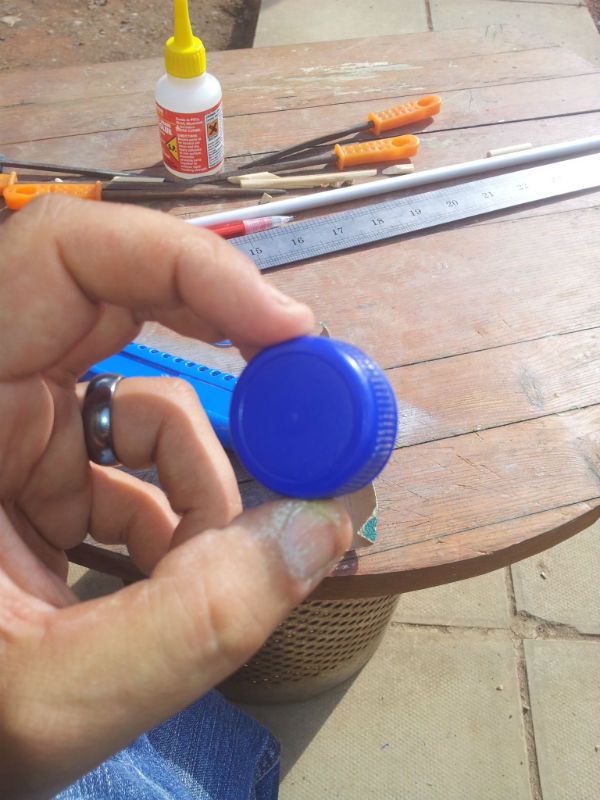
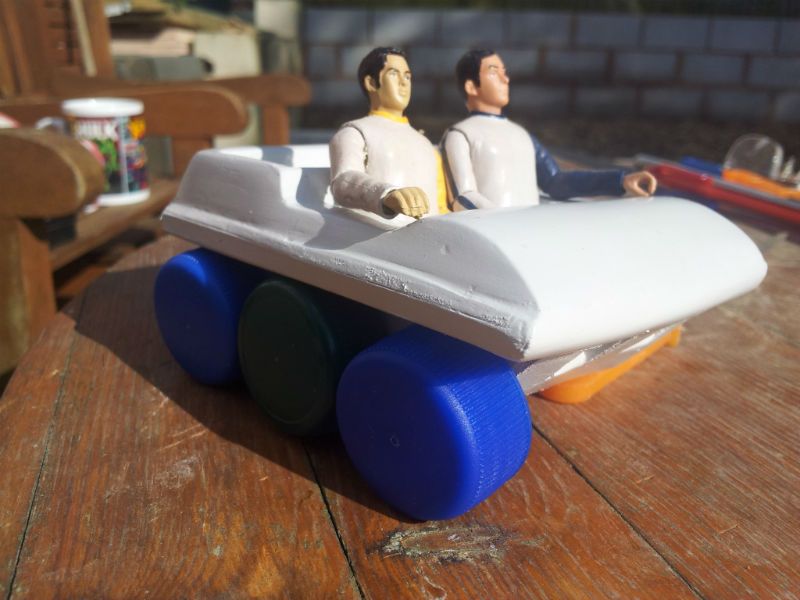
I saw the screw cap on my fruit squash/cordial bottle in a whole new light!

MB4.jpg


I immediately "borrowed" three from the kitchen to see if they would fit and I reckon they'll do just fine! These three are different sizes and are obviously just to illustrate. What do you guys think?

MB1.jpg


MB2.jpg


Anyway, that about wraps up today's update. and I hope you enjoy reading it at least half as much as I did doing it.:)

All comments/critiques/ideas etc, are, as always, very welcome!

Bye for now,
Darren
 
Re: Space 1999 Eagle Transporter Build Club UPDATED July 15th (PIC HEAVY!)

Astounding work! I love the "MacGuyver" element to this effort. Using the bottle caps for wheels on the moon buggy...just awesome. Glad to see this still moving forward.
 
Re: Space 1999 Eagle Transporter Build Club UPDATED July 15th (PIC HEAVY!)

Hey Mate! Thanks a lot - much appreciated. That pirate ship is bloody incredible!!!
 
Re: Space 1999 Eagle Transporter Build Club UPDATED July 15th (PIC HEAVY!)

Ahh I love when a plan comes together in ways not ordained. :D
 
Re: Space 1999 Eagle Transporter Build Club UPDATED July 17th (PIC HEAVY!)

I should have known it would be you who would come up with that :rolleyes :lol:lol:lol

Funny though! :)


Hi Everyone! Just a small update today. I commenced a new aspect of the Eagle build today and I started by drawing and cutting out this rather swastika-ish shape:

SP1.jpg


I then added glue tabs in the appropriate places and scored all the fold lines. I then simply made the folds, and glued the tabs to their counterparts to give me this:

SP2.jpg


SP3.jpg


The fold lines will need filling and sanding etc, but the shape is good and strong. I need to still fibreglass the inside and build a light structure to brace it. It should simply slot over the structure and be glued into place. The bottom section will be added later when the internals have been completed.
One down three to go!
I hope to do them tomorrow and possibly get back to the spine. Time will tell, I guess.
Iggudubee iggudubee iggudubee, That's All FOLKS!

:lol:
 
Re: Space 1999 Eagle Transporter Build Club UPDATED July 17th (PIC HEAVY!)

Hmm..those new shapes look vaguely familiar...! I hope you don't go through what I did with them..for some reason, building four of them seemed more like 12!:unsure

And yeah, I share your feelings about the primer. Seeing our parts in wood, metal, plastic and what have you, then to get the coat of paint on them does seem to take them to that next level of believability! That's cool when that happens!

Funny, too, is how much that moon buggy without wheels looks so much like a ferris wheel ride!:lol
 
Back
Top