Rabid Irish
Active Member
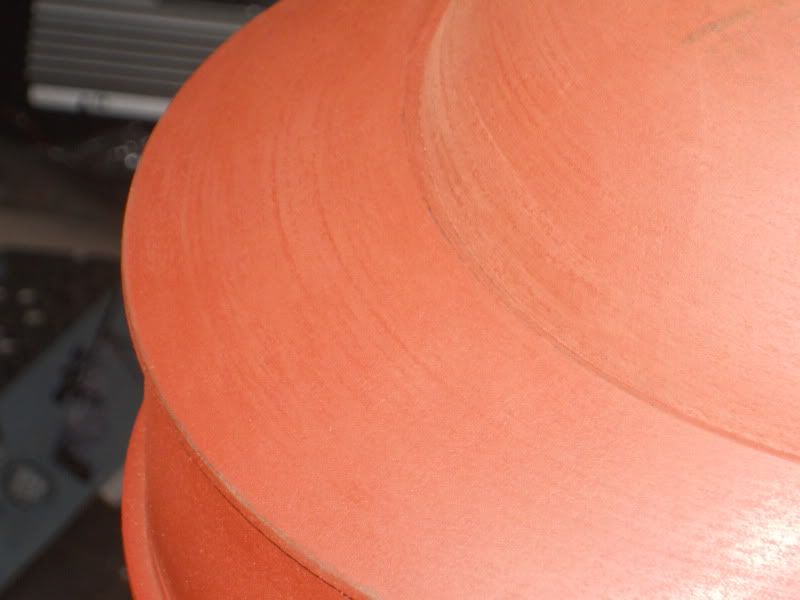
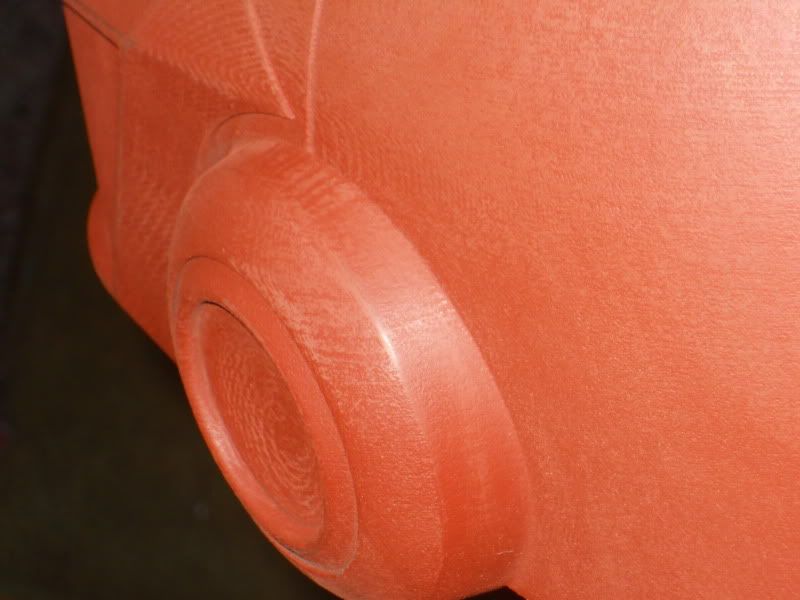
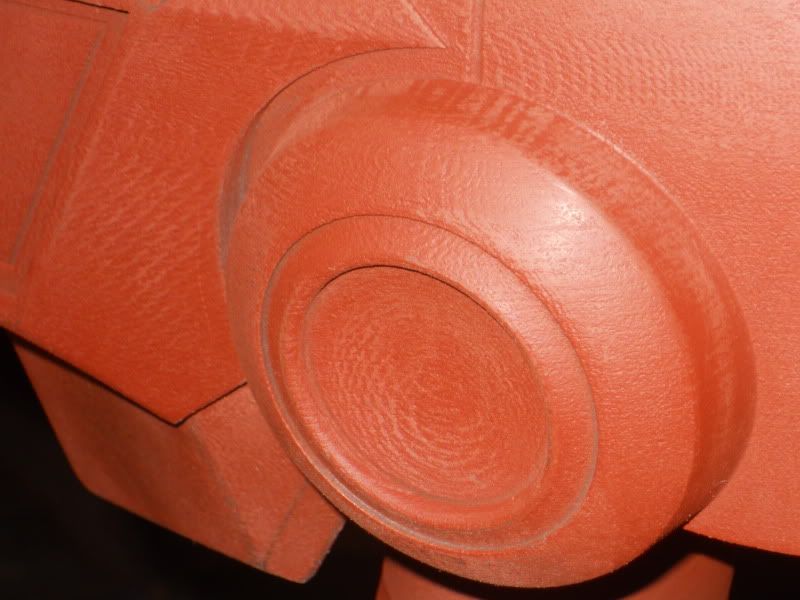
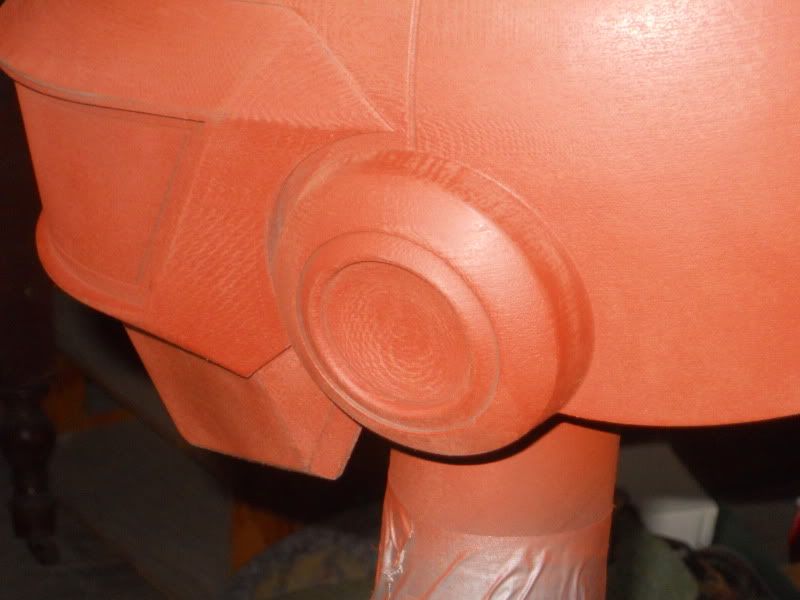
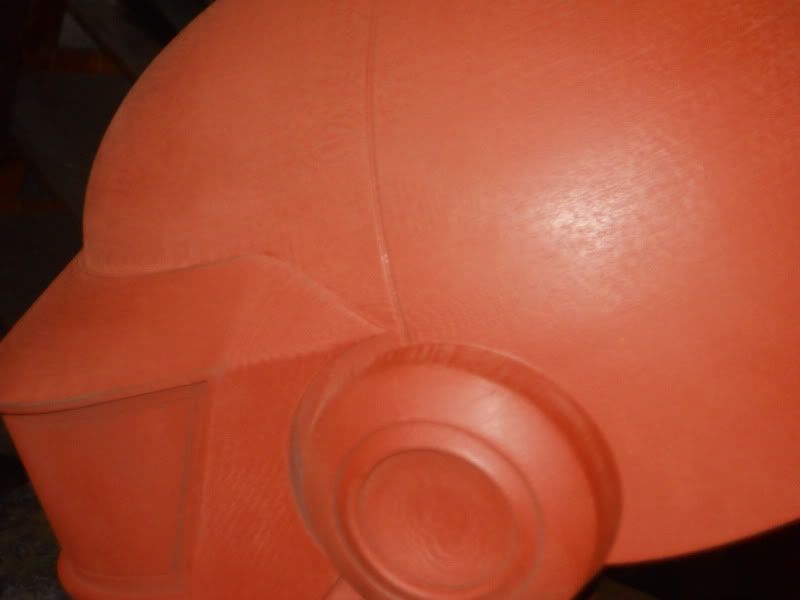
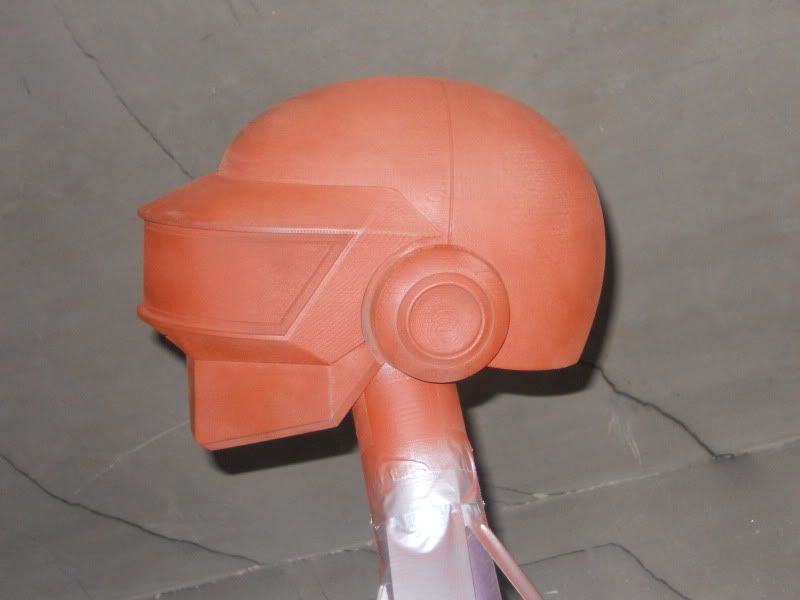
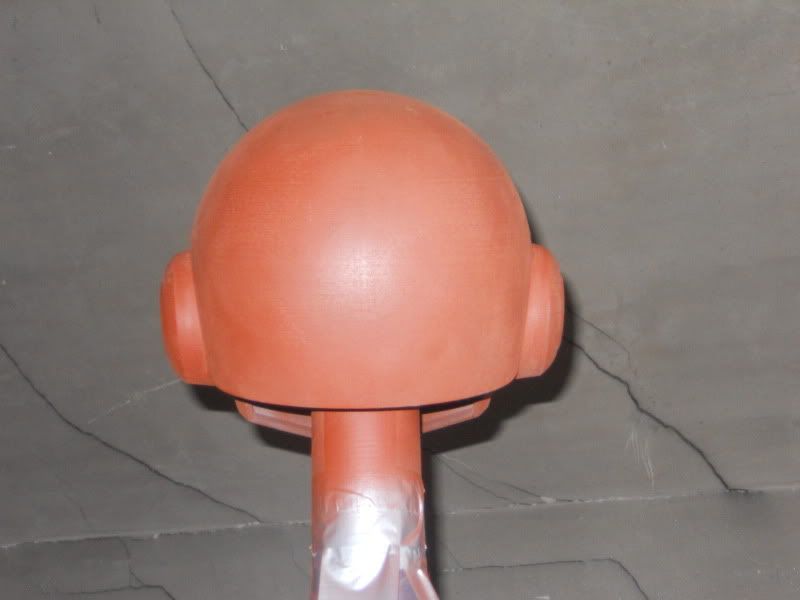
Hello all. Here is the current progress of my 3D printed Thomas Bangalter Helmet using the selective laser sintering process. It you are not familiar with the process have a little read here about it Selective laser sintering - Wikipedia, the free encyclopedia
I am a beginner when it comes to builds, so pretty much all of this is new to me. Some of you may have been following my progress on this project on tdc.com. This has been an ongoing project for over a year, which has just recently had huge developments. At first it was going to be a from scratch build. When that did not pan out I contacted a highly skilled Solid Works writer who goes by the alias ThreeFN. He was extremely generous and made the decision to take on the 3D rendering of Thomas' helmet for me. We went through a few different Thomas versions till we nailed it.
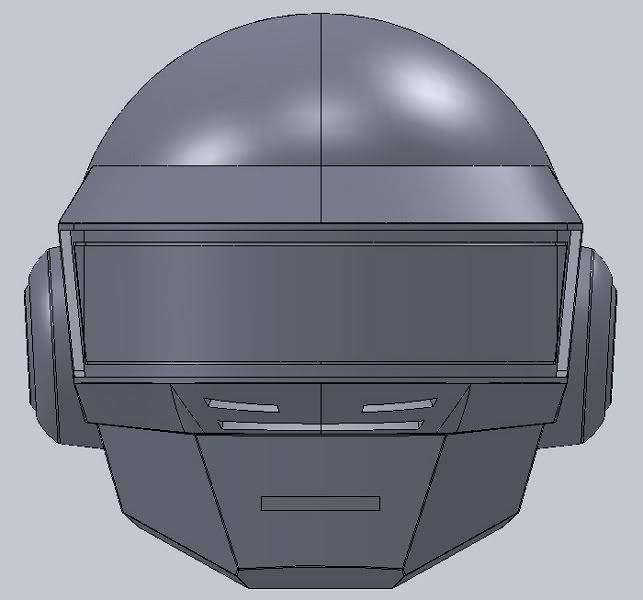

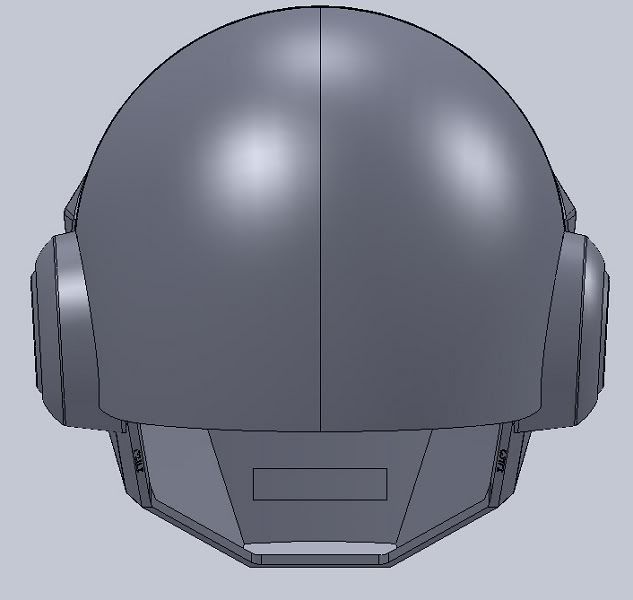
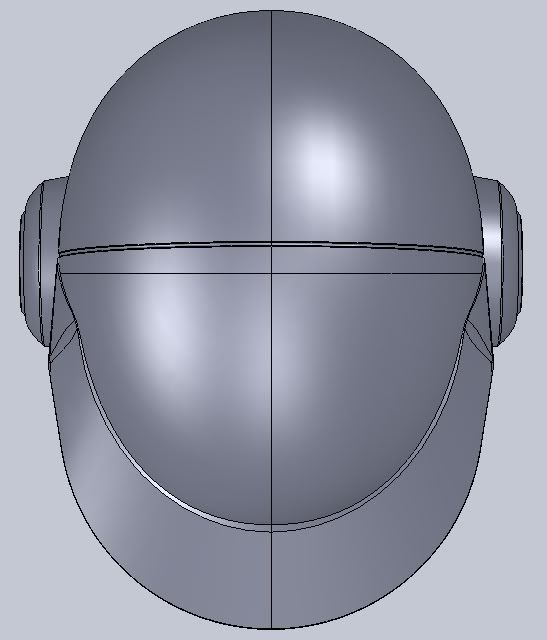
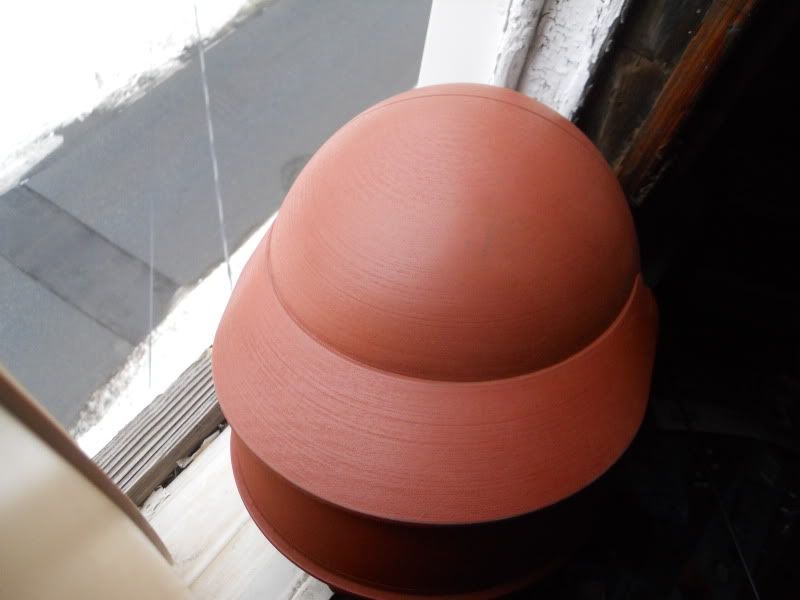
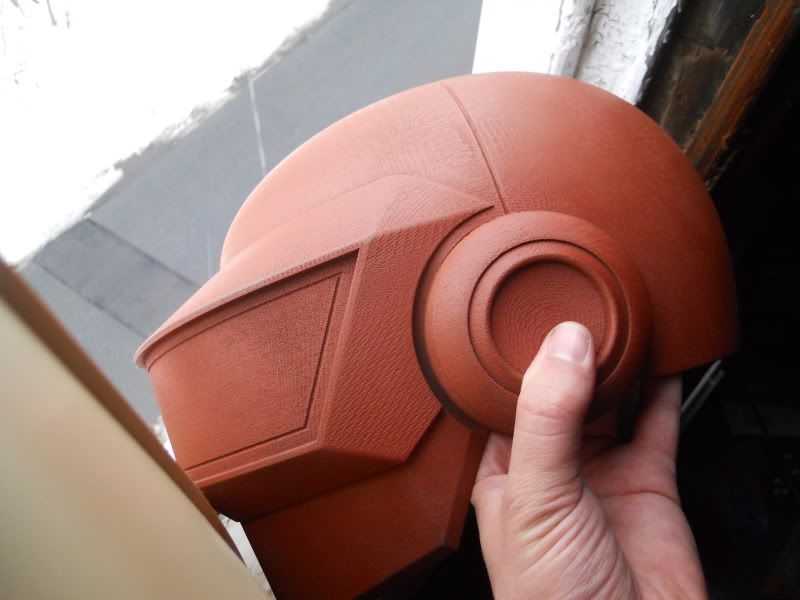
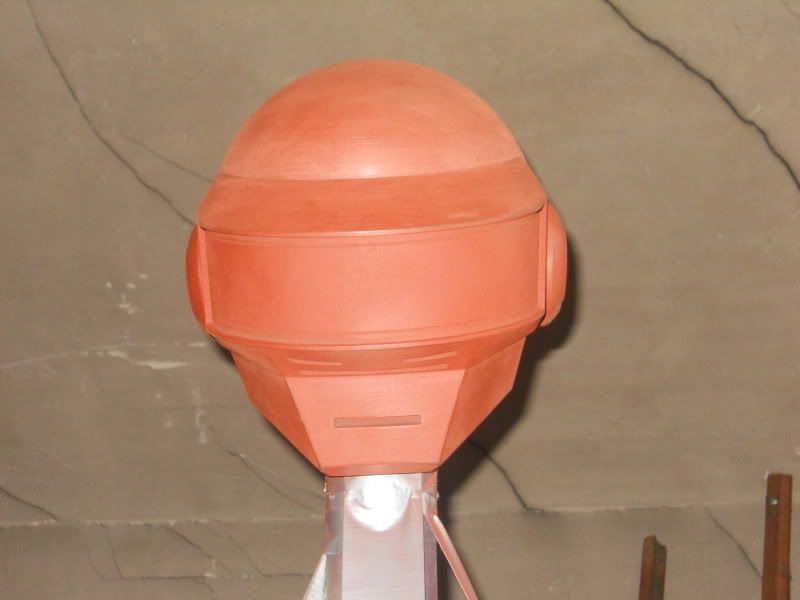
I ended up using a contact through my current employer to sub out the 3D print. There have been a total of 3 print's. The very first was just a trial test run to figure out a correct scale and adjust features. Second print was the first stab at getting the scale right plus some adjustments. It was intended to be the final, but once I received it I realized there were a few more changes that needed to be implemented with another rescale. Here are the results.
second print............


Third and final print...........


Looks low on my head because I forgot to put some padding in to raise it up correctly


and a comparison shot face to face.

I plan on using this print as a master mold and have a question for some of you vets on here about silicone. Do you recommend smooth-on rebound 25 or Dragon Skin, and why? I am looking to pull at least 20 casts. Do you think I can get away with a one part mold, or do you think it will need to be a two or three part mold?
I am about to begin the sanding and smoothing process to get ready for molding. I will try to keep this as updated as possible. hope you all enjoy, and thanks in advance for any advice.
EDIT: I know these are terrible pictures. When I get some free time and a better camera I will post some proper images that really bring out the detail in this print. Super Big thanks to ThreeFN for all his hard rendering work he did for me!
I am a beginner when it comes to builds, so pretty much all of this is new to me. Some of you may have been following my progress on this project on tdc.com. This has been an ongoing project for over a year, which has just recently had huge developments. At first it was going to be a from scratch build. When that did not pan out I contacted a highly skilled Solid Works writer who goes by the alias ThreeFN. He was extremely generous and made the decision to take on the 3D rendering of Thomas' helmet for me. We went through a few different Thomas versions till we nailed it.


I ended up using a contact through my current employer to sub out the 3D print. There have been a total of 3 print's. The very first was just a trial test run to figure out a correct scale and adjust features. Second print was the first stab at getting the scale right plus some adjustments. It was intended to be the final, but once I received it I realized there were a few more changes that needed to be implemented with another rescale. Here are the results.
second print............


Third and final print...........


Looks low on my head because I forgot to put some padding in to raise it up correctly


and a comparison shot face to face.

I plan on using this print as a master mold and have a question for some of you vets on here about silicone. Do you recommend smooth-on rebound 25 or Dragon Skin, and why? I am looking to pull at least 20 casts. Do you think I can get away with a one part mold, or do you think it will need to be a two or three part mold?
I am about to begin the sanding and smoothing process to get ready for molding. I will try to keep this as updated as possible. hope you all enjoy, and thanks in advance for any advice.
EDIT: I know these are terrible pictures. When I get some free time and a better camera I will post some proper images that really bring out the detail in this print. Super Big thanks to ThreeFN for all his hard rendering work he did for me!
Last edited:

